
Embrace the art of mushroom drawing with our beginner-friendly guide. Draw five different types of mushrooms like Fly Agaric and Destroying Angels with simple, step-by-step instructions. Enhance your crafting, scrapbooking, and DIY projects today.
Introduction: The Art of Mushroom Drawing
At Pictureboxblue.com, I’m passionate about bringing the past to life through art, especially with my extensive collection of vintage mushroom and fungi illustrations featuring works from renowned artists such as James Sowerby and Adolphe Millot. These vintage prints are used by visitors to the blog for decor, crafting projects and as artistic reference.
Recognizing the curiosity and enthusiasm of my readers in mushroom art, I’ve put together an easy-to-follow guide to simple mushroom drawing. This post is dedicated to those looking to explore their artistic side and develop drawing skills. Whether for crafting, journaling, DIY projects, or just for the sheer pleasure of drawing.
Covering a range of easy mushroom shapes from the iconic Fly Agaric mushroom to the elusive Destroying Angel, this blog post ensures that easy steps are engaging and fun for beginner artists of all skill levels.
Step-by-Step Instructions for Drawing Mushrooms
You don’t need many art supplies to begin your mushroom sketch: just some paper and a b pencil or black pen. Use coloured pencils or watercolour paints to add colour at the end of the drawing process.
I will go through each of the mushroom drawing ideas individually so you can learn how to draw your own mushroom. These are realistic mushrooms of different shapes, drawn in an easy way and presented in simple steps.
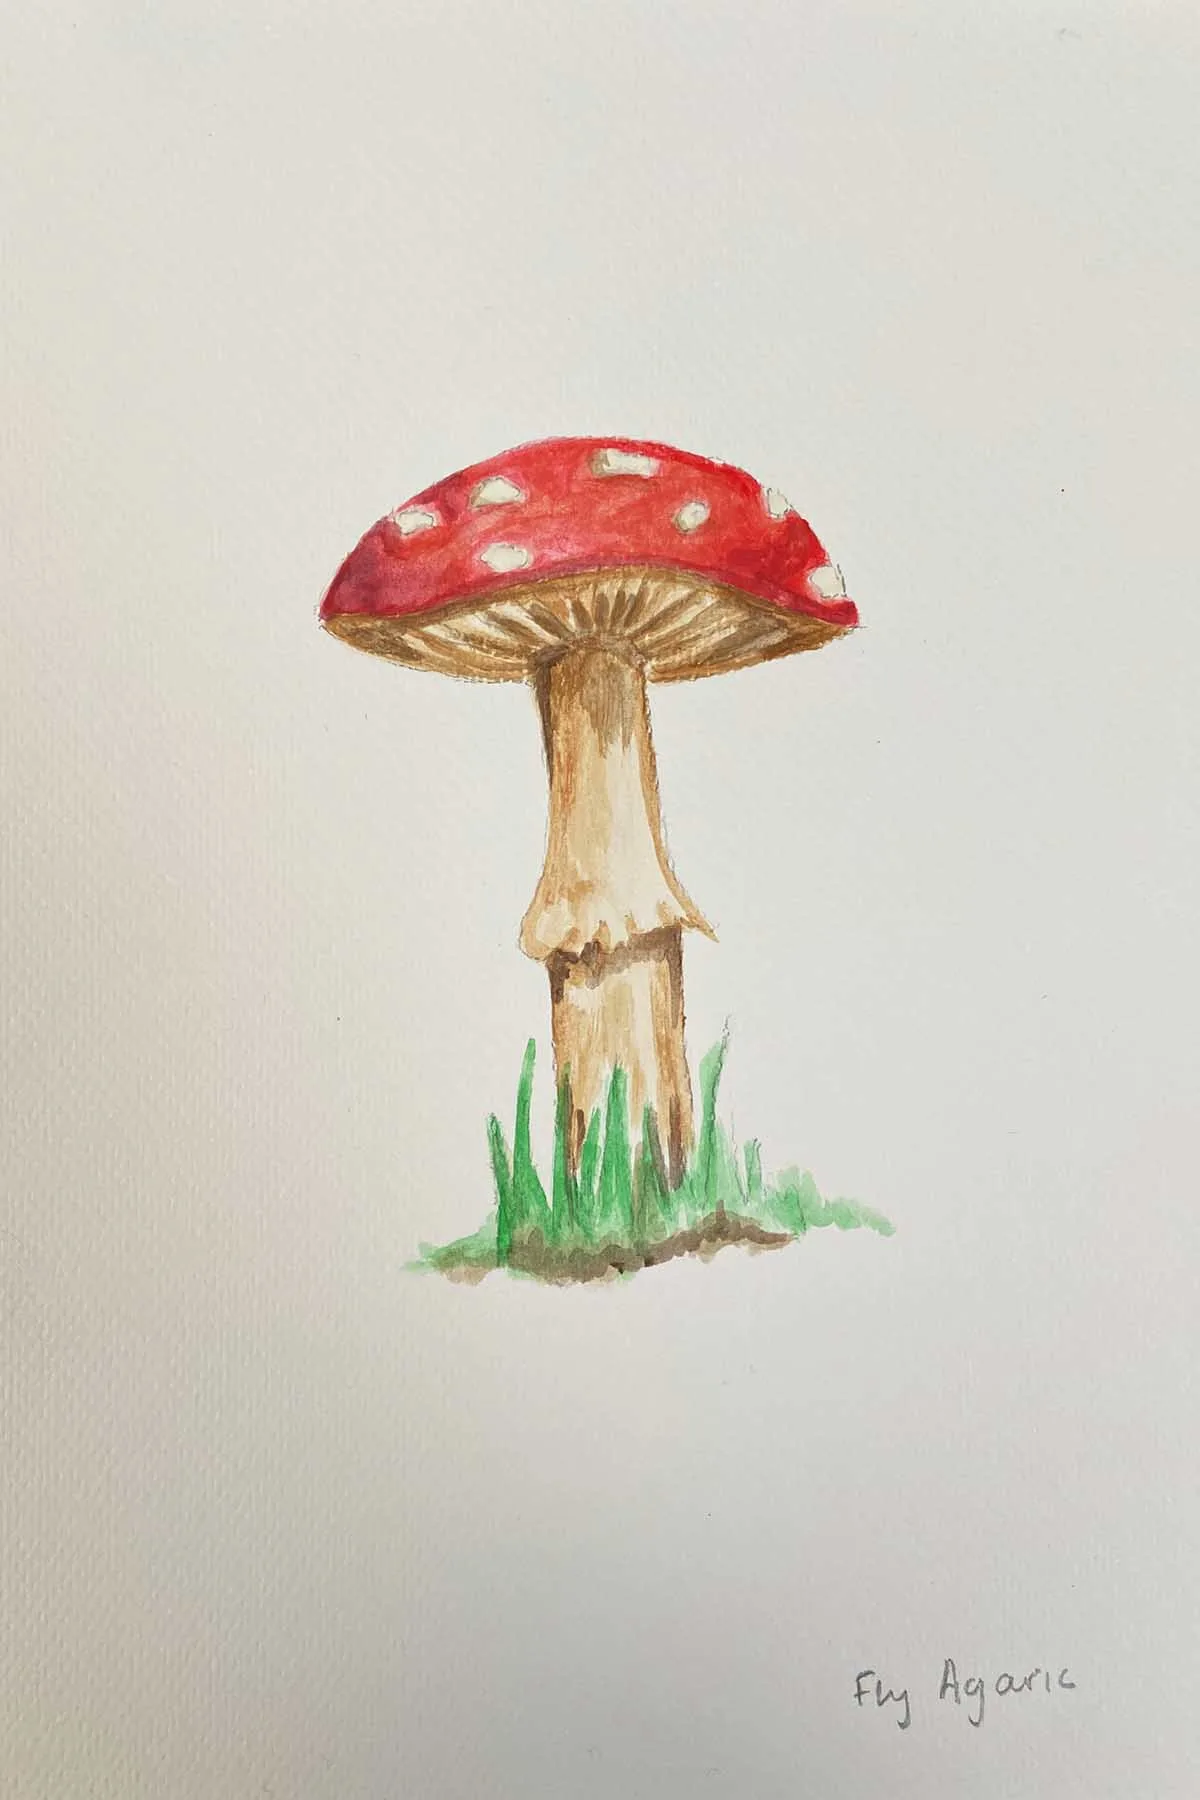
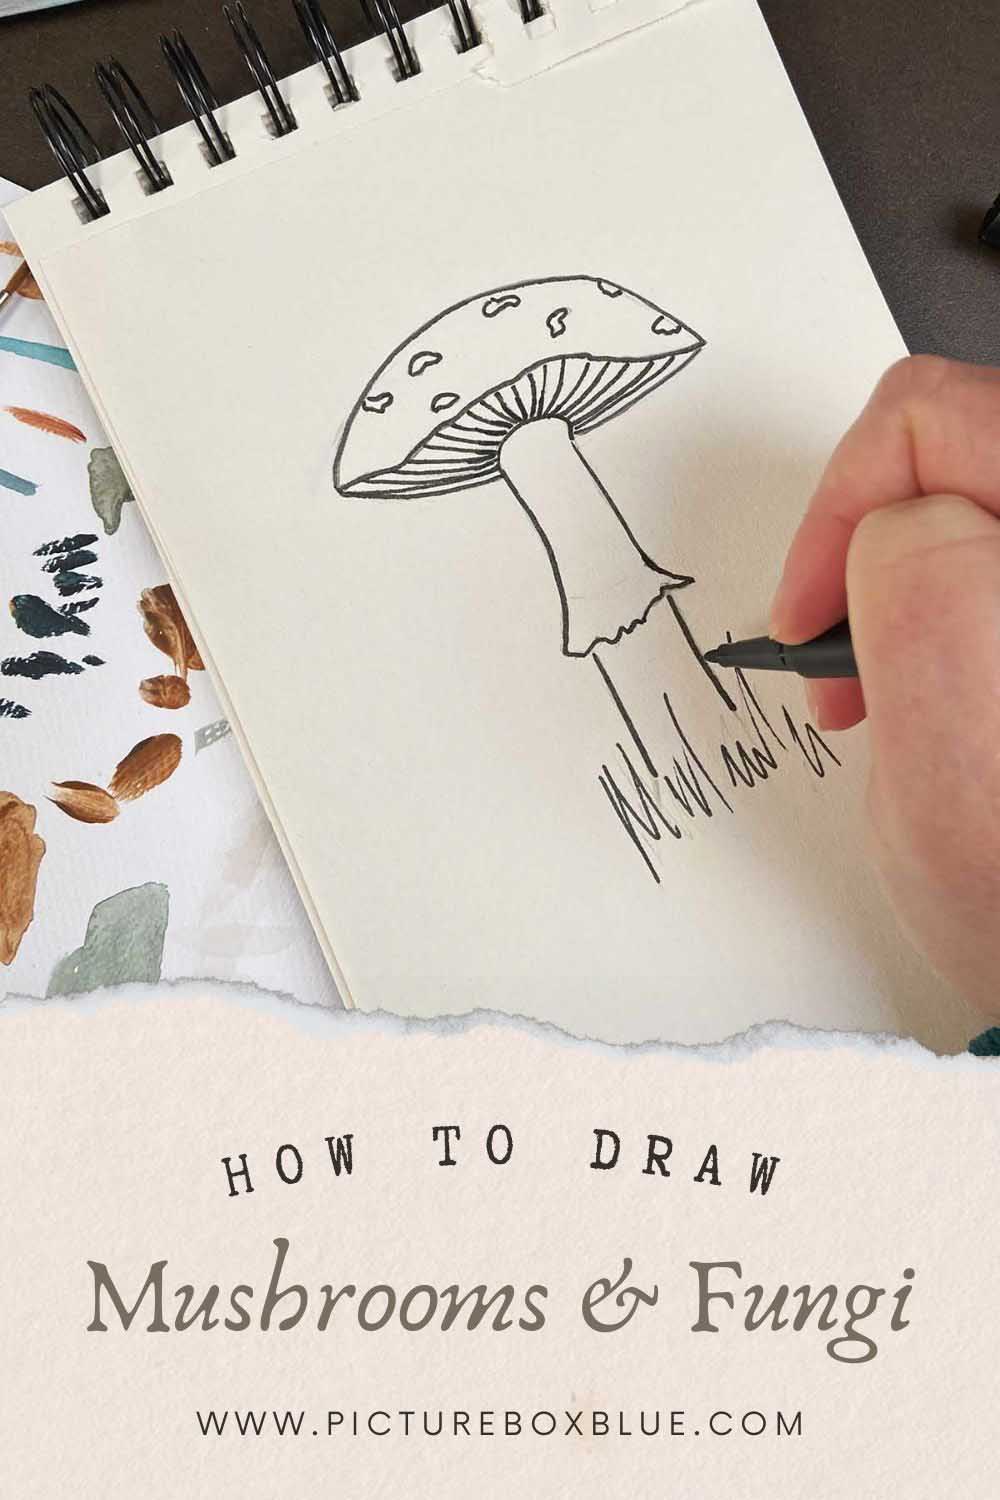
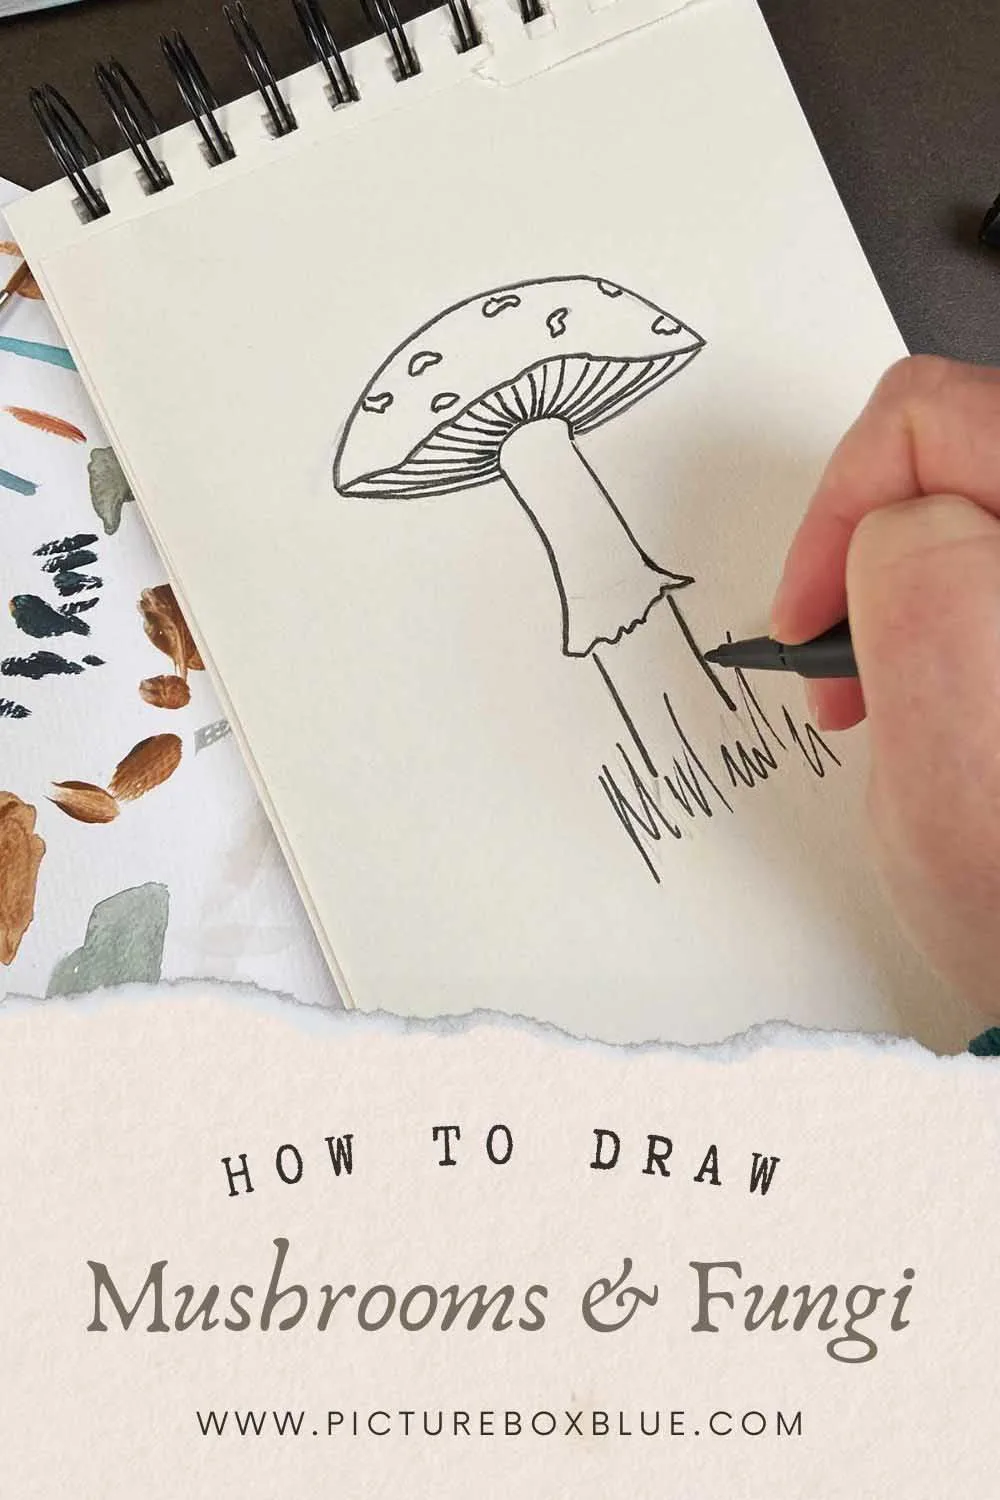
Fly Agaric Mushroom
The Fly Agaric mushroom is the first mushroom in this collection of easy drawing tutorials. With its iconic red cap dotted with white spots, it is the quintessential image of a fairy tale toadstool.
Its enchanting appearance, straight out of a storybook, makes it the most popular mushroom to draw. This mushroom captures the imagination, evoking magical forests and fairy tale scenes. It is a favourite among artists and enthusiasts for its whimsical and classic look.
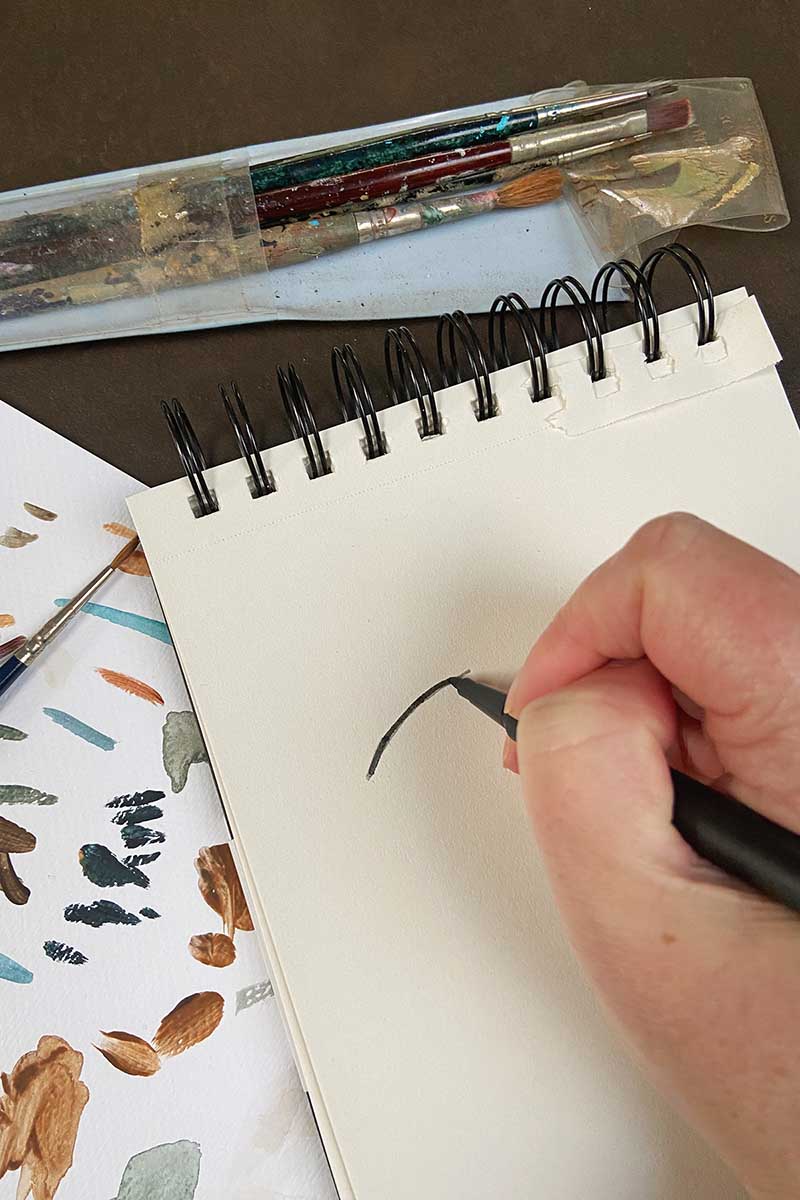
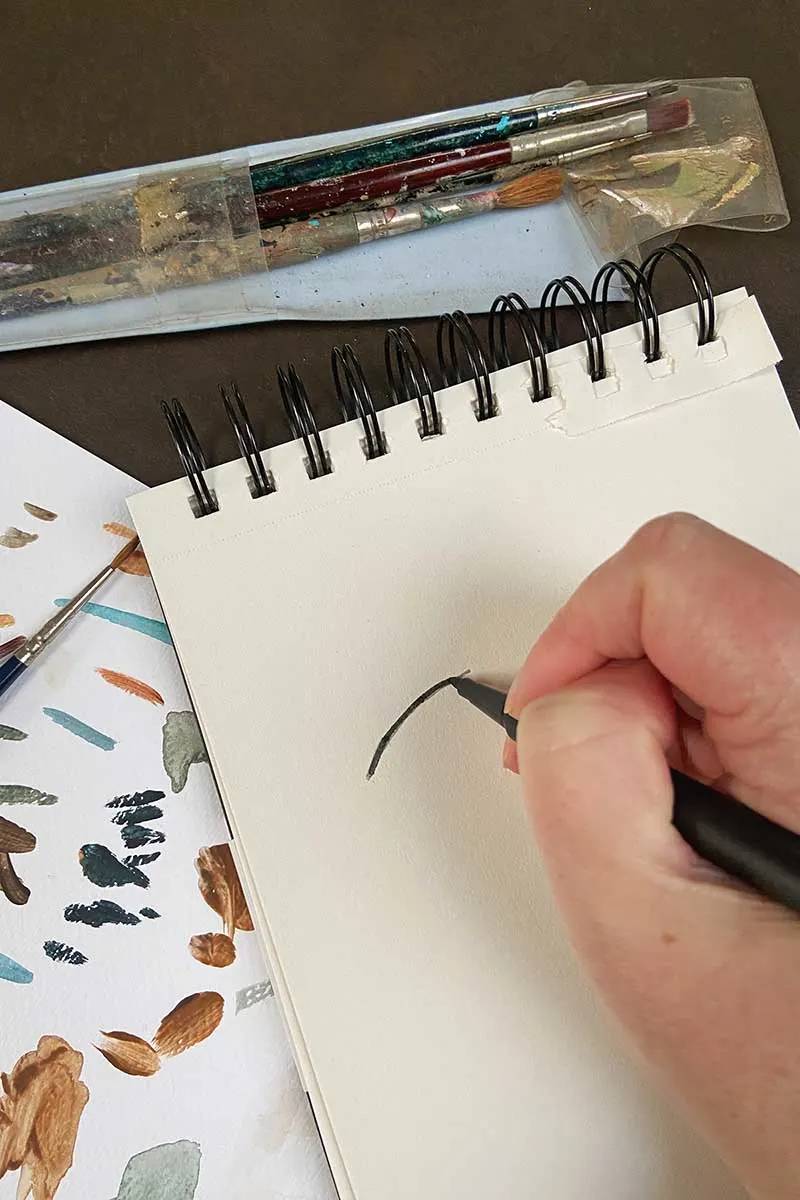
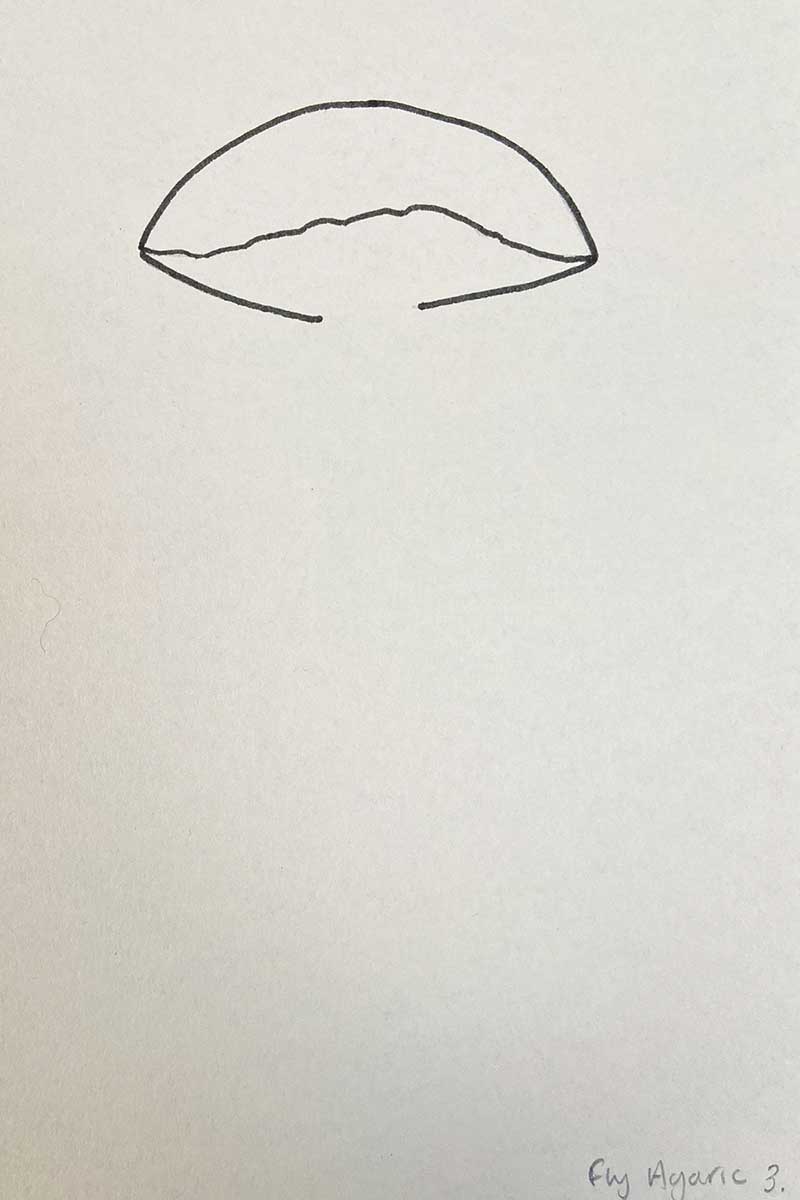
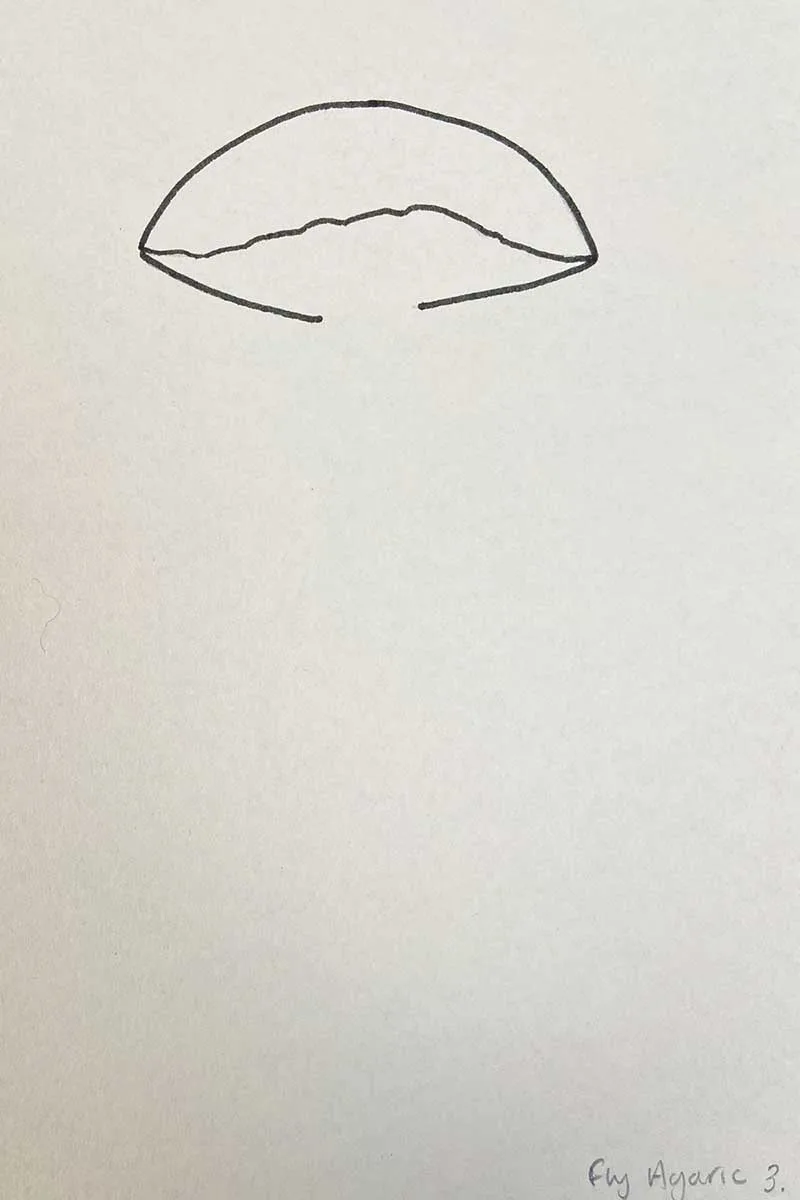
Step 1: Cap of the Mushroom: Start at the top of the page by drawing a gentle curve from left to right. This will form the round cap.
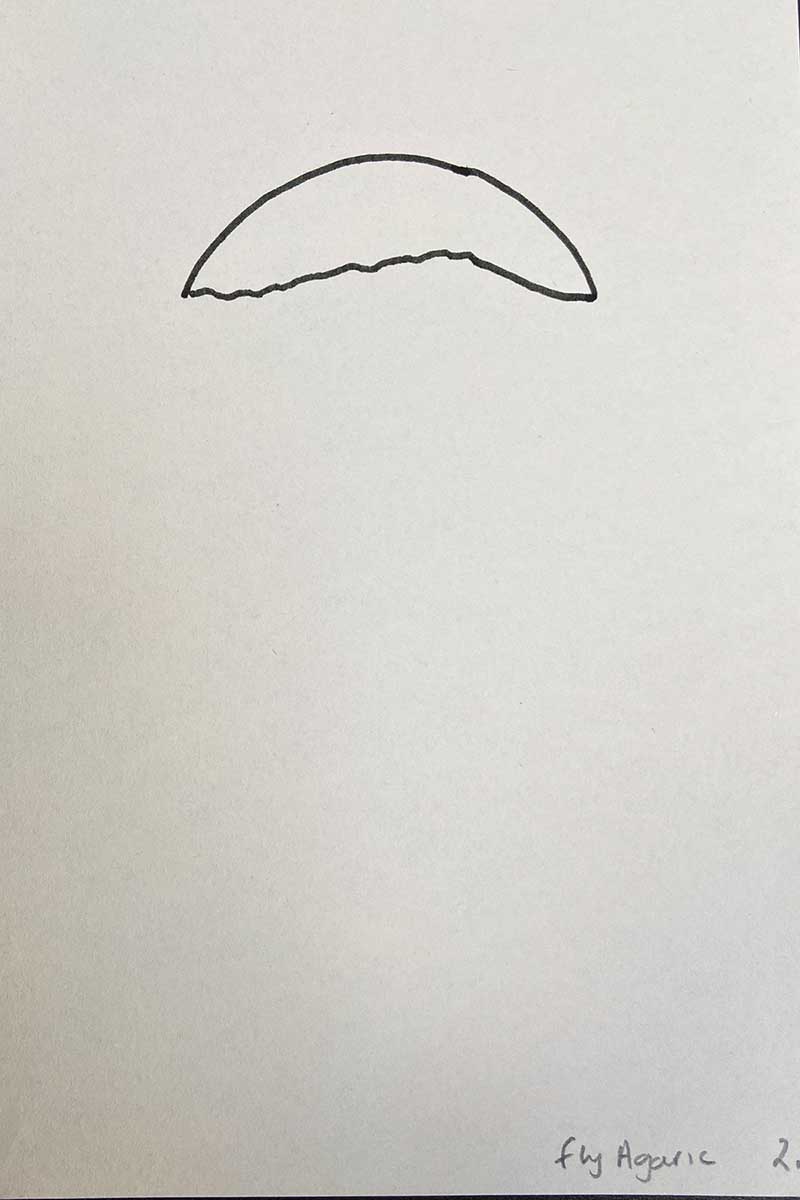
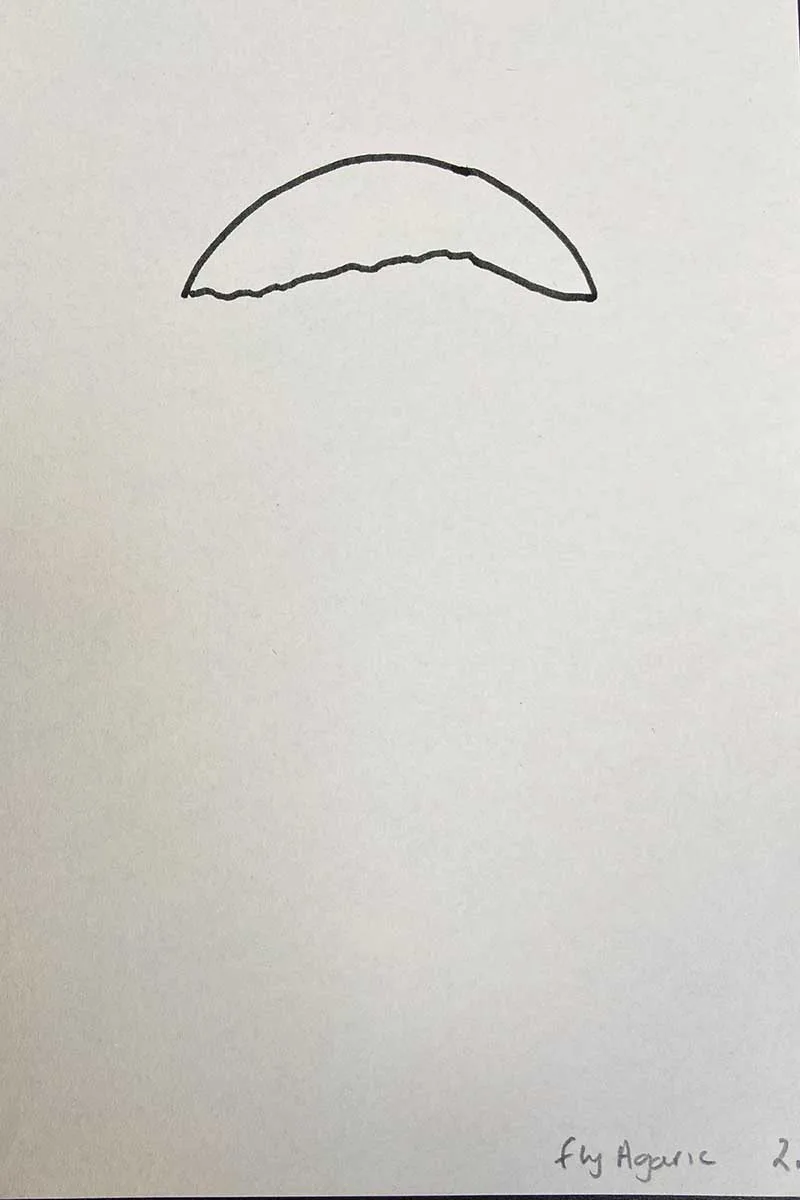
Step 2: Join the two ends of your curve with a slightly ragged line. Don’t try to be exact. Mushrooms are organic and come in a variety of shapes.
Step 3: Draw two lines from the ends of your mushroom’s cap, leaving a gap in the middle for
the stem.
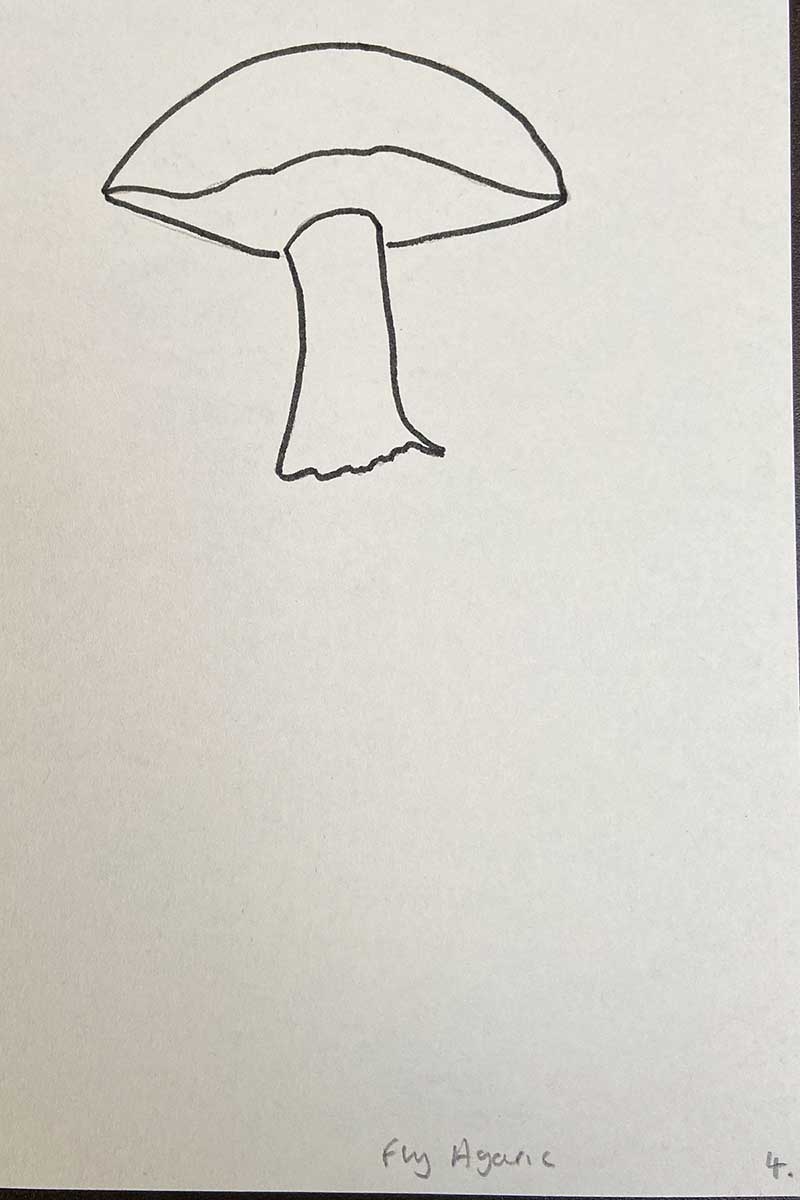
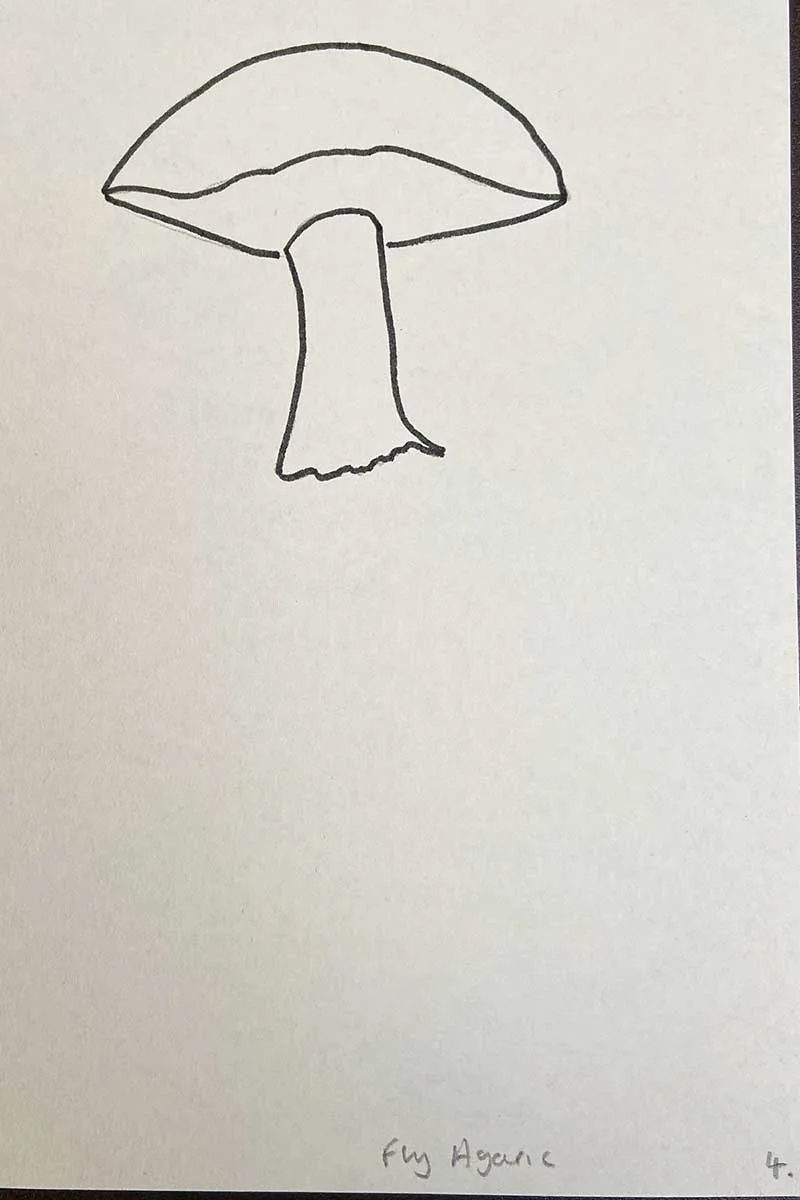
Step 4: Draw the top part of the sides of the stalk with the ring attached- that looks like a skirt.
This ring is the remnant from the partial veil covering a young mushroom’s immature gills. The partial veil tears as the mushroom grows, leaving behind this ring of thin tissue on the stem.
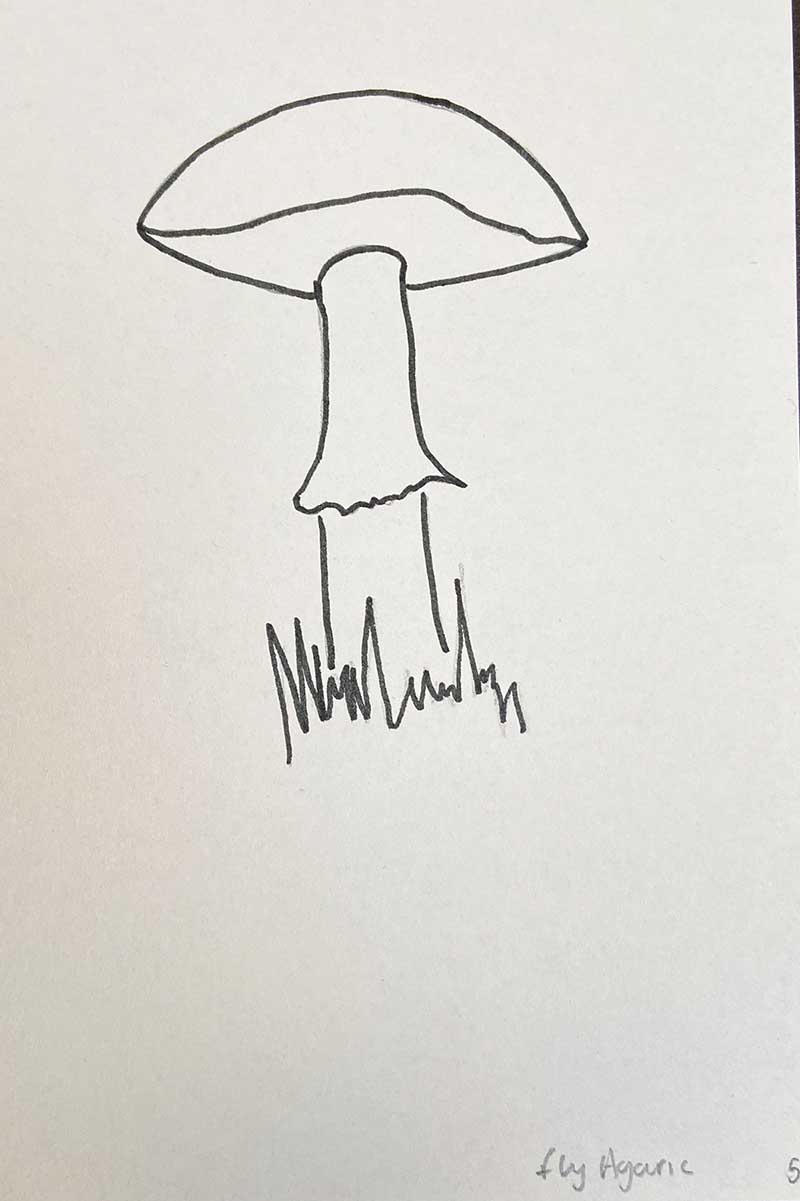
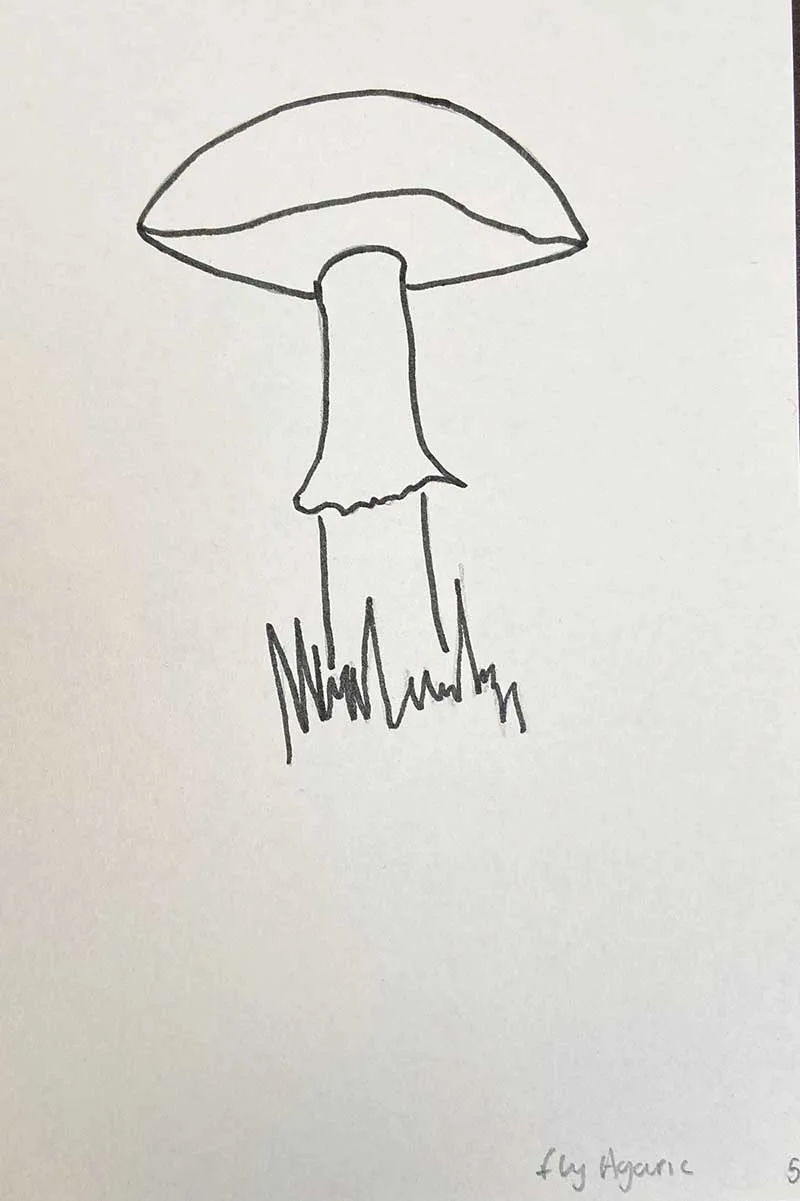
Step 5: Draw the bottom of the stalk, leaving the ring to overhang slightly. At the base, draw a few grass blades. Or draw a bulb-like root at the end of the stem for a picked mushroom.
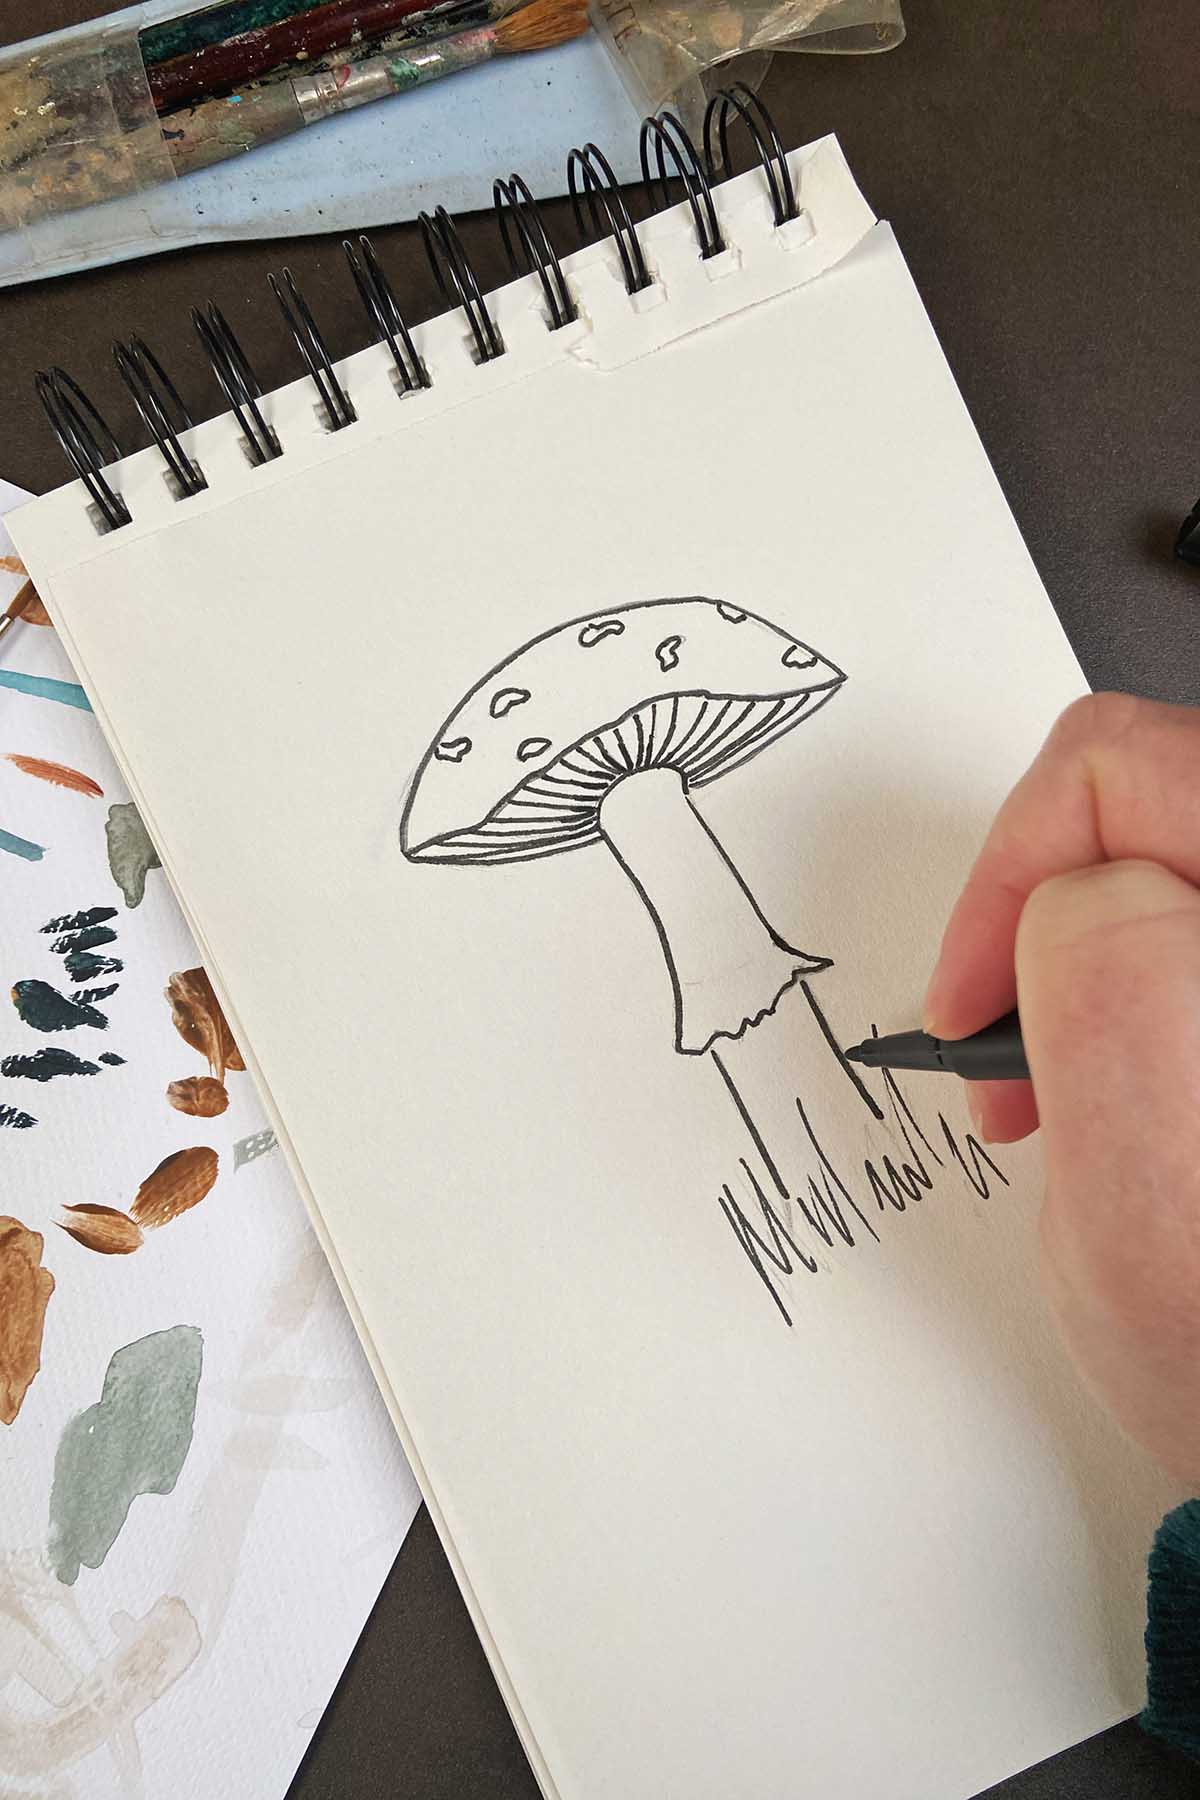
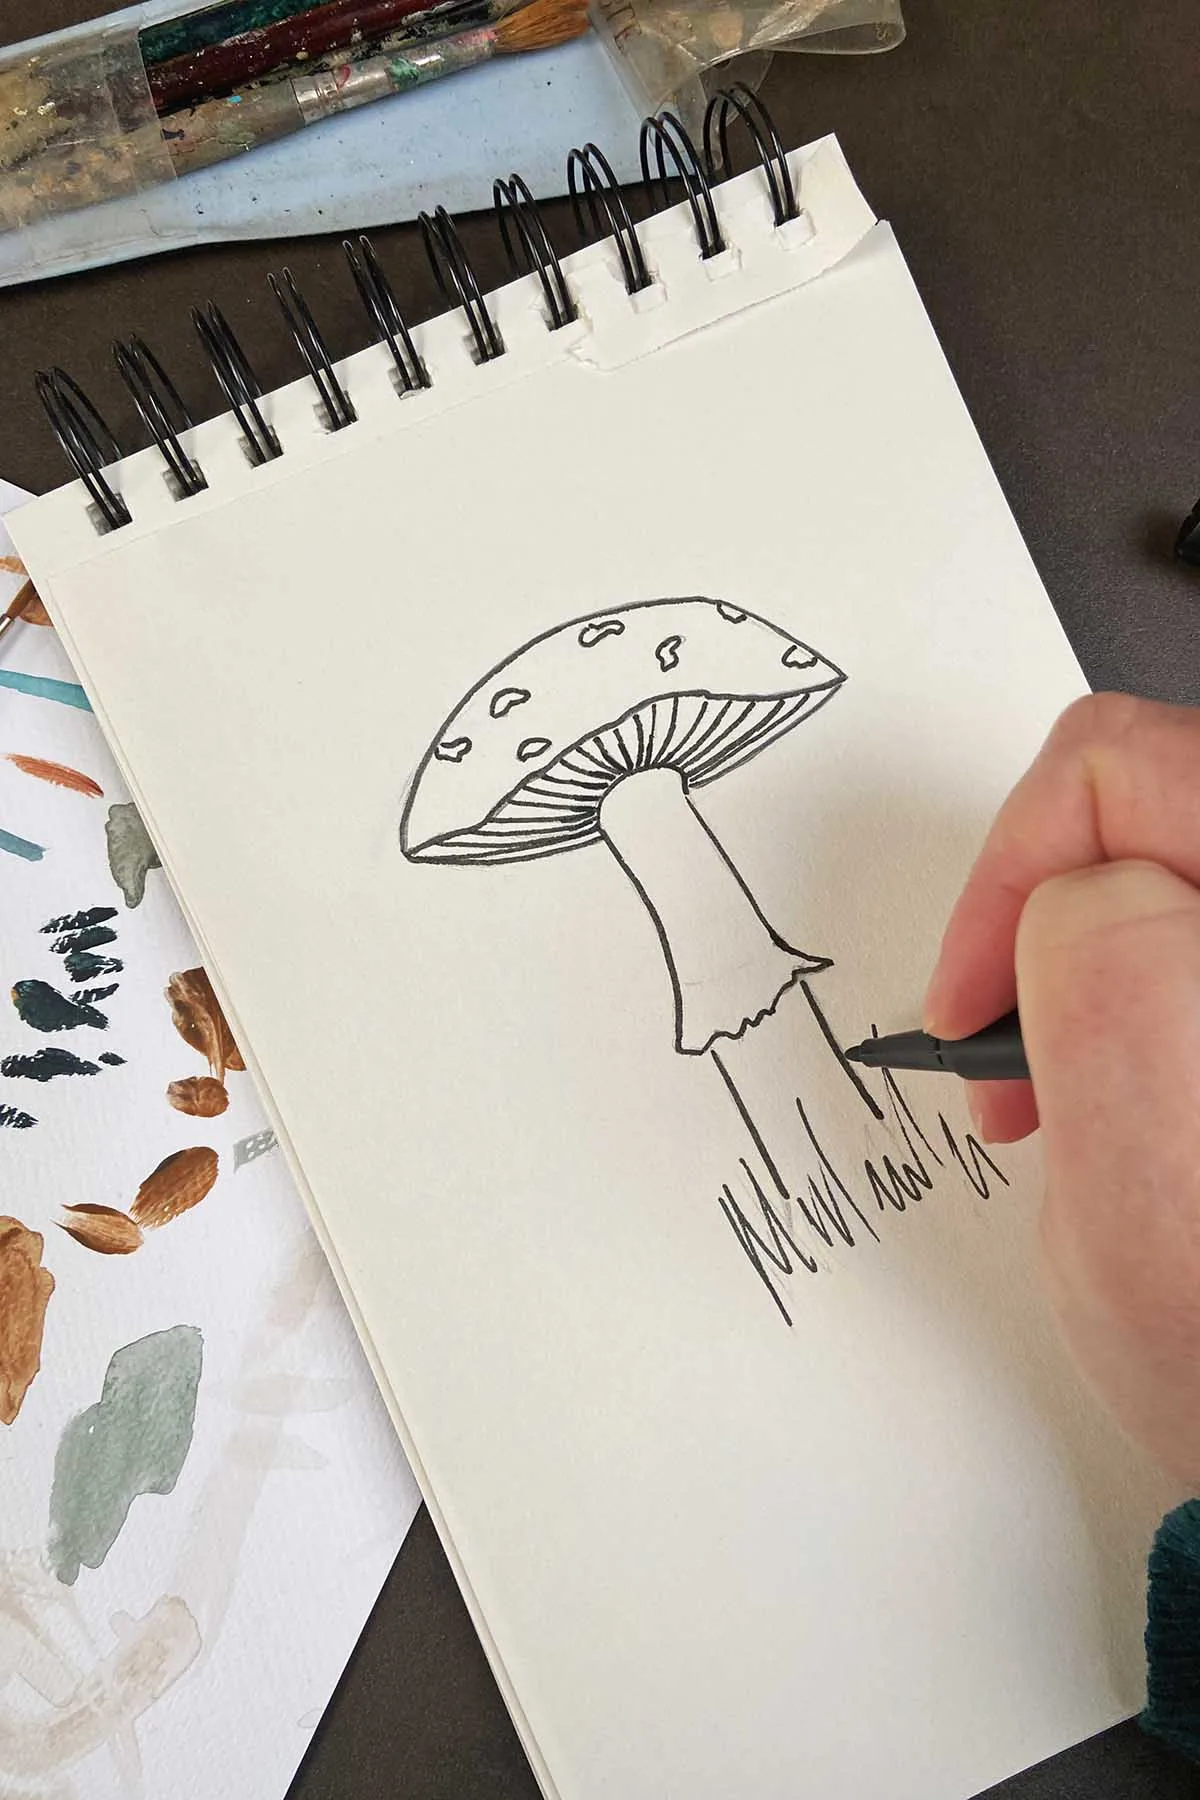
Step 6: For the final step add the details that will bring the drawing to life. Add lines in a starburst formation coming from the stem to form the gills on the underside of the mushroom cap.
On the top of the mushroom head, add characteristic small dots and shapes, which are the remains of the universal
veil.
Step 7: If you want to add colour, there are a lot of options, from coloured pencils and pens to paint. If you use watercolours, drawing your mushroom with light lines using a hard pencil is

Destroying Angel Easy Mushroom Drawing
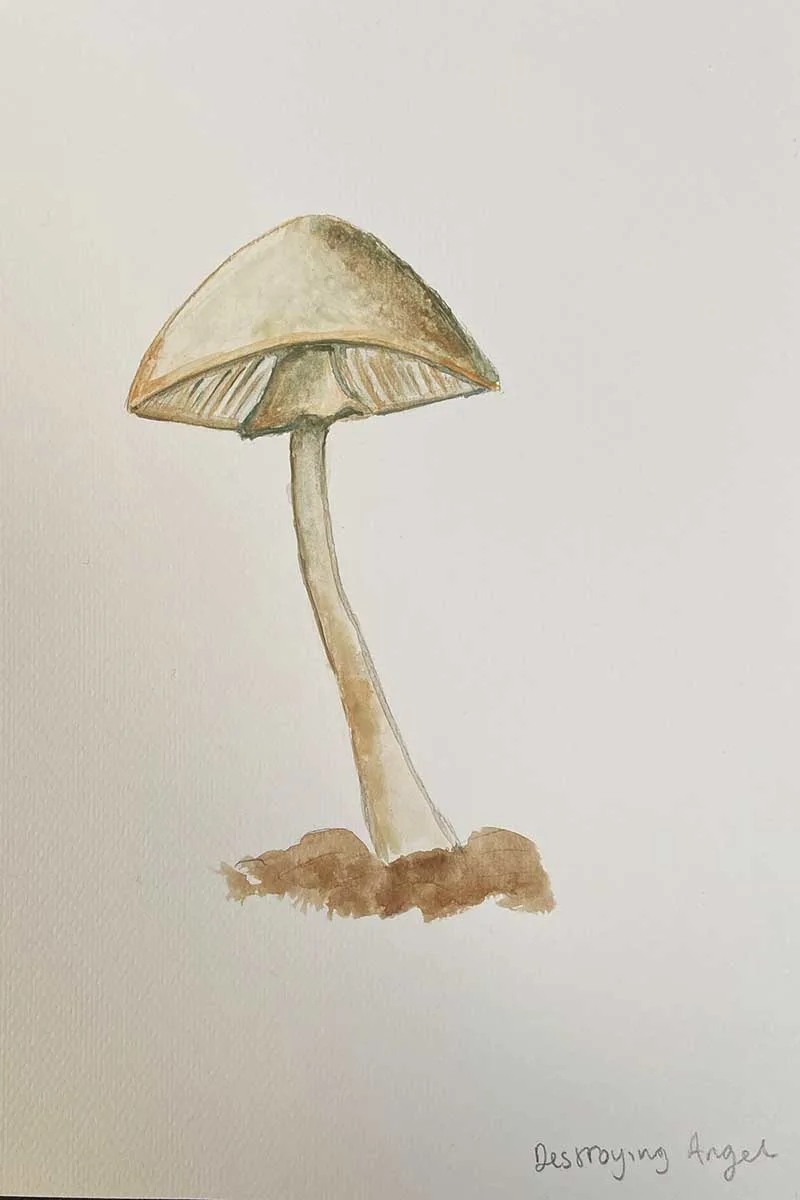
The Destroying Angel mushroom, renowned for its deadly beauty, is characterized by its pure white, elegant appearance. It features a smooth, bell-shaped cap and a slender, tall stem, creating an almost ethereal presence in nature.
Despite its alluring look, it’s crucial to note its high toxicity, making it one of the most dangerous mushrooms in the wild. This contrast between its attractive form and hazardous nature makes the Destroying Angel a fascinating subject for artists and mushroom enthusiasts.
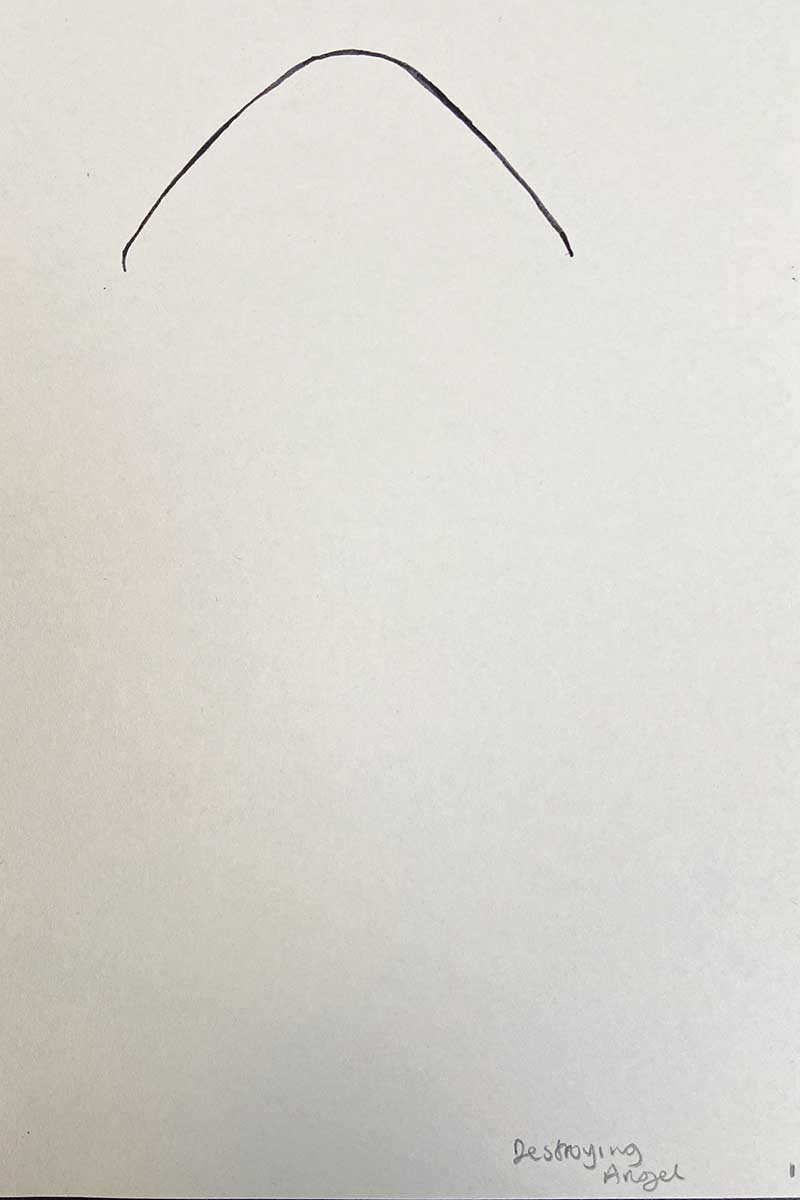
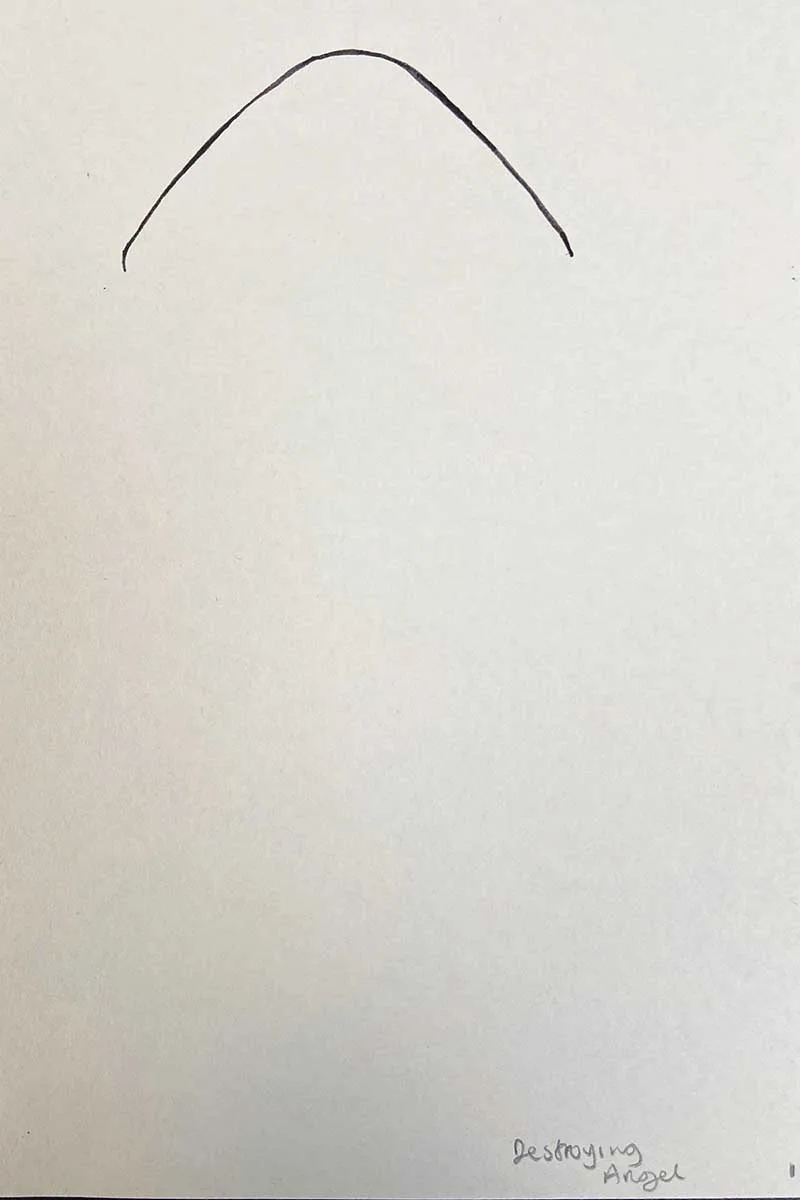
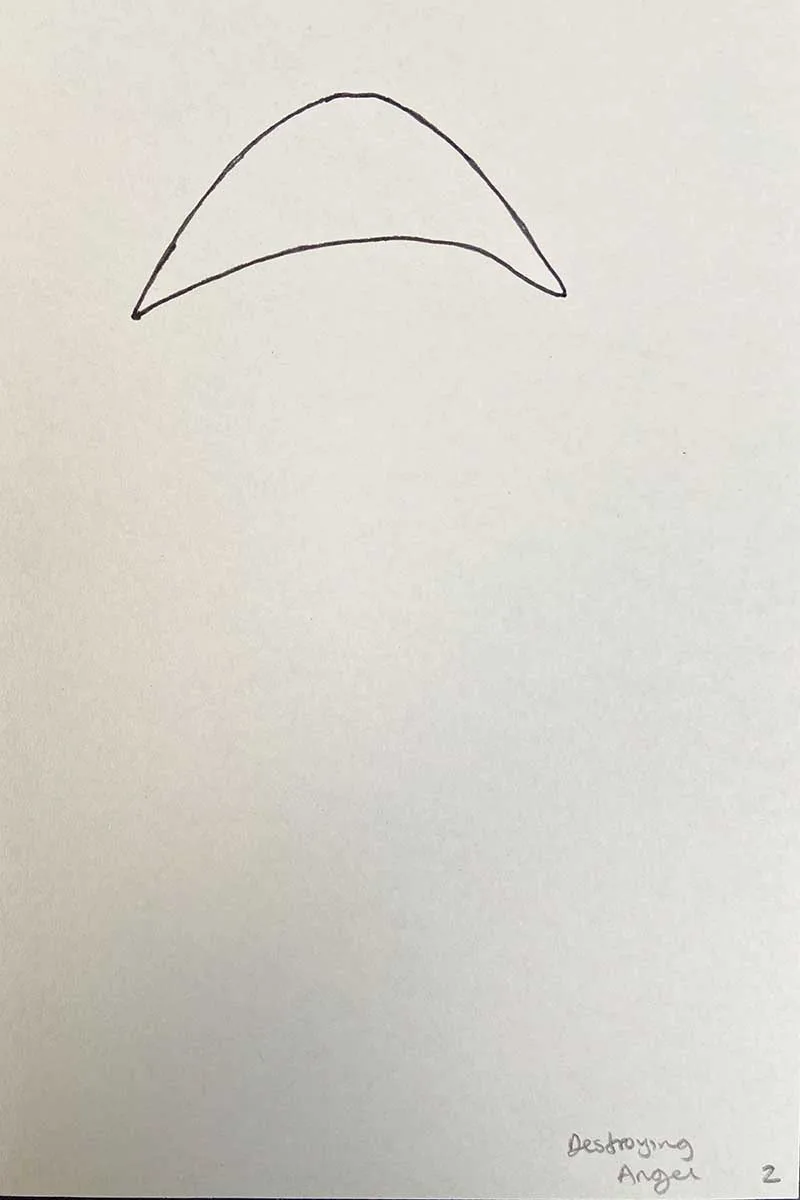
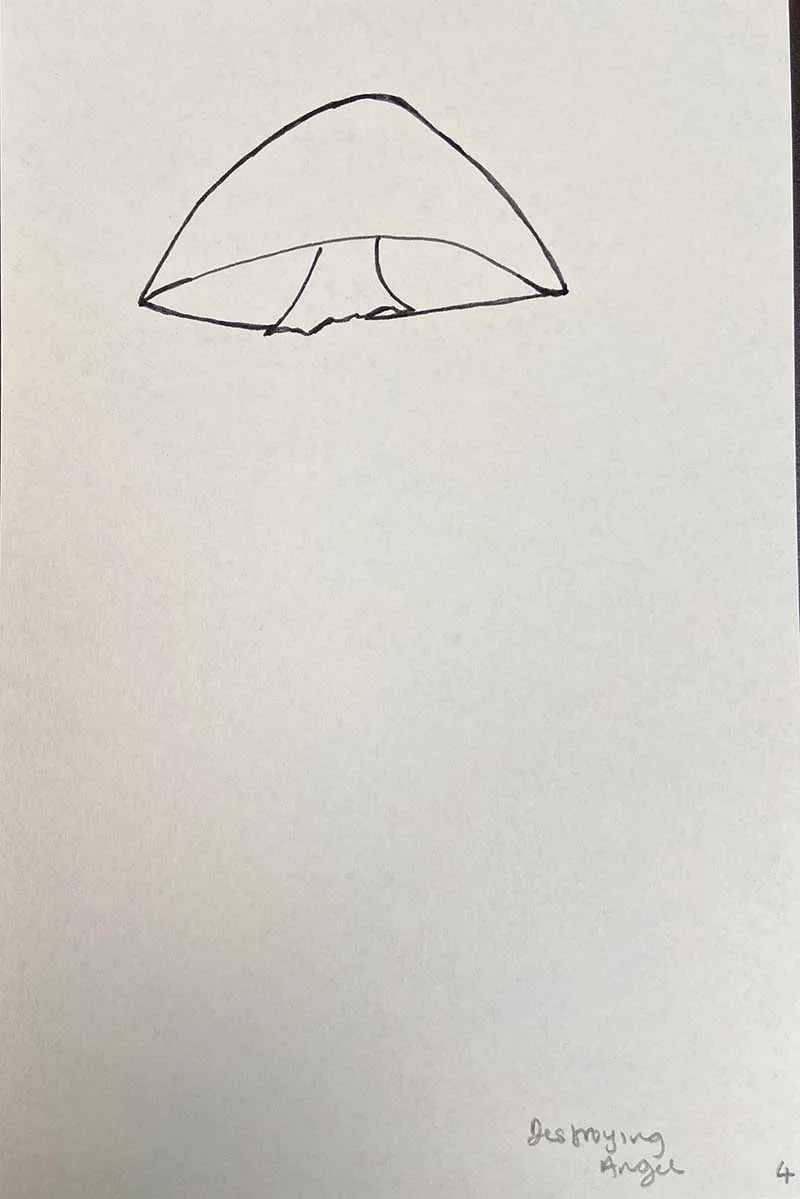
Step 1: At the top of you page, draw a bell shaped curve from left to right.
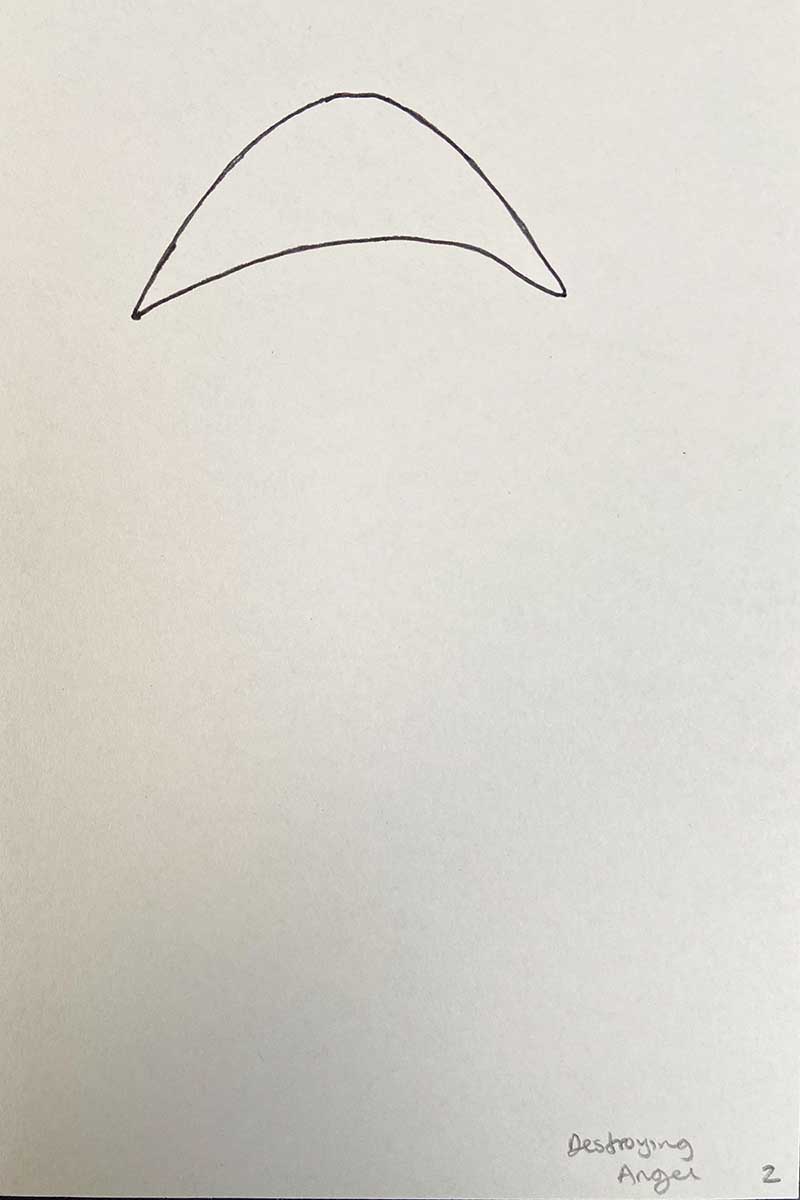
Step 2: Draw a curved line to join the ends of your bell-shaped curve. This will form the cap of your mushroom.
Step 3: Draw the ring just below the cap. The ring is a flowing skirt shape reminiscent of the skirt of an angel you might place on the Christmas tree.
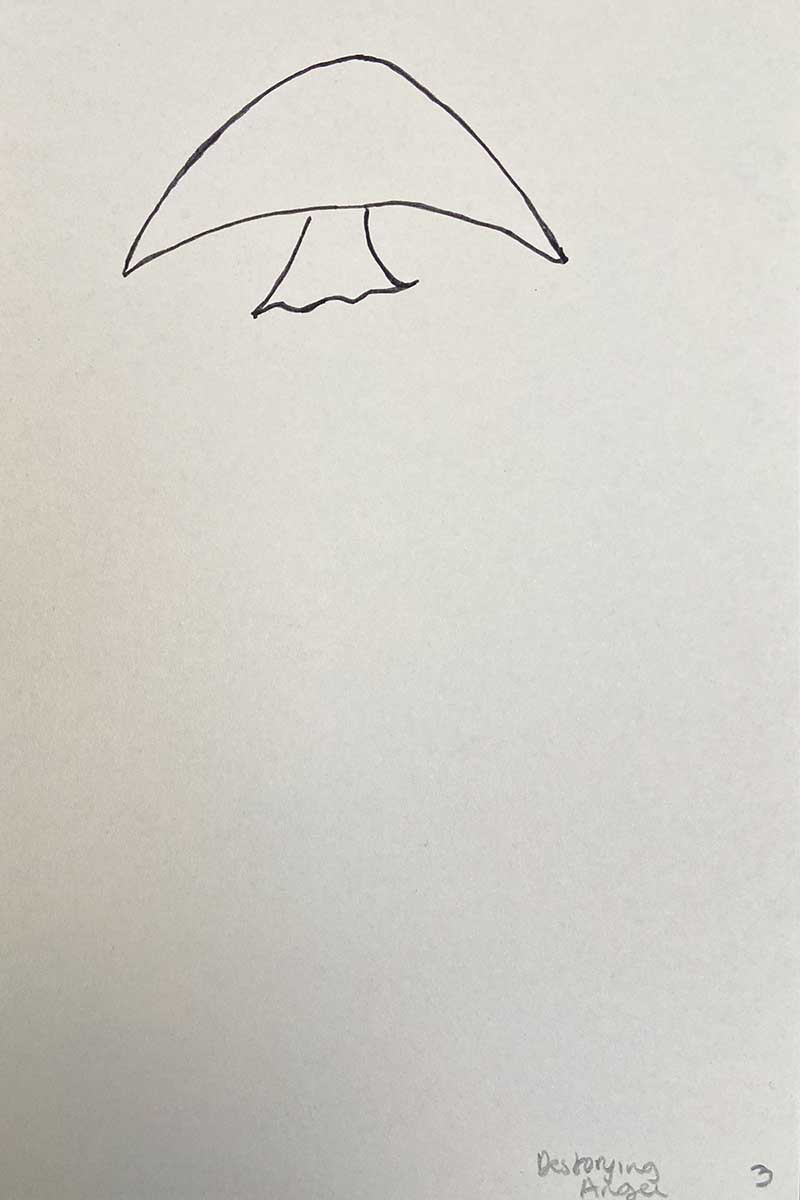
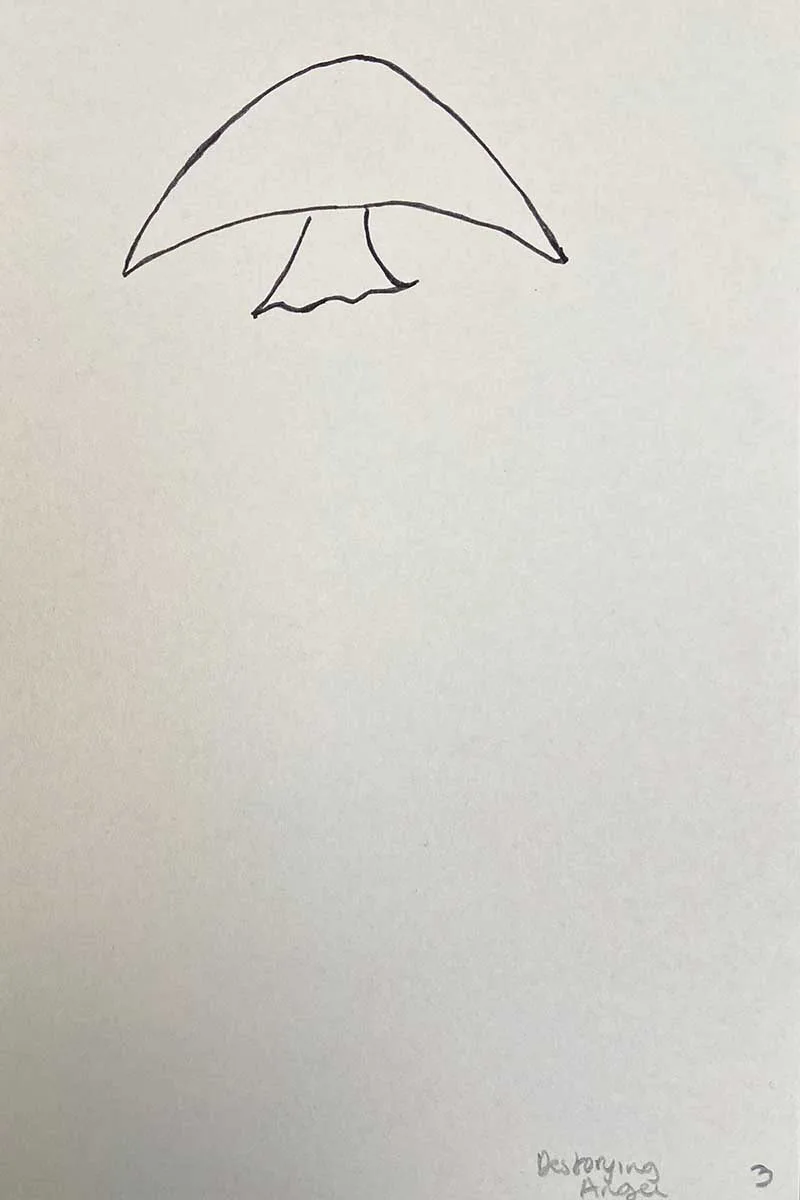
Step 4: Complete your cap shape by joining the ends of your curve. Leaving a gap for the skirt shapes ring you have just drawn.
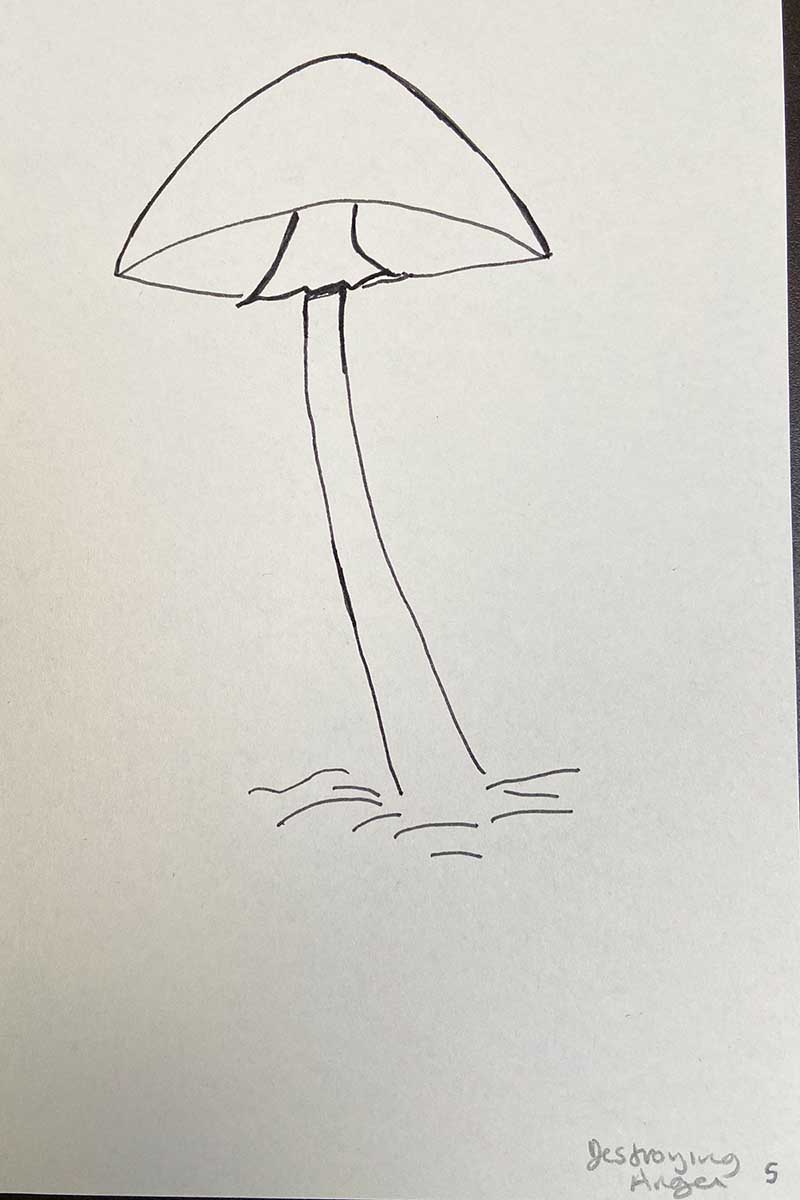
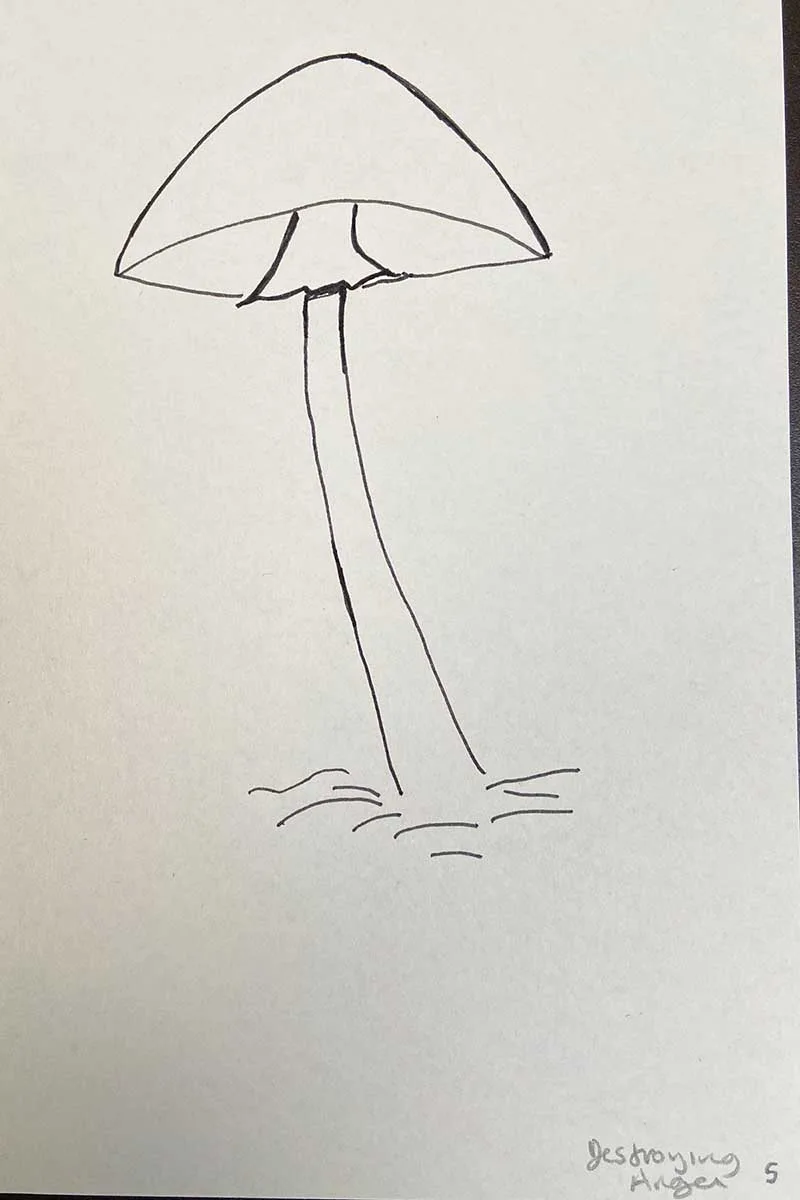
Step 5: Draw the stem. The slender stem shape can be curved as they often grow this way.
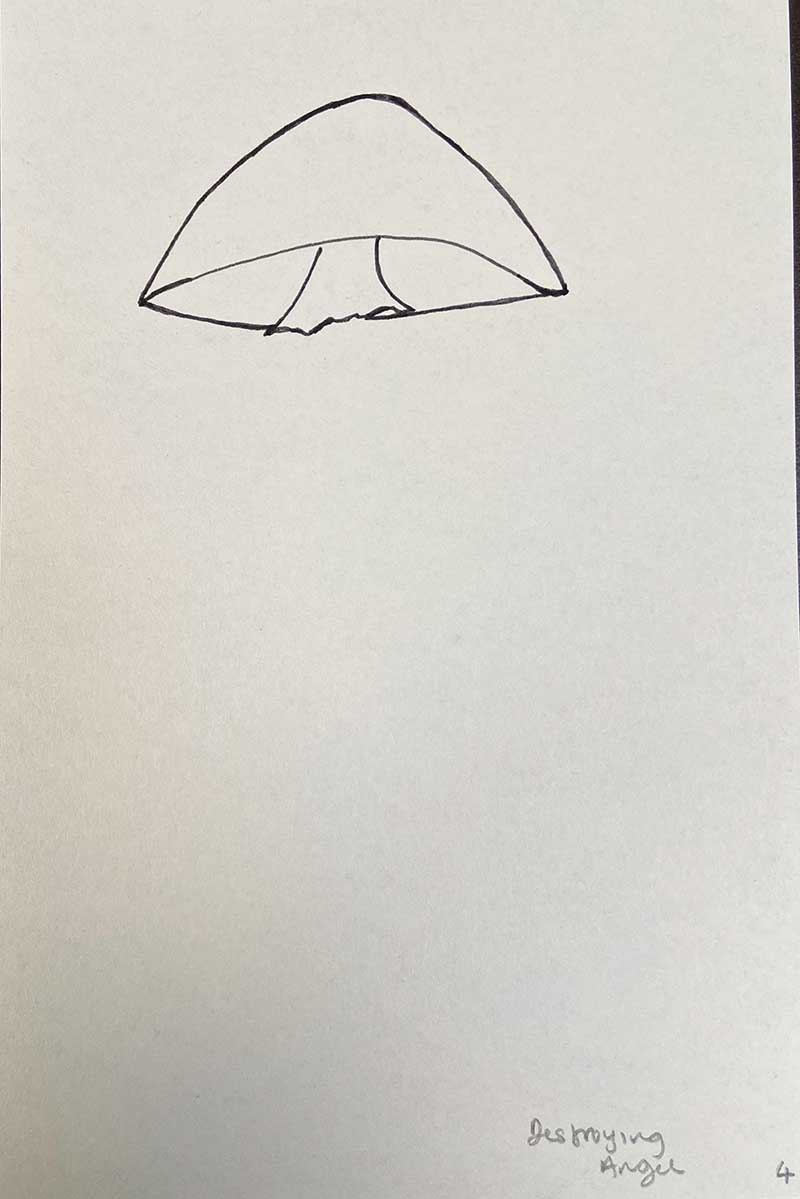
Step 6: Add the gill details under the cap. The gills are crowded and thin. Also, add a few scales to the stem.
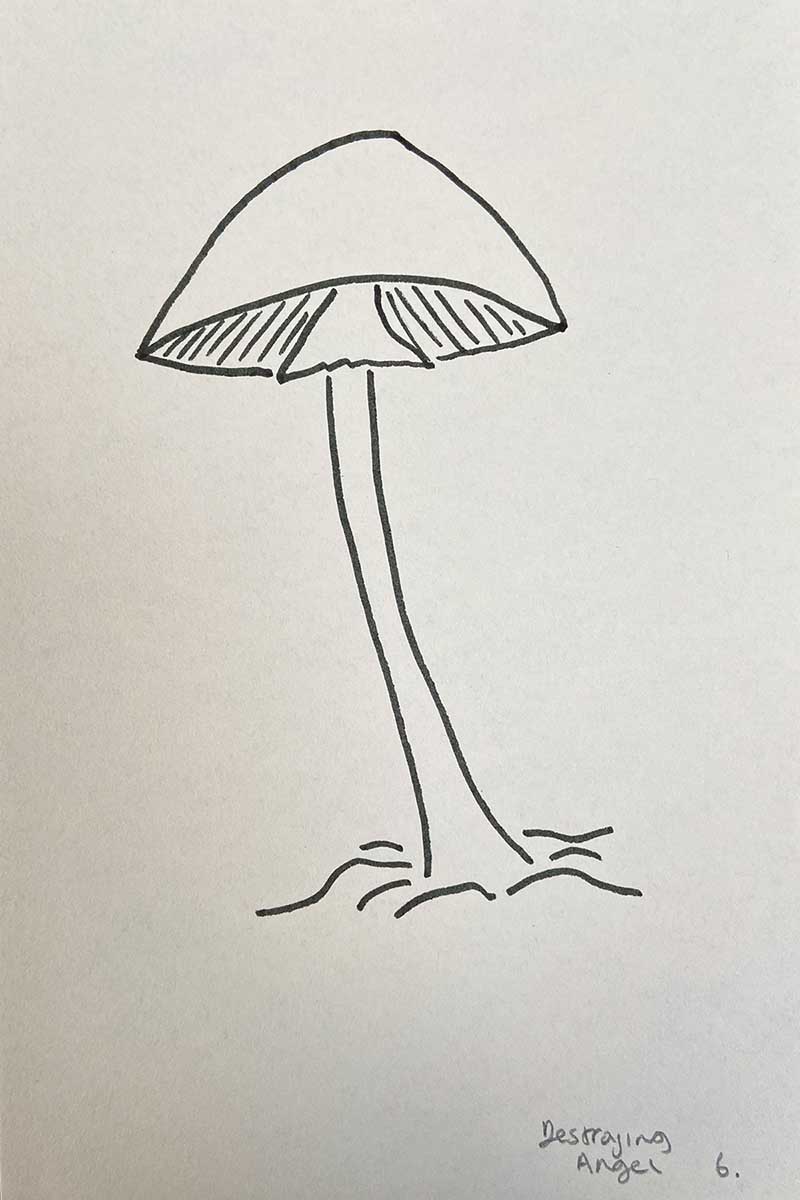

Step 7: Add colour or keep it as a simple line drawing. This is a white mushroom, but you might want to add some tone through paints or shading to create depth and shadow.

Little Wheel Fungus Drawing
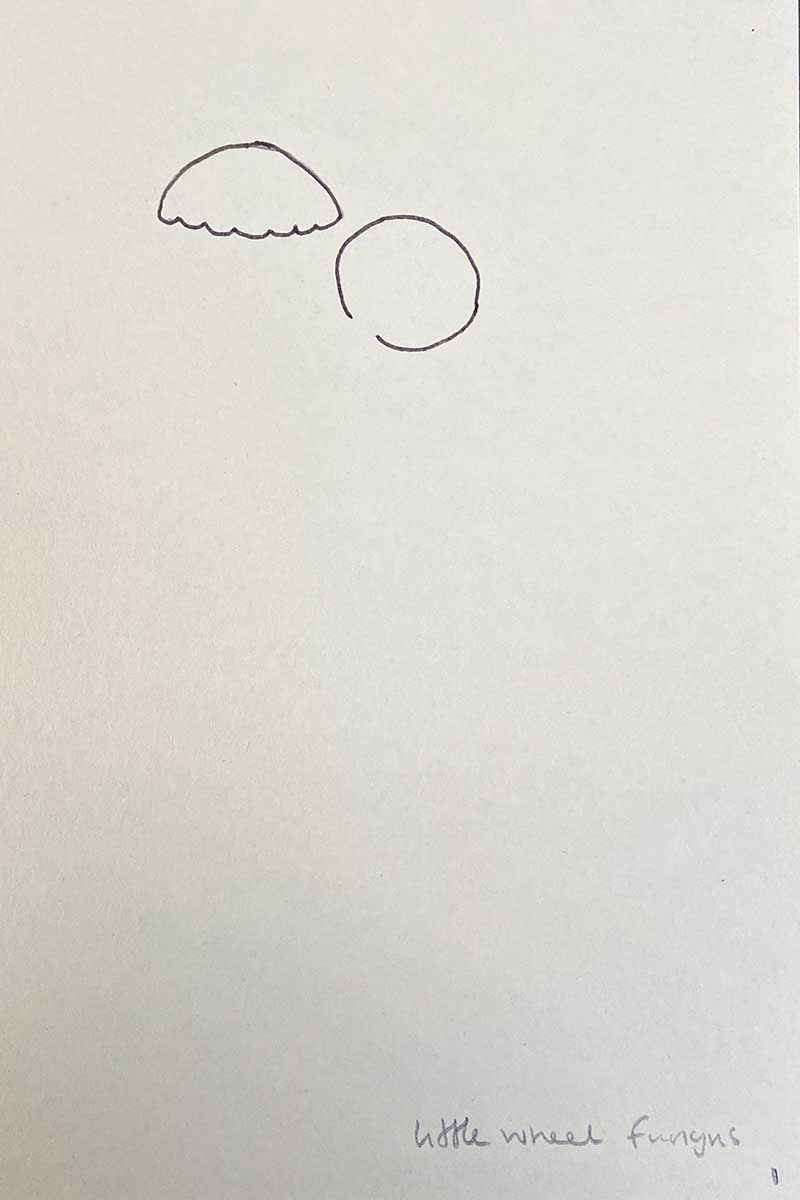
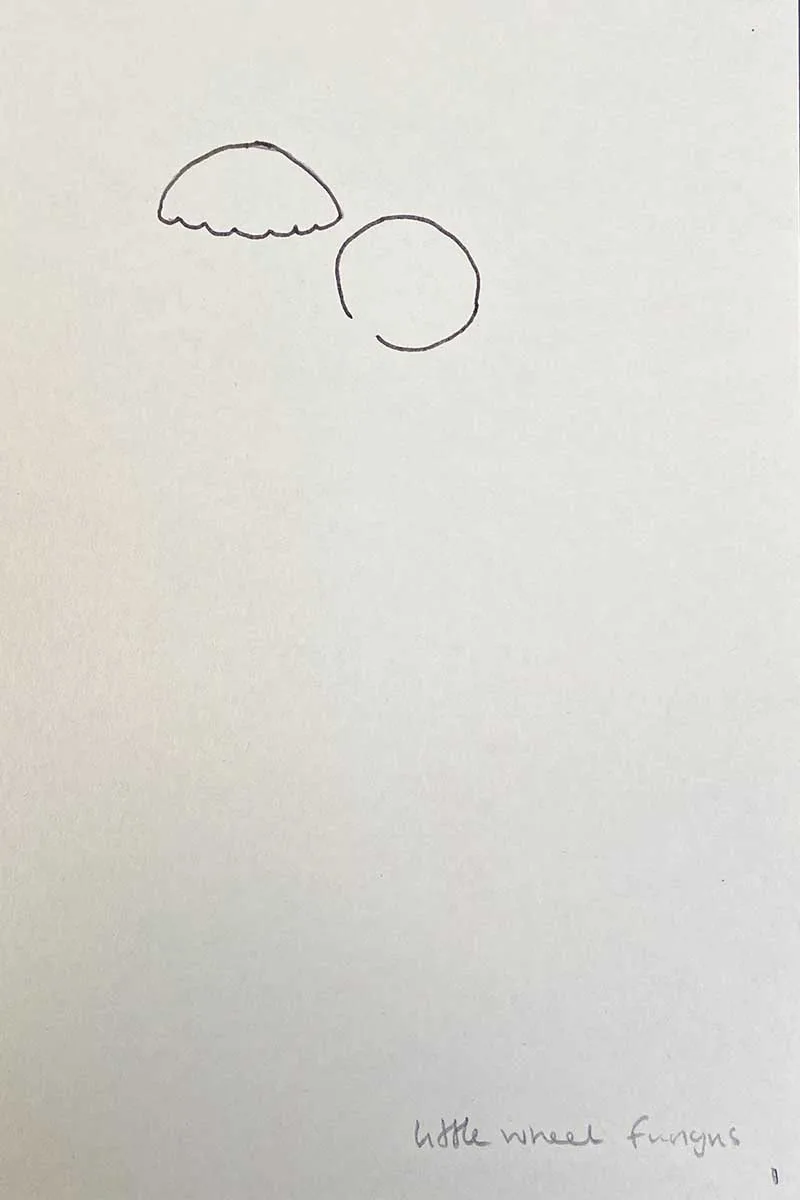
Little Wheel Fungus is a tiny, beautiful fungus which is surprisingly tough despite its delicate appearance. It is easily recognizable by its small, circular caps arranged in a radial, wheel-like pattern.
This fungus stands out for its distinctive structure and the delicate way its caps fan out from a central point, making it an exciting and somewhat challenging subject for drawing and nature studies.
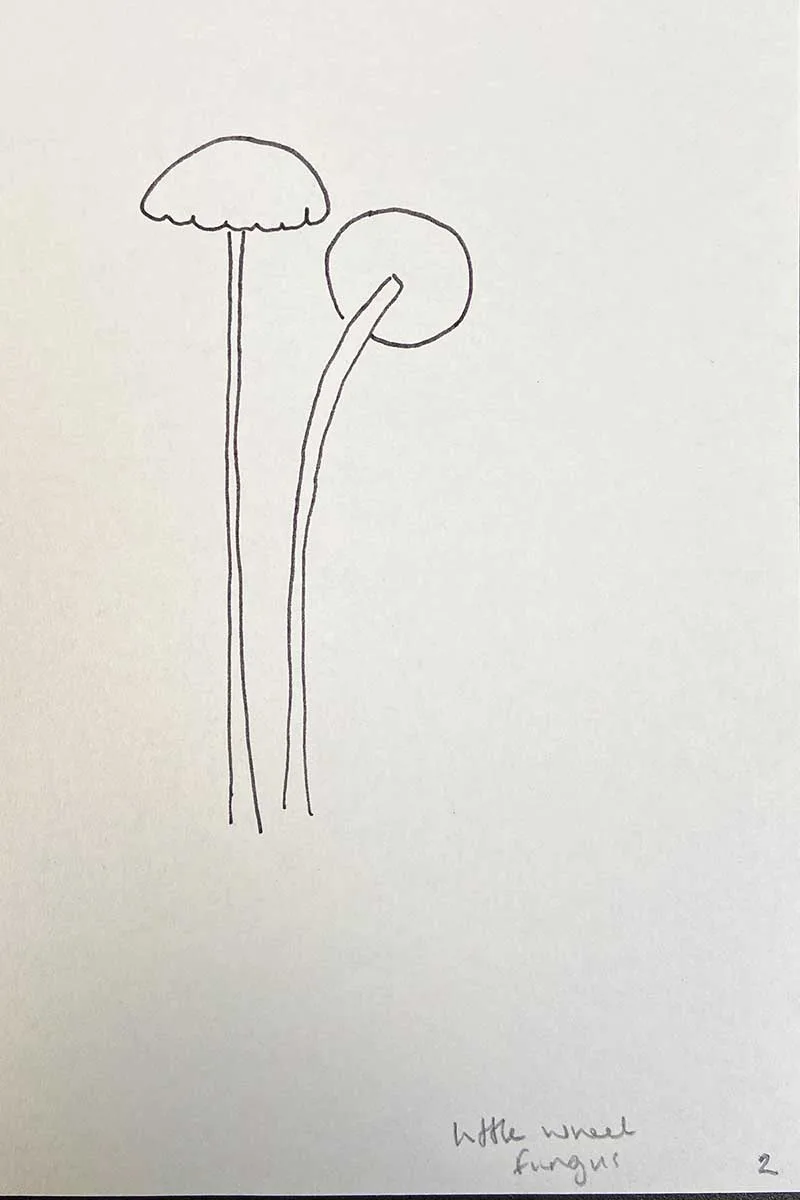
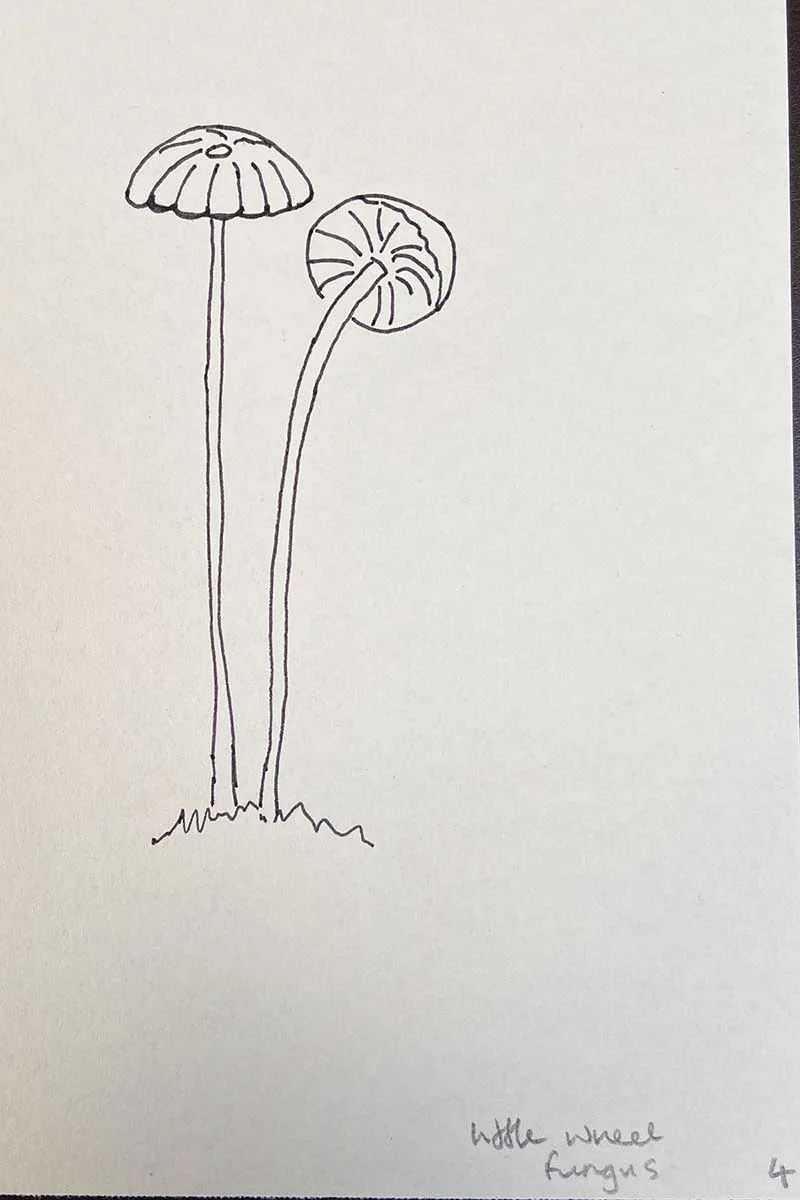
Step 1: They grow in clusters, so start by drawing two shapes at the top of the page to form the caps of the two fungi. One is a semi-circular shape with a gently frilled hem, and the second is an organic circular shape, leaving a gap for the stem.
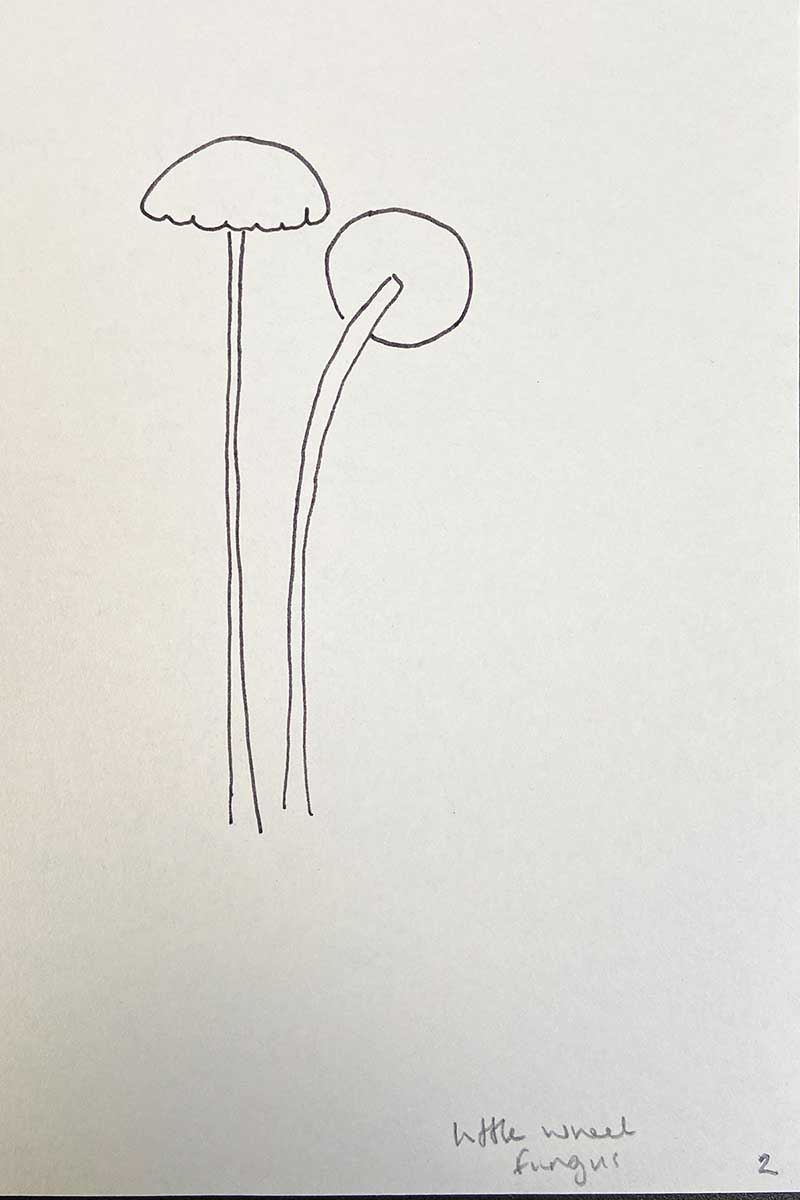
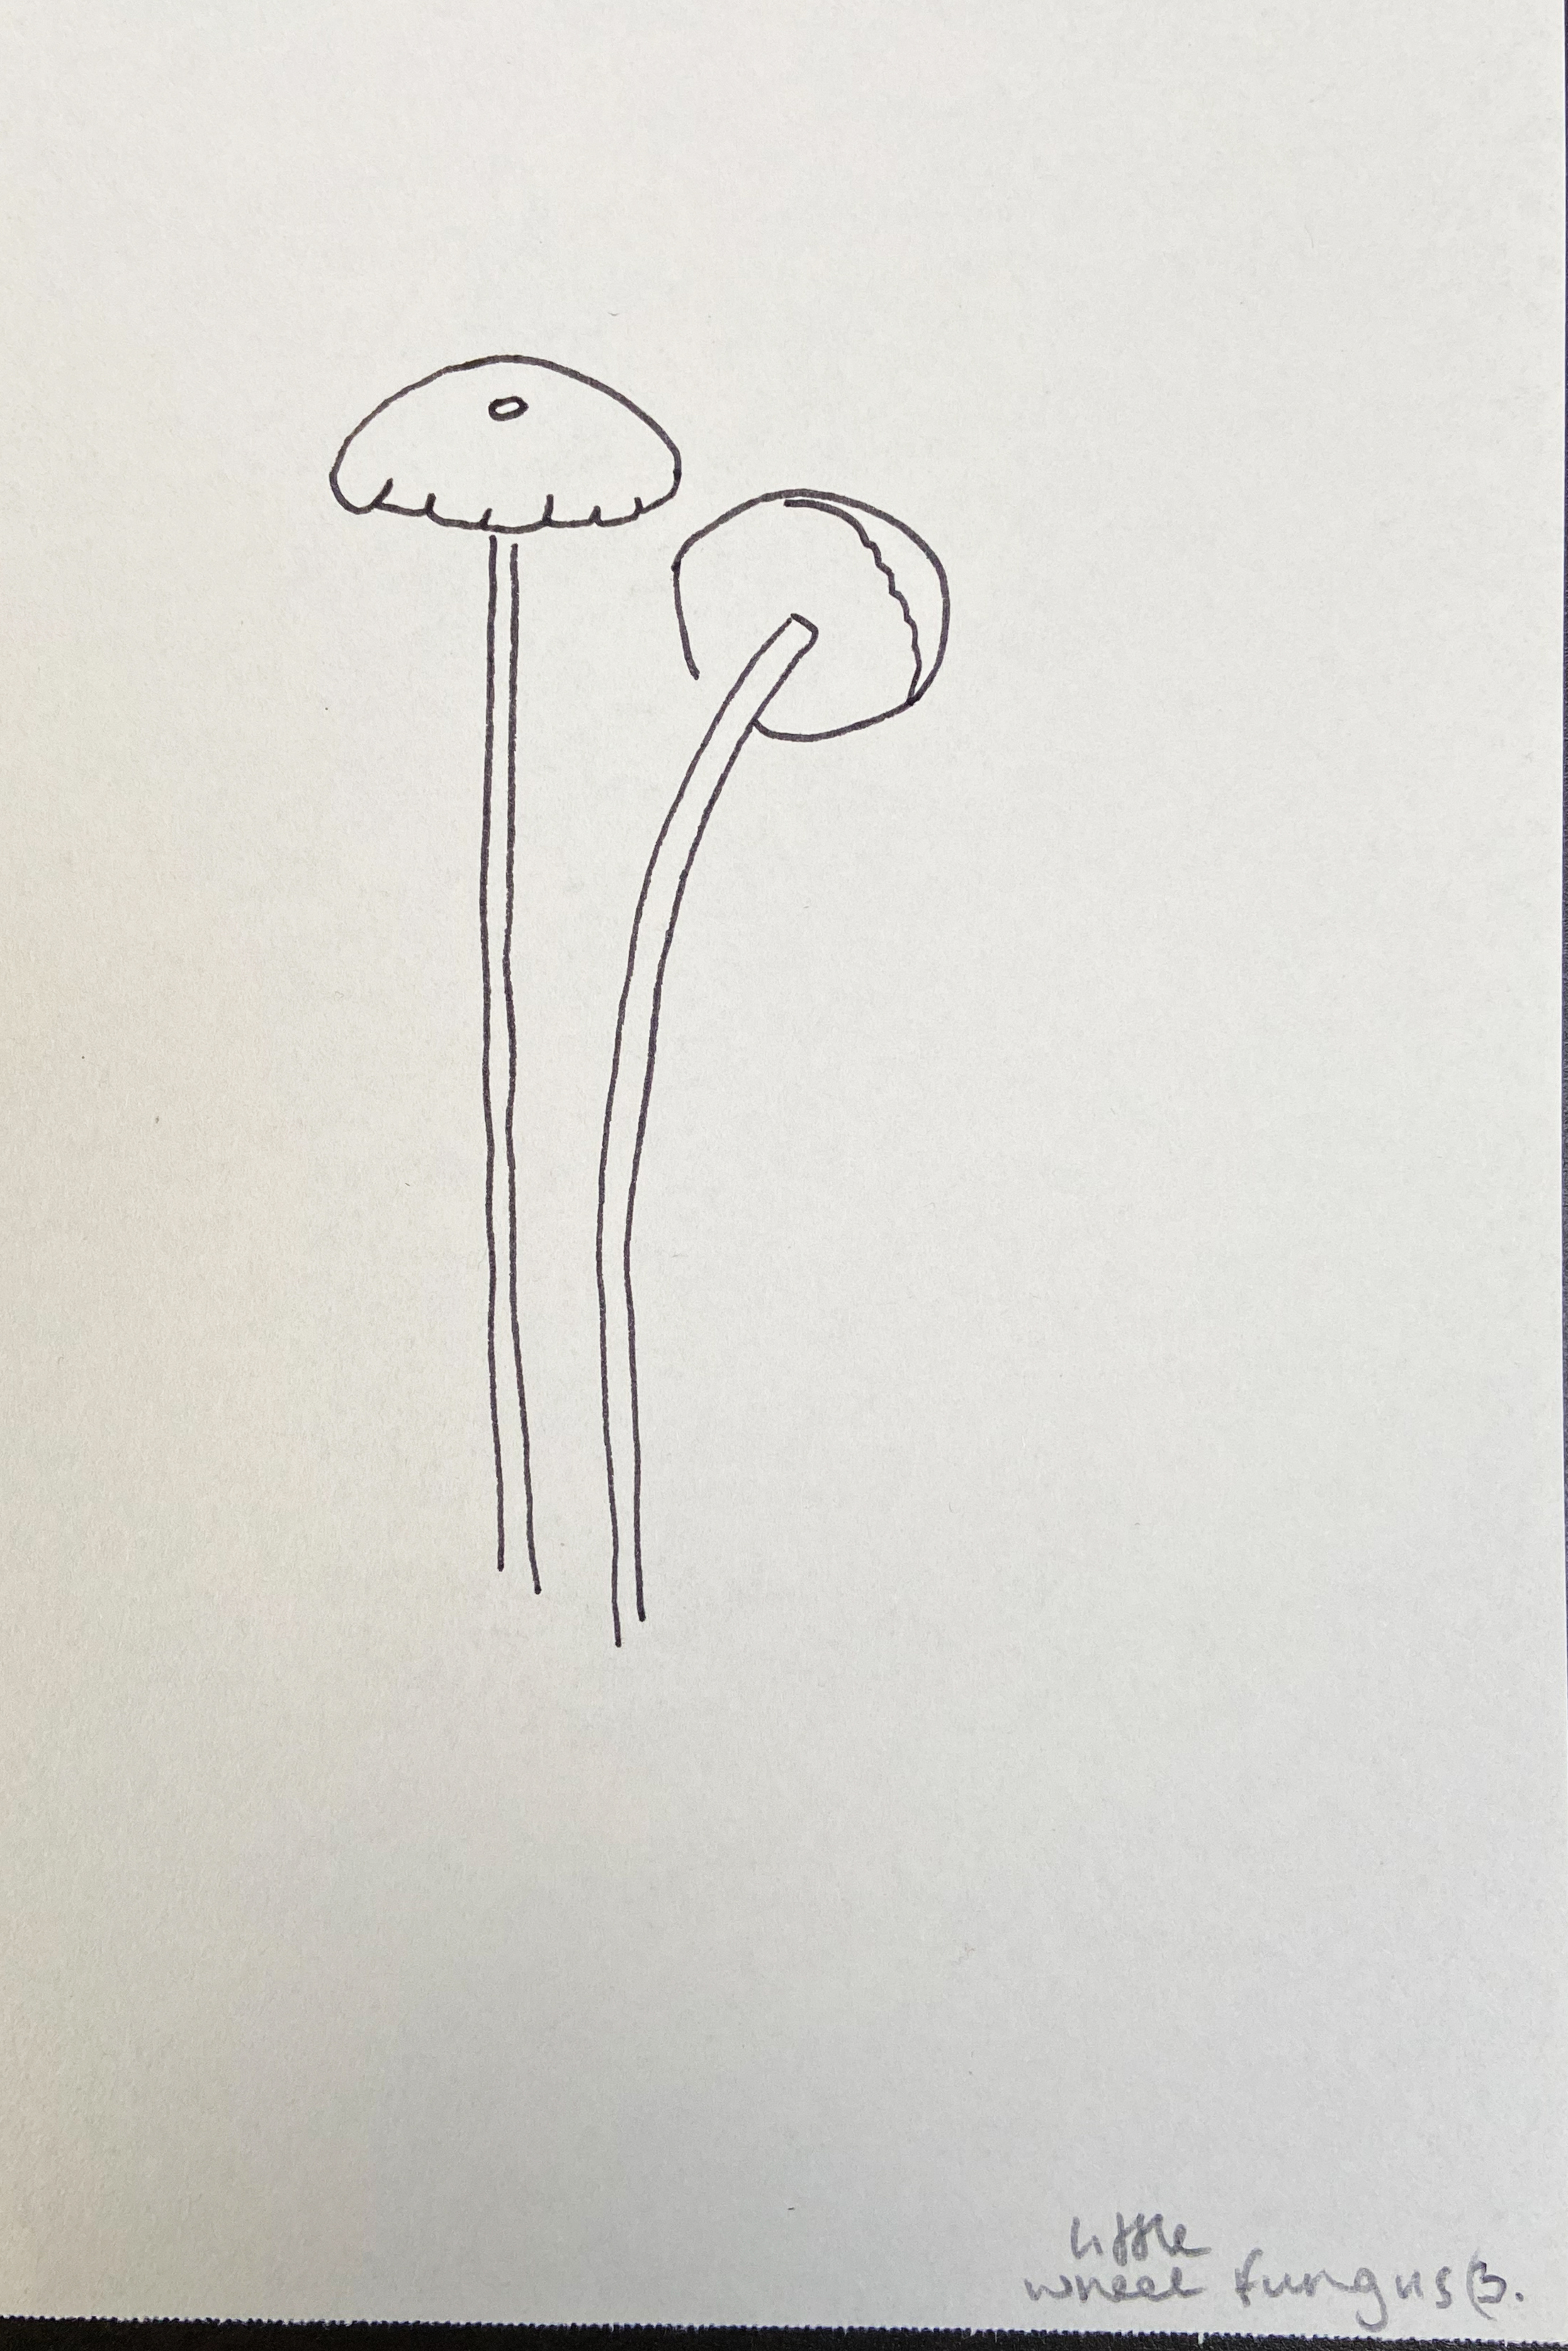
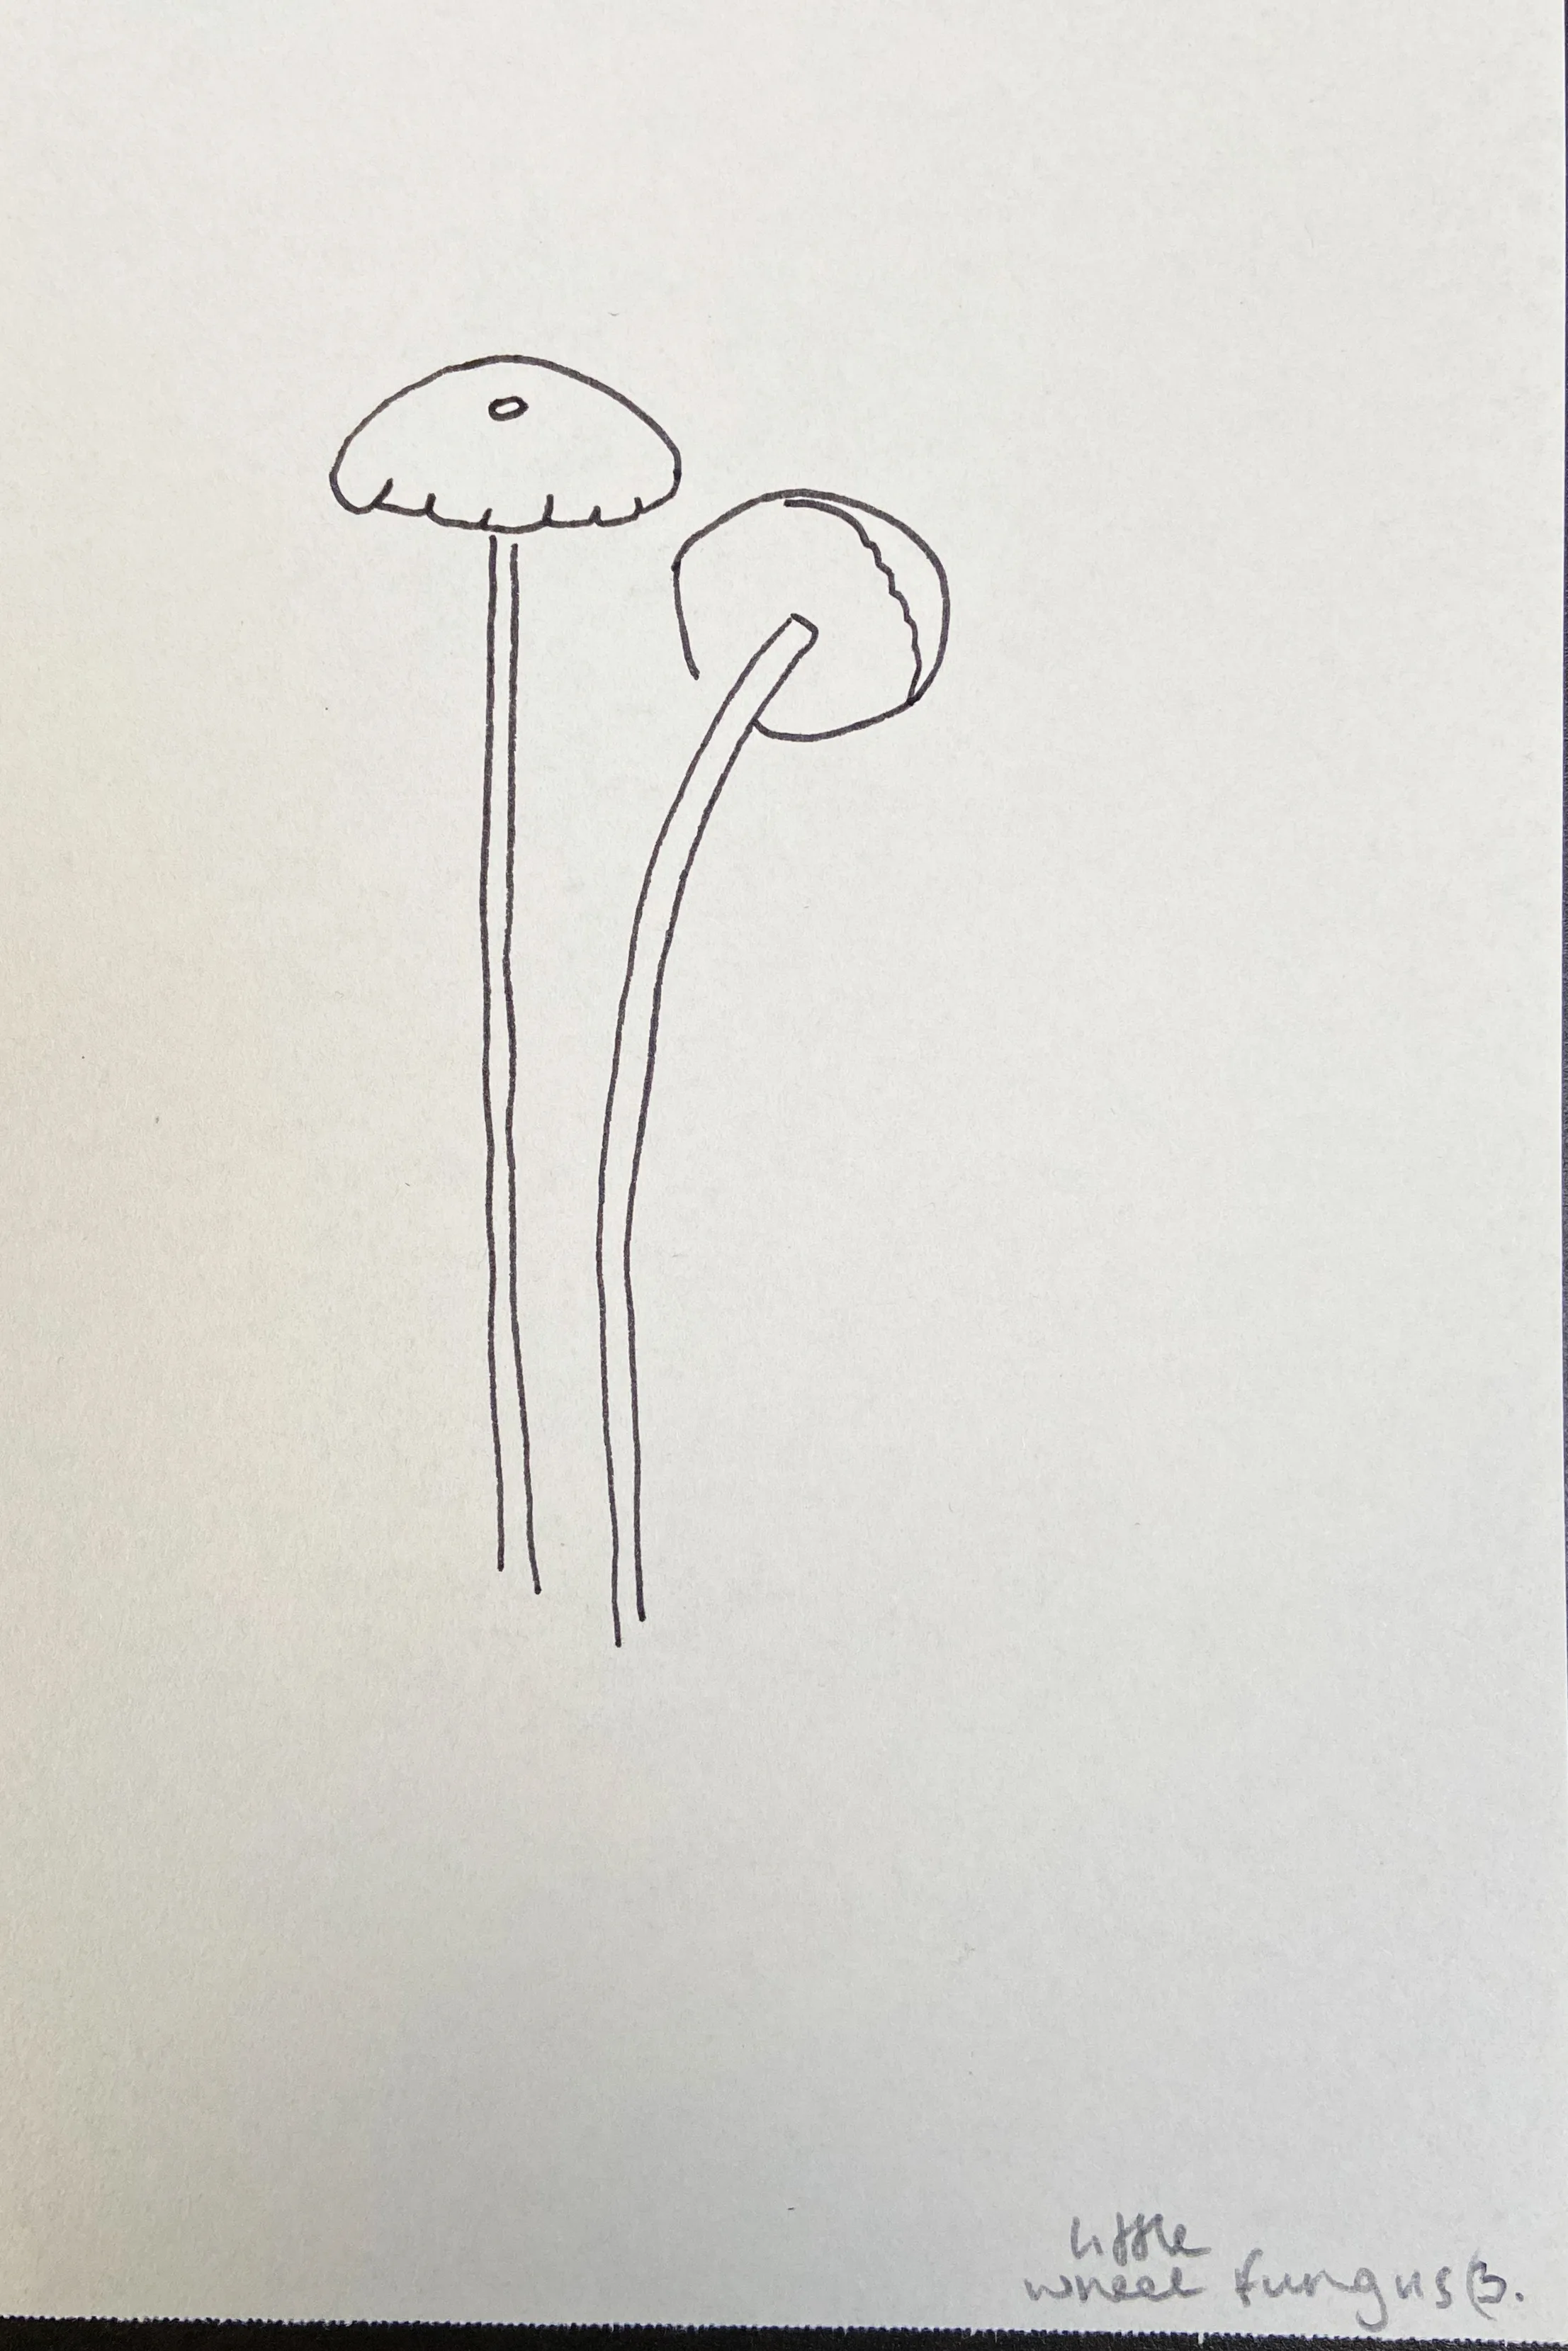
Step 2: From the caps you have just drawn, draw in long thin stems, down the page.
Step 3: Draw the tops of the caps- a little circle on the fungus on the left. And draw a crescent with a jagged line inside your circle on the right.
Step 4: Finish the fungi drawing by adding the characteristic wheel details. This is a starburst formation (spoke) lines to the underside and top of the mushroom caps.
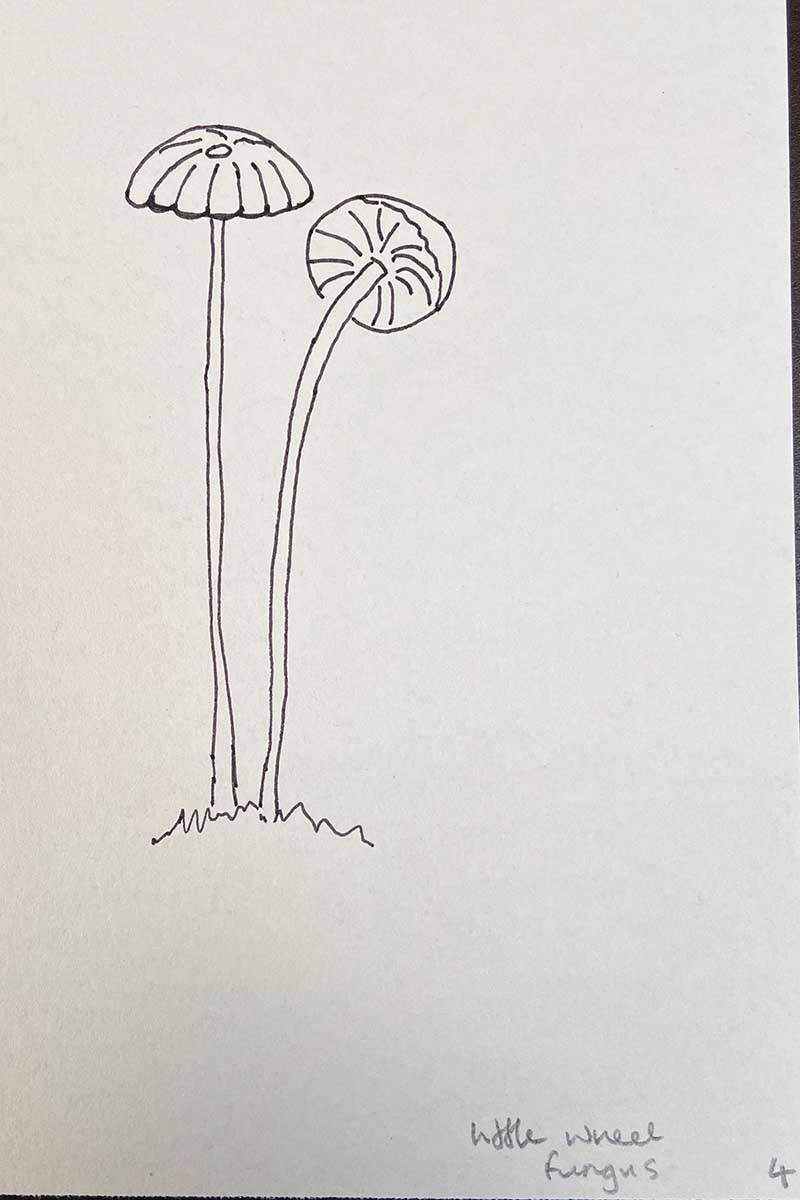
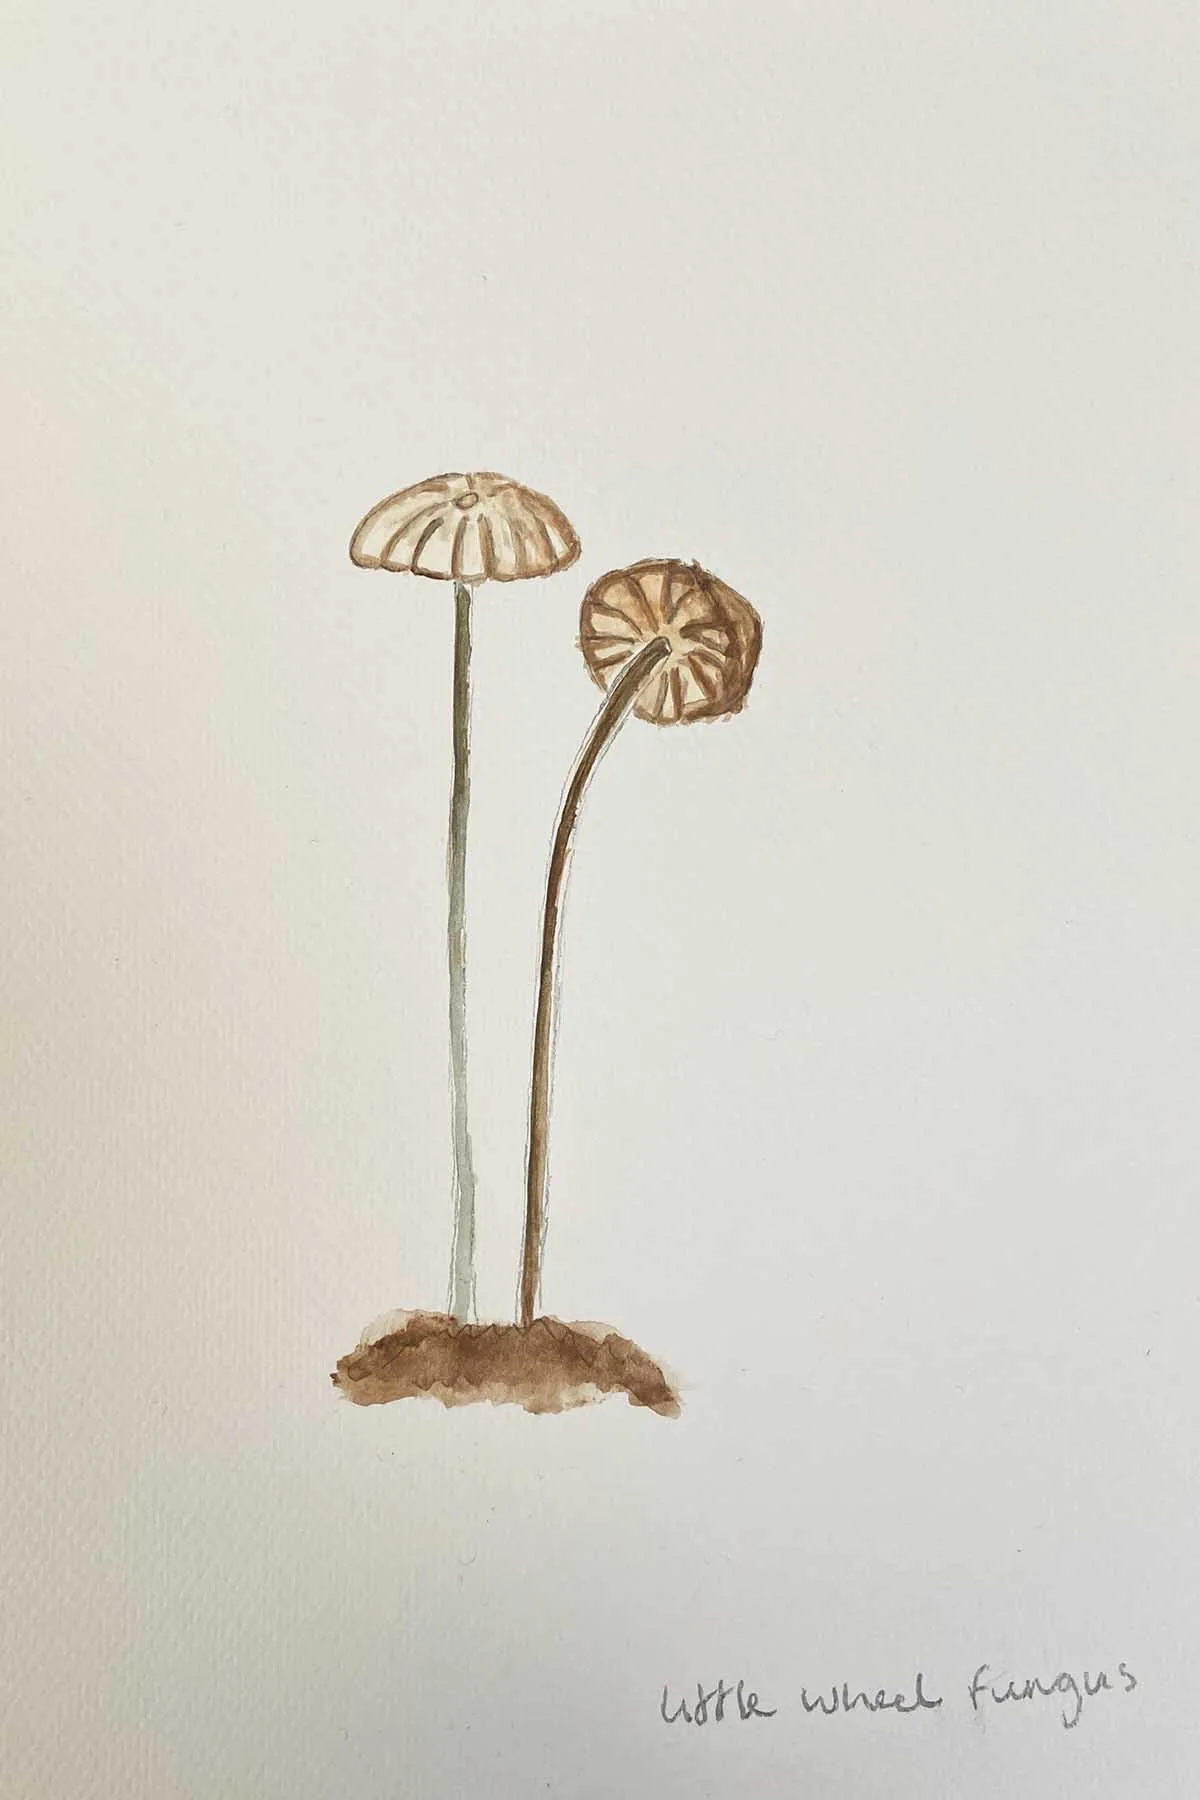
Step 5: Paint with watercolours for depth and shadows, these fungi are a beautiful creamy colour.

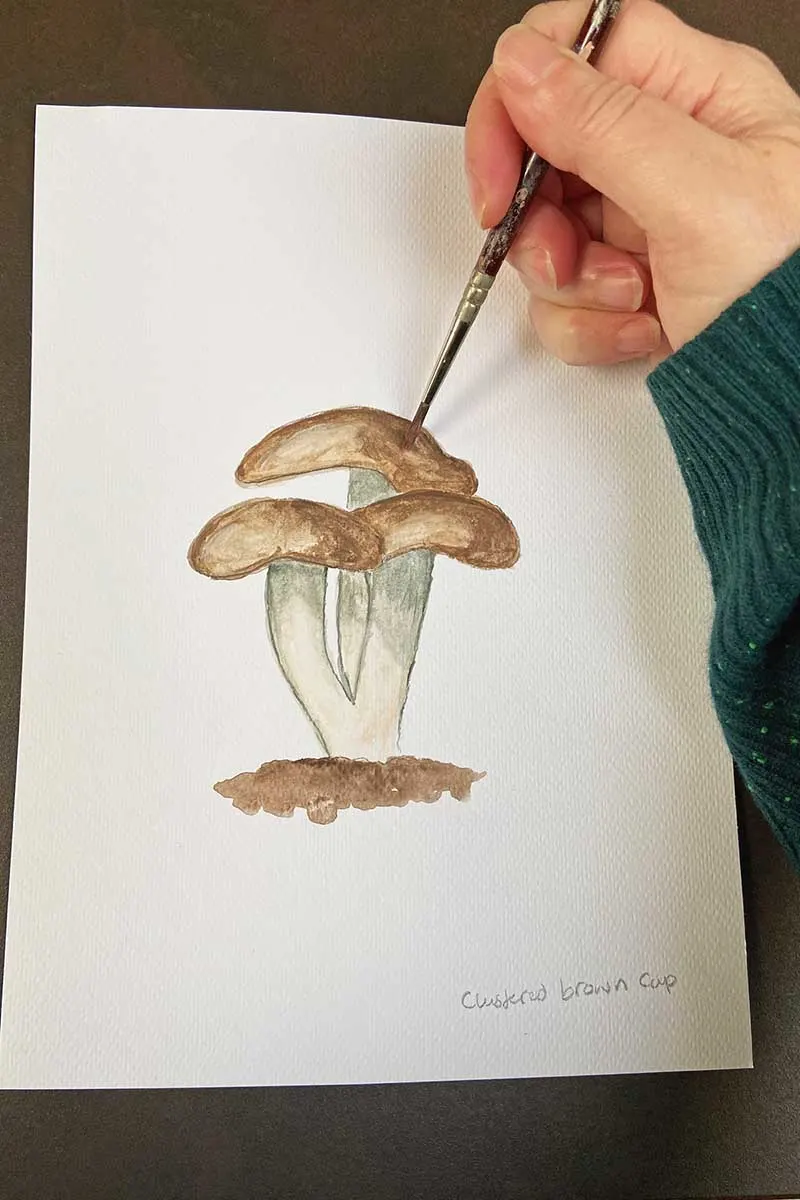
Clustered Brown Cap Mushroom Drawings
Clustered Brown Cup Mushrooms are known for their charming, humble appearance, typically found in groups with their small, convex brown caps closely nestled together. Their clustered growth, along with the contrast between the earthy tones of the caps and the slender, paler stems, offers a delightful challenge for drawing, capturing the essence of woodland beauty.
Despite looking edible, it’s not very tasty and easily mistaken for the highly poisonous Livid Entoloma mushroom, so it’s best avoided!
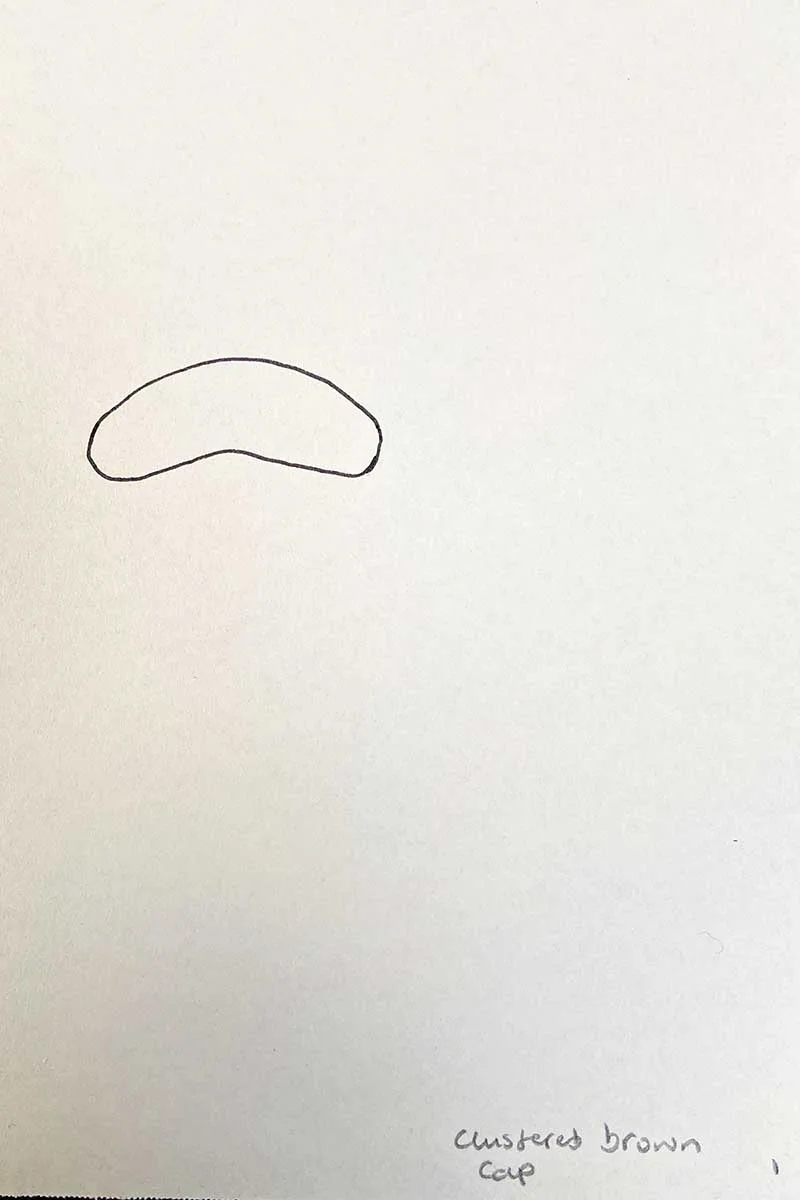
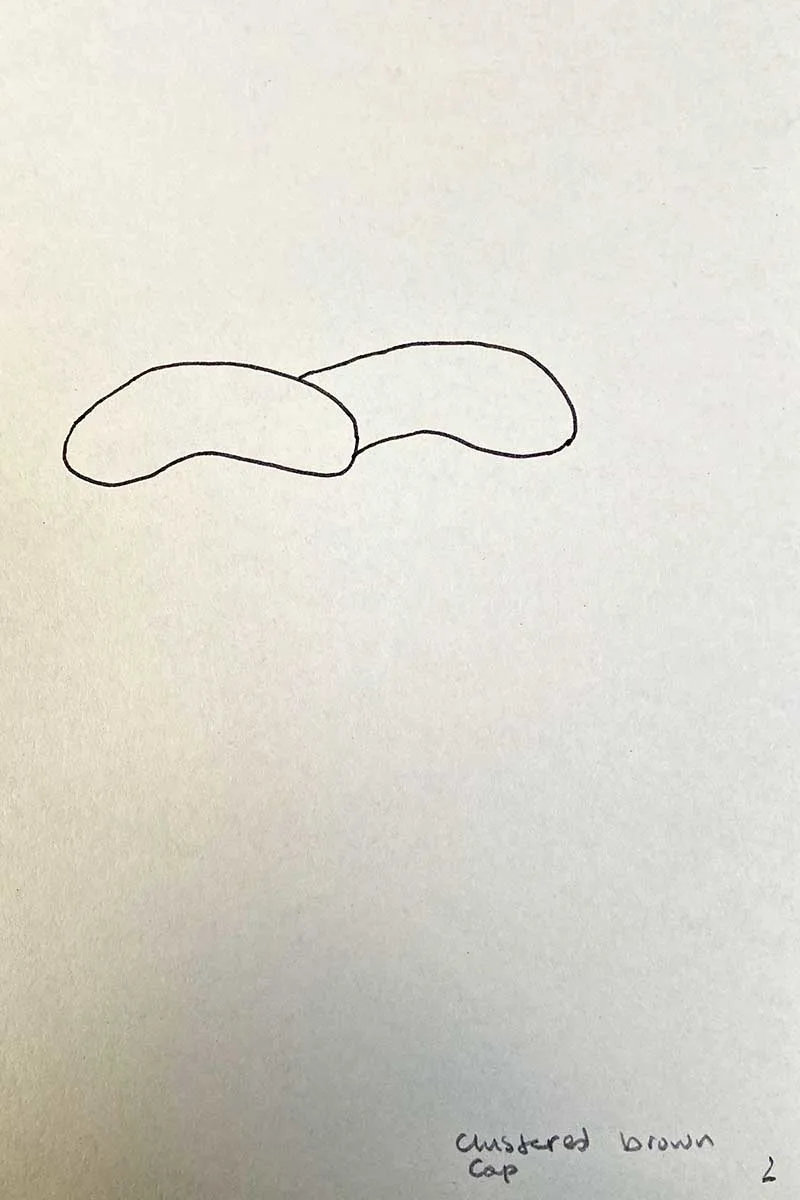
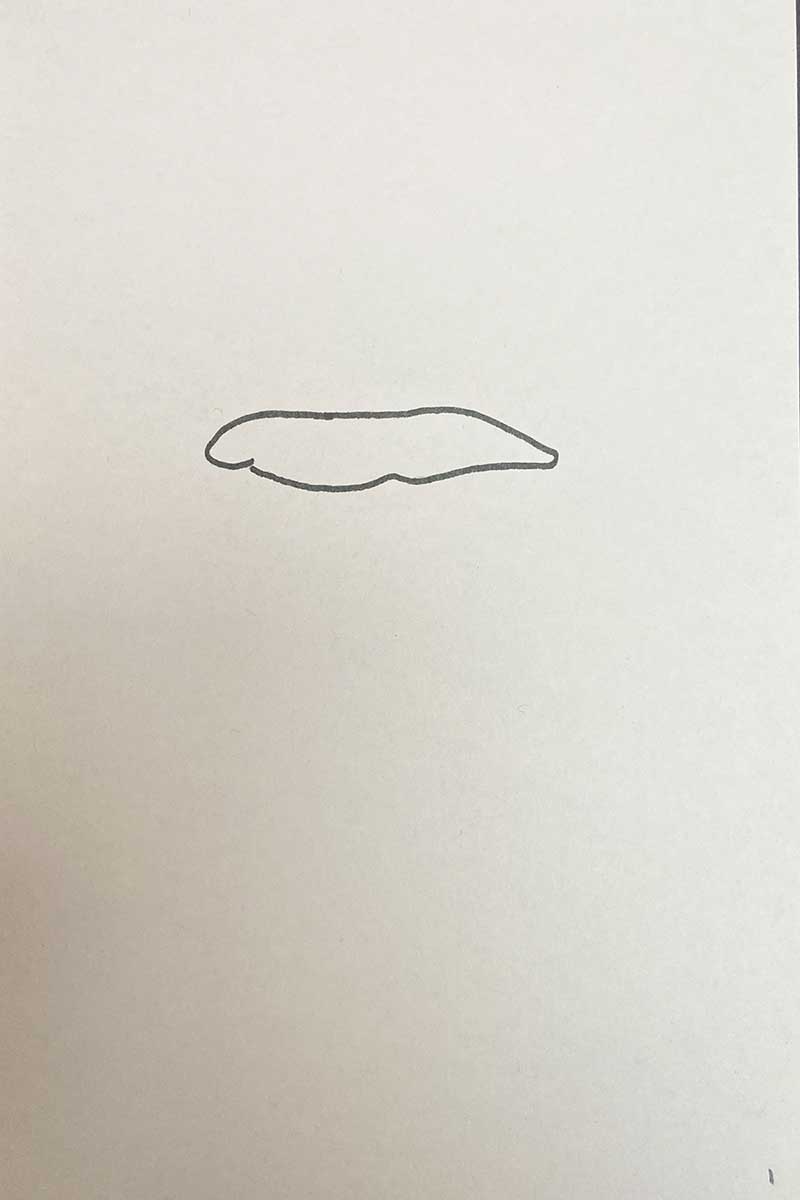
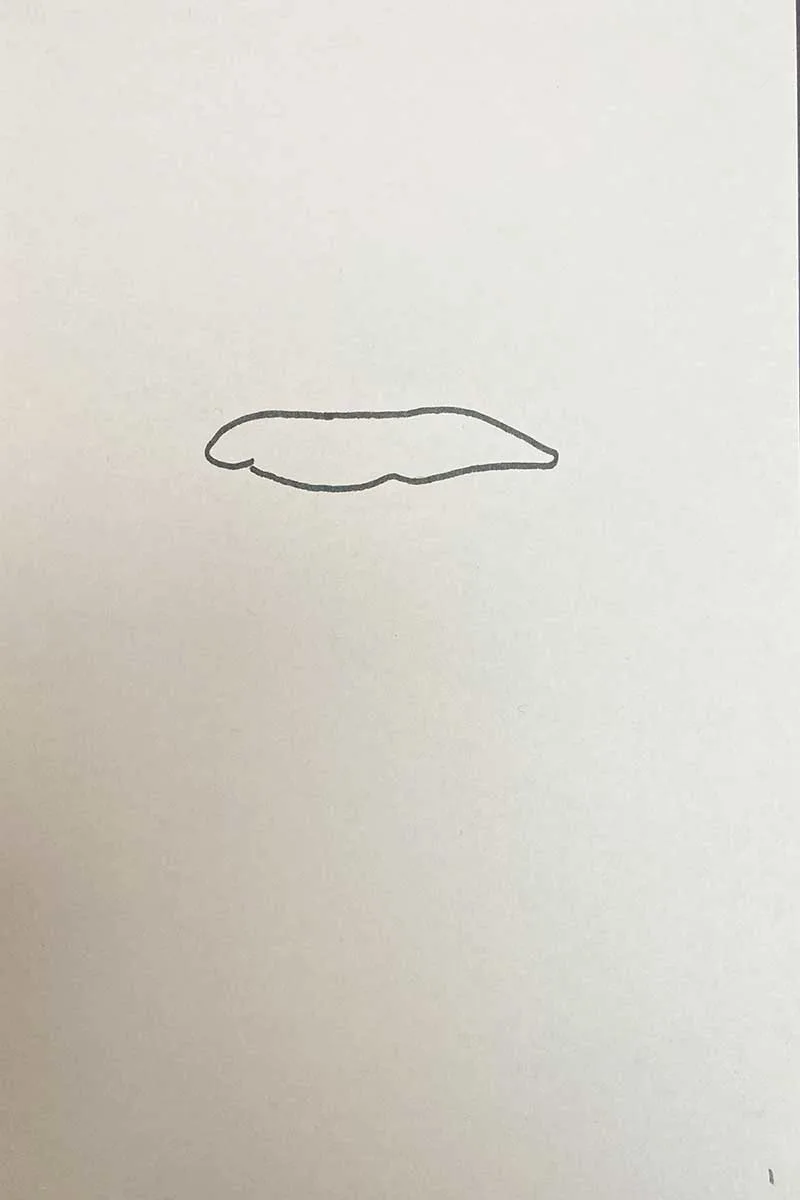
Step 1: At about two-thirds up the paper and to the left-hand side, draw the first mushroom cap as a slightly curved short sausage shape.

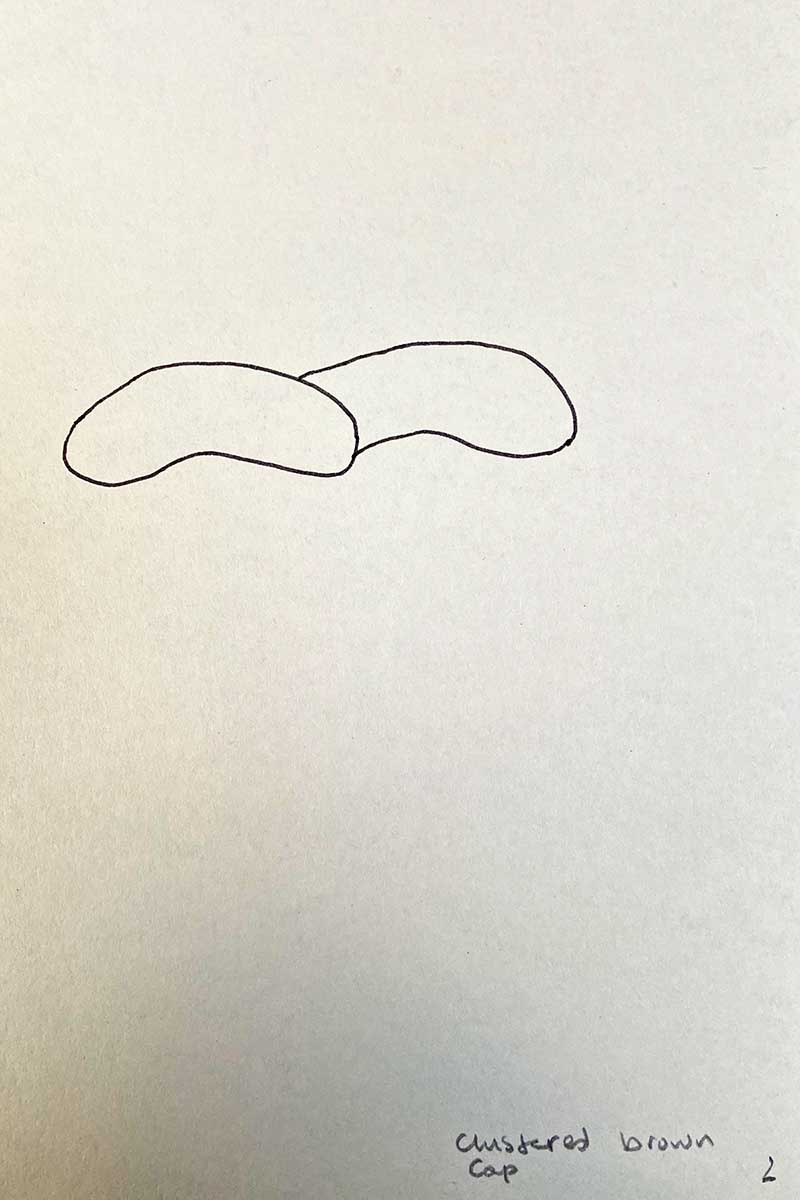
Step 2: Draw the second cap slightly behind the first sot they appear to overlap. They will look like to little fat sausages.
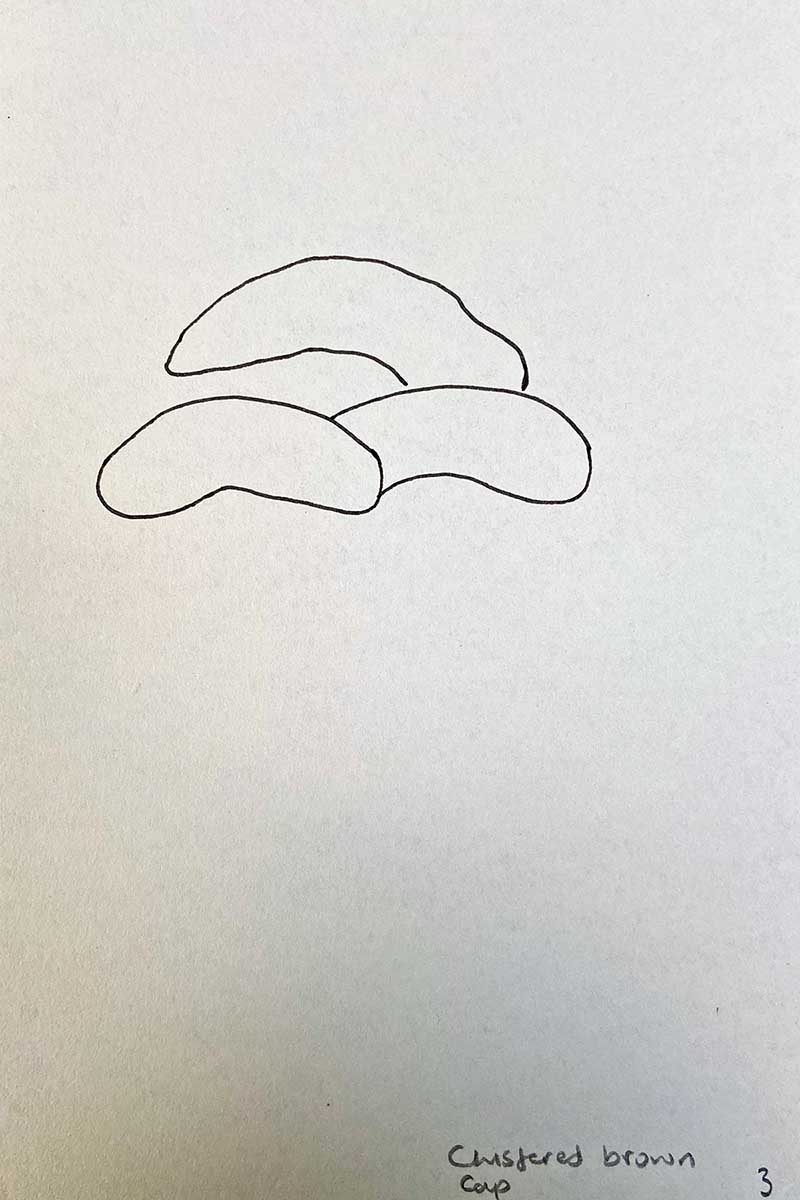
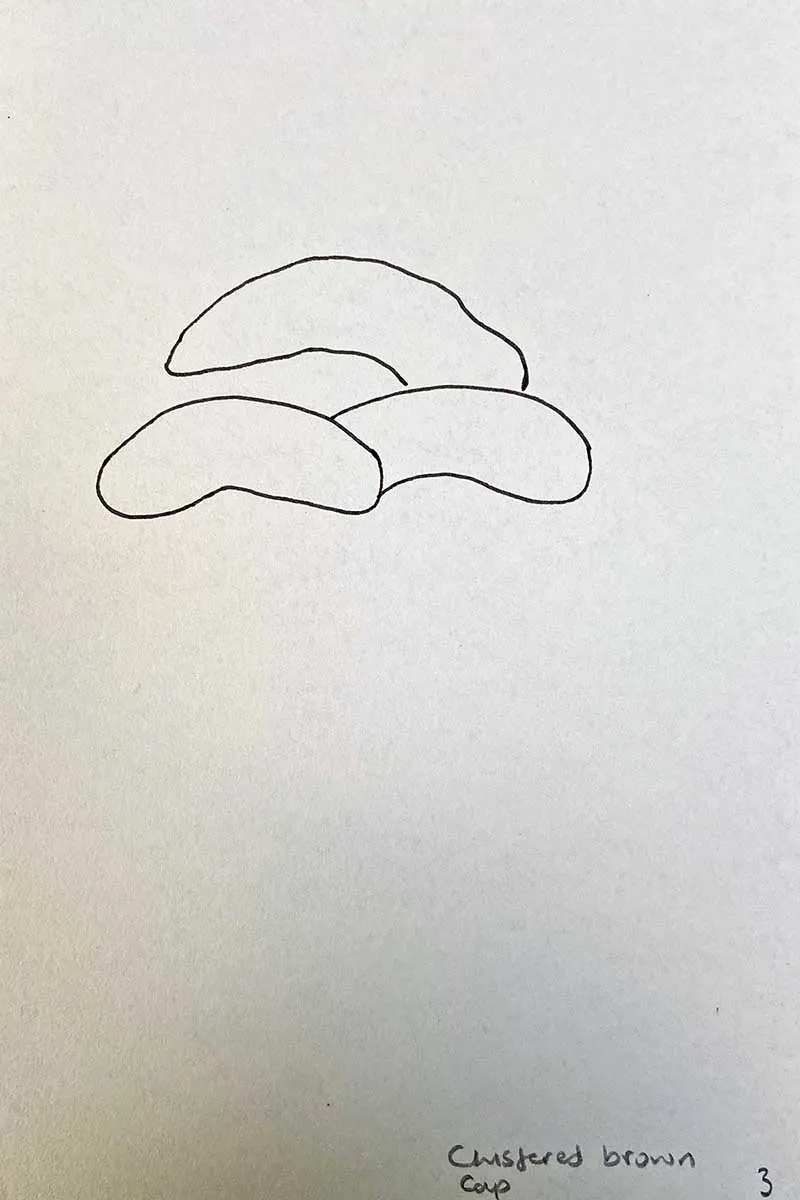
Step 3: Draw the final mushroom head slightly larger and appearing to overlap the second cap.
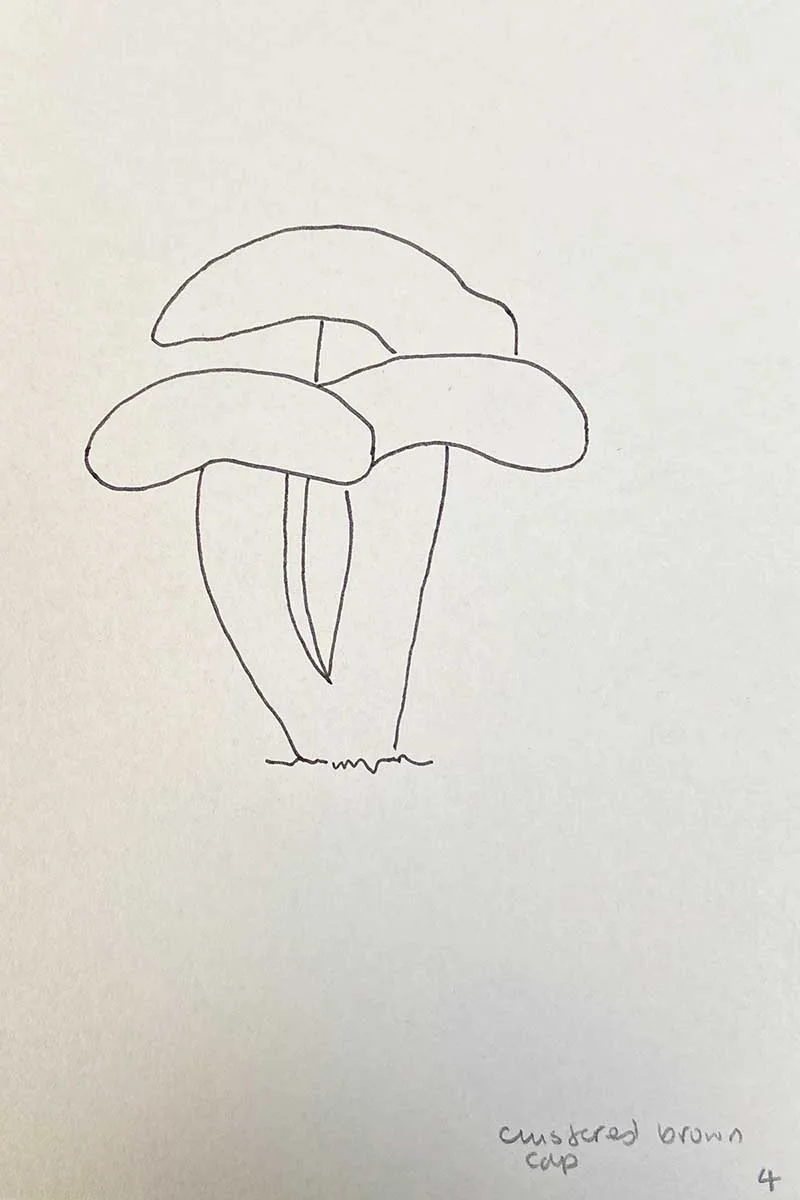
Step 4: Draw in the stalks. They will come from the centre of the cap and should be thick and chunky, tapering into a cluster at the base.

Step 5: Finally, add colour if you wish. There are not too many details with this mushroom as most of the appeal is in its rich hazel brown colour on the cap.

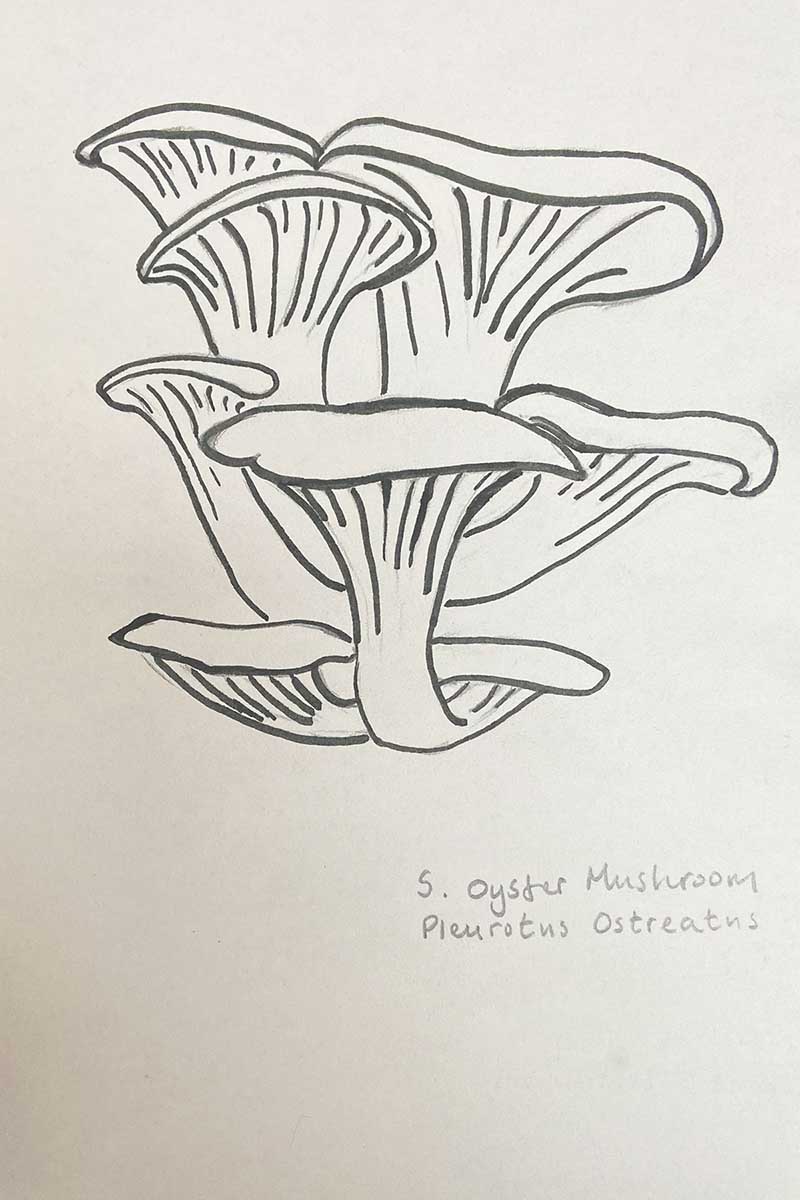
Oyster Mushroom Drawing Easy
Oyster mushrooms, both stunning and flavorful, hold a special place in my heart from my upbringing in the Far East, where they are a common culinary delight.
These mushrooms, which grow globally on hardwoods during spring and fall, boast a fan or oyster-like shape and come in yellow, brown, tan, or even pink hues. Their Latin name, Pleurotus ostreatus, translates to ‘sideways oyster,’ reflecting their unique form. Intriguingly, they are among the rare carnivorous mushrooms, a fascinating aspect of their nature.
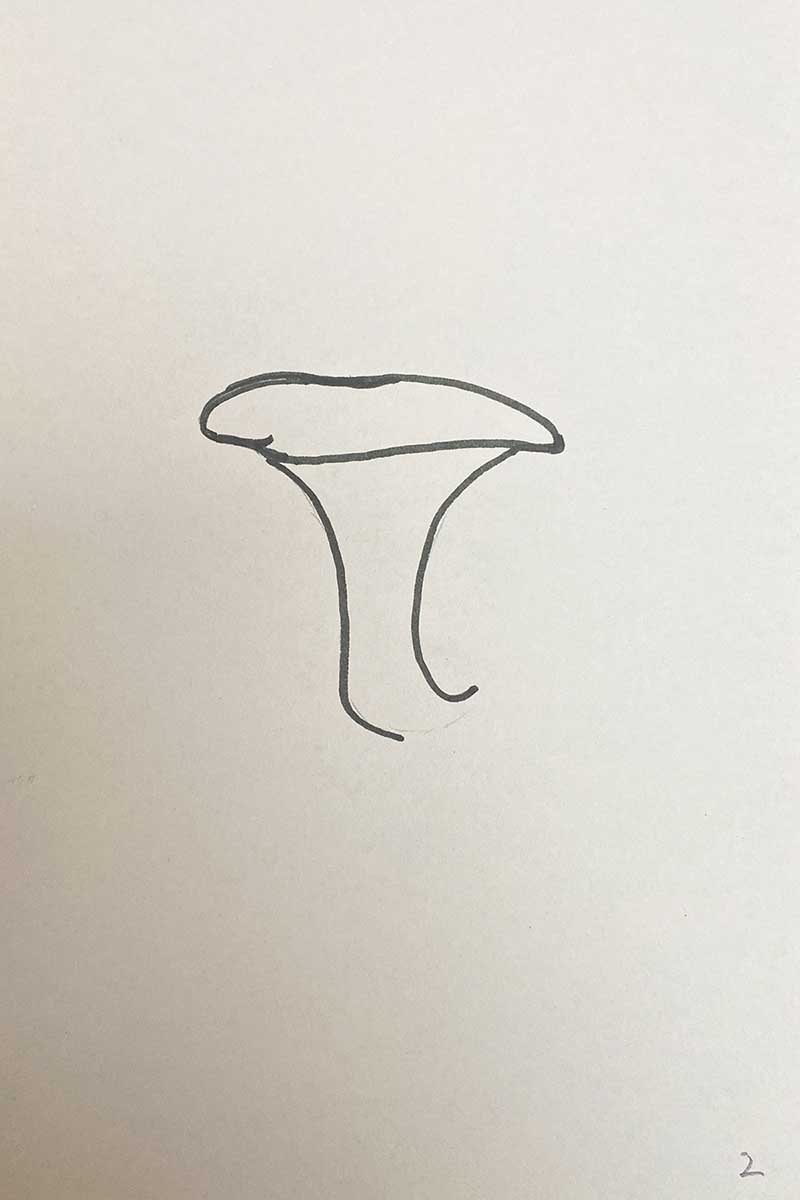
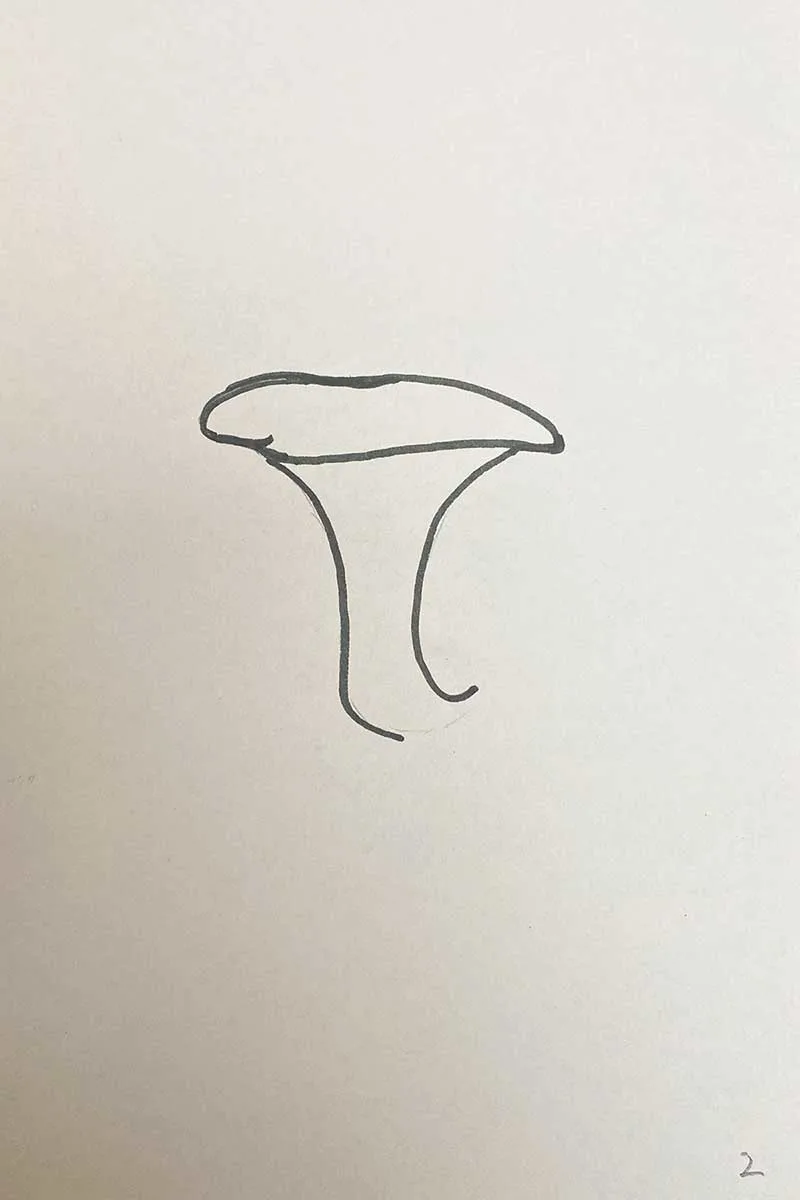
Step 1: Start by drawing an irregular oval shape near the centre of your paper. This will form the cap of your first oyster mushroom.
Step 2: Draw the fan-shaped stem from the underside of the cap. This shape reminds me of the base of an Art Deco lamp.
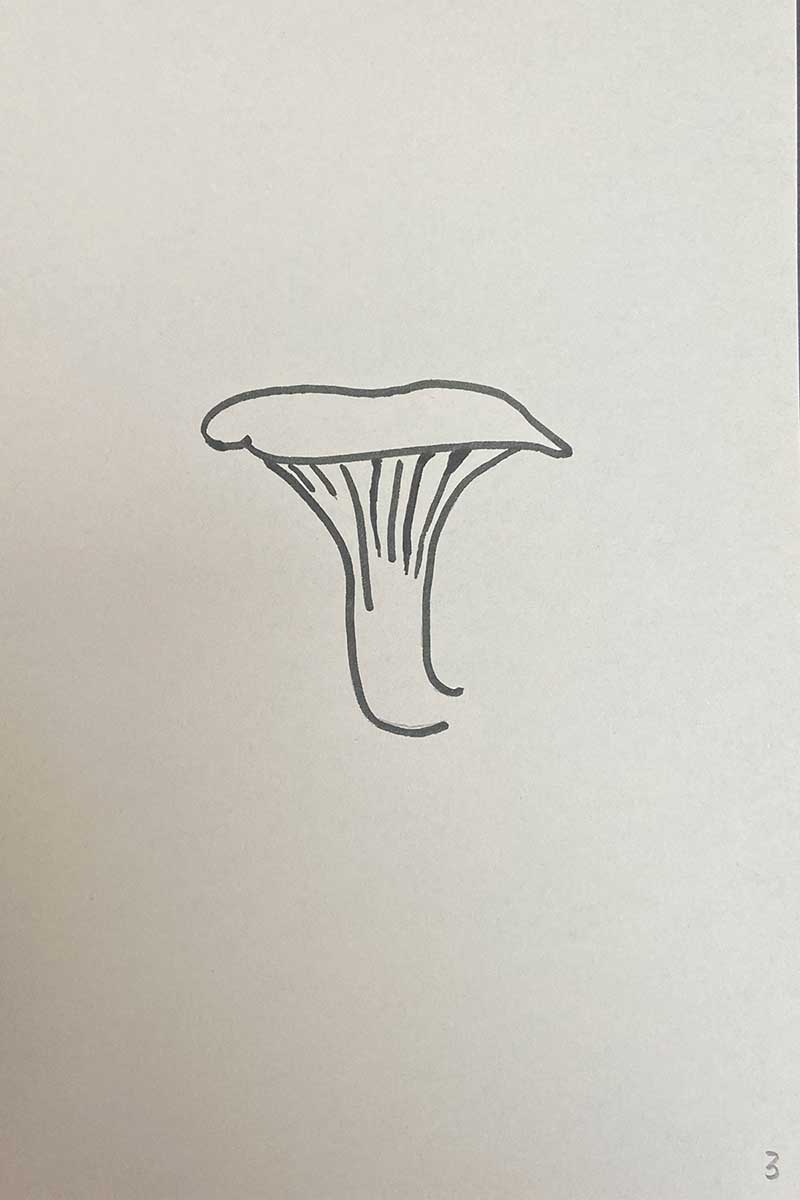
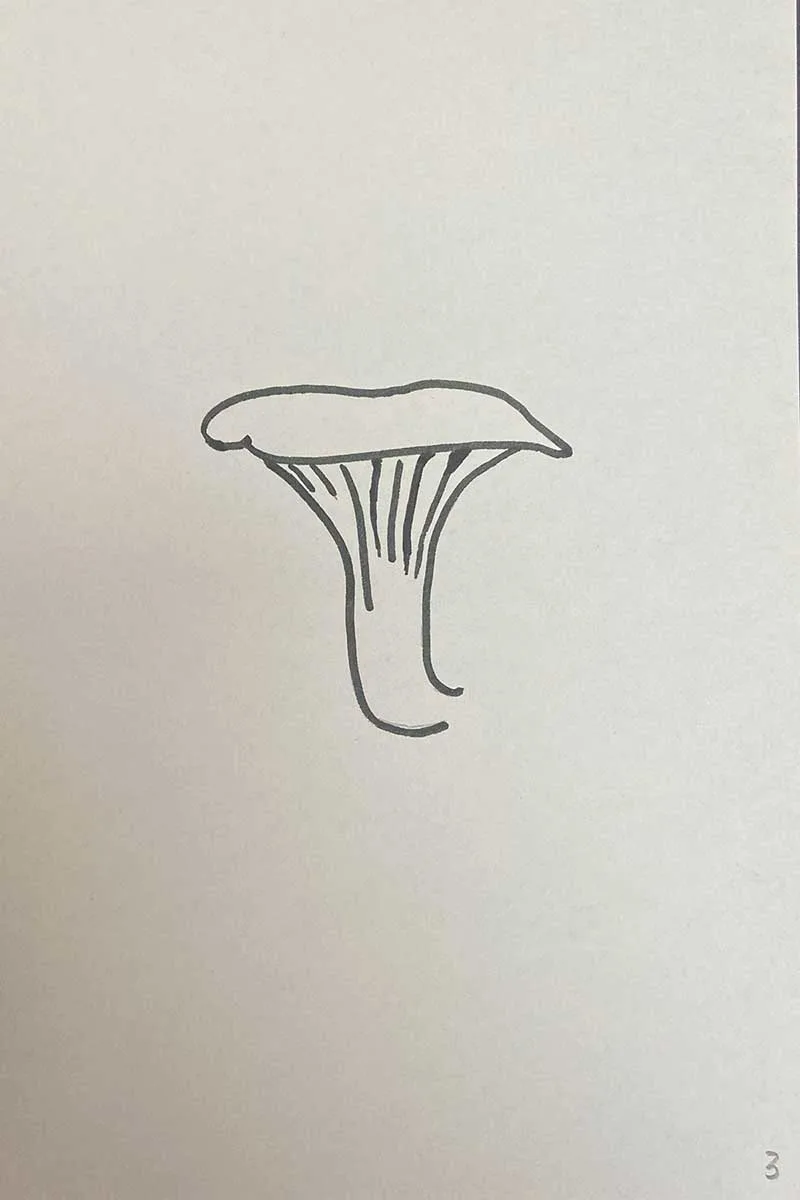
Step 3: Add lines coming from your cap that form the gills of your oyster mushroom. This is the outline of your first oyster mushroom, but as they grow in clusters, you may want to add more.
Step 4: Create a cluster by drawing several caps and stems to your first mushroom picture. Roughly follow the same fan shapes for the stems, but the shapes of the mushroom heads can be as irregular as you like.

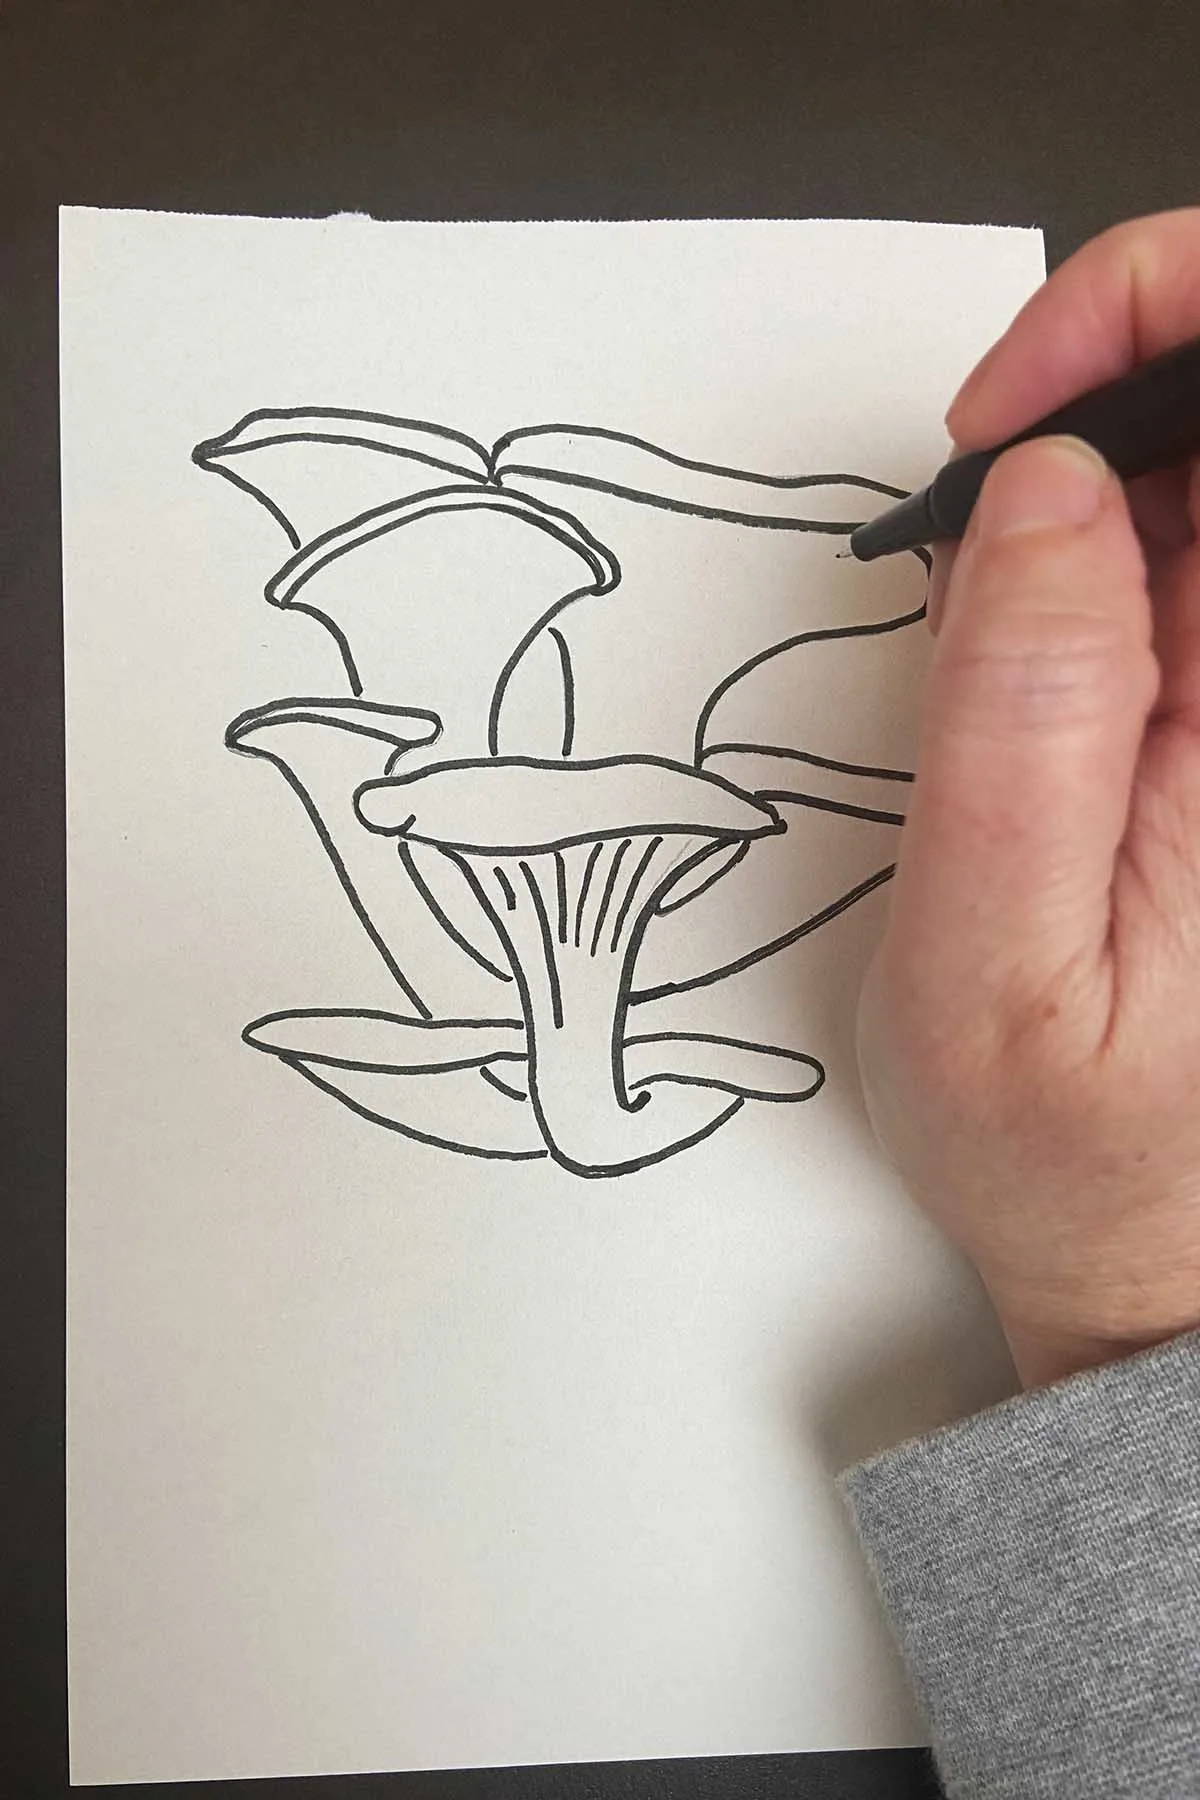
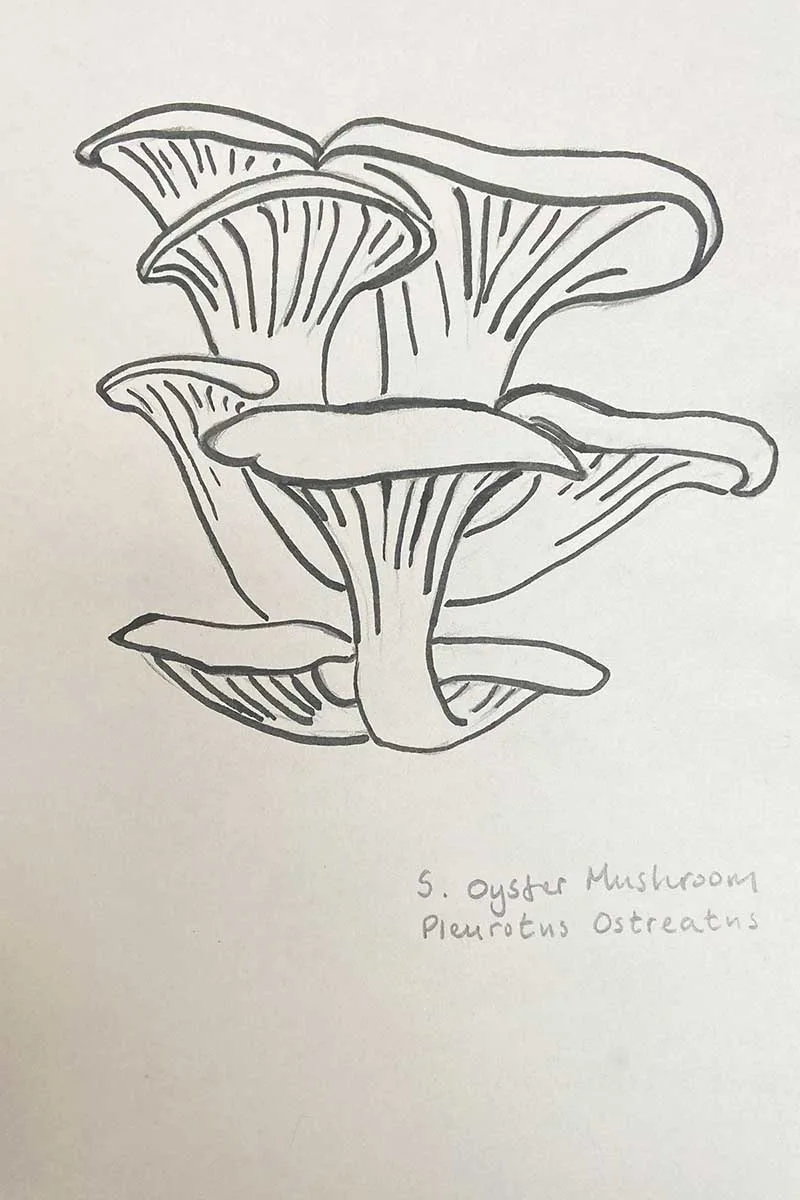
Step 5: To finish off, draw the lines from your caps to form the gills, and you will have a complete line drawing of your oyster mushrooms.
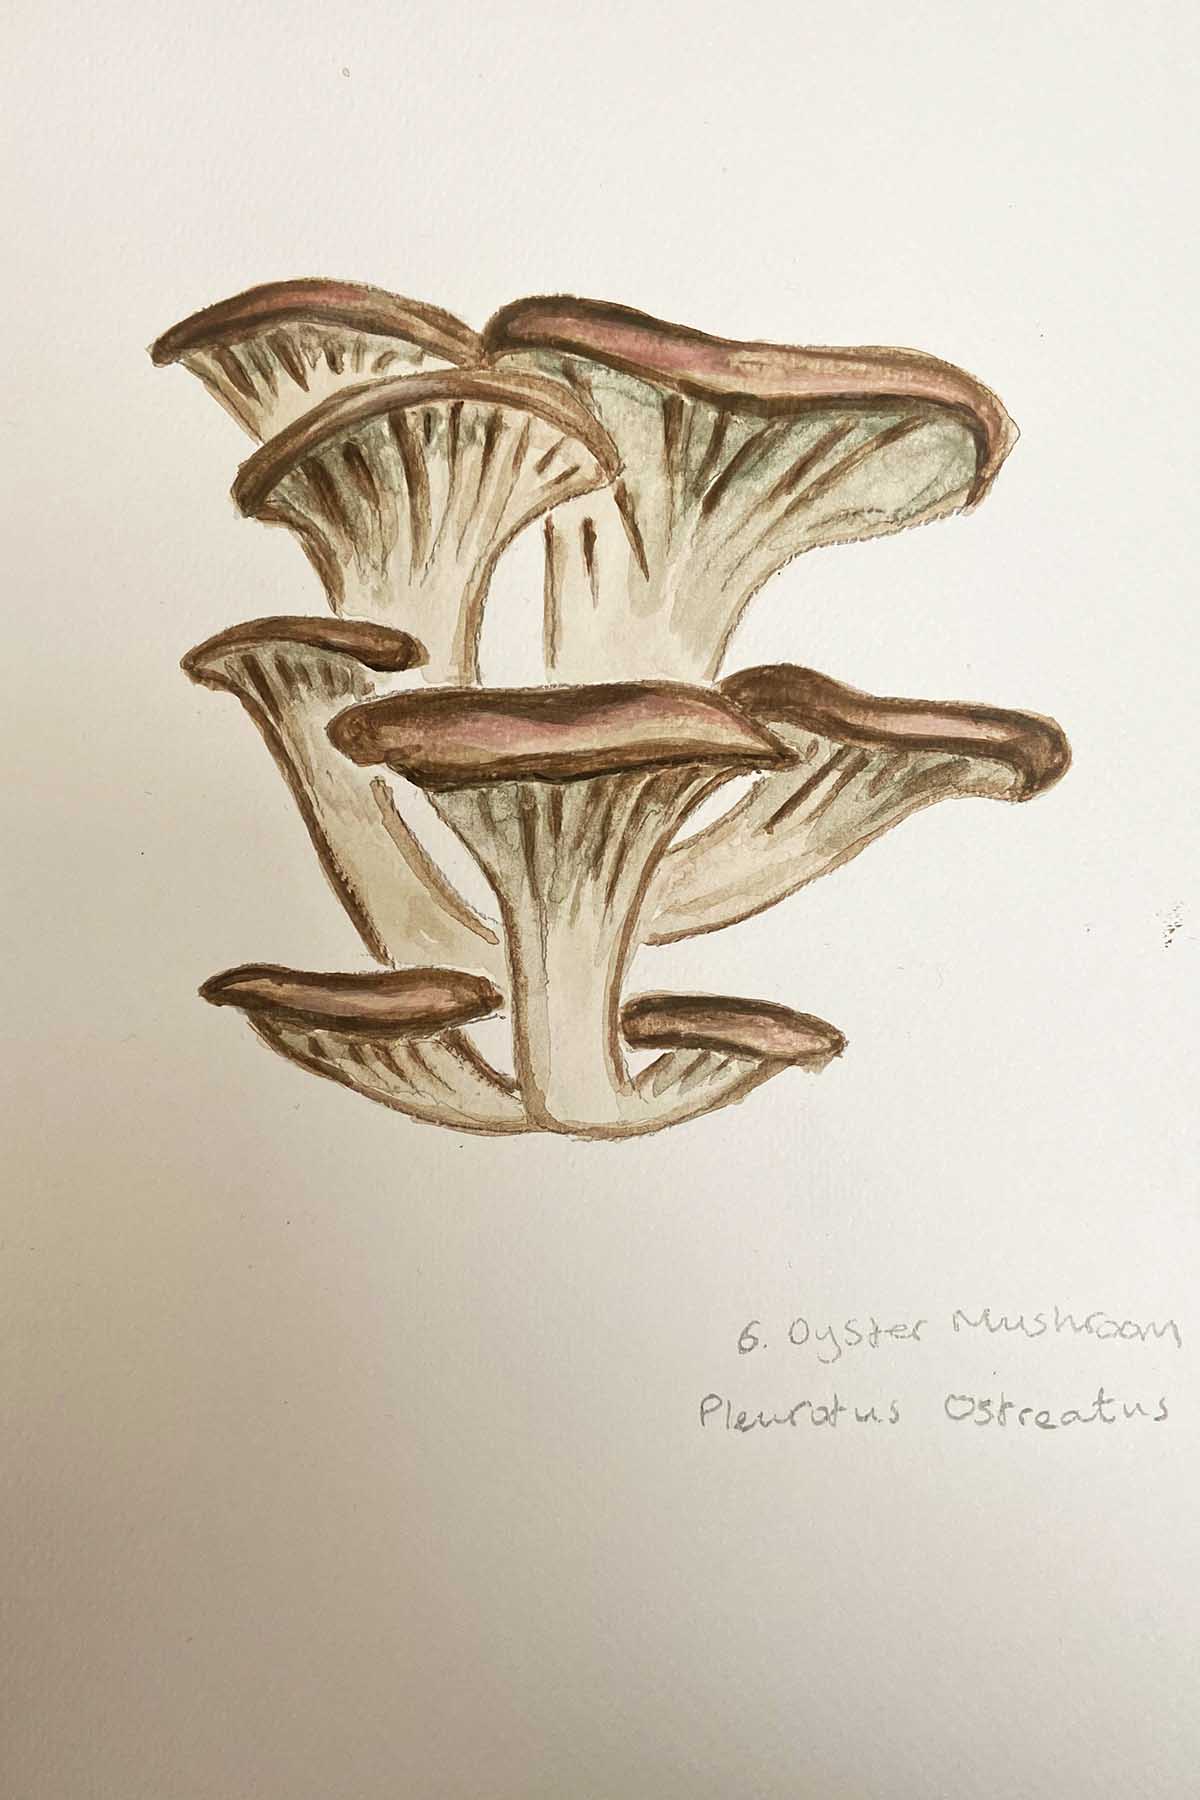
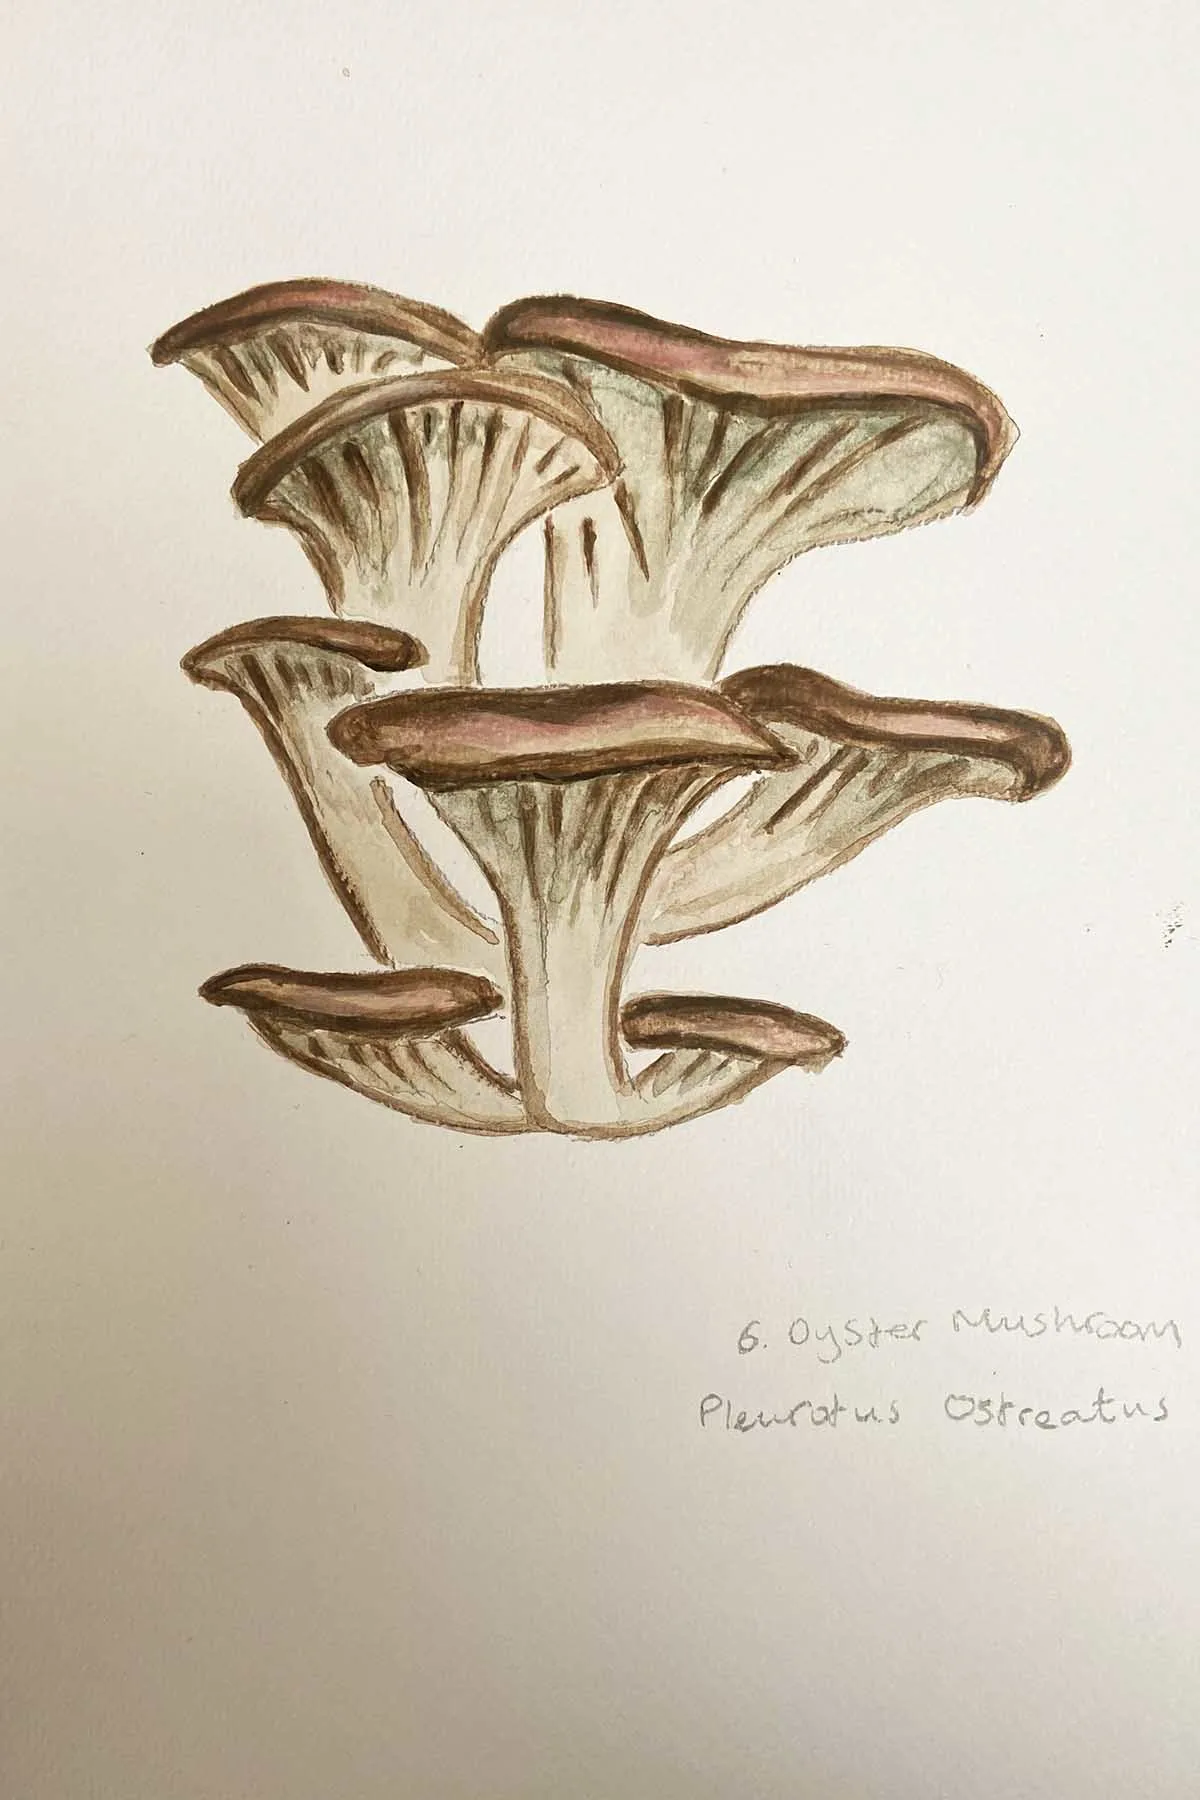
Step 6: If you want to add colour, you may want to do a watercolour and experiment with the range of tints and shades the mushrooms come in. Perhaps give them a pink hue.
Conclusion: Your Mushroom Sketchbook
Now that you’ve learned the basics, combine these different shapes and steps to create various mushroom drawing ideas. Check out these vintage black-and-white mushroom drawings for more ideas on expanding your mushroom sketching skills.
With these easy drawing tutorials, you’ll soon fill your sketchbook with beautiful mushroom drawings, from cute mushroom drawings to more realistic mushrooms. Remember, the key is to enjoy the process and let your creativity flow!
If you like mushrooms, you’ll probably also enjoy these vintage Lichen drawings.
A fun way to display mushroom drawings is to use them to make one of these 3D fabric mushroom displays.
Don’t forget to check out these cherry blossom easy drawing ideas, how to draw a fern and hibiscus how to draw. And how to draw a sunflower.
If you fancy, you can Buy Me A Coffee Here.