
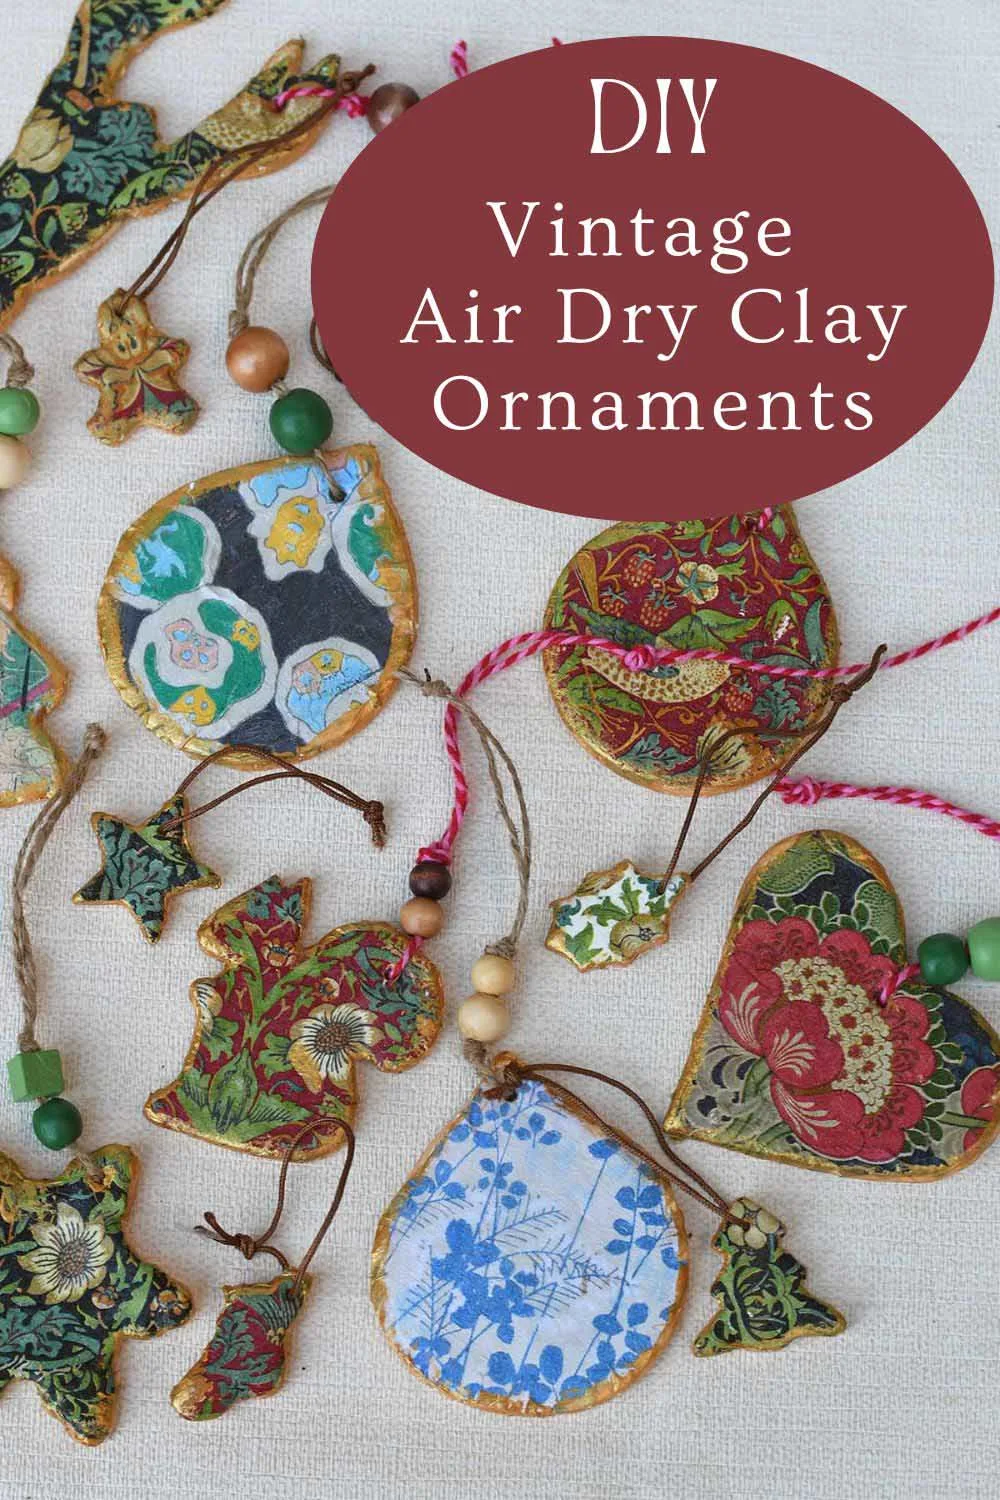
Make your own air dry clay ornaments with vintage motifs, decoupage patterns, and metallic touches. A simple and elegant DIY Christmas craft idea for handmade holiday décor.
Create your own Christmas magic!
In this step-by-step tutorial, I’ll transform ordinary air dry clay into exquisite ornaments using everyday tools like cookie cutters and a rolling pin.
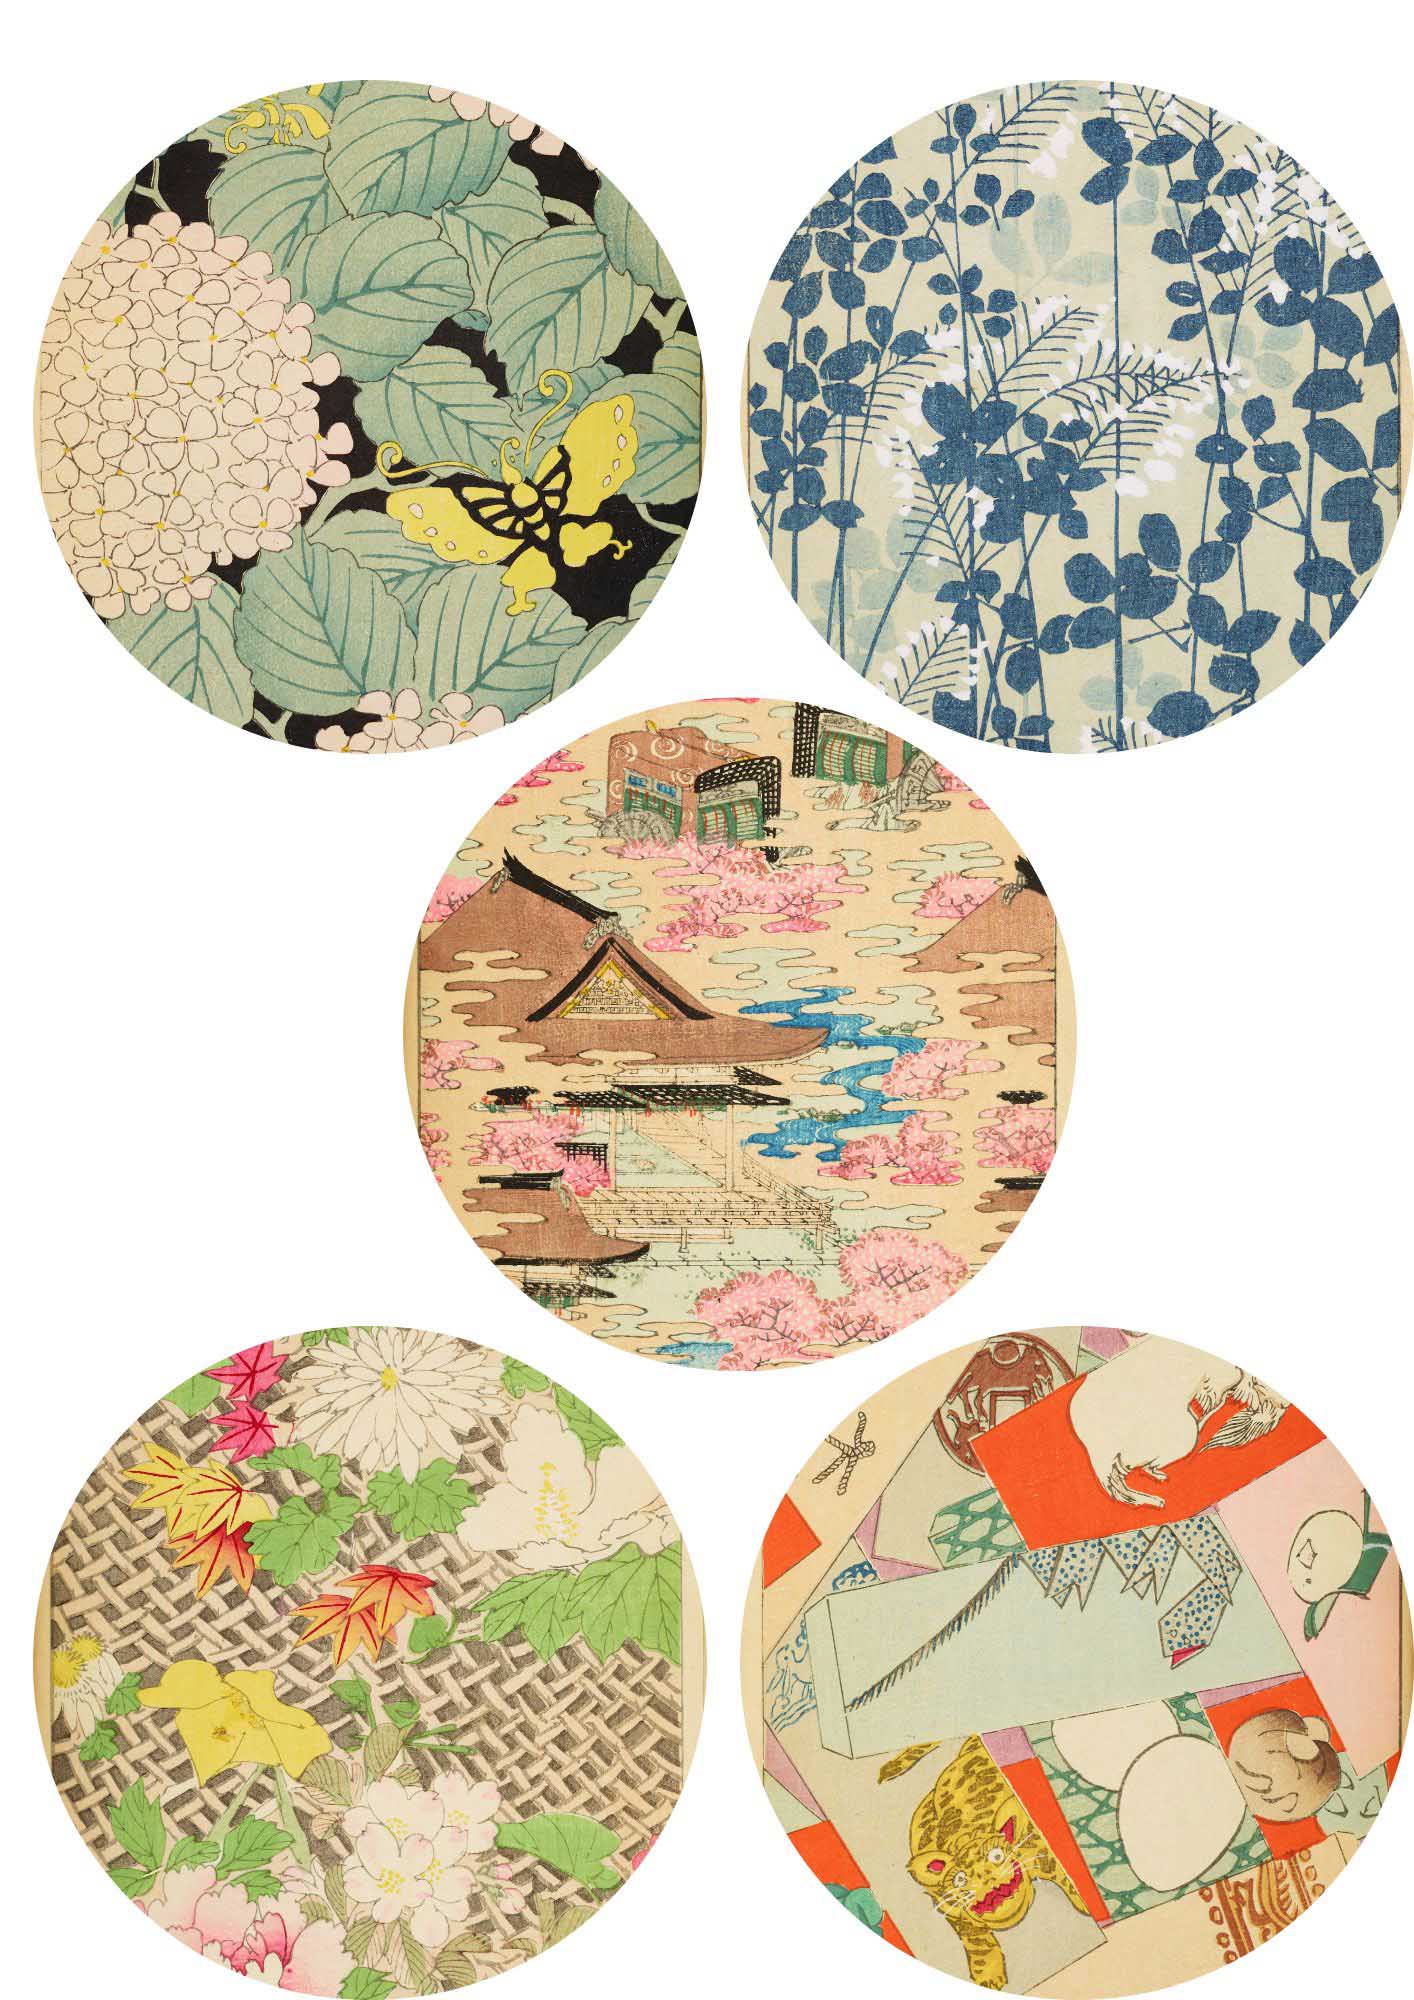
But we’re not stopping at just shaping and smoothing; we’ll elevate these creations with stunning vintage patterns, ranging from the intricate designs of William Morris to the classic beauty of Japanese Shin-bijutsukai illustrations.
Imagine the edges of these ornaments, delicately painted in gold, shimmering on your holiday tree, or adorning your gifts as charming tags.
Decoupaging Air Dry Clay
Using Vintage Patterns for a Unique Twist
If you’re like me and love having unique designs around your home, you’ll enjoy this vintage image craft. I’ve decided to make air dry clay Christmas ornaments and give them a special touch by decoupaging them with vintage patterns.
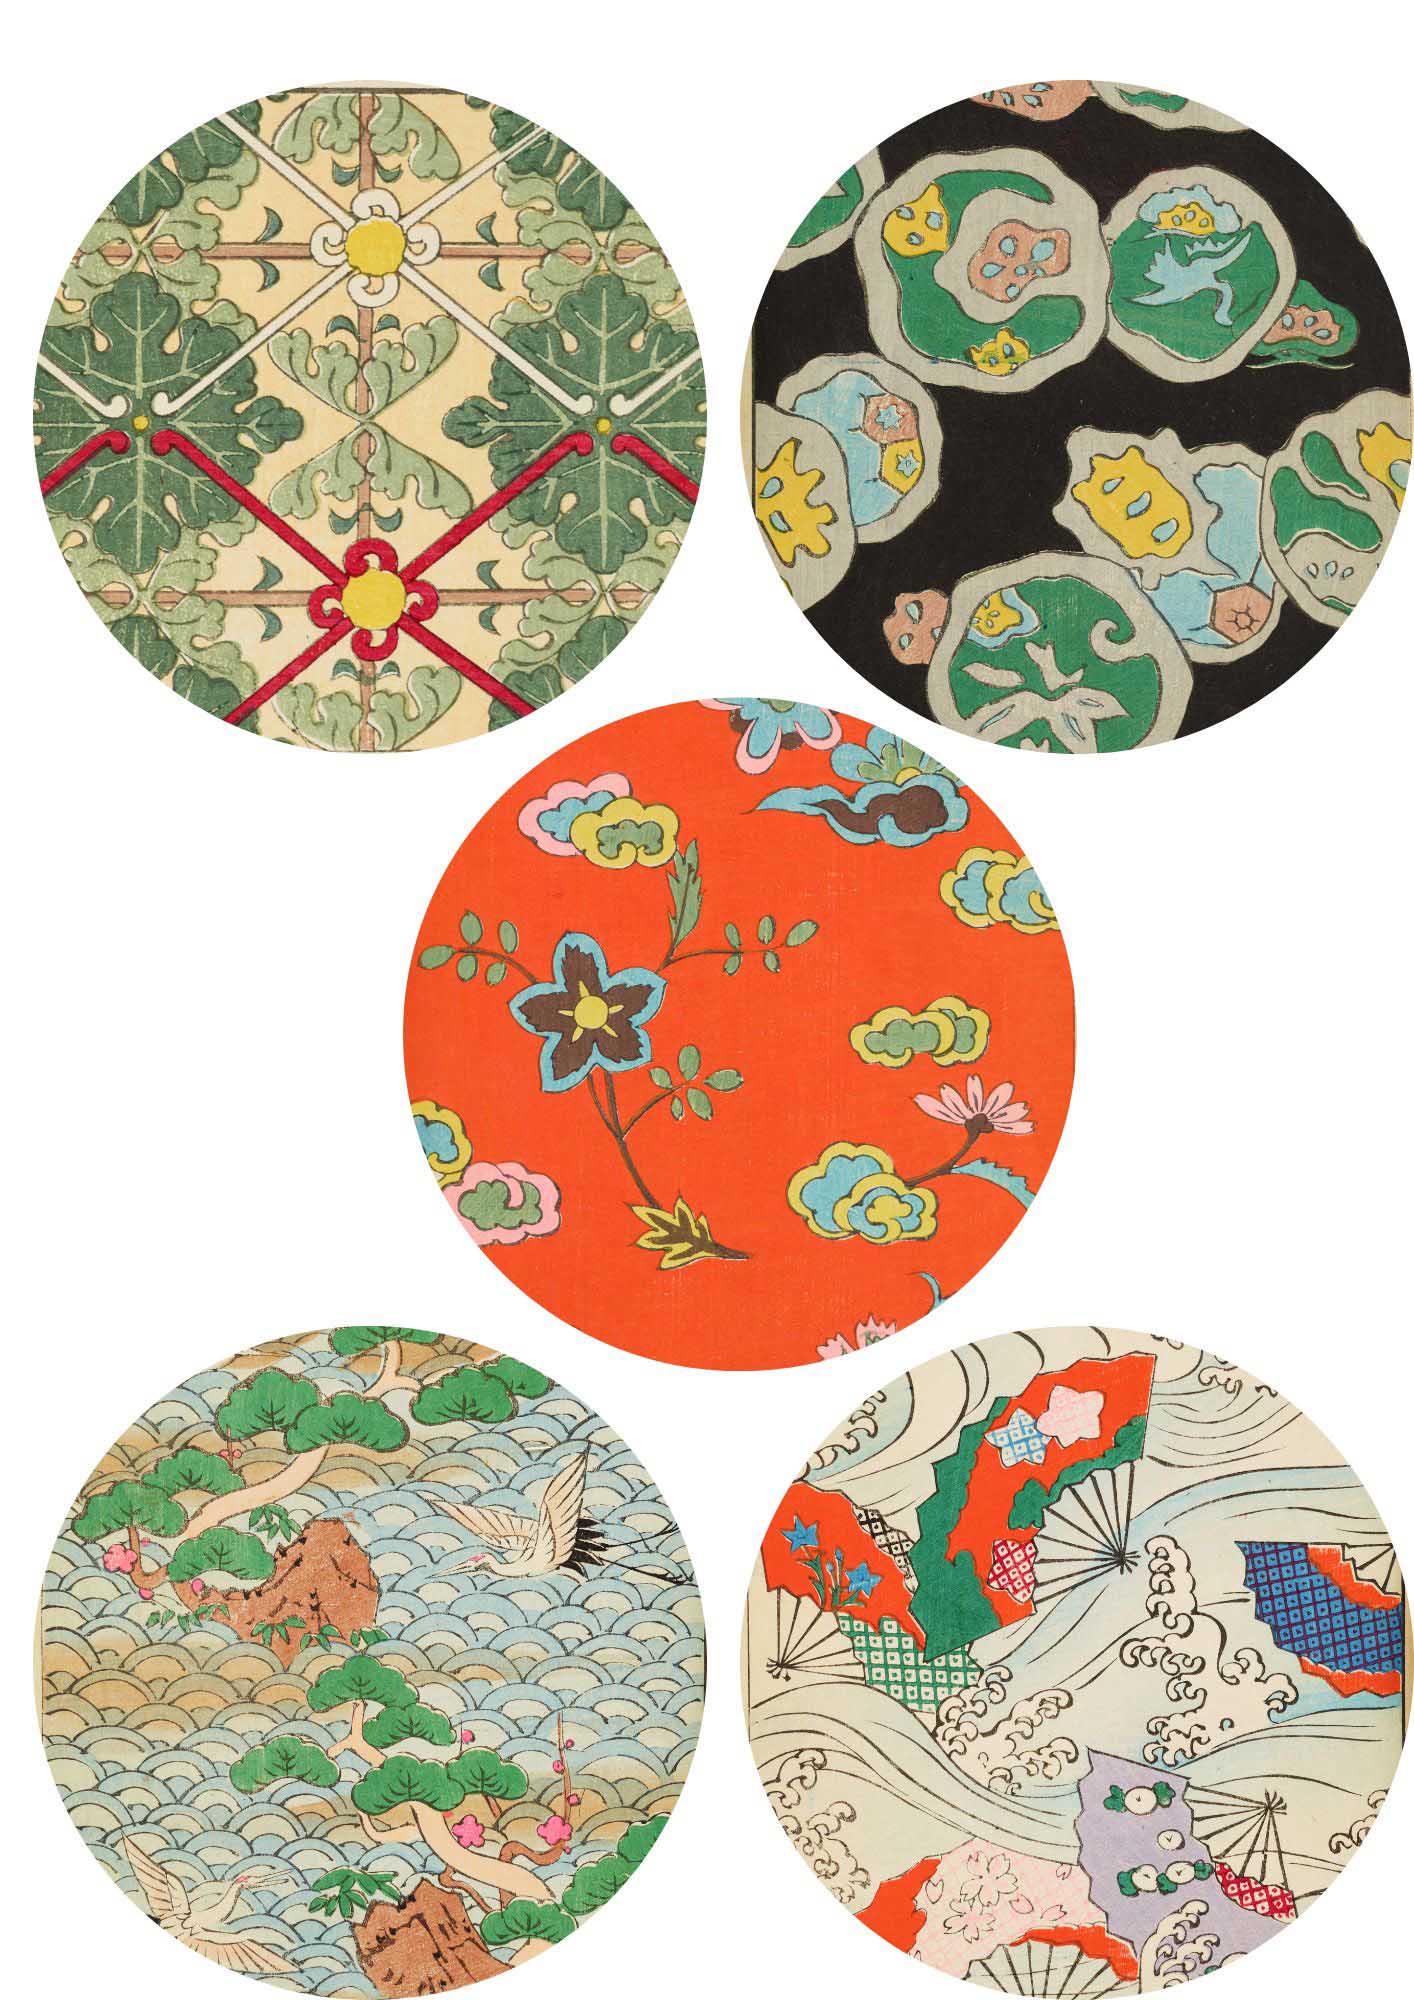
The great thing is you can pick any design from the vintage collections on Pictureboxblue for this project. I went with William Morris Patterns and some classic Japanese designs from Shin-Bijutsukai. It’s a great way to remember our family trip to Japan earlier this year.
These handmade clay ornaments are an easy Christmas craft perfect for anyone – whether you’ve been crafting for years or just starting out. They’re simple to make and add a great homemade feel to your space.
So, let’s get our hands in the clay and start making these DIY air dry clay ornaments!
We participate in the Amazon Services LLC Associates Program, an affiliate advertising program designed to provide a means for us to earn fees by linking to Amazon.com and affiliated sites. As an Amazon Associate, I earn from qualifying purchases.
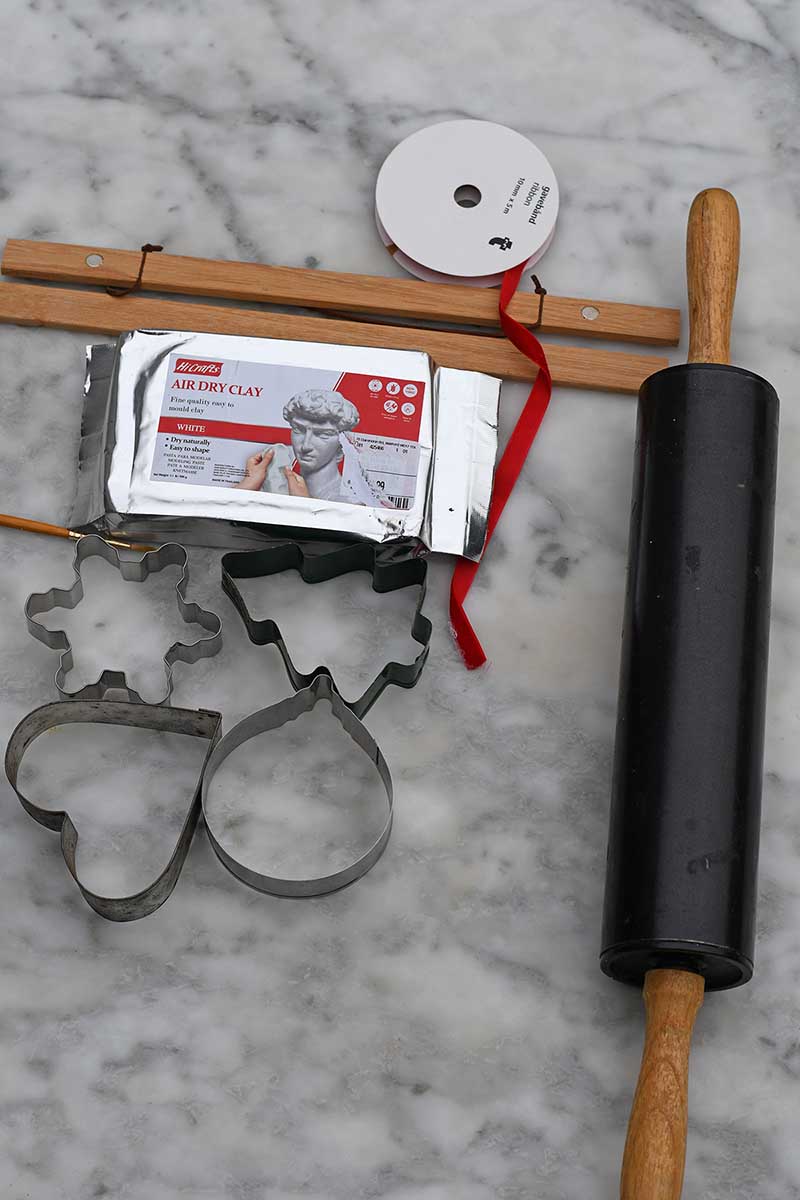
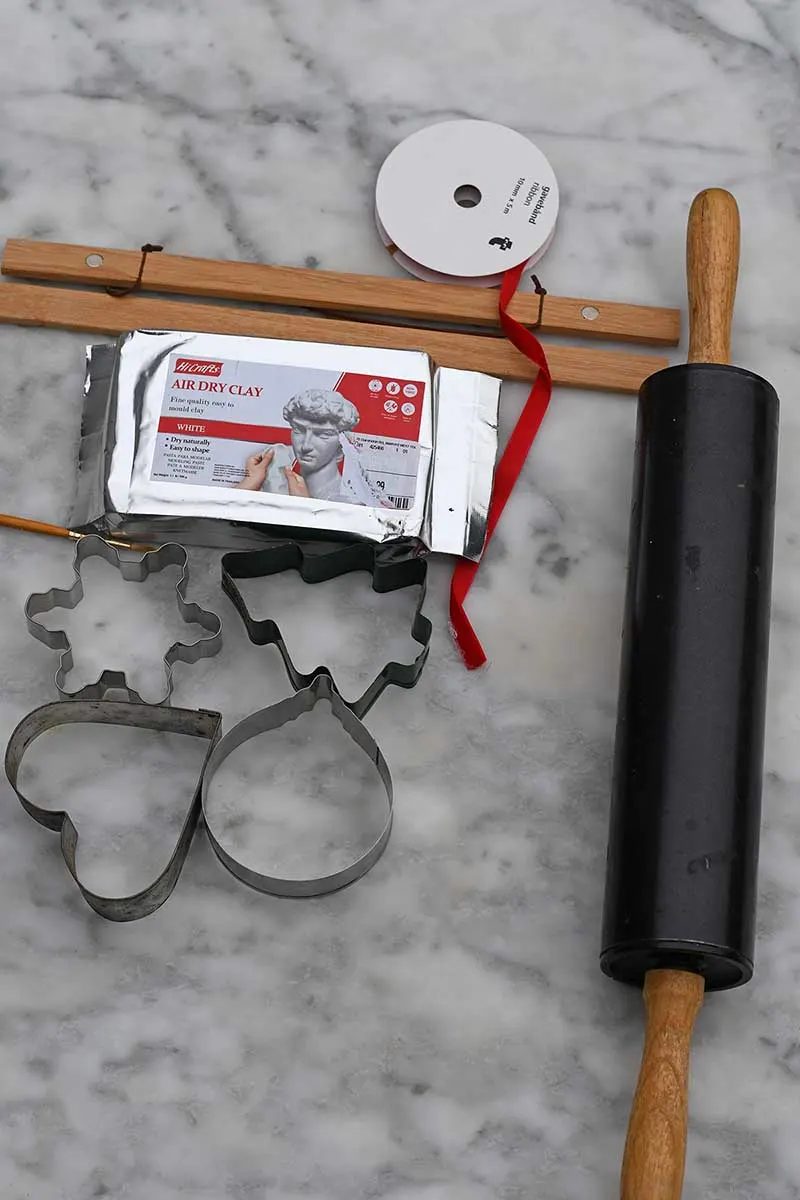
Materials Needed:
- Air dry clay (white clay recommended)
- Christmas cookie cutters
- Rolling pin
- Sandpaper
- Decoupage glue (like Mod Podge)
- Vintage patterns (William Morris and Japanese Shin-bijutsukai designs)
- Metallic Gold paint
- Twine and wooden beads for ornament hangers
- Optional: Free printables for additional patterns
Making Homemade Clay Ornaments
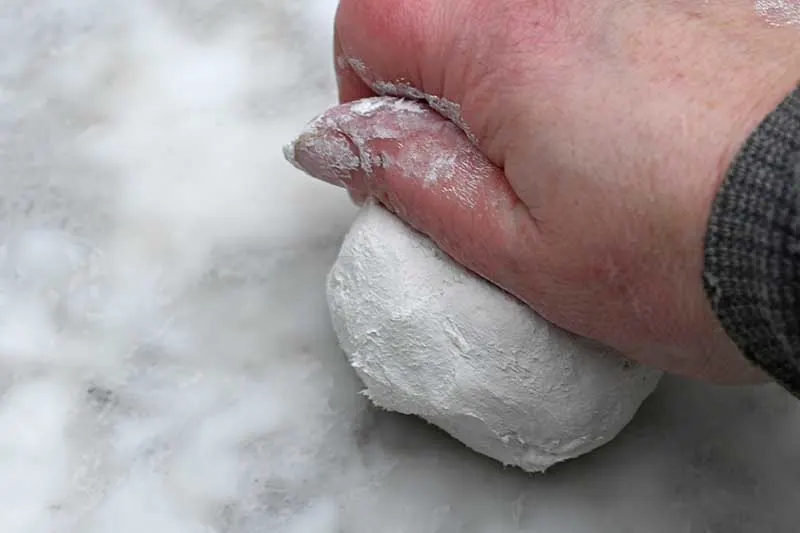
Step 1: Start with a chunk of clay and kneed it with your hand to make sure it is soft and pliable.

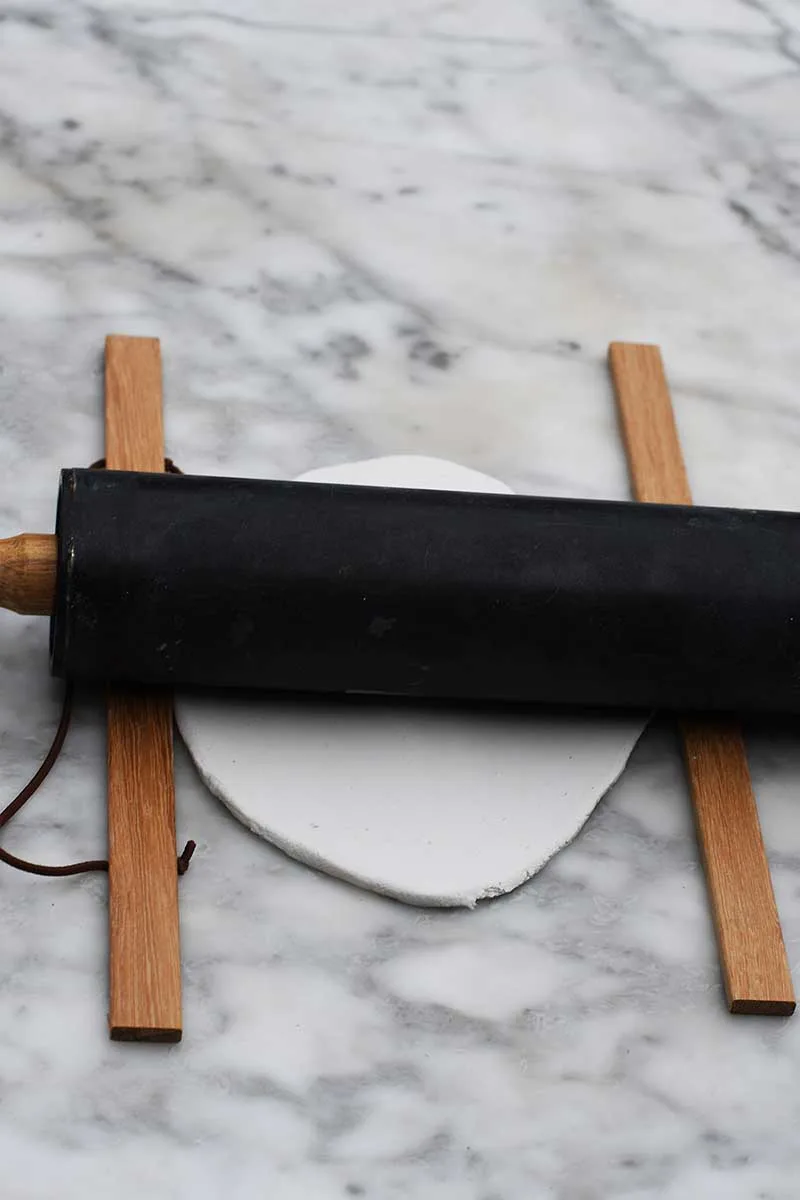
Step 2: Start with a small piece of clay, rolling it out with a rolling pin to ensure a smooth surface. Use two guides (wooden rulers) to ensure that the clay is rolled out to an even thickness.
You want to roll out the air dry clay to a thickness of about 5mm.

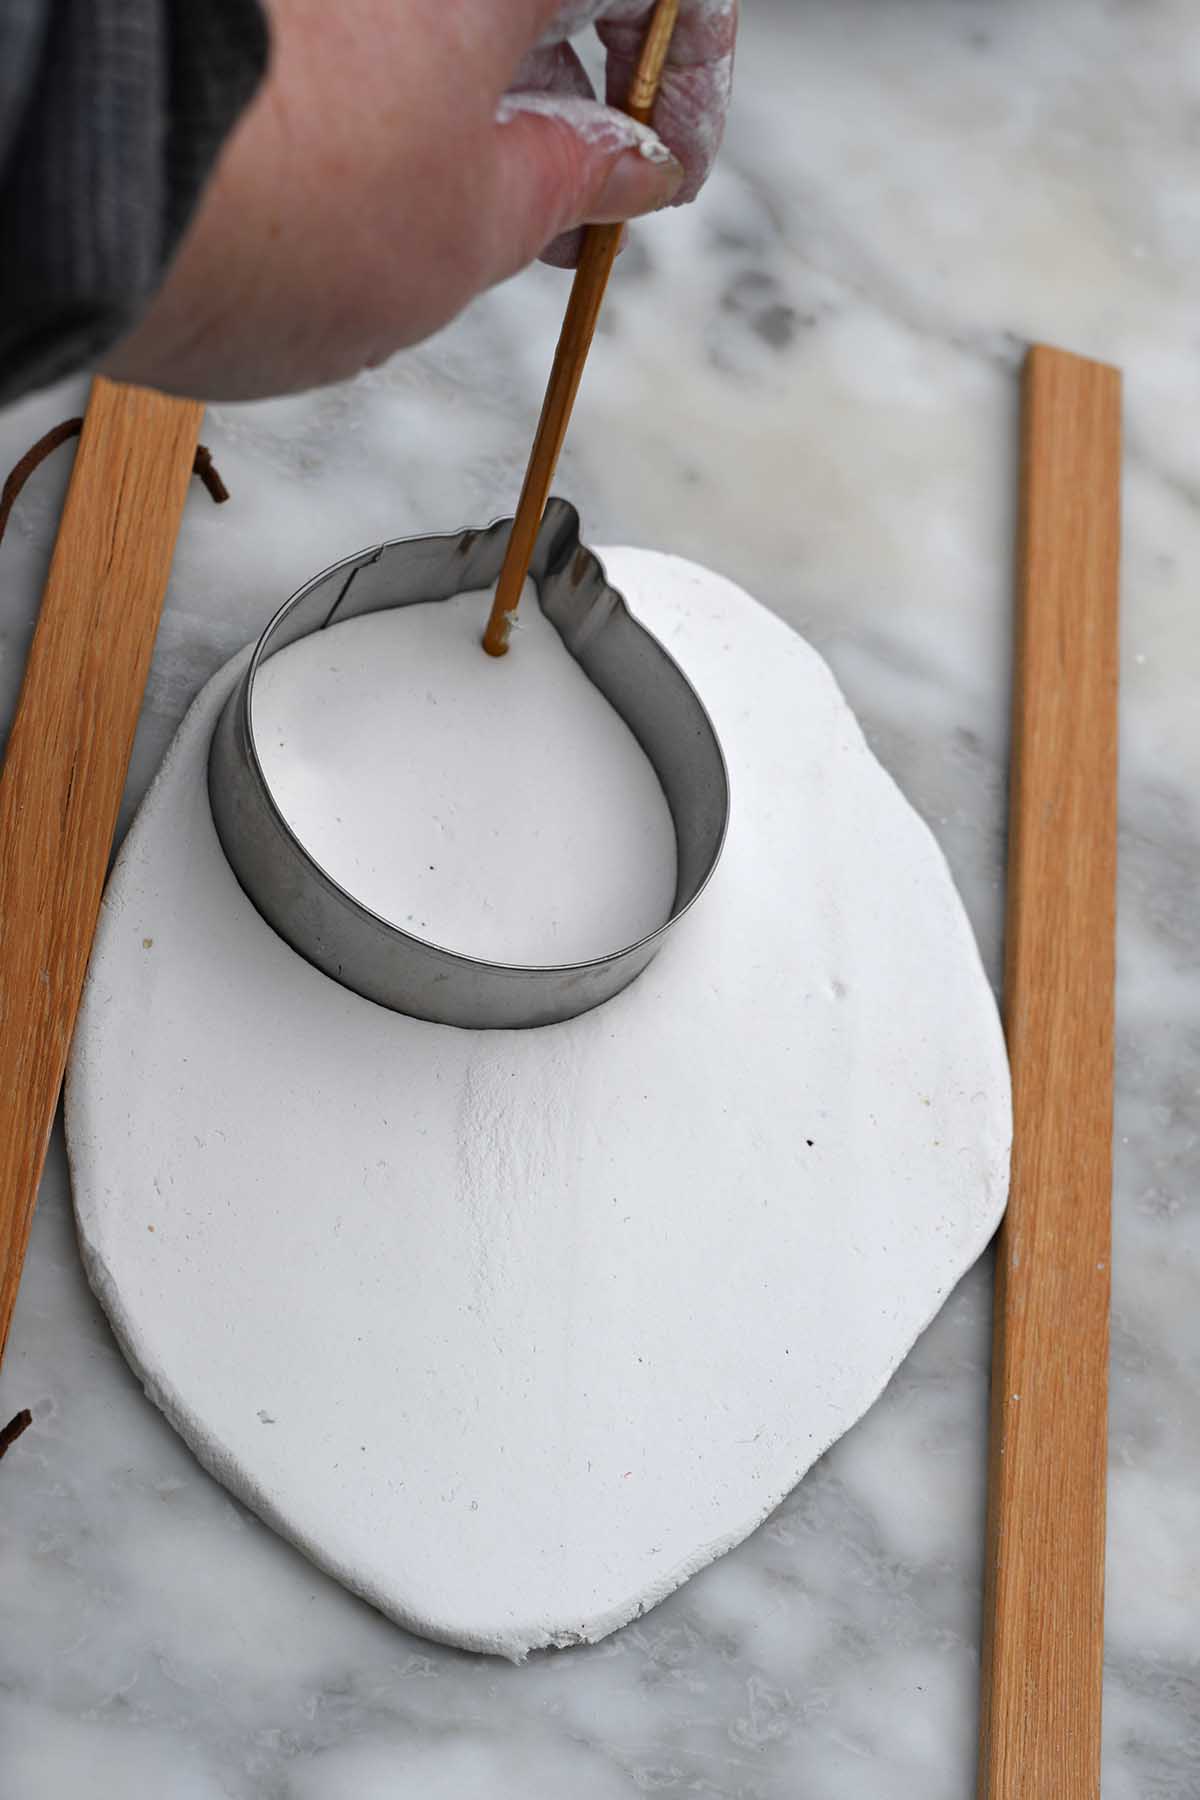
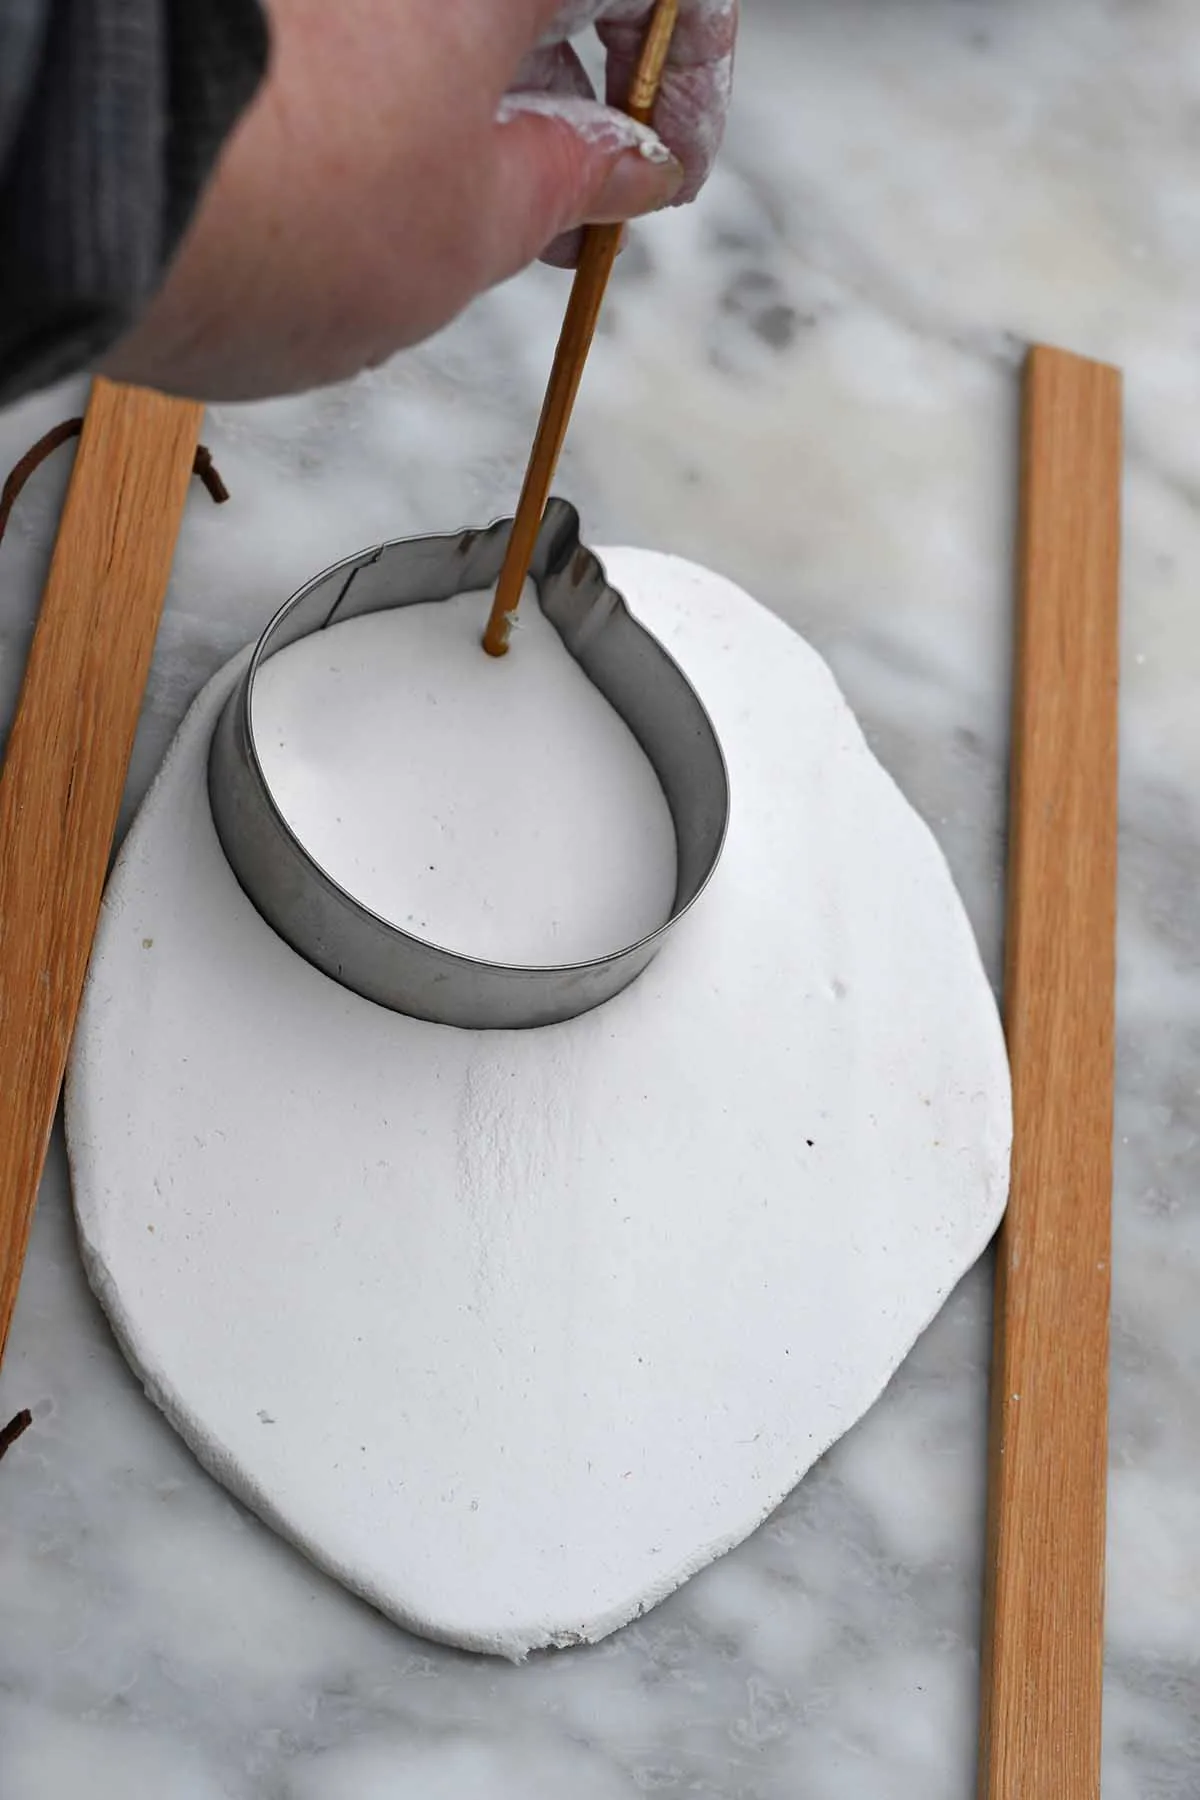
Step 3: Use your favourite Christmas cookie cutter to cut out the desired shapes. At the same time, use the end of a paintbrush or drinking straw to make a hole in the top of the ornament for hanging.
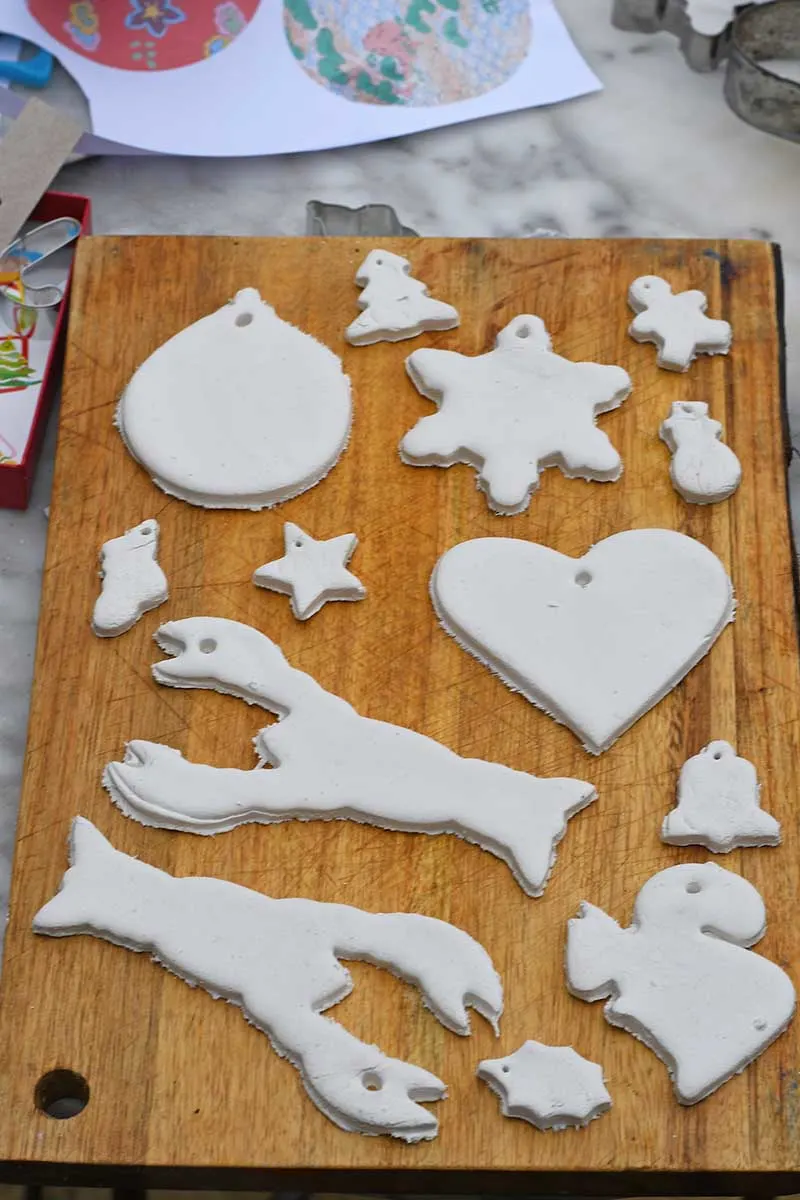
Step 4: Roll up an excess clay into a ball and then roll it out again to make more cookie cutter ornaments. Repeat until you have run out of clay.
You should be able to make several air-dry clay ornaments from one packet of clay.

Decoupaging The Clay
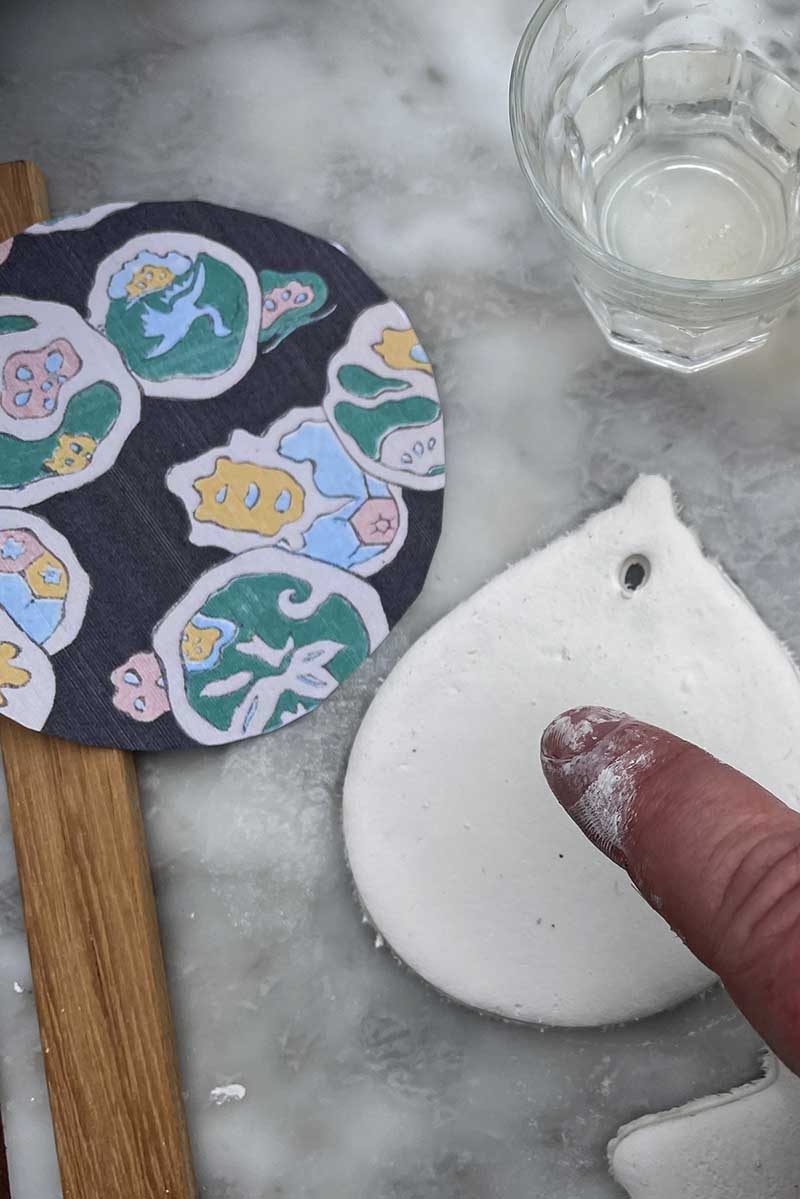
There are two ways to decoupage the clay ornaments: one while the clay is fresh using a small amount of water, and the other is after the drying process with Mod Podge decoupage glue. I went with the former.
Step 5: I printed the vintage patterns on an inkjet printer at home. I have made two collages of the Japanese pattern designs that you can download here: Japanese Prints 1 & Japanese Prints 2.
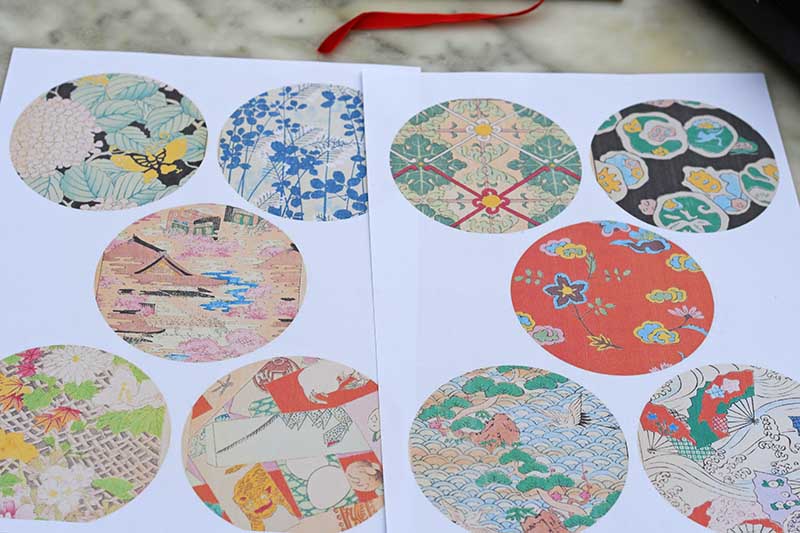

Step 6: Cut out the vintage pattern you want, slightly larger than the cookie cutter shape. Then, dampen the top of the clay with water and your finger. Then, gently press the paper face up into the clay ornament shape.

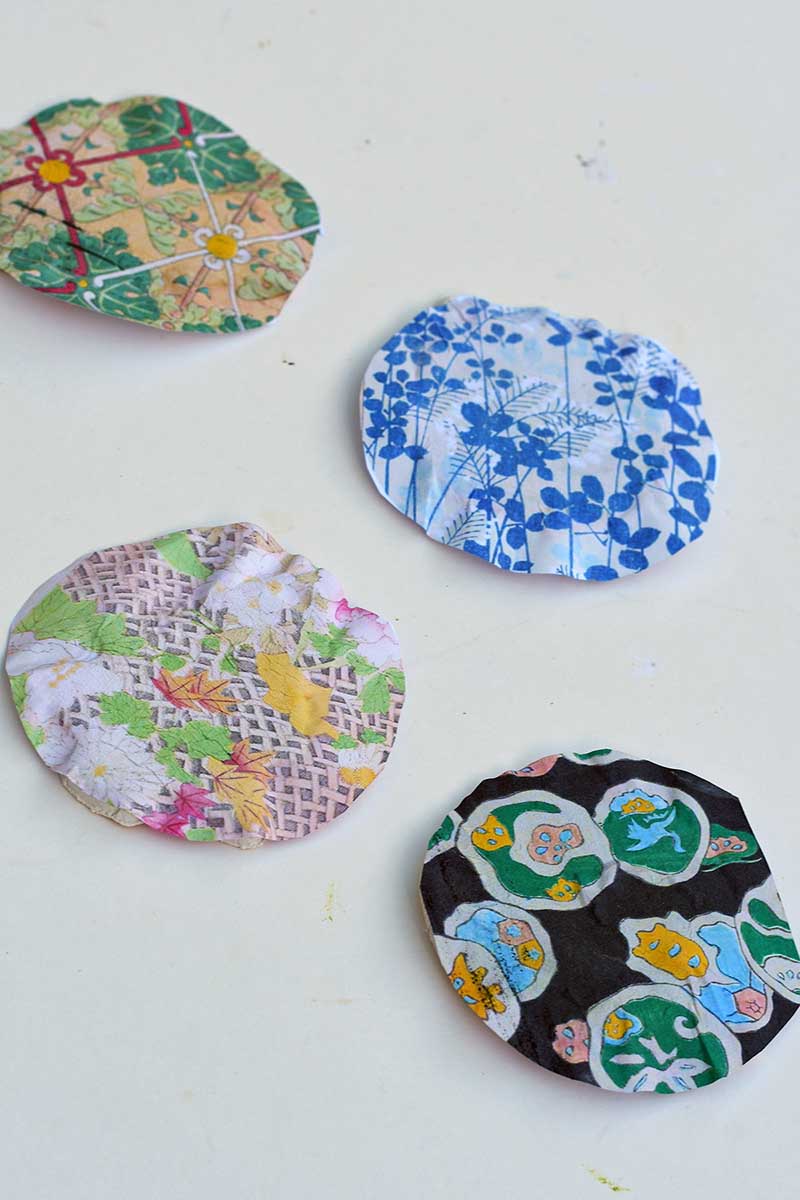
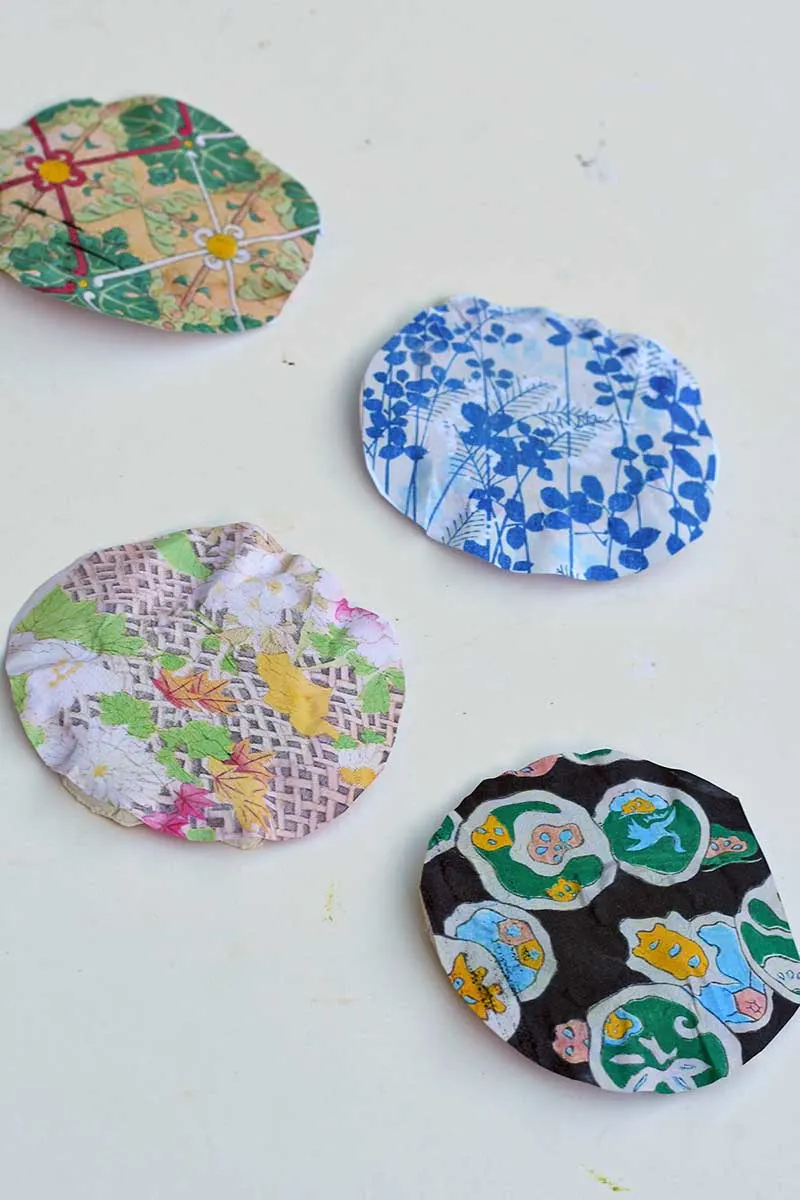
Step 7: Leave the ornaments to dry out thoroughly. This will vary depending on the climate that you live in, but the best way is to leave them until at least the next day. If they feel firm and dry to the touch, the clay is ready for the next step.
Finishing Off The Clay Project
Step 8: Use the sandpaper on the dry ornaments to remove any excess decoupage paper and ensure a smooth finish by removing the rough edges.
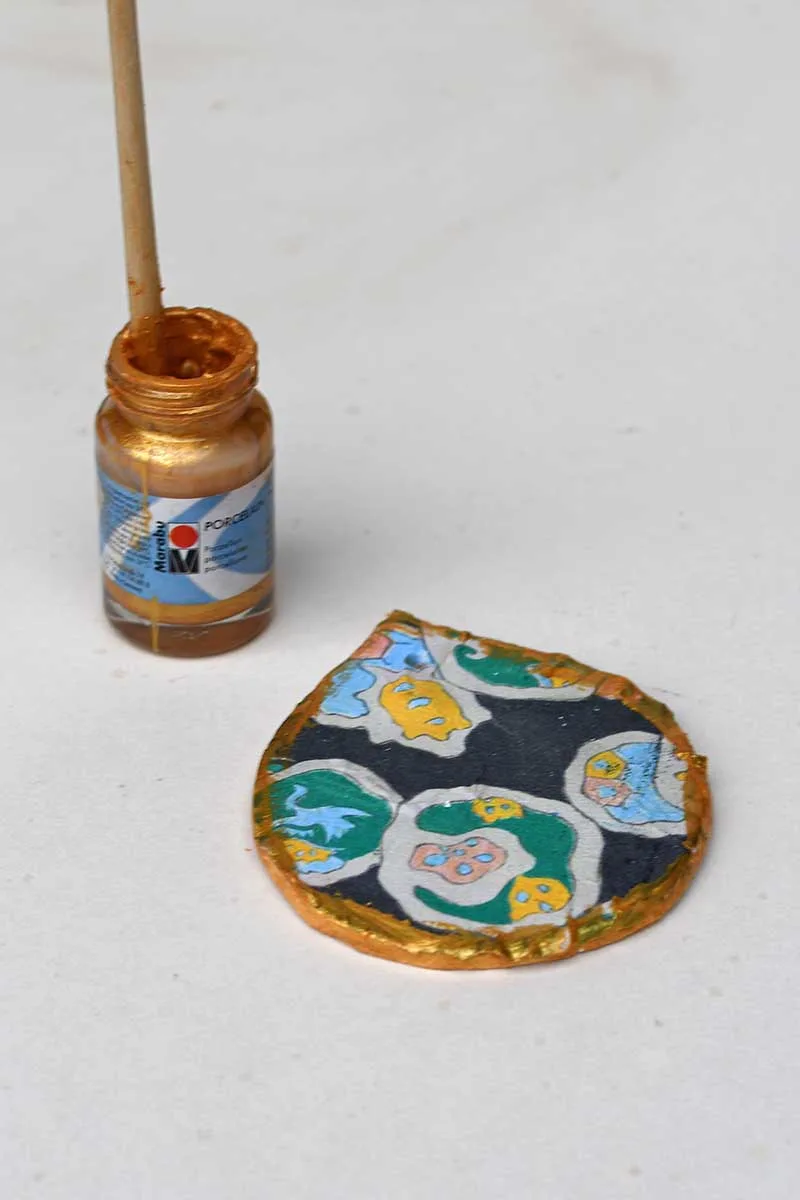
Then paint to the edges of the ornaments with gold acrylic paint, this adds an elegant flair to your Christmas decorations.

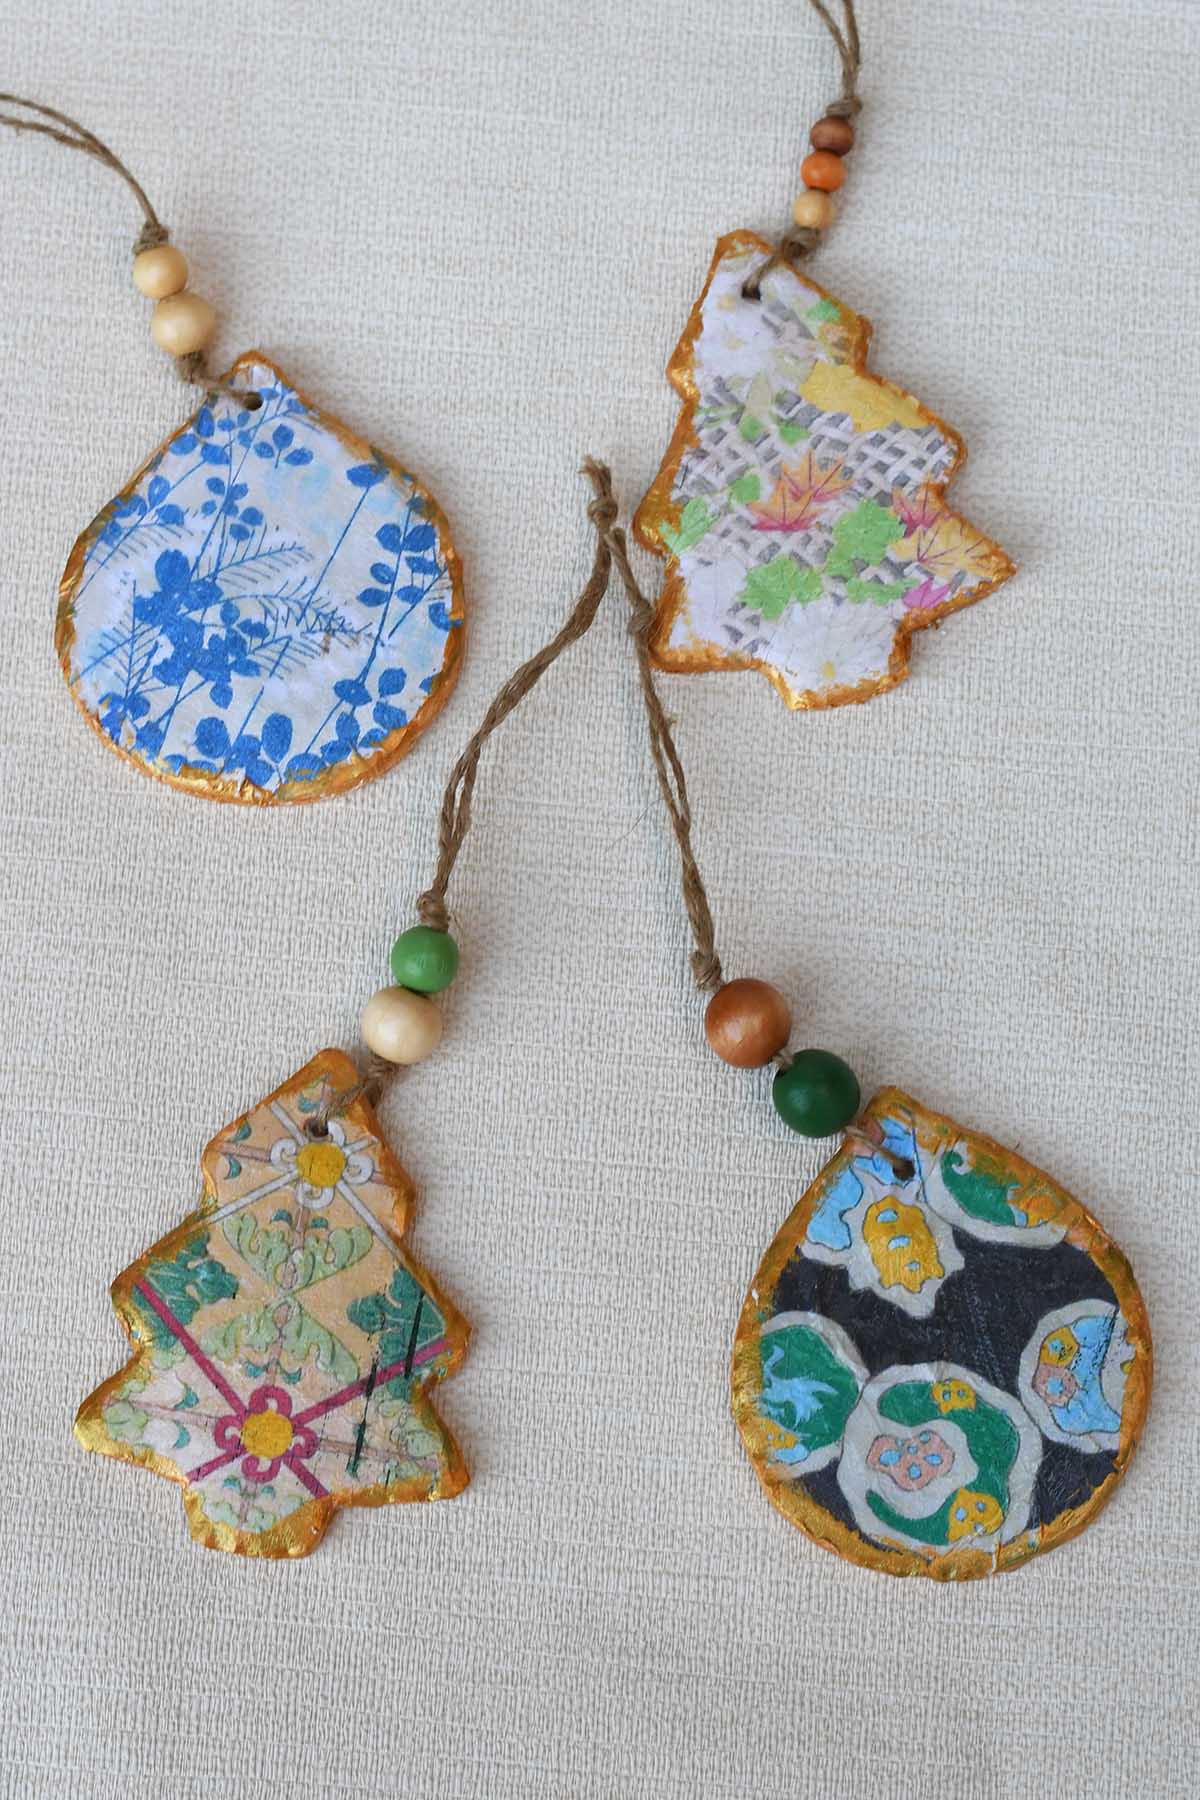
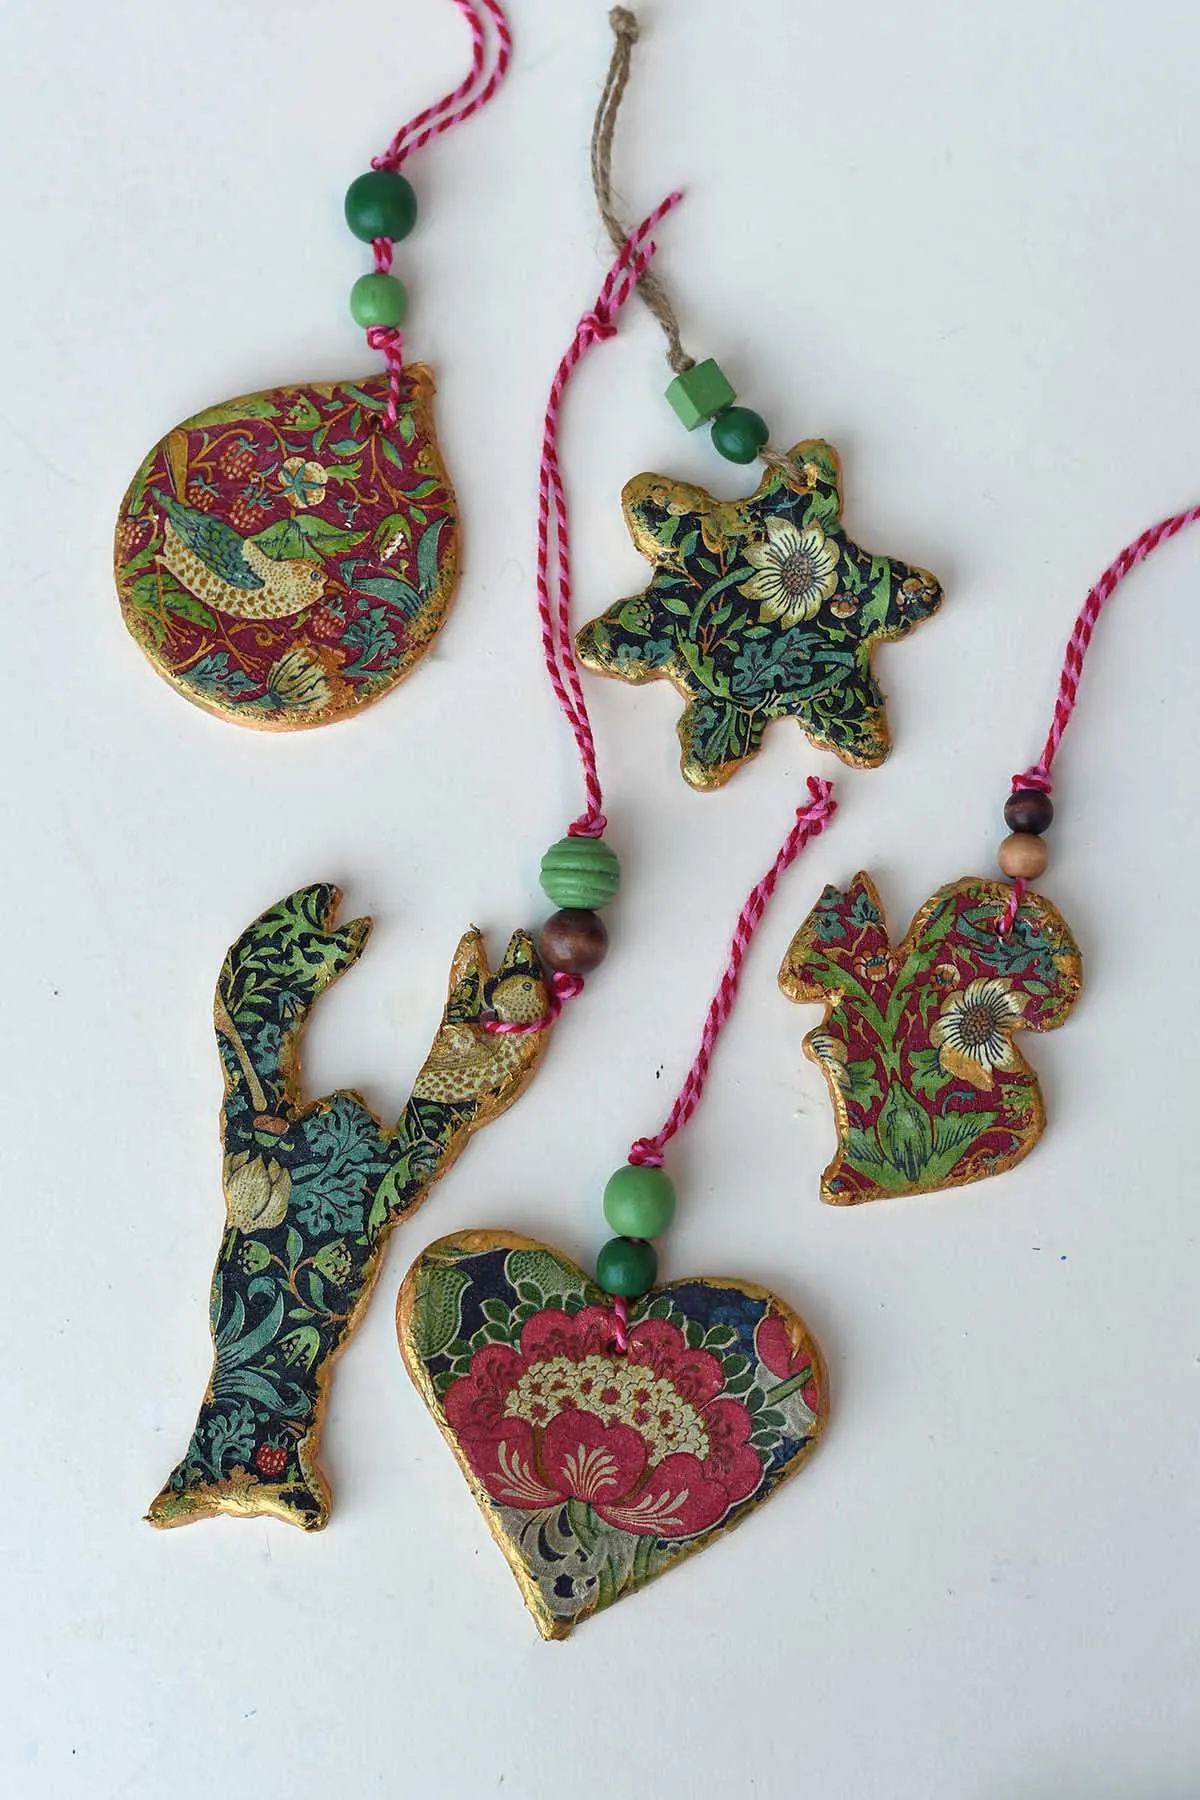
Step 9: Paint another layer of decoupage glue (or varnish) over the top of the ornament to protect it. Then, thread some twine and beads through the hole to make an ornament hanger.
I love these vintage-style ornaments, especially the clay Christmas tree ones.

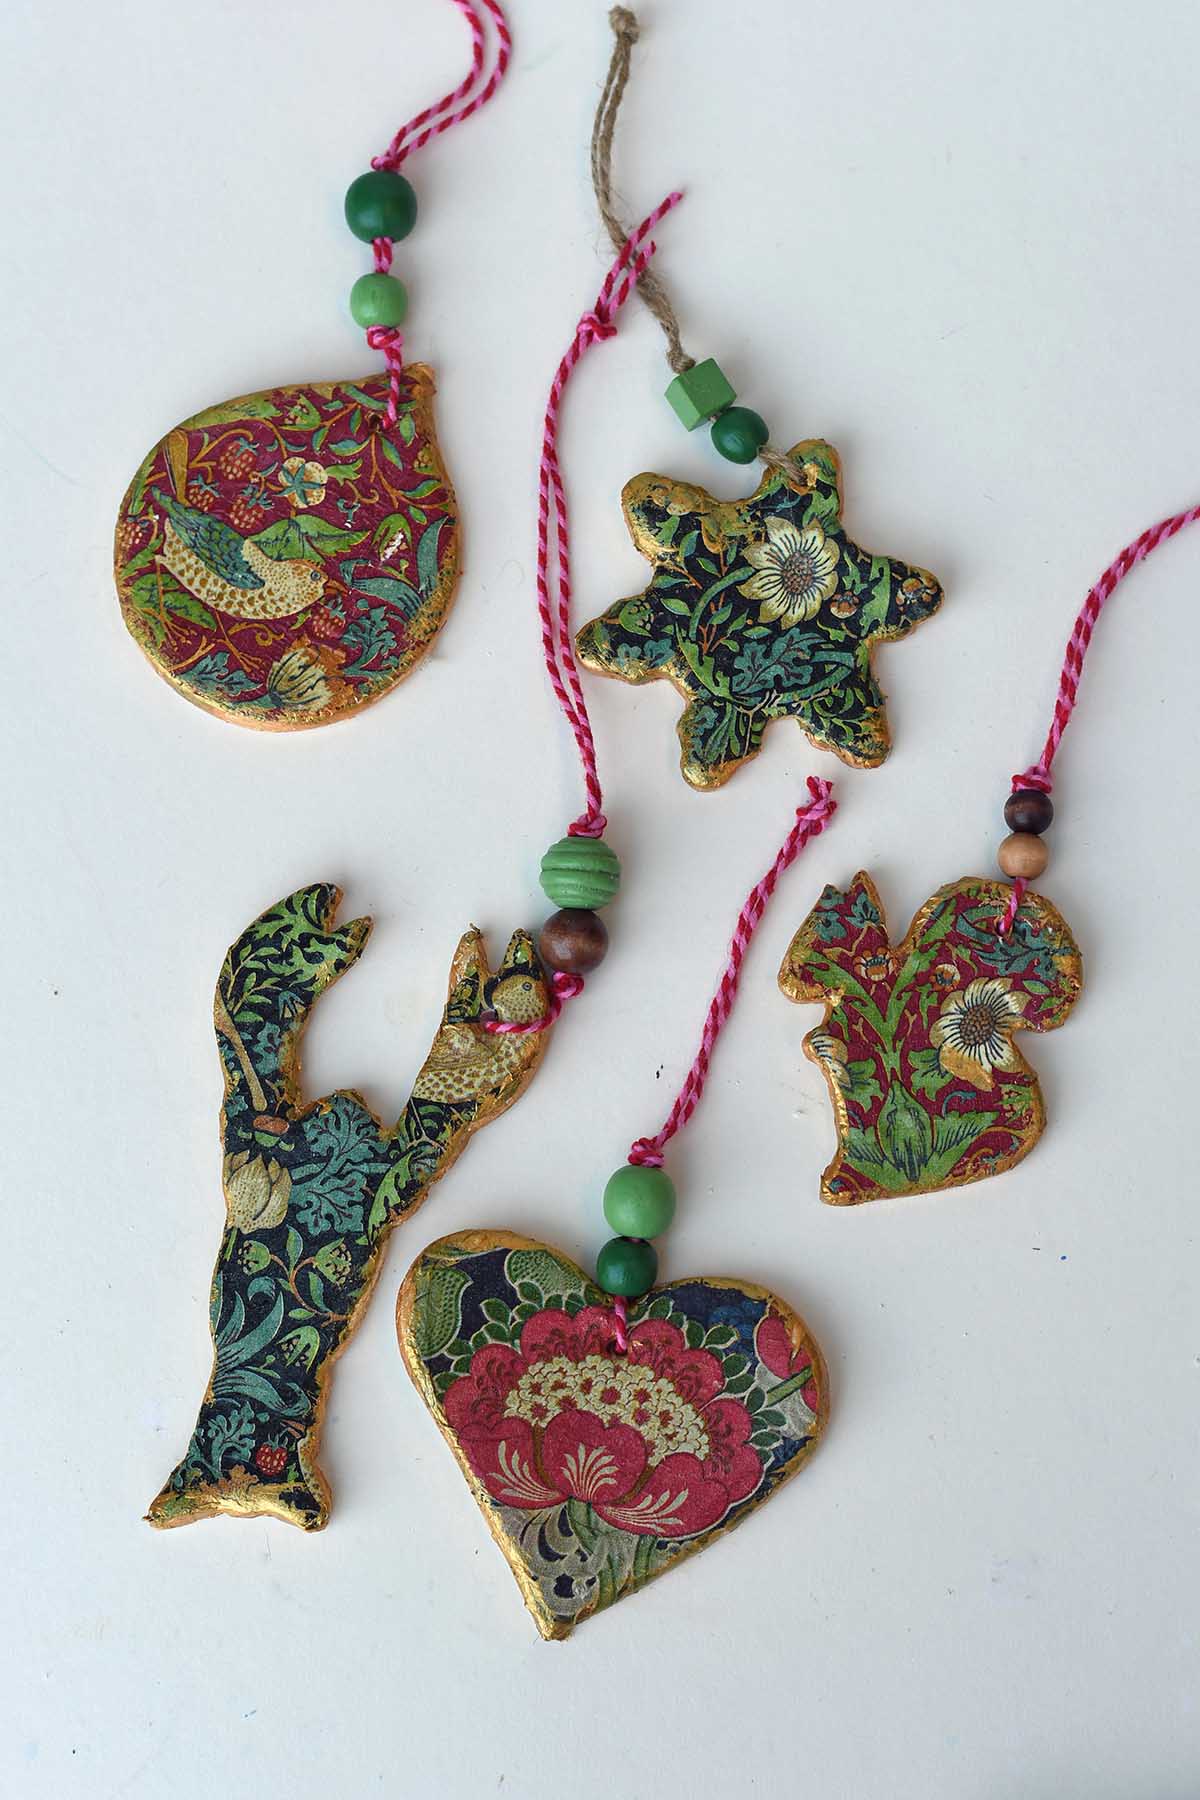
Not only do they make great Christmas tree ornaments, but they also work well as gift tags and party favours.
Adding a few drops of essential oils to the clay will absorb it, and then it can be used as an air freshener for the car.
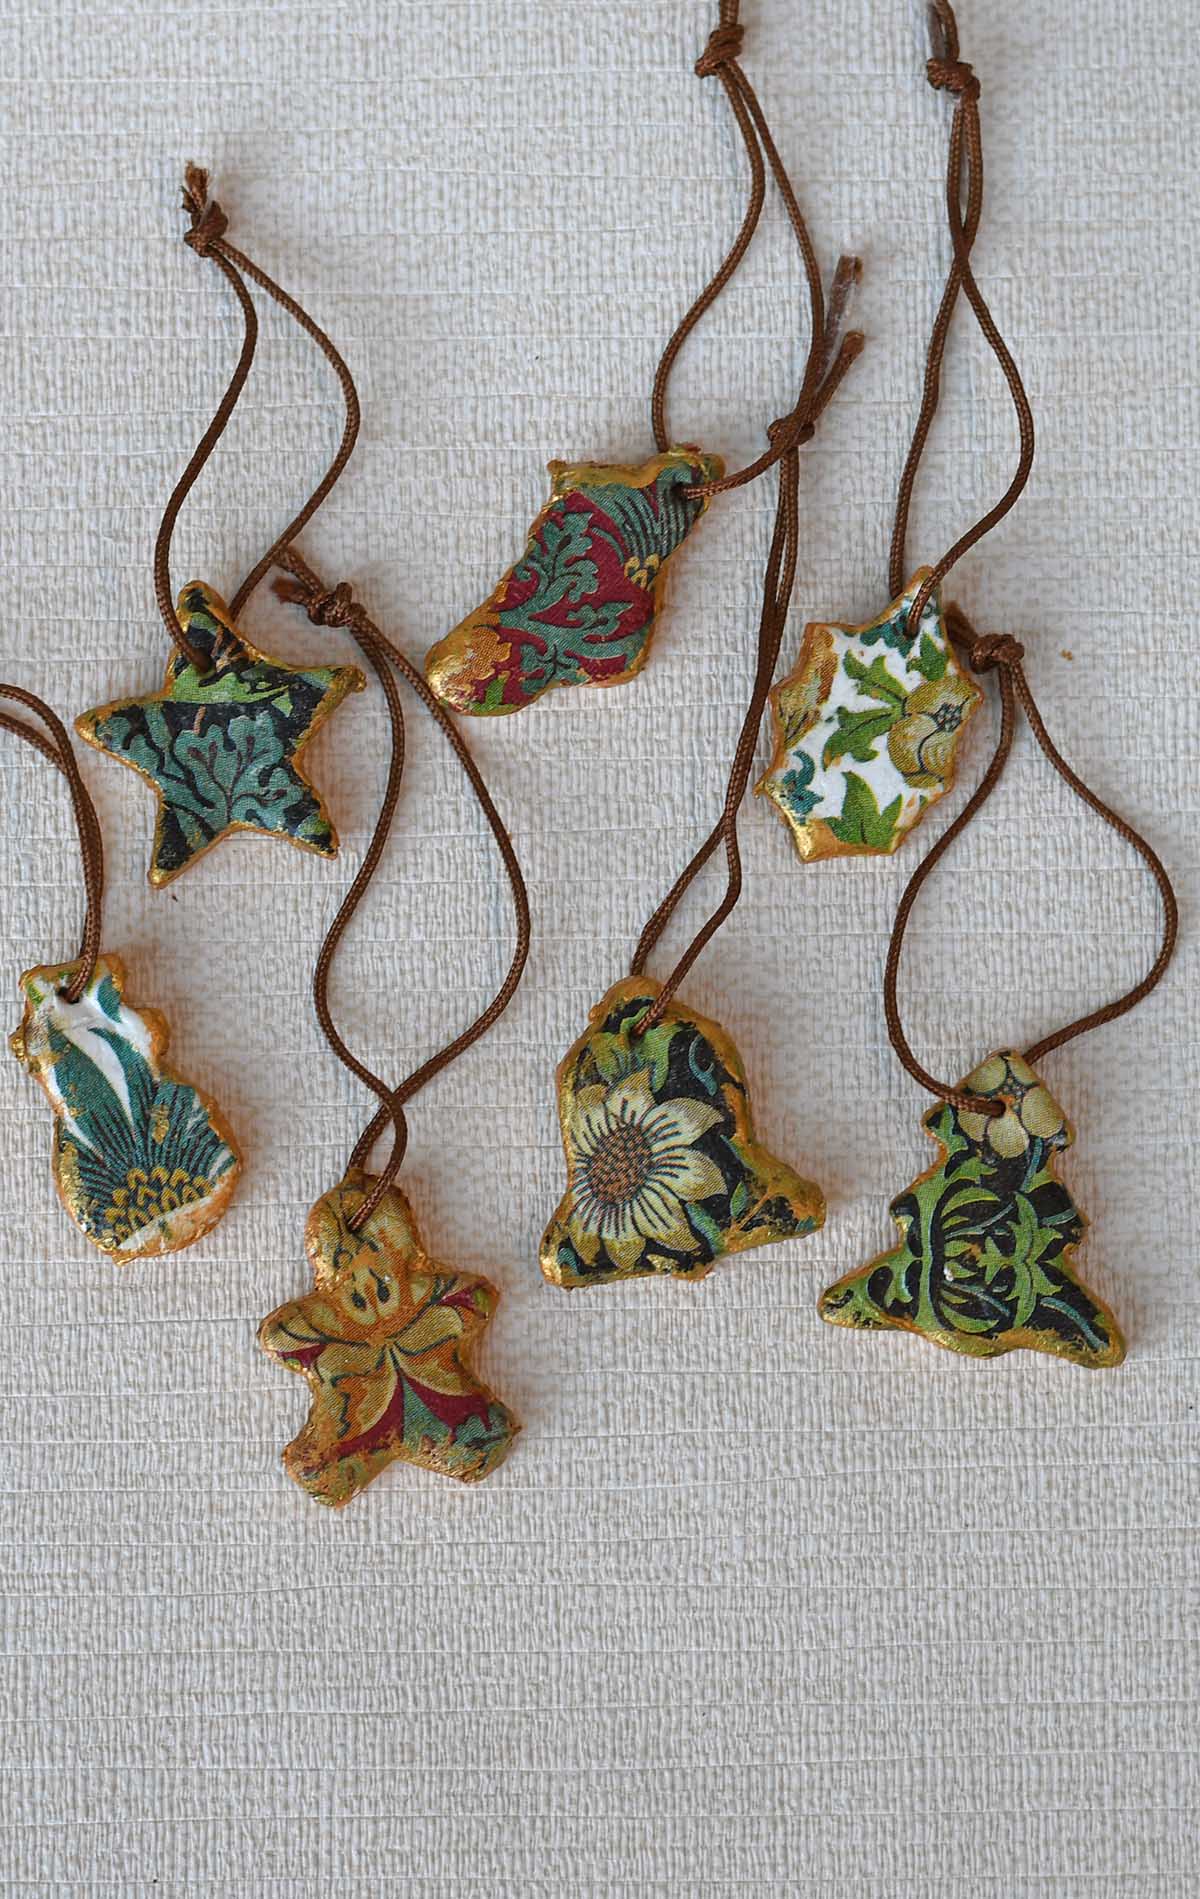
If only a small amount of clay is left, you can use mini cookie cutters and make some wine charms. Or check out these other fabulous air dry clay ideas.

Other Ideas and Related Posts
Suppose you want to make your air dry clay ornaments more traditionally Christmassy. In that case, plenty of vintage Christmas images are on the site, including these delightful Scandinavian Christmas cards, which would look great decoupaged on clay.
Or you could dive into all the vintage natural illustrations on the site and use them to make ornaments like these tropical bird jar lid ornaments. Also, check out these free printable Christmas ornaments for more William Morris and Japanese patterned Christmas decorations
Don’t forget to check out the other vintage pattern collections on the site from Owen Jones Grammer of ornament and the patterns of Albert Racinet.

If you fancy, you can Buy Me A Coffee Here.
Janice
Friday 15th of May 2026
These are lovely! What set of prints did you use for the second set of finished ornaments with the vivid reds (after the air freshener idea) and the third set (the mini-ornaments with the great greens!)? I'm new to finding your website, but out of curiosity, is there a way to search by color or topic? I'm really looking forward to looking through the art nouveau prints. By the way, there's also some fun stuff at thegraphicsfairy.com. THANKS!!!
Janice
Monday 18th of May 2026
@claire, Hi again and thanks for the info. ;-)
claire
Monday 18th of May 2026
Thank you, the prints I used were either William Morris or Japanese Patterns.
Beth
Sunday 2nd of February 2025
They are really lovely, what if anything did you put on the backs? More gold paint or double sided decoupage? Thanks
claire
Monday 3rd of February 2025
Double sided decoupage would be a good idea or more gold would work too. Thank you.
Jeanne
Sunday 3rd of December 2023
Very cool post and great ornament results!
claire
Tuesday 5th of December 2023
Thank you, I had fun making them.
Catherine Sokolowski
Friday 1st of December 2023
Your ornaments are gorgeous! I pinned and will definitely be making, or at least trying, some. They will look great on my tree and I know a few people that would love sthem for their trees.
claire
Friday 1st of December 2023
Thank you so much, they are fun to make. You can also use them as tags and write on the back.
janet trieschman
Thursday 30th of November 2023
Great project. Napkins would work well for images too. Thanks for sharing with Creatively Crafty Link Party.
claire
Friday 1st of December 2023
Thank you, yes printed napkins are great to use as well, if you can find the designs you want.