
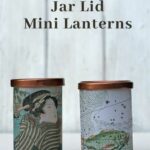

This is an upcycle which uses the gorgeous vintage images on this site to make cute mini DIY tea light lanterns.
This is a very affordable craft. It uses printable vellum paper and upcycled jam jar lids to make fun mini tea light lanterns. The pictures on the lantern can be changed to reflect the seasons, or when you fancy a change.
The options are endless, you can make Japanese style mini lanterns, butterfly lanterns, flower lanterns or even map lanterns of your favourite places. Any of the vintage image collections on Picture Box Blue can be turned into one of these tea light lanterns.
Some images will work better then others. But as they are so easy and cheap to make you can afford to have fun finding the best ones.
We are a participant in the Amazon Services LLC Associates Program, an affiliate advertising program designed to provide a means for us to earn fees by linking to Amazon.com and affiliated sites. As an Amazon Associate, I earn from qualifying purchases.
(There is a printable how-to card for this craft at the end of the post.)
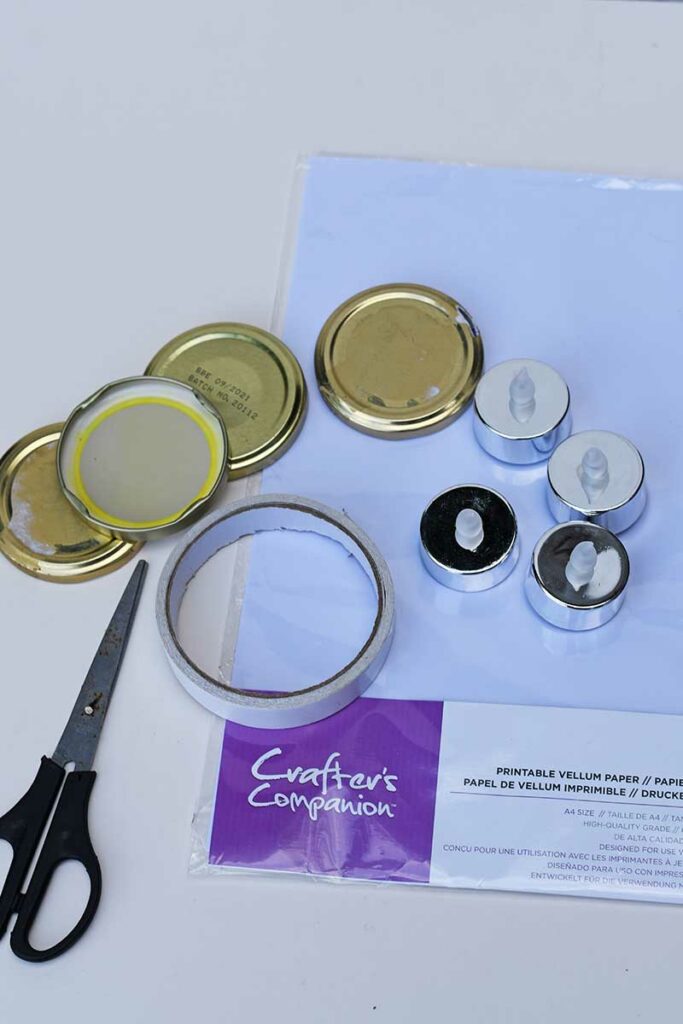
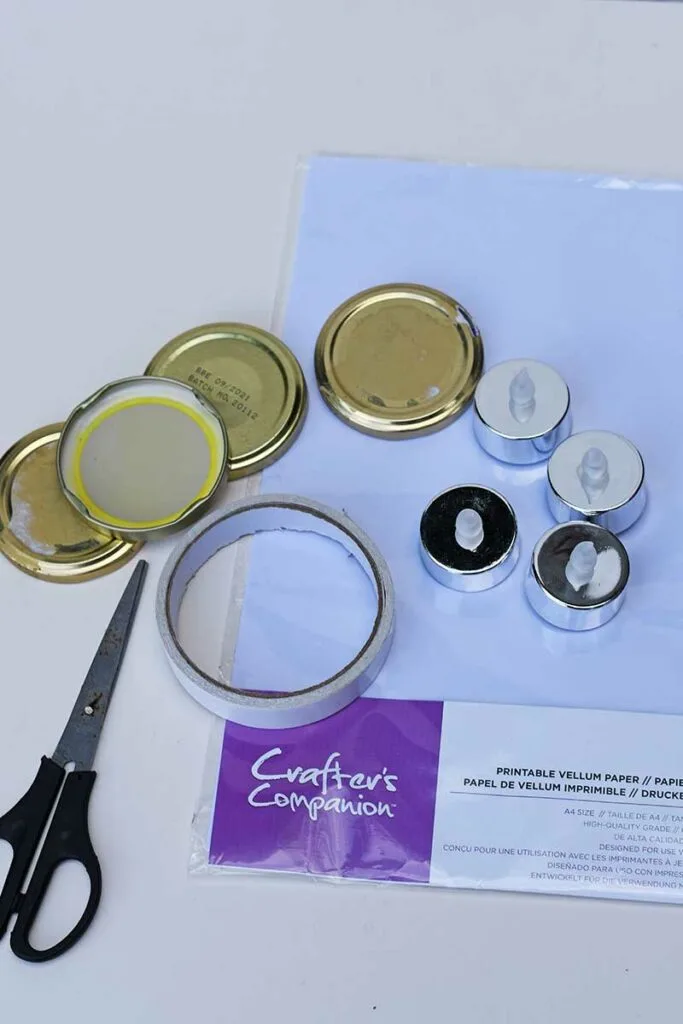
What You Need To Make DIY Tea Light Lanterns
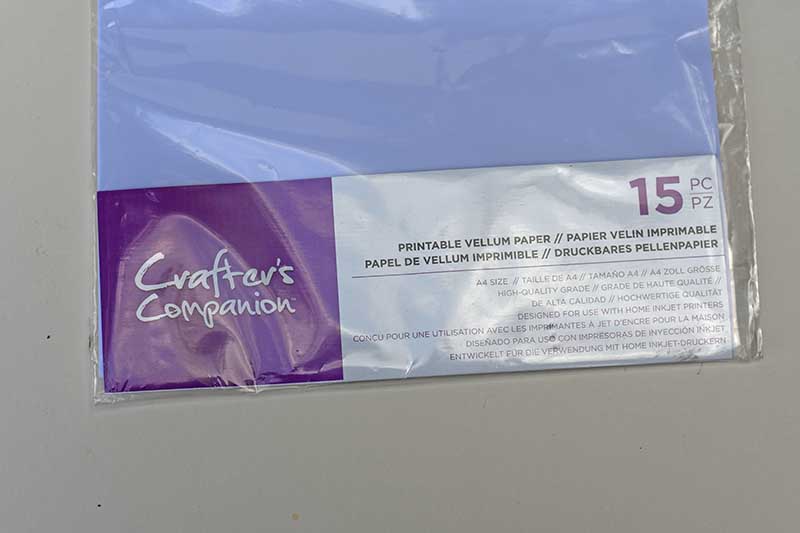
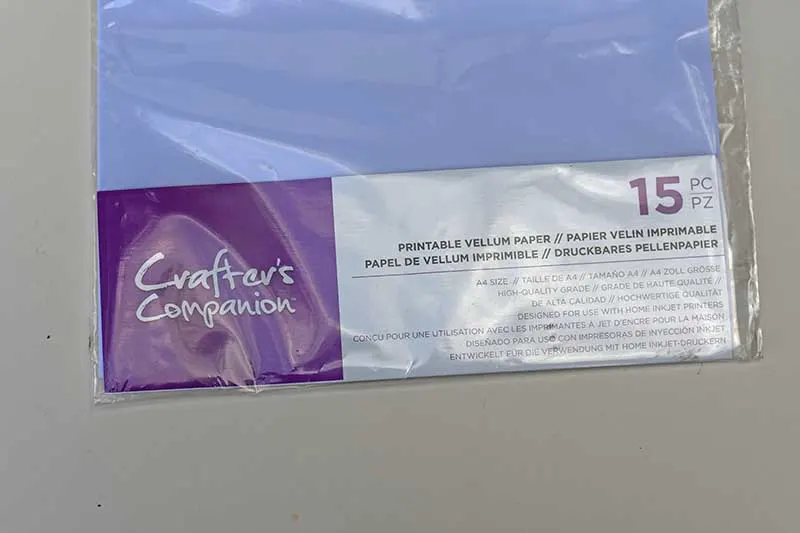
- Printable vellum paper – Vellum paper is a semi-transparent paper like tracing paper. The thicker the paper you can get the better. But as these are mini lanterns, even thin vellum paper will stand up well.
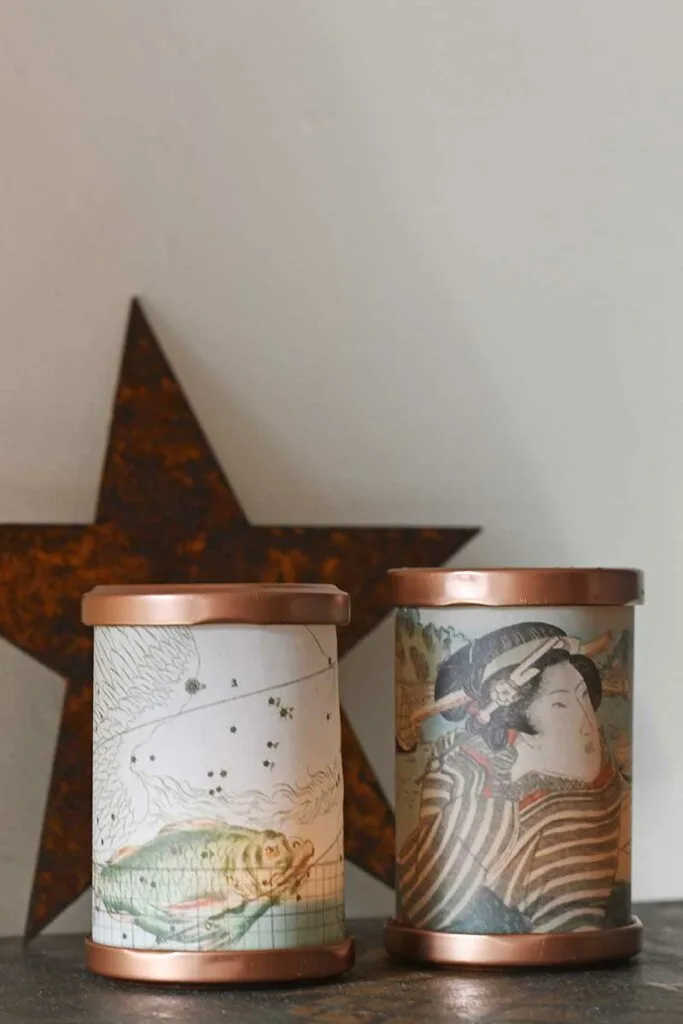
- Jam Jar lids – I used food jar lids from average sized jars, these were about 20cm in diameter. You will need 2 lids the same size for each mini lantern.
- Copper spray paint for the jam jar lids
- Double sided sticky tape
- Measuring tape and scissors
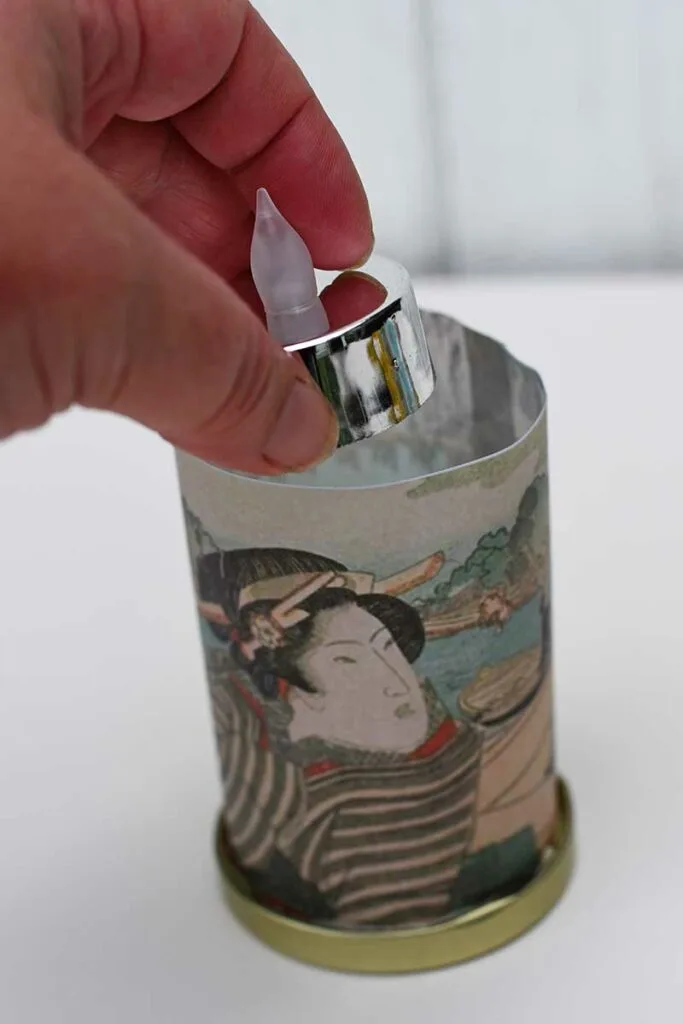
- Battery tea lights – The remote controlled tea lights are best as they can easily be switched on and off.
How To Make the Mini Vintage Image Lanterns
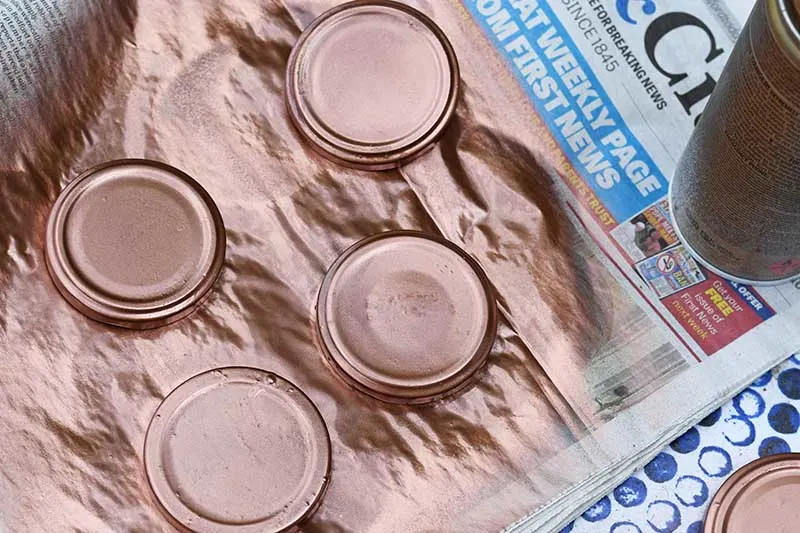
Step 1: First, spray paint the jam jar lids with the copper spray paint. You will need two lids of the same size for each DIY tea light lantern.

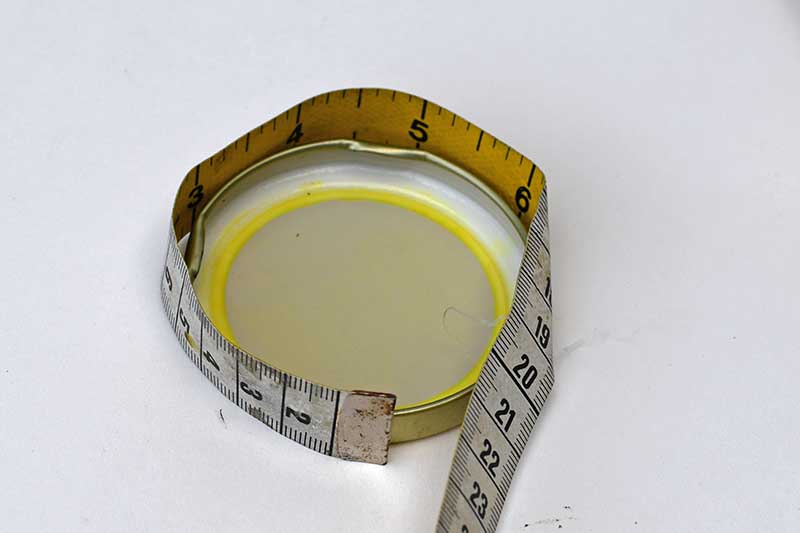
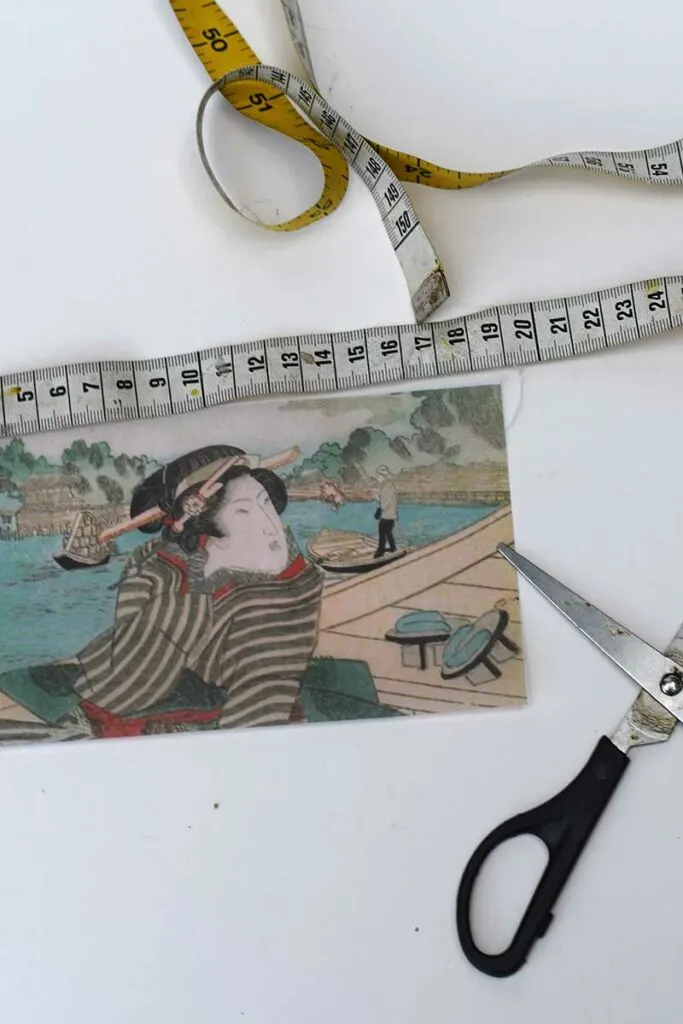
Step 2: Measure the circumference of the jam jar lid. This is the length that the printed vellum image will need to be, plus a 5mm allowance, for an overlap.
Printing the Lantern Skins
Step 3: The lantern skins are printed onto the vellum paper using a home inkjet printer. I found that the width of standard A4 (letter paper) was the perfect length for the lanterns. And I managed to fit three different lantern designs on each piece of paper.
Software packages such as CANVA and Photoshop are great for arranging pictures on paper. Below are some of the examples I printed from the vast collection of images on Picture Box Blue to use for the lanterns.
If you want to use any of these for your DIY tea light lanterns, just click on the title above the set of images and it will open in a new window in your browser. The image can then be printed or saved to the hard drive.
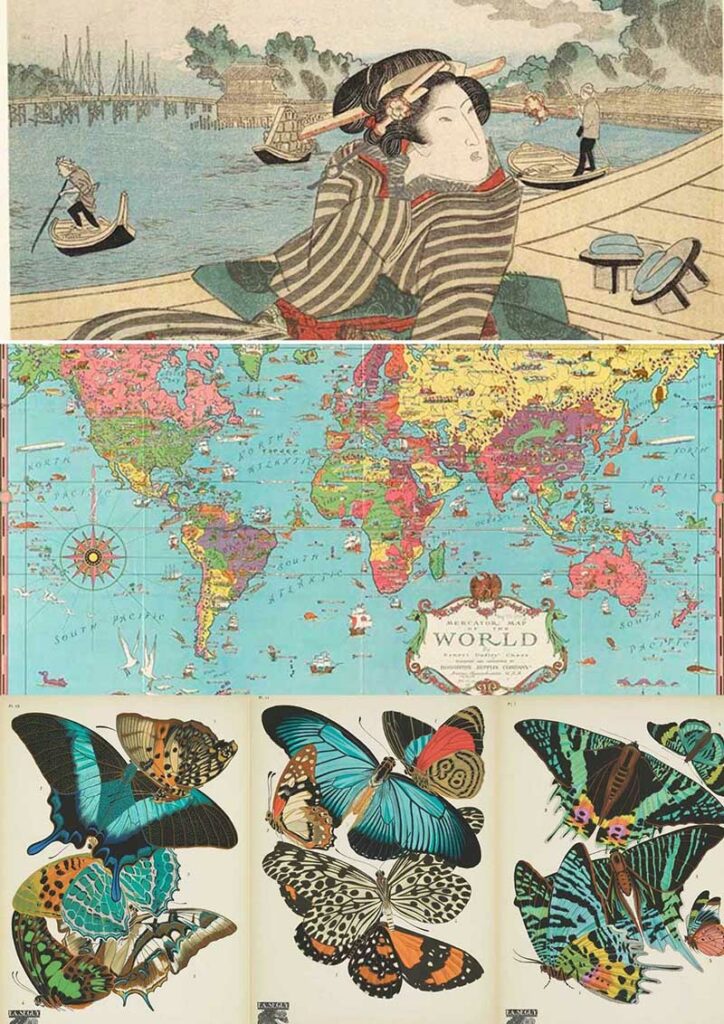
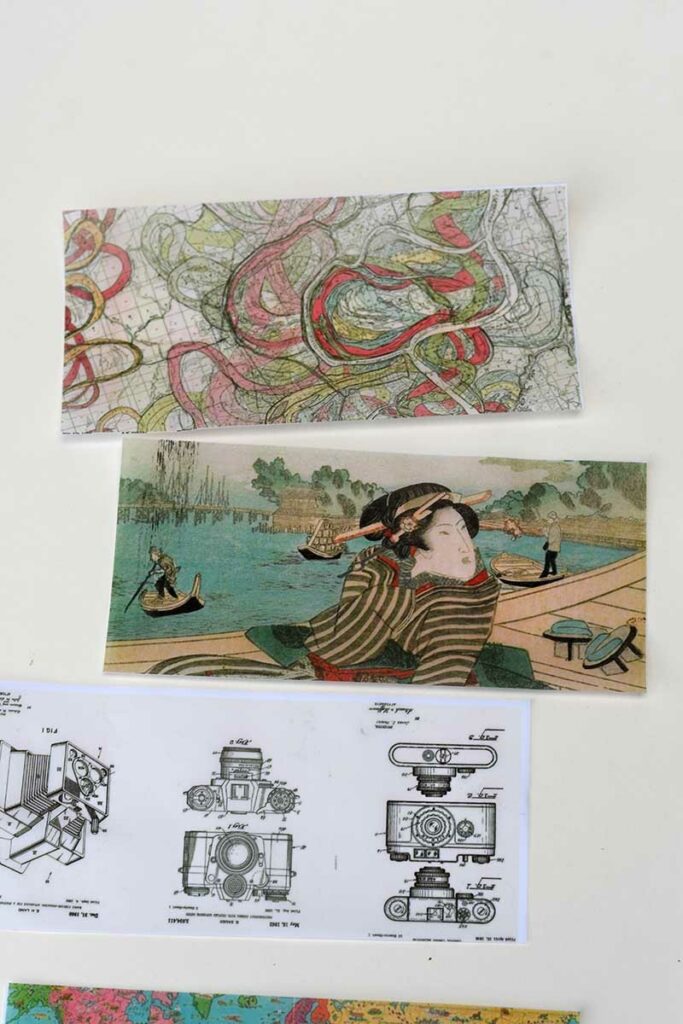
DIY Tea Light Lantern Skins Set 1
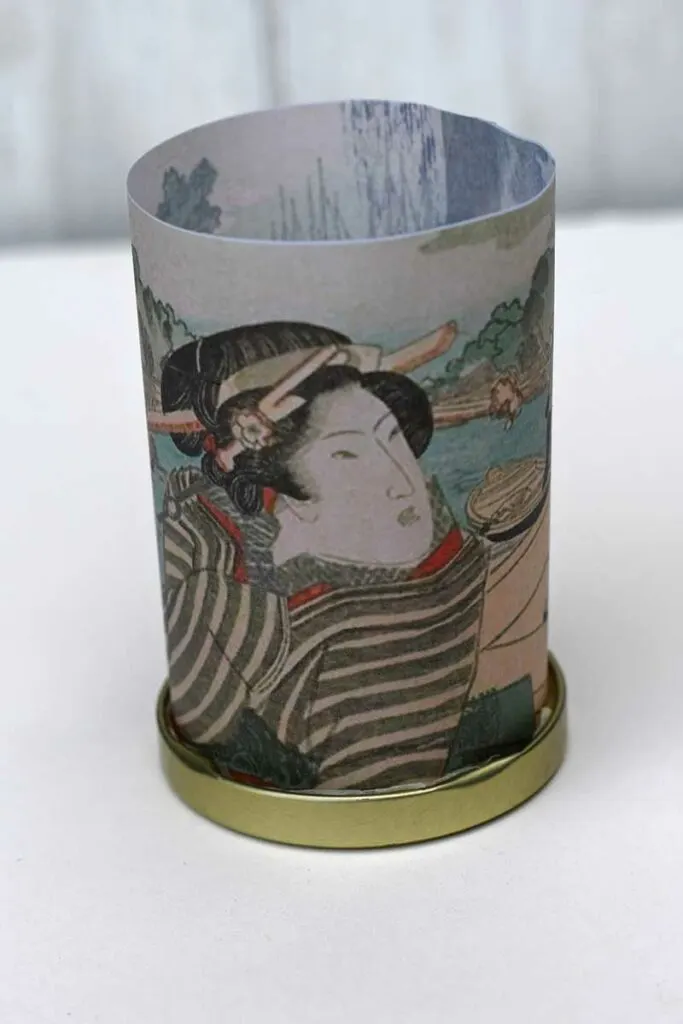
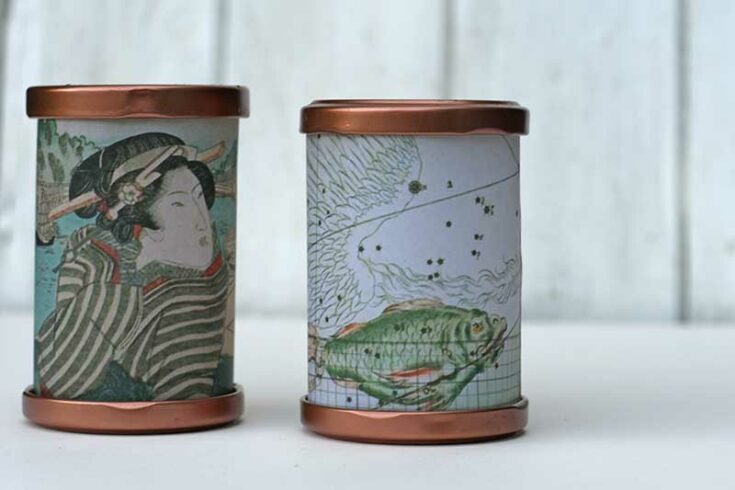
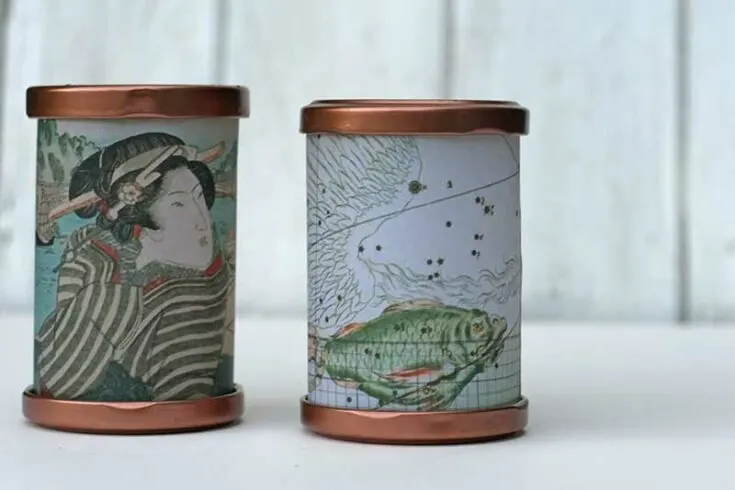
- The first image is from a Japanese woodcut from the vintage Japanese image collection.
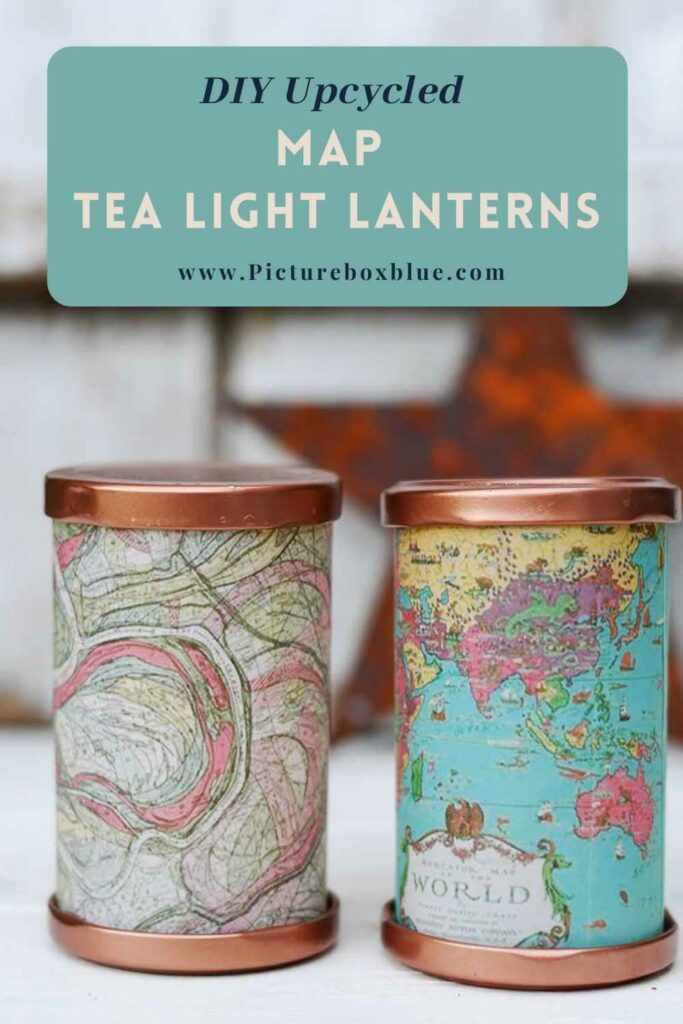
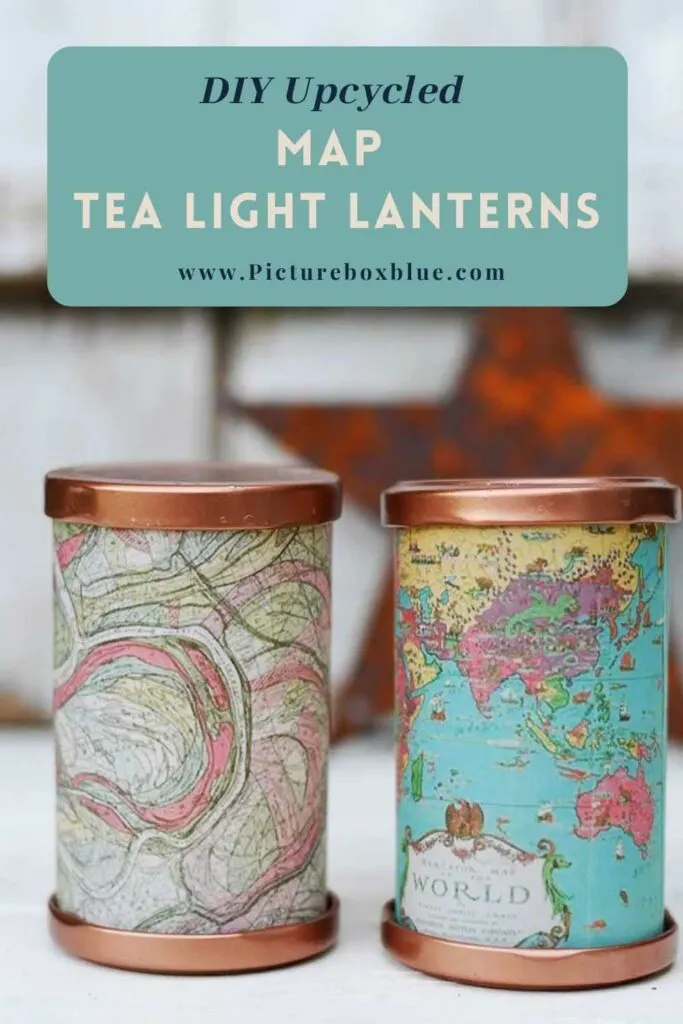
- The second images is a Ernest Dudley Chase pictorial world map.
- Finally the butterflies are an example of the Emile-Allain Séguy Pochoir Prints.
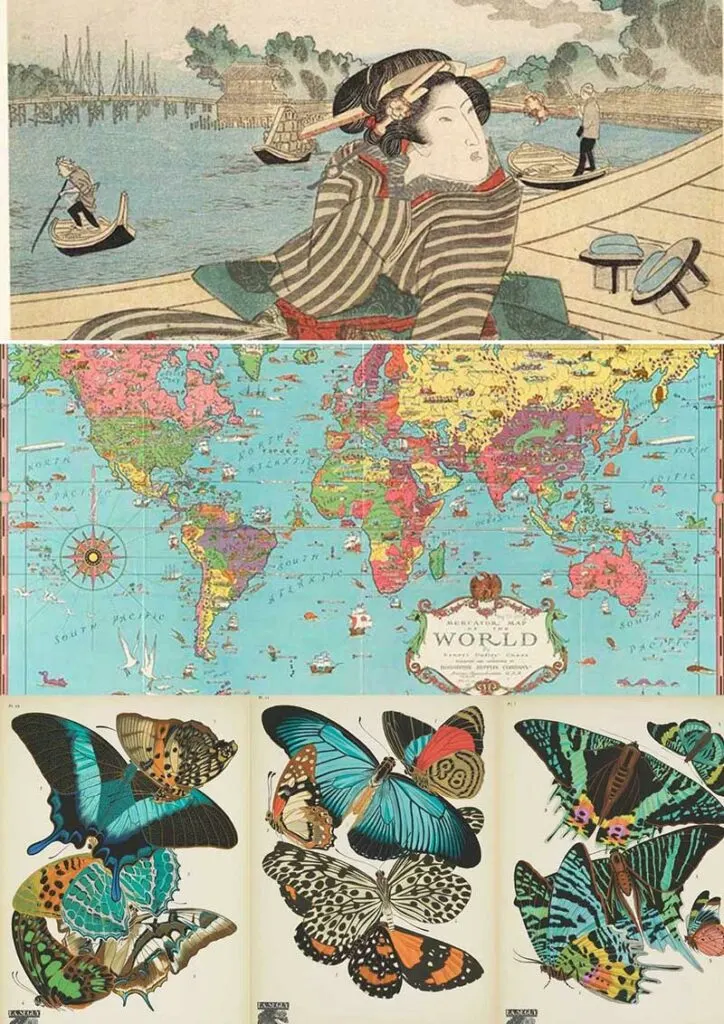
Mini Lantern Skins 2
- Vintage passion flower image find more vintage flowers here.
- Mirandaing Mississippi river map.
- Vintage patent of a camera from the patent image collection.
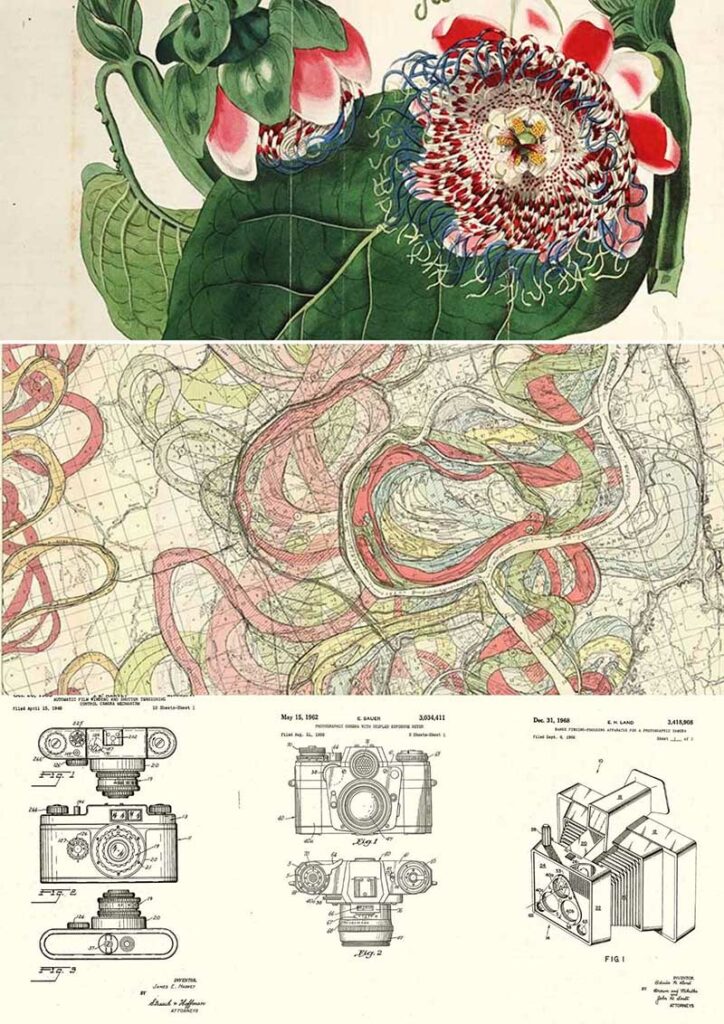

Mini Lantern Skins 3
- Vintage tiger drawings.
- William Morris designs and patterns.
- Vintage zodiac star charts of John Bevis.

Step 4: Cut out the lantern image you want to use from the printed vellum paper. If you have a paper guillotine use that to get a nice straight edge. But scissors will do.

Step 5: Make sure that the length of the printed vellum is long enough to fit inside the jam jar lid (allow 5mm for an overlap).

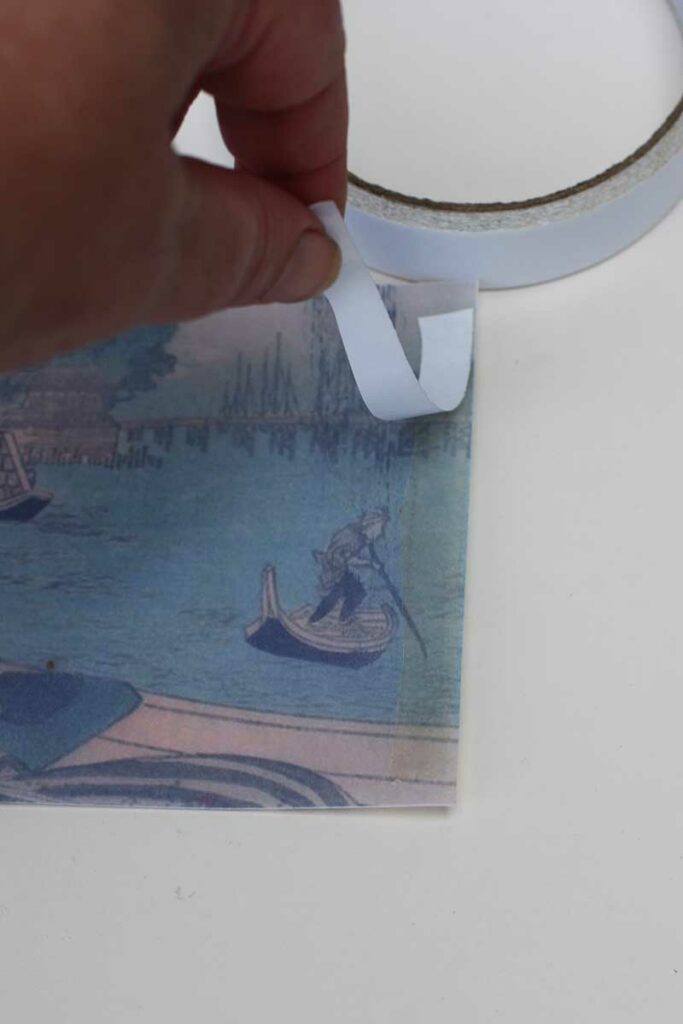
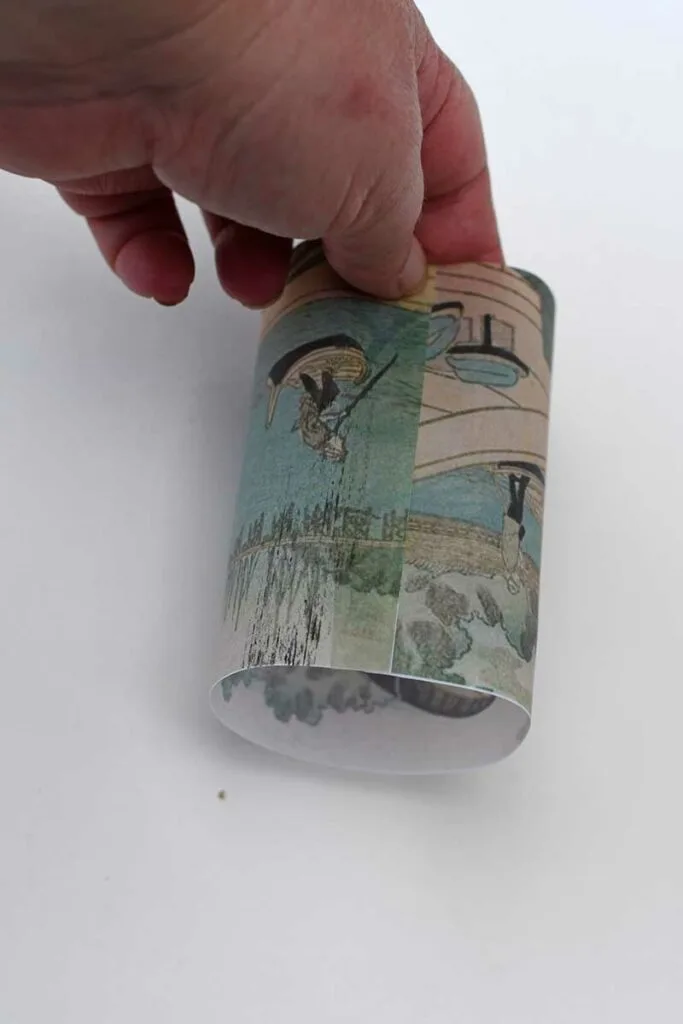
Step 6: Next, add a strip of double-sided sticky tape to the edge of the back of printed vellum paper. Then roll the paper into a tube and fix it in place with the sticky tape.


Step 7: Place the printed vellum paper tube into the jar lid. Then add a tea light before putting another lid on the top. I didn’t secure the jar lids with glue so I could easily change the images whenever I wanted. However, if you are making more permanent DIY tea light lanterns, glue can be used to fix the sleeves to the lids.


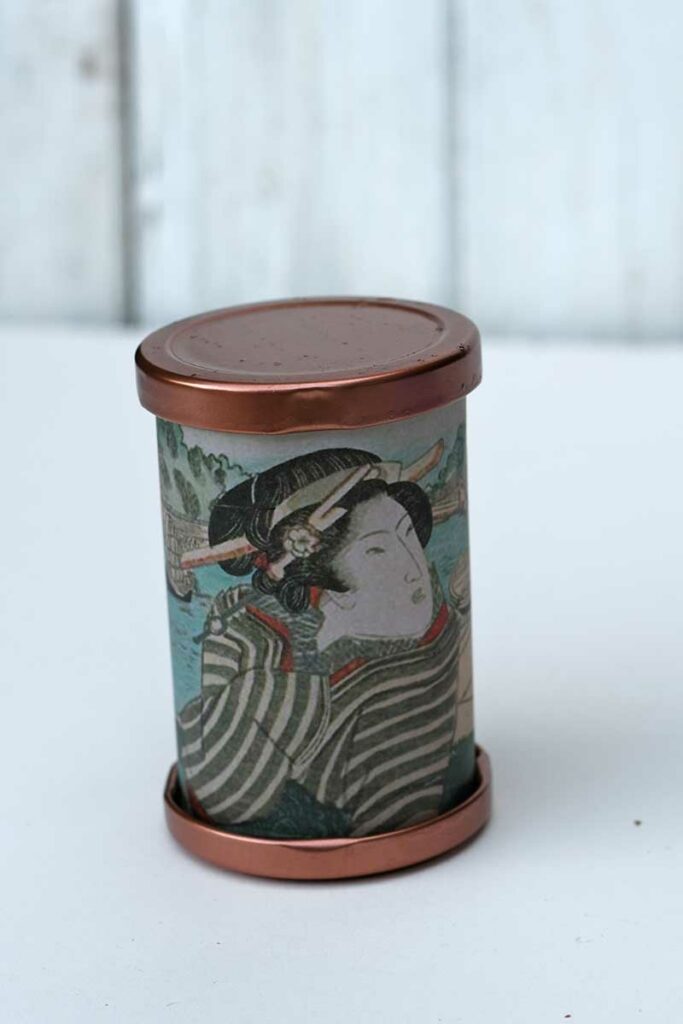
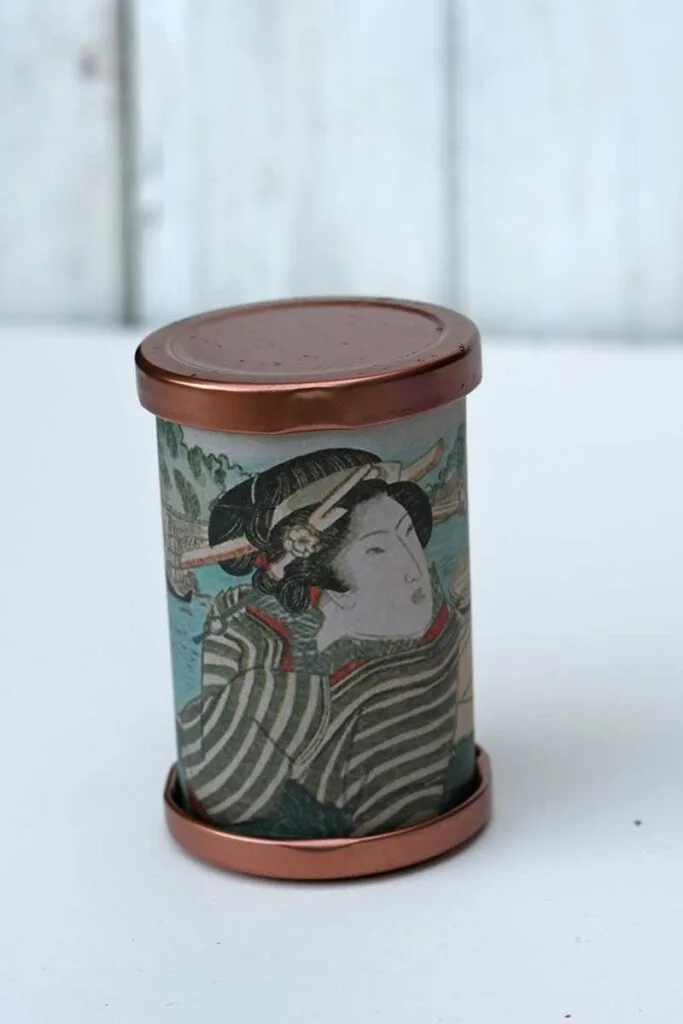
I love how cute these mini tea light lanterns look on my mantle and you can have fun trying out different vintage images. I’m very fond of old maps, so I made a couple of map versions.


If these mini tea light lanterns are a little on the small side, I do have a giant version on Picture Box Blue made with an IKEA floor lamp hack and the Louis Renard fishes.
Don’t forget to check out all the other craft DIY ideas for using vintage images on Pictureboxblue.com and make sure you have these crafting essentials in your craft cupboard.
Mini Tea Light Lanterns
How to print the vintage images and maps on Pictureboxblue onto vellum paper and then use them to make cute mini DIY tea light lanterns. A very affordable craft that uses upcycled jam jar lids and is very easy to do.
Materials
- Small jam jar lids - two for each DIY tea light lantern
- Printable vellum paper (like tracing paper)
- Double sided sticky tape
- Copper spray paint
- Battery powered tea lights
Tools
- Scissors
- Ink Jet Printer
- Measuring tape
Instructions
- Wash and soak the jam jar lids to remove any lables. Then spray paint them with the copper paint.
- Choose what vintage images or maps you want to use for the lanterns and print them on to vellum paper. You should get three designs on sheet of paper. There are many free sleeves to choose from on the blog or design your own.
- Measure the circumference of the jar lid and cut the printed vellum paper to fit. The printed image length should be the same as the circumference of the jar lid plus an additional 5mm for overlap.
- Place a strip of double sided sticky tape on the back of the printed paper and make it into a tube.


- Next, place the printed paper into the jar lid, then add a tea light. Then place another jar lid on the top of the lantern.
Kathy
Saturday 16th of October 2021
Your IKEA lamp hack is beautiful! The picture looks like it could be an ad from a catalog. Thanks for the idea and for sizing images for us.
claire
Sunday 17th of October 2021
Thank you, it is a fun piece. I'm thinking of doing a butterfly version.
Pam
Thursday 14th of October 2021
These are so awesome. Thanks for the pretty prints to download, too. I'm featuring this at the TFT party today. Congrats!
claire
Thursday 14th of October 2021
Thank you so much, that is awesome. I look forward to seeing the feature.
Niki - Life as a LEO Wife
Friday 8th of October 2021
Making holiday prints would be a beautiful decoration at Christmas, Halloween, or Easter! Thanks for sharing on Happiness is Homemade at LifeasaLEOWife.com! We'd love to have you come share on my other link party, Traffic Jam Weekend, which is open now.
claire
Saturday 9th of October 2021
Thank you so much. Yes, holiday lanterns would be a great idea too.