
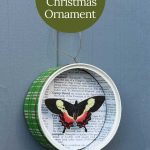
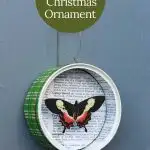
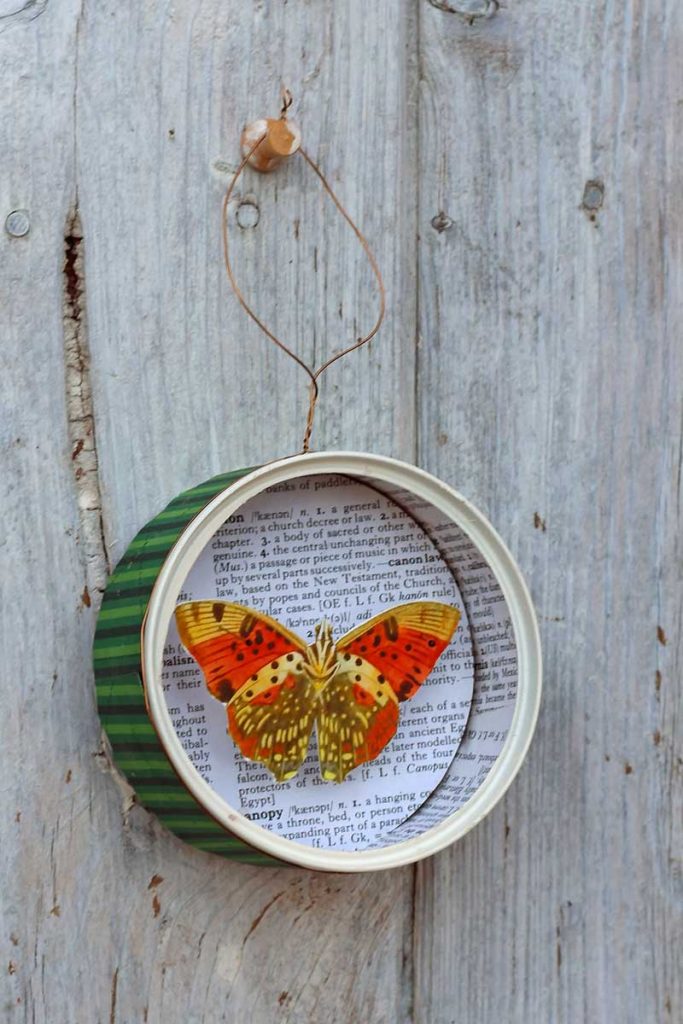
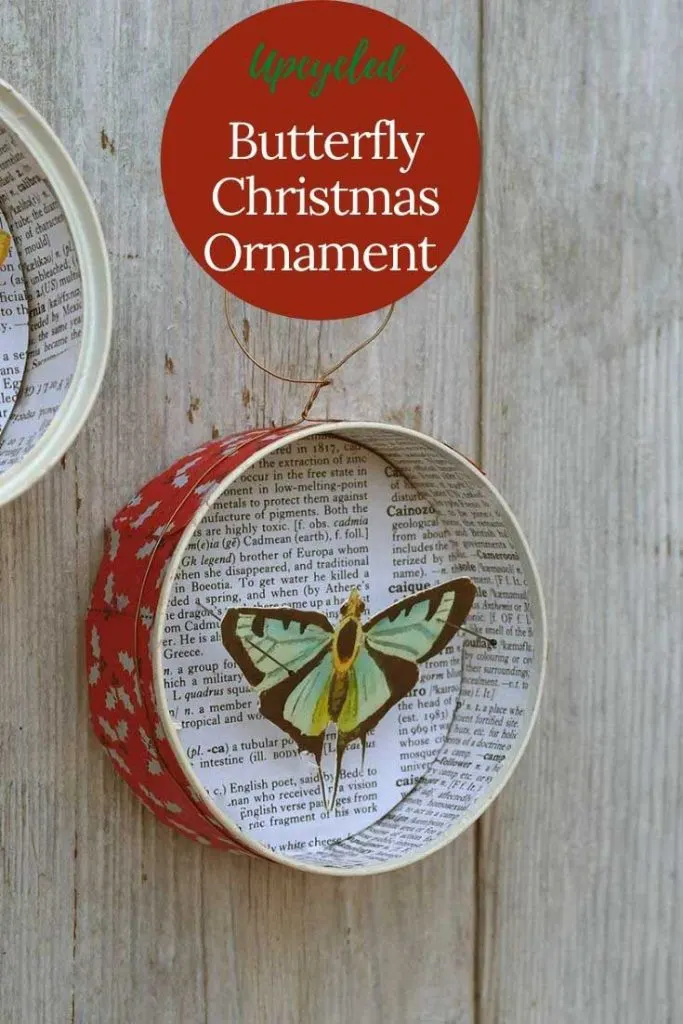
Give your holiday tree a touch of vintage charm with this DIY butterfly ornament made from up-cycled tuna cans and vintage natural history illustrations. The tutorial guides you through painting or decoupaging the tins, selecting butterfly printables, and assembling a miniature display that’s stylish, recycled and full of character.
I started this blog because of my love of vintage maps and natural history images. I used to spend many hours as a child pouring over pictorial encyclopedias. I have made this DIY butterfly Christmas ornament to reflect my interest.
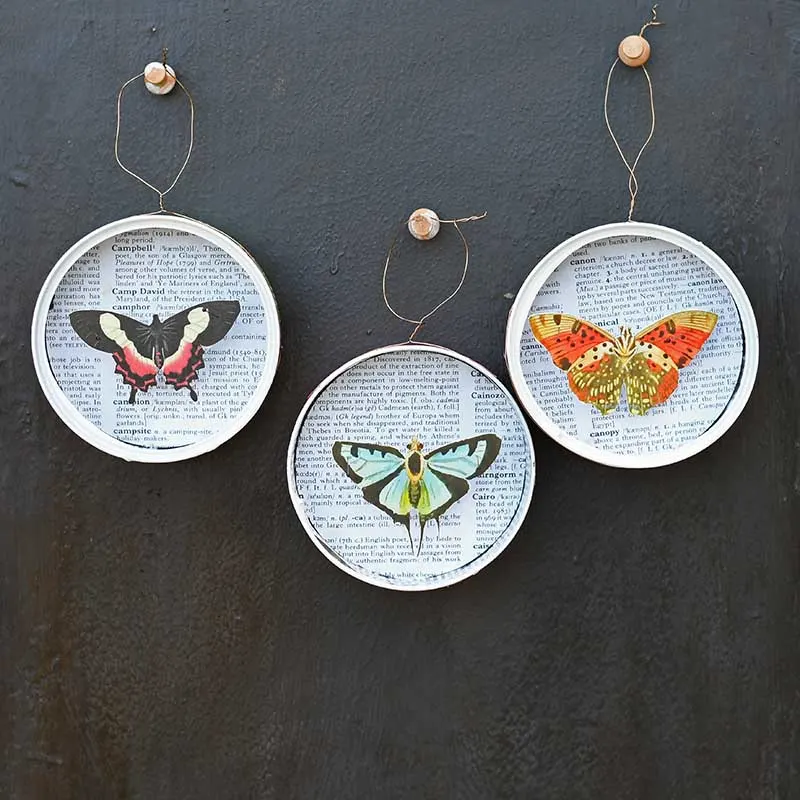
I chose the vintage butterfly images from the hundreds of natural history pictures on Pictureboxblue because of their colours.
Any vintage natural history images on Pictureboxblue can be used to make these upcycled Christmas ornaments. I think the tuna can ornaments will look just as good with one of the many gorgeous bird illustrations or flower paintings on the site.
Or you might even want to use more festive-themed images such as poinsettias, penguins and polar bears or use vintage Scandinavian Christmas cards.
Making Upcycled Tuna Can Vintage Image Ornaments
The DIY butterfly Christmas ornament was made with stuff you will likely have at home. So no need to make an expensive trip to the craft store.
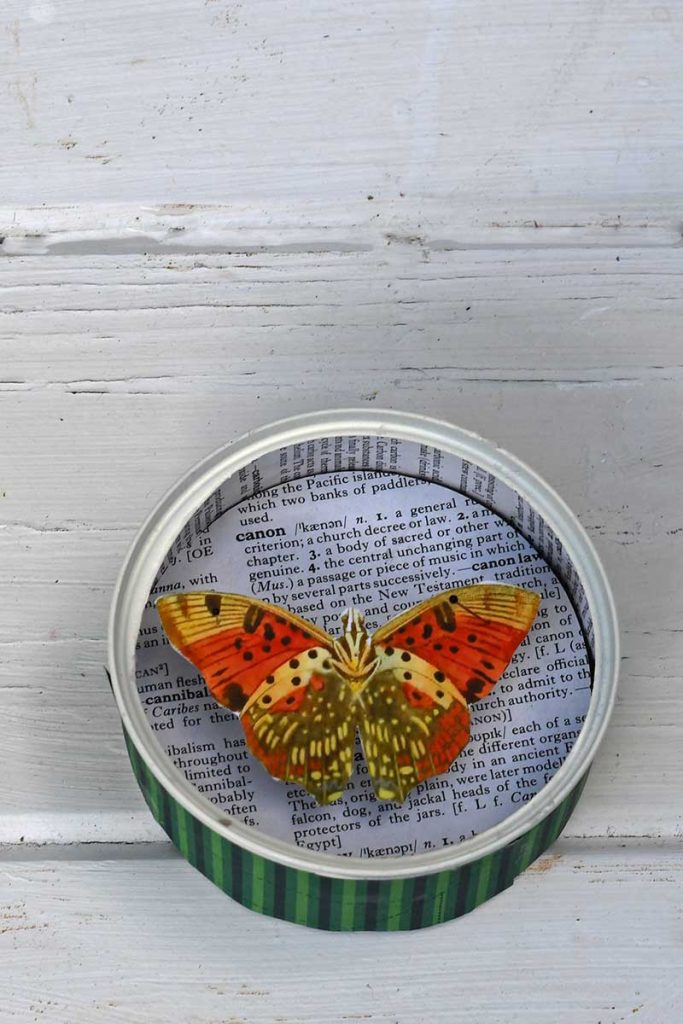
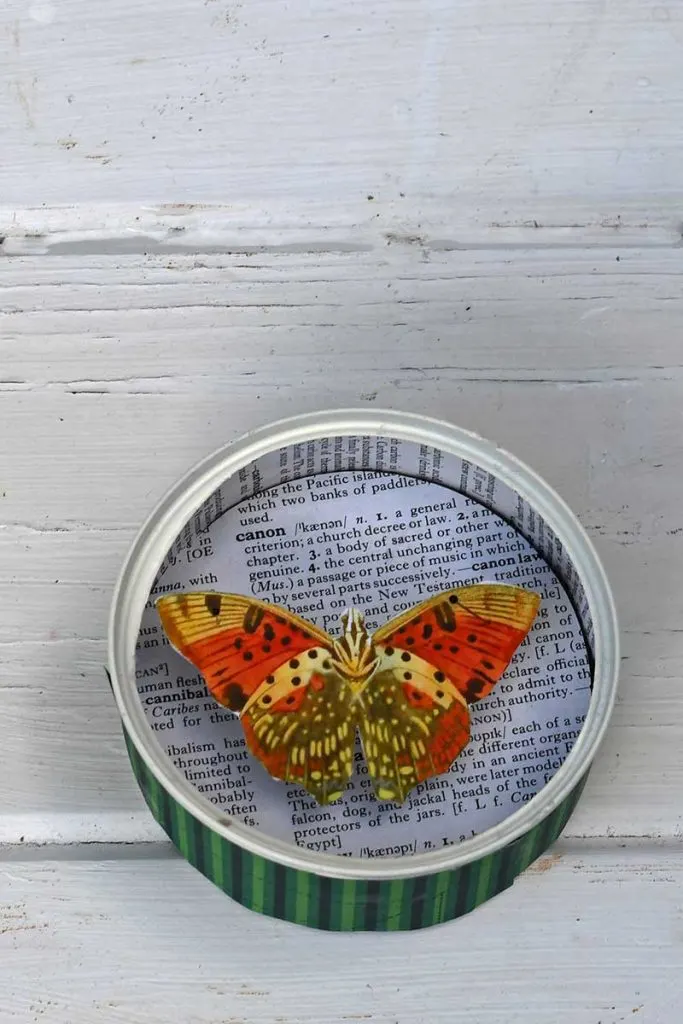
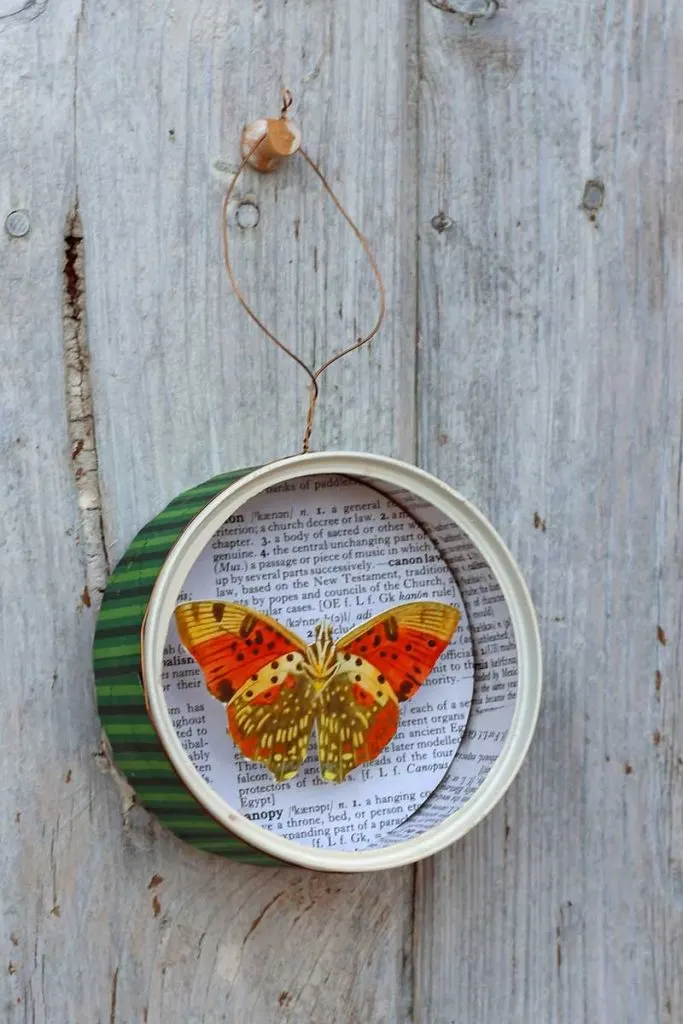
I upcycled old tuna cans for the main body of the ornaments, which I decorated with dictionary pages, old Christmas gift wrap scraps, and the free butterfly images on Pictureboxblue.
Last year I made also some upcycled Christmas baubles using dictionary paper and an advent calendar too. An old dictionary goes a long way and is a very cheap source of craft paper.
We participate in the Amazon Services LLC Associates Program, an affiliate advertising program designed to provide a means for us to earn fees by linking to Amazon.com and affiliated sites. As an Amazon Associate, I earn from qualifying purchases.
What You Need To Make A Christmas Butterfly Ornament
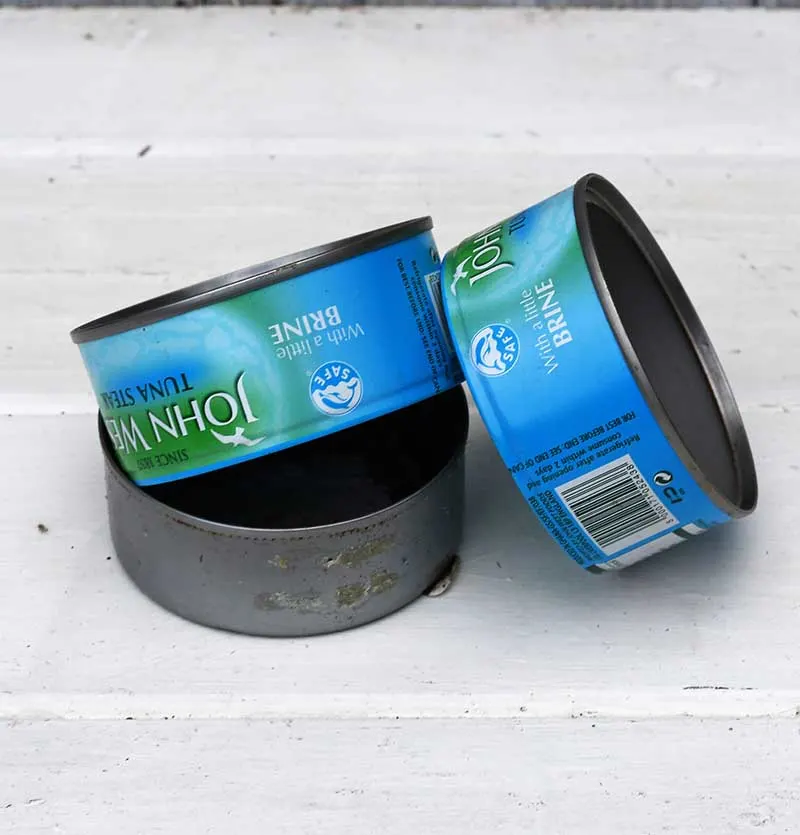
- Old round tuna cans – the normal small-sized ones or any other tin cans of a similar size. You could use sardine cans if you want rectangular-shaped Christmas ornaments.
- Old dictionary pages – Check out your local thrift/charity shop. One dictionary will provide hundreds of pages to use for crafting.
- Scraps of Christmas gift wrap or Christmas craft paper.
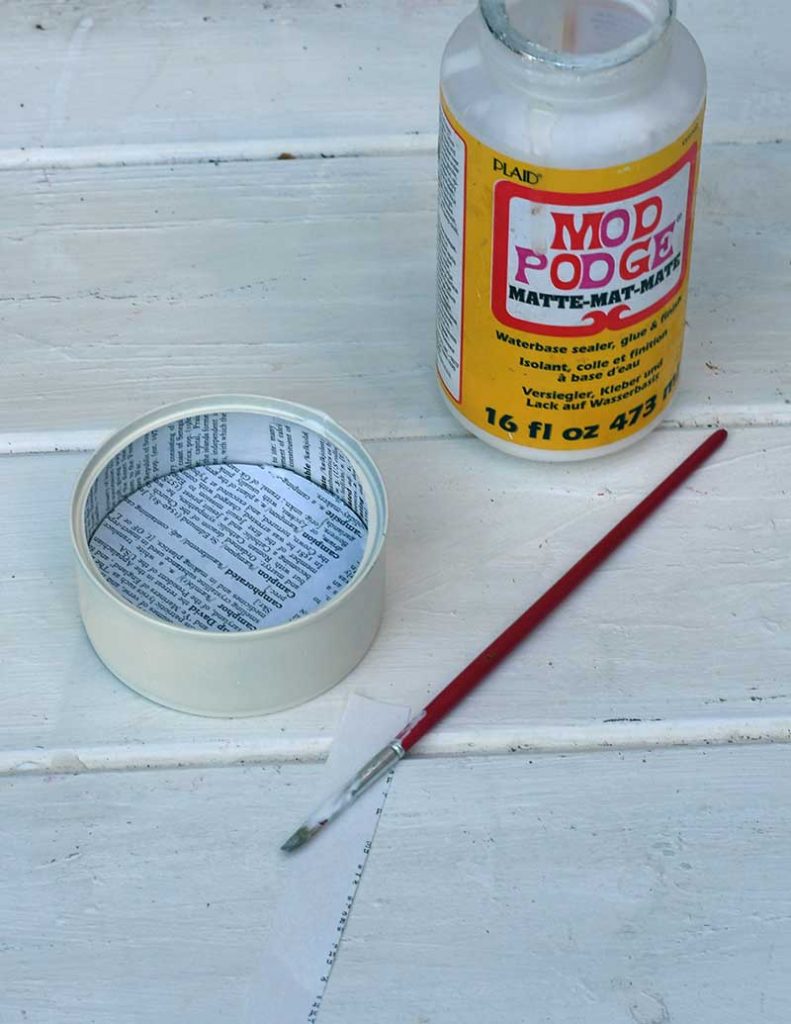
- Mod podge or other paper glue
- Papercutting knife
- Compass paper cutter
- Cork tile/mat
- Insect Specimen pins
- Wire or ribbon for hanging
- Cream or white paint

The Vintage Butterfly Images
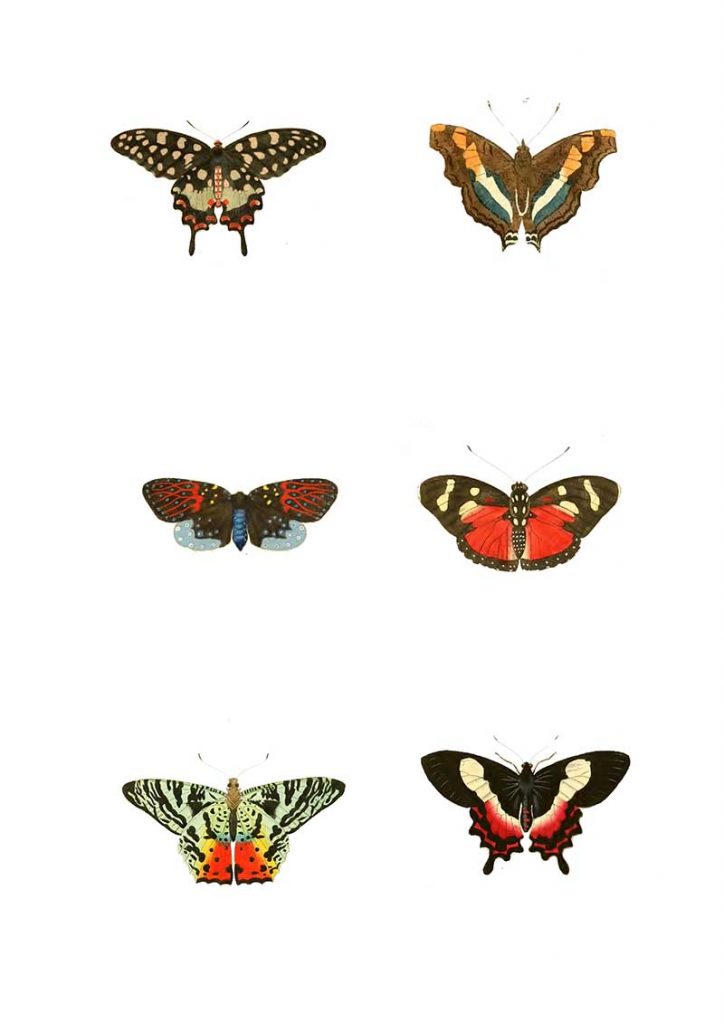
I selected the images for this DIY butterfly Christmas ornament from the book “Illustrations of exotic entomology: containing upwards of six hundred and fifty figures and descriptions of foreign insects, interspersed with remarks and reflections on their nature and properties” by Dru Dury 1837.
There are twelve different butterflies to choose from. Just click on the title of the butterfly sheet to download it to your device. If you still want more butterfly images, check out the images used for this DIY butterfly art decoration.
The butterflies are the right size for an upcycled tuna can ornament if printed on a standard sheet of A4 computer paper.
Butterfly Sheet One

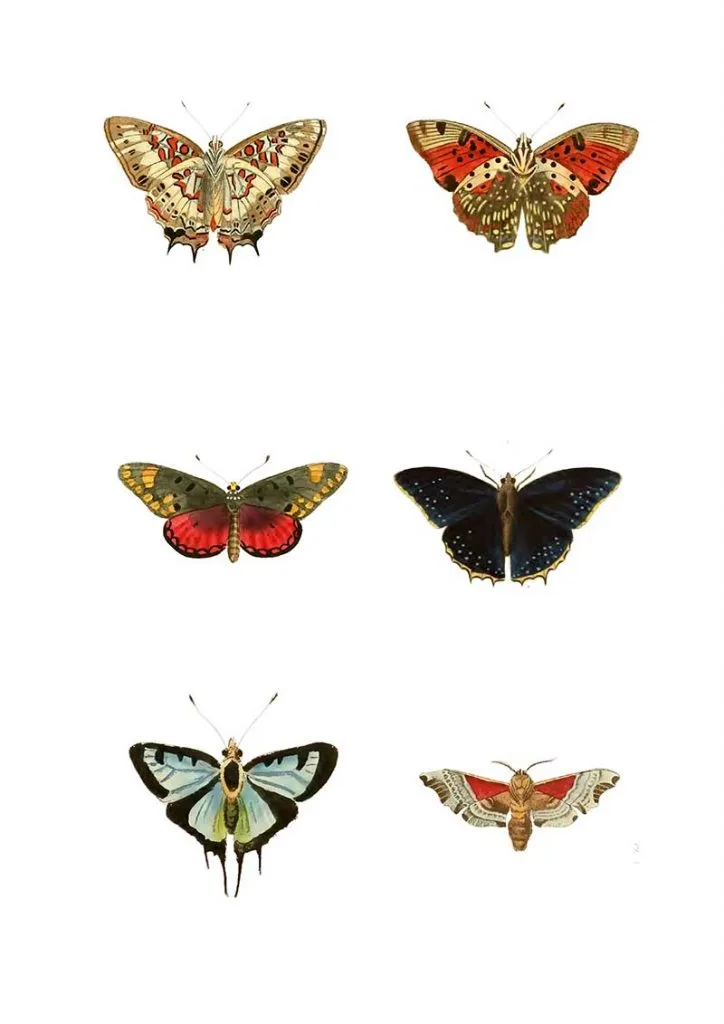
Butterfly Sheet 2

DIY Christmas Butterfly Ornament Tutorial
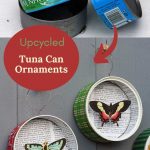
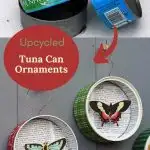
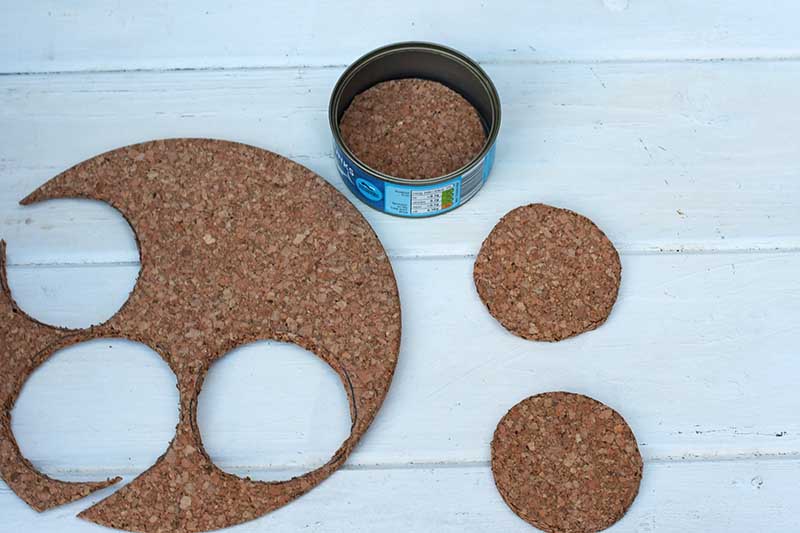
Step 1: I first cut a piece of cork to fit the base of the tuna can. This is so that there is somewhere to stick the specimen pins in.
Top tip: The tuna tin cans I used were ring-pull ones and didn’t have any sharp edges. If the cans you use have sharp edges, just file them smooth.

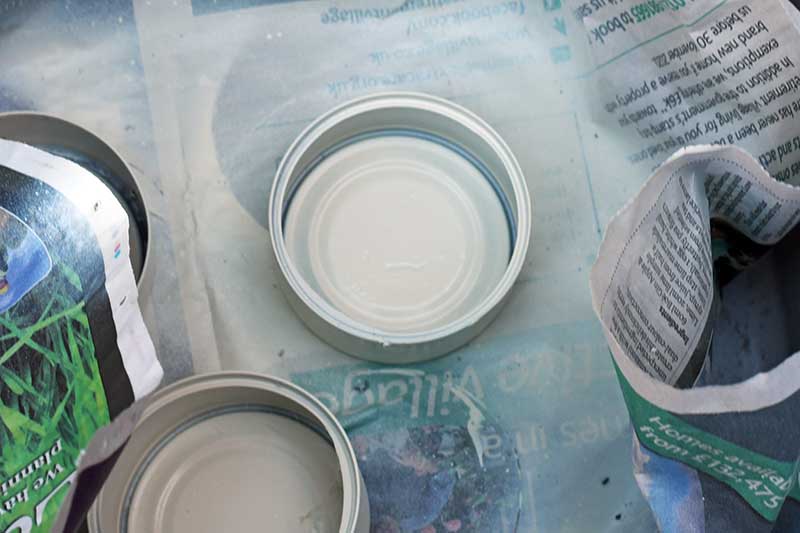
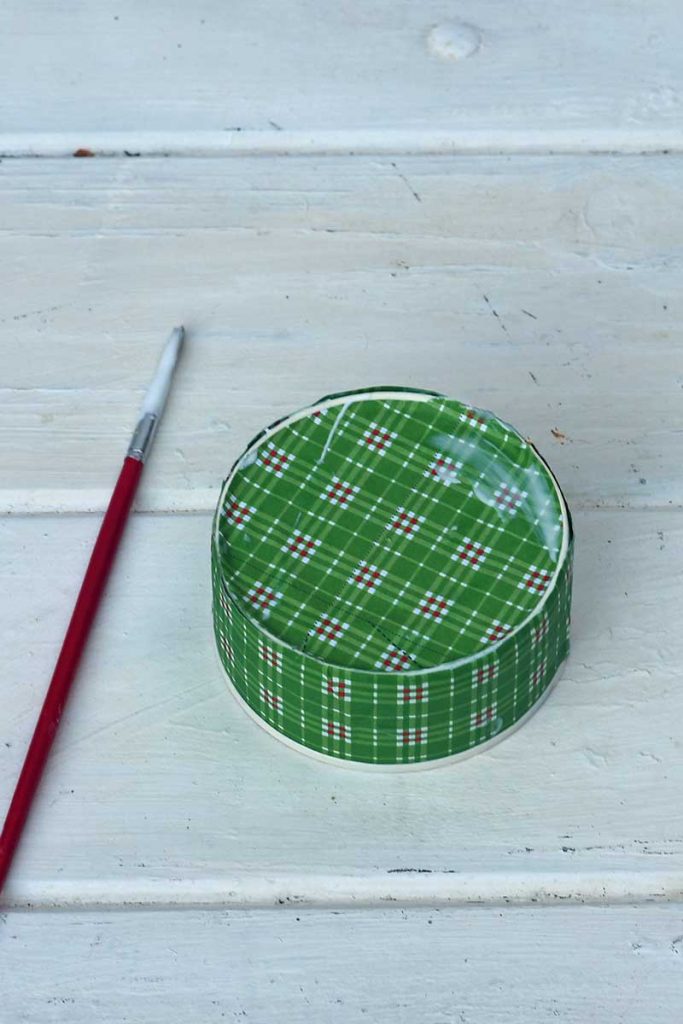
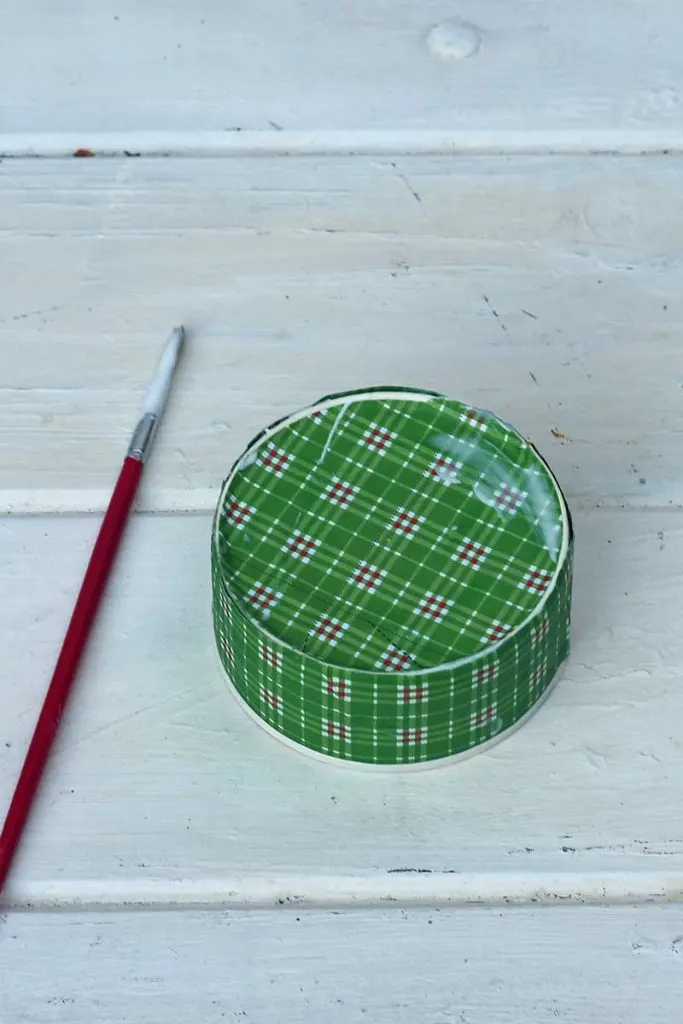
Step 2: Paint the tuna cans inside and out. Even though the tin cans will be decoupaged with paper, the edges and rims will still be visible.
I used white spray paint, but red or green would also work well for the Christmas ornaments. If using spray paints, remember to use them in a well-ventilated space. (I do all my spray painting in the garden).

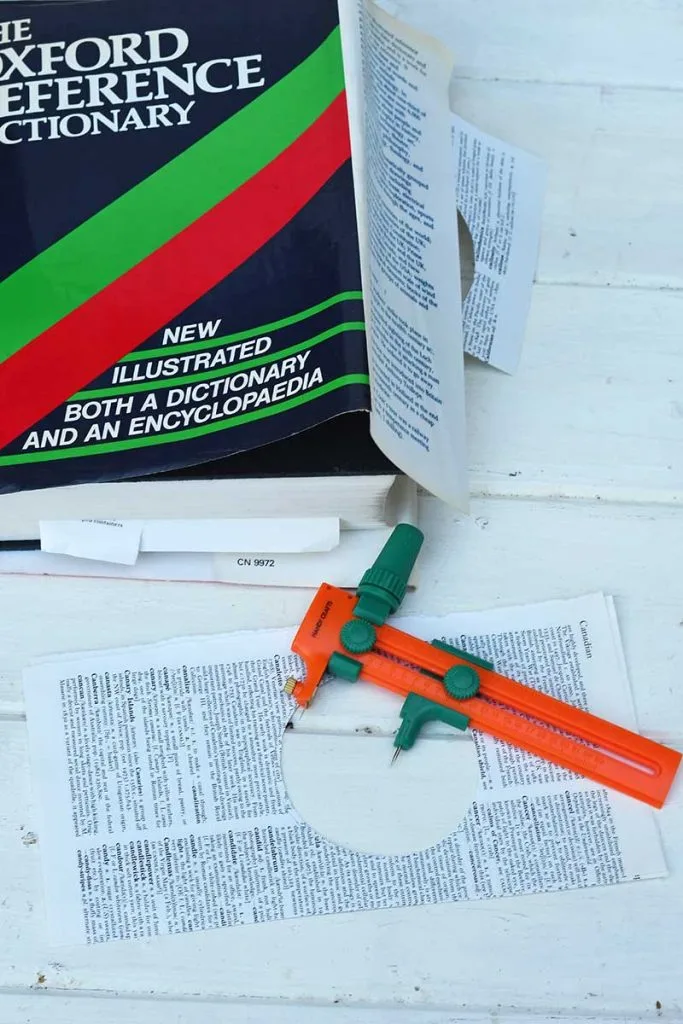
Step 3: Next, glue the cork to the inside of the tuna can. Then cut dictionary paper to fit the base of the can and the inside rim. Stick the paper in place using decoupage glue.
I used a compass paper cutter to cut the circular paper base. However, you can draw around the tin can and then use scissors to cut out the round shape.


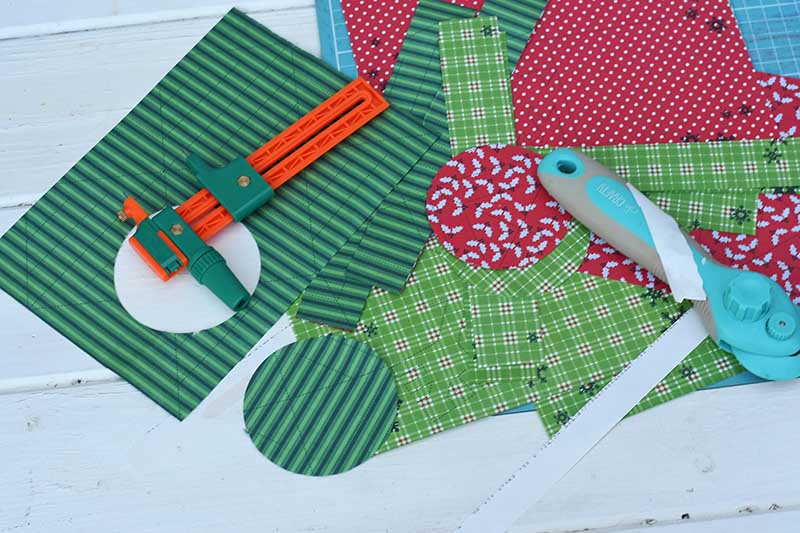
Step 4: Next, decoupage the outside of the tin can with Christmas paper. Old wrapping paper scraps would be good to use. Again cut out a paper round for the outside base of the can. Then a strip of Christmas paper to go around the rim.

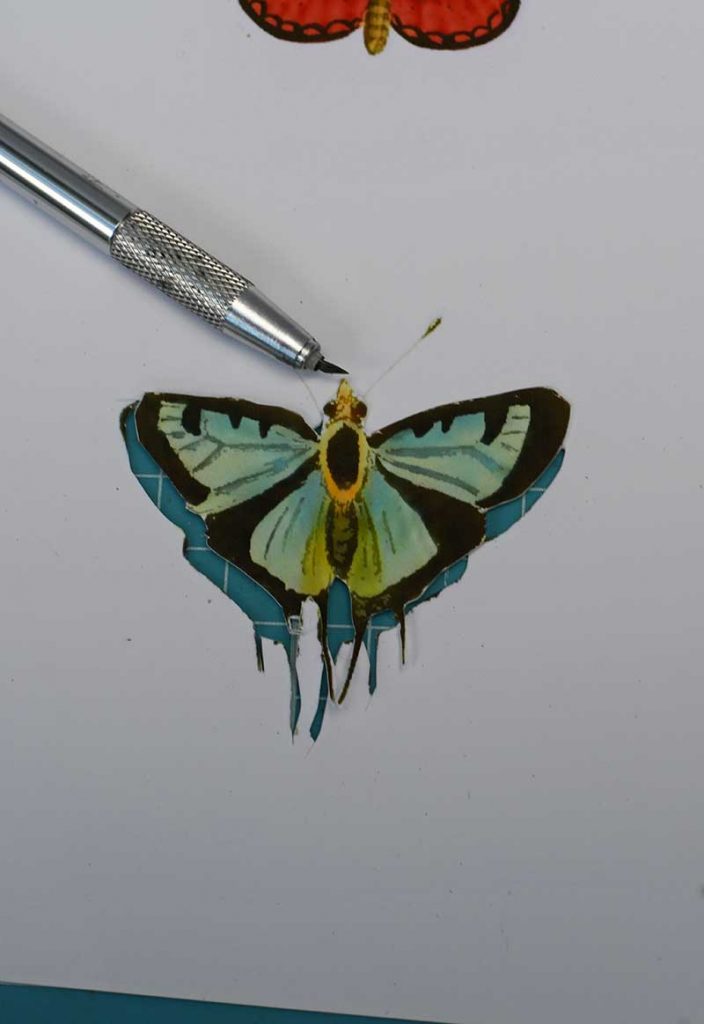
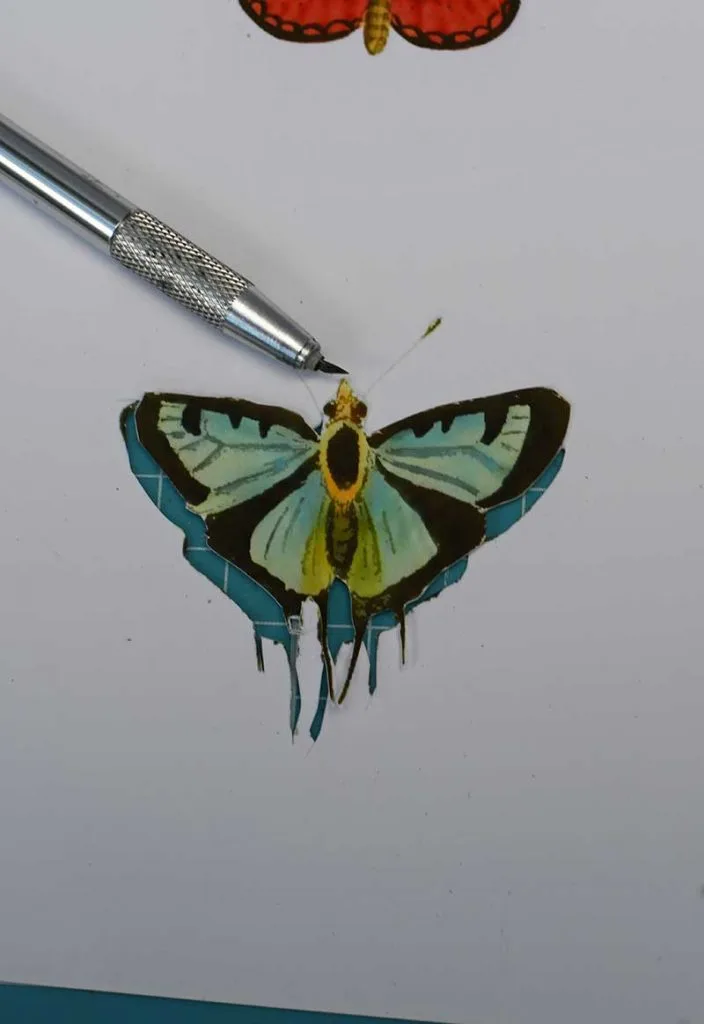
Step 5: Next, print the butterfly sheet you want to use. I recommend using photo matte paper and selecting the best-quality print option on your print menu settings.
Using a papercutting knife carefully cut out the butterfly, you want for the Christmas ornament.
Step 6: Then place the butterfly into the tin can. Use two specimen pins, one in each wing to hold the insect in place.
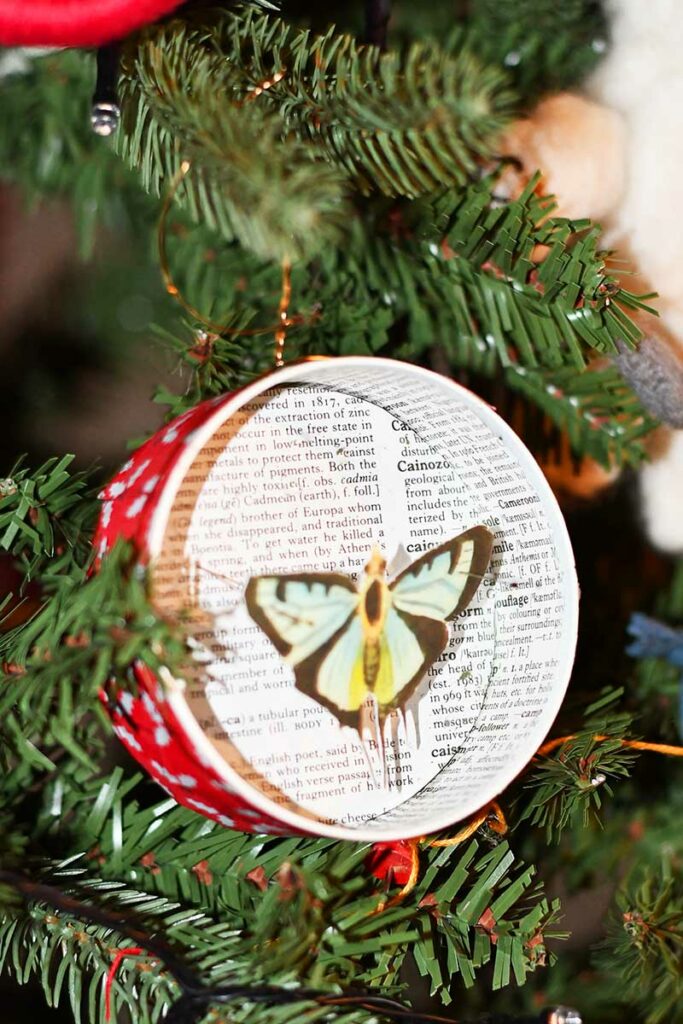
Step 7: Finish the butterfly Christmas ornaments by wrapping the tuna tin in either wire or ribbon for hanging.
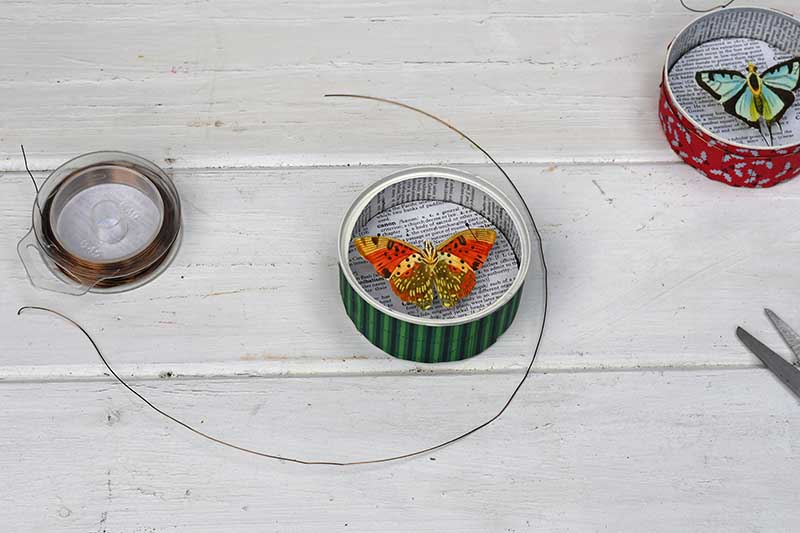
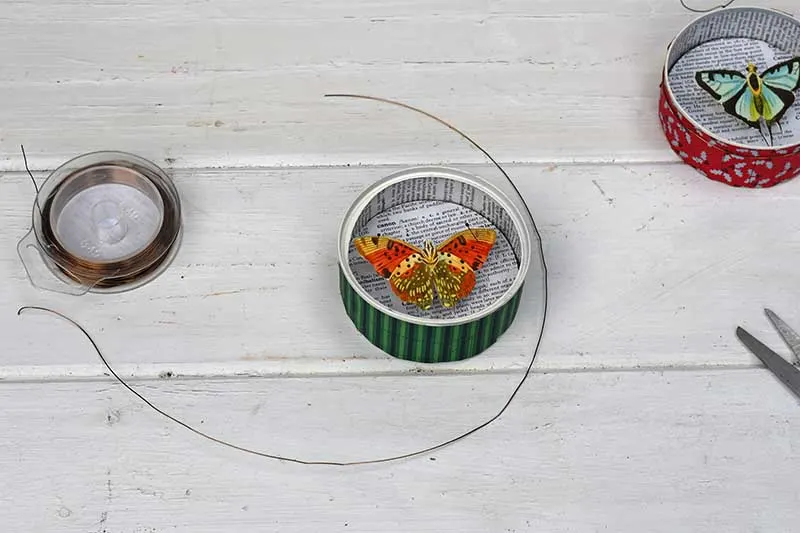
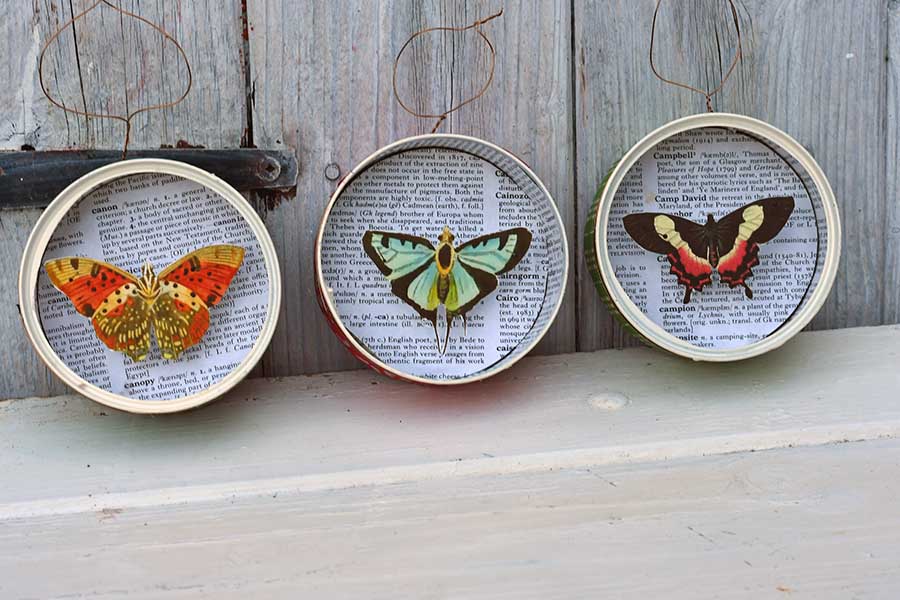
I love this DIY butterfly Christmas ornament so much, I ended up making three of them in total.

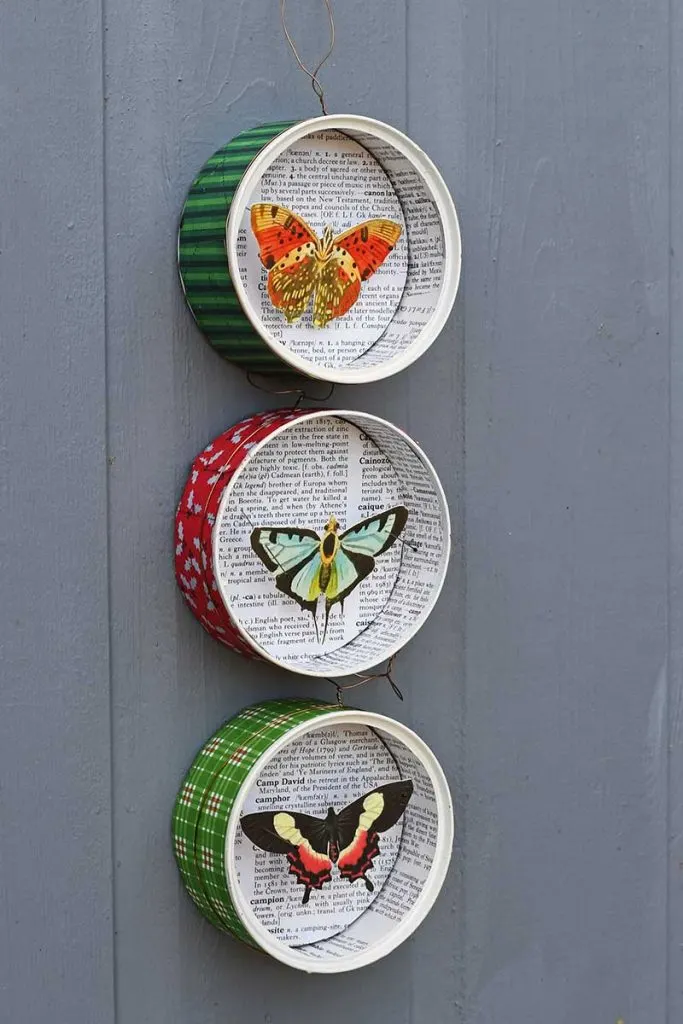


Luckily, my husband loves tuna mayo sandwiches, so I will get many more tin cans to upcycle into Christmas ornaments. For the next batch, I will use some dragonfly images on Pictureboxblue. You can also use the tin cans to make shadow box displays like this DIY Halloween diorama.
If you are looking for ways to use maps on ornaments, check out these embroidered map baubles.


These butterfly images would be also great to use when making decoupage placemats.
For more upcycled tuna can crafts visit favecrafts.com
Beth
Saturday 6th of August 2022
Another way of mounting the butterflies would be to glue a slice of a wine cork (cut small enough to be discreet) to the bottom of the tuna can, and then attach the butterfly to that either with a specimen pin or glue. This means one doesn't have to buy cork sheets which can be a lot more expensive than free wine corks ;-)
claire
Saturday 6th of August 2022
Thank you for the suggestion that is a good idea. Or you can chop up old cork tiles.
Kathy
Sunday 7th of February 2021
Thanks for sharing. They turned out beautiful! My tuna cans have sharp edges What do you suggest I file them with? Thank you
claire
Tuesday 9th of February 2021
Hi Kathy, if you have a metal file you can blunt the edges of the tuna can using that. I find the ring pull tuna cans aren't as sharp as the ones that you open with a tool.
Leslie
Thursday 17th of December 2020
Those would look lovely on a strip of a beautiful print ribbon about 2" wide or a strictp of grosgrain ribbon. Thank you for the idea :)
claire
Friday 18th of December 2020
Thank you, that is a great idea.
30+ Best DIY Christmas Decorations to Try This Holiday Season
Sunday 22nd of November 2020
[…] >>Full Tutorial Here<< […]
Friday Favorites #556 | A Day of Small Things…
Friday 20th of November 2020
[…] from Condo Blues chose How to Make Vintage DIY Christmas Butterfly Ornament from Picture Box […]