I’ve already made an advent calendar with an old dictionary, so why not make dictionary Christmas decoupage baubles to match.
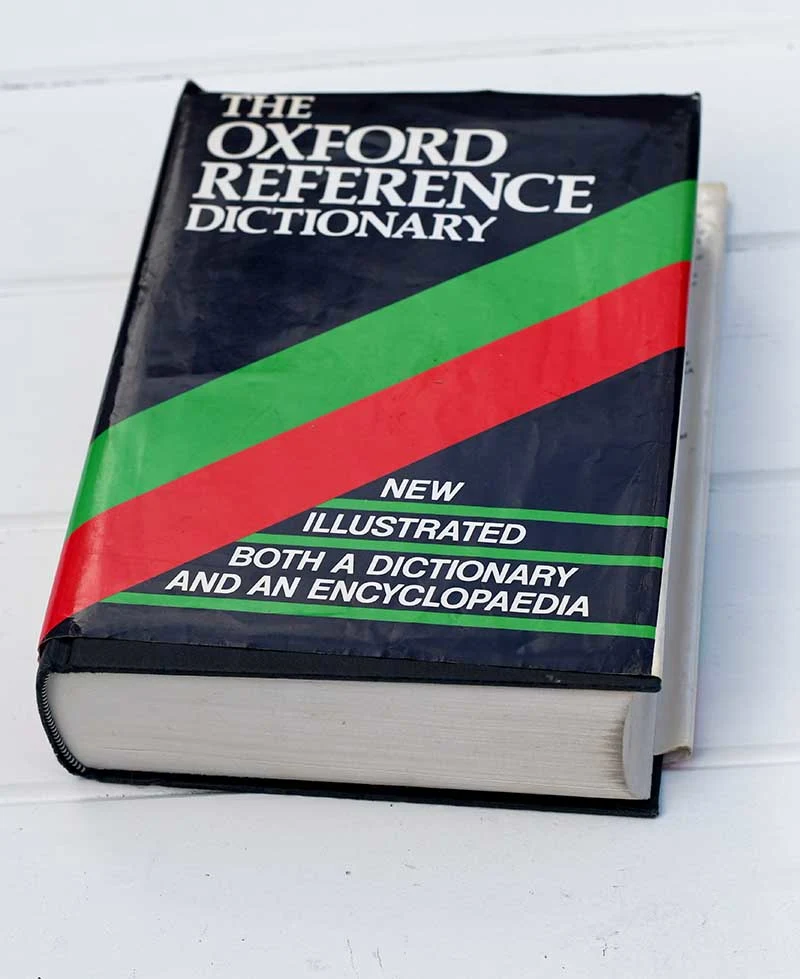
As most people use on-line dictionaries these days, old out of date dictionaries are very easy to pick up cheaply in thrift stores.
It’s quite ironic that I upcycled a dictionary for this craft. Earlier this week the Cambridge Dictionary press office emailed me to let me know that the word of the year 2019 is UPCYCLING.
They wanted a quote from me about upcycling with reference to my other website Pillarboxblue.
I still have a lot of old dictionaries pages left, there are over 1000’s pages. With the advent calendar, I only used 24 of those pages. With these decoupage baubles, I only used another 3 pages. I’ve also used some to make upcycled butterfly Christmas ornaments.
The old dictionary is proving to provide very affordable craft paper that will last me a long time.
As with the advent calendar to make the baubles more interesting and beautiful, I printed vintage pictures onto the dictionary pages.
With so many wonderful images to choose from on Pictureboxblue, I decided to use just botanical images for this craft. As this was a Christmas craft I choose flowers and plants that were in the more traditional colours of the season, ie red and green.
I really love how the baubles have turned out and I think I’ll be making a few more. They would make a lovely gift, especially if you used a vintage image of something special for the recipient.
For example, if they were really fond of birds or butterflies you could print one of those images on the dictionary pages instead.
We participate in the Amazon Services LLC Associates Program, an affiliate advertising program designed to provide a means for us to earn fees by linking to Amazon.com and affiliated sites. As an Amazon Associate, I earn from qualifying purchases.
What You Need To Make Dictionary Decoupaged Baubles
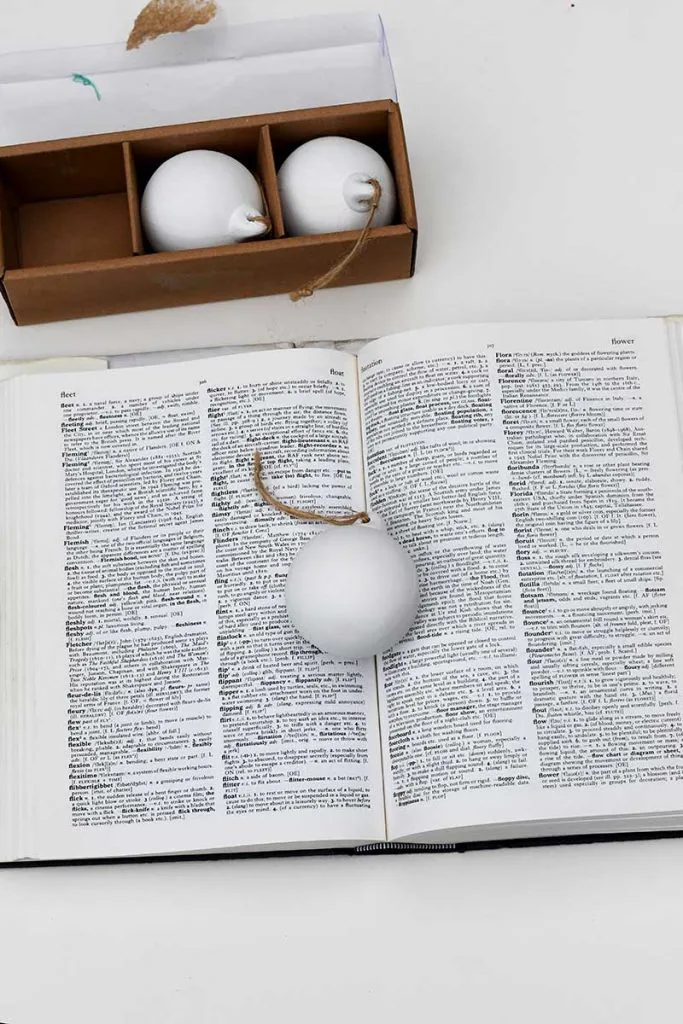
- Old dictionary – Not only do the words make the decoupage bauble look interesting, but dictionaries tend to be published on thin paper. This thin paper is great for decoupage.
- White ceramic baubles
- Mod Podge
- Masking tape
How To Make Christmas Decoupage Baubles
1. The first thing I did was pick the images I was going to decoupage onto the baubles.I chose a peony, a cactus and some oak leaves. You can pick any of the images from Pictureboxblue.

If you choose one of the images I used for the Christmas advent calendar these have already been resized.
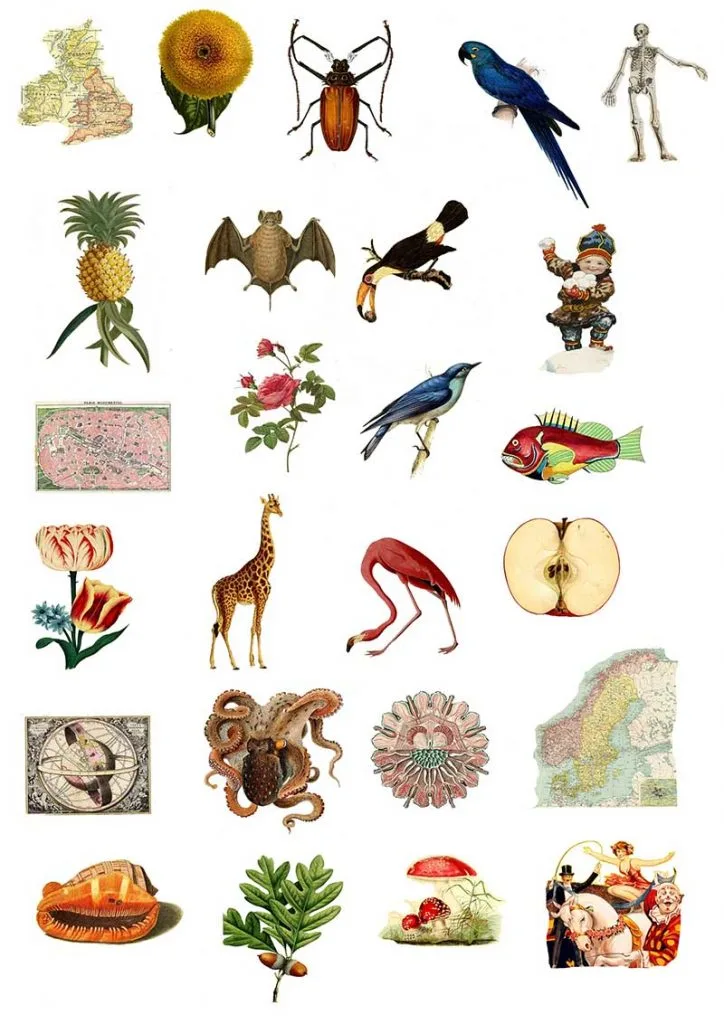
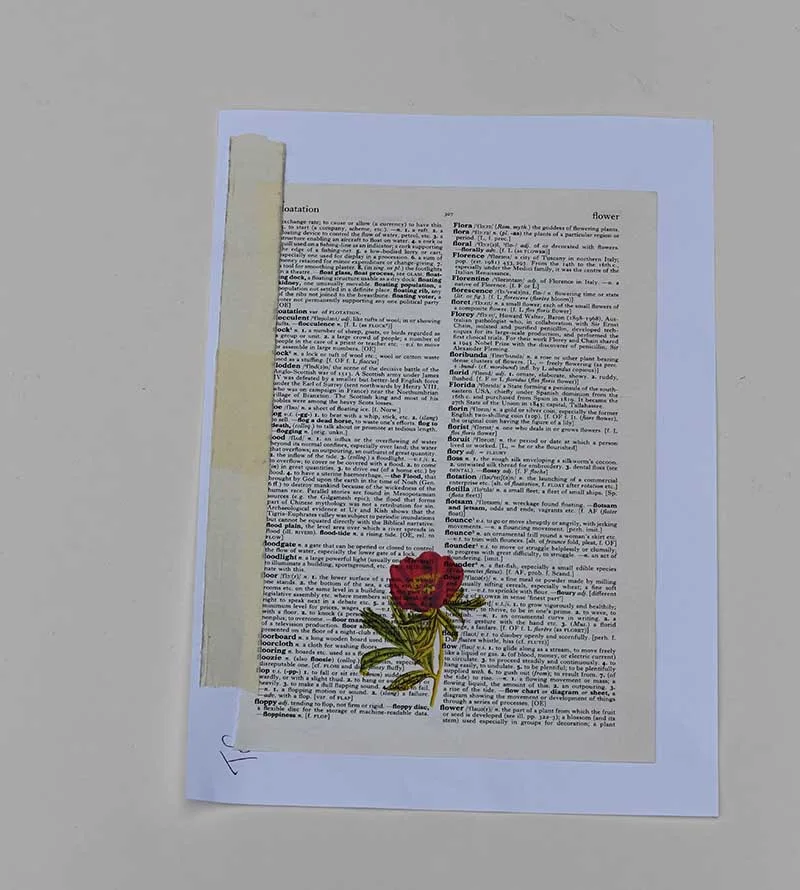
2. Next, pick the dictionary pages you want to print the image onto. For a bit of fun, I tried to match the words on the dictionary page to image. For example, I printed the cactus picture onto the dictionary page with the word cactus on it.
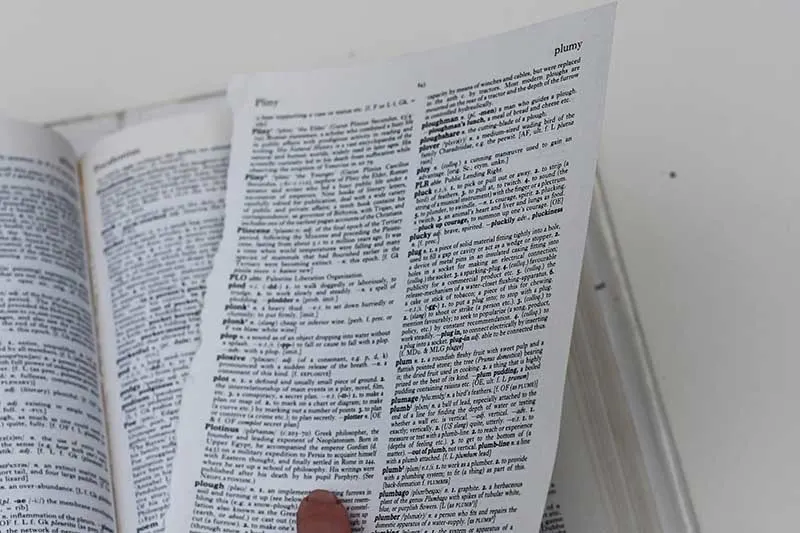
3. Carefully tear out the dictionary page. Using masking tape the pages to a standard piece of computer page. Then put this paper through your printer and print the chosen image onto it.
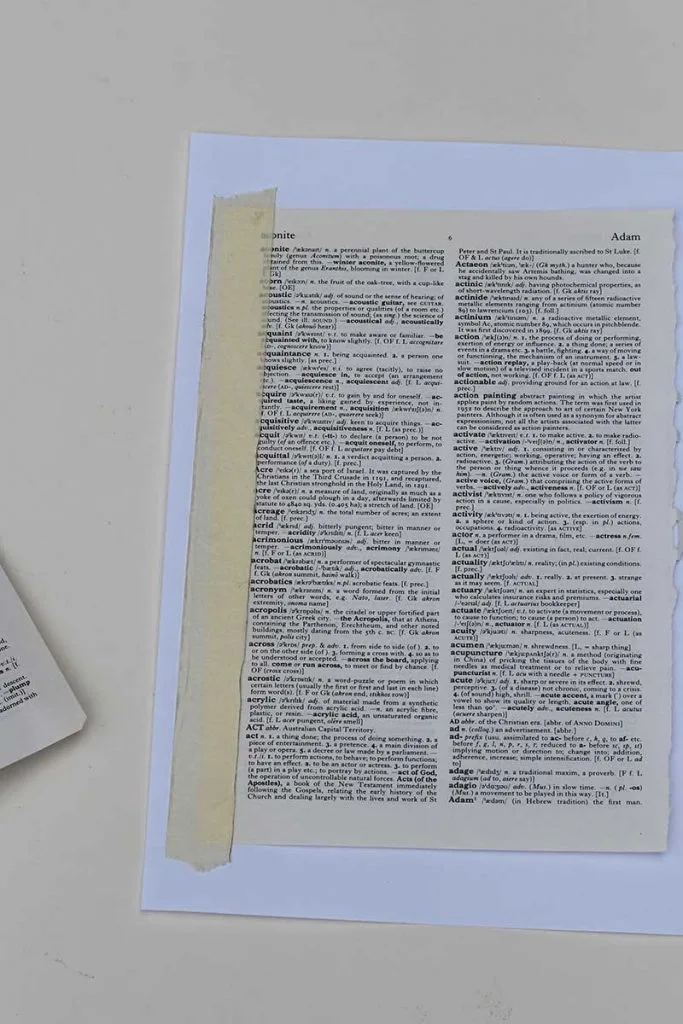
Make sure that the chosen vintage image is printed in the middle of the dictionary page towards the bottom.
I recommend you try a couple of dummy runs first to make sure you work out which way up to put the paper in the printer to make sure you get the result you want.
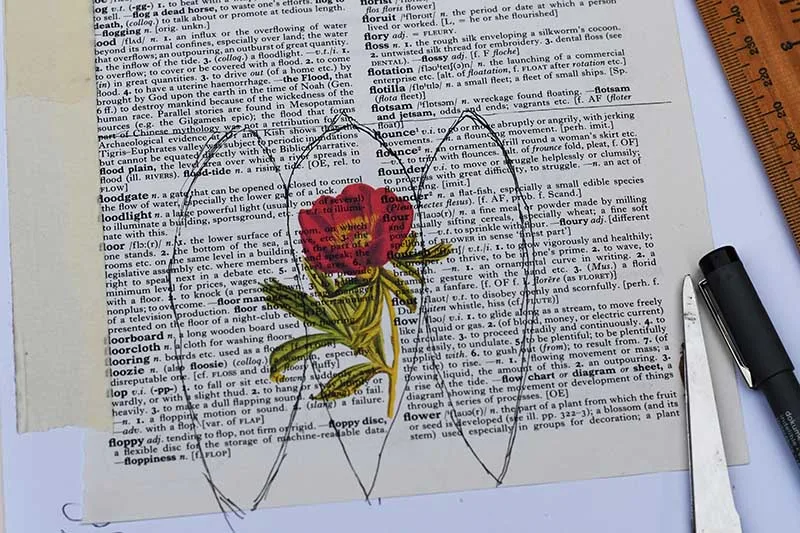
4. Decoupaging around round objects such as baubles is difficult. I find that it is best to work in strips. If you think of a sewn ball it is normally made up of 6 strips. These strips are a bit leaf-like in shape, which is pointed at both ends and bulging in the middle.
Measure the diameter of the bauble this will be the height of the leaf strip. Next, draw a leaf shape around the printed image. Make sure the image is in the bulge. Then draw two more leaf shapes on either side.

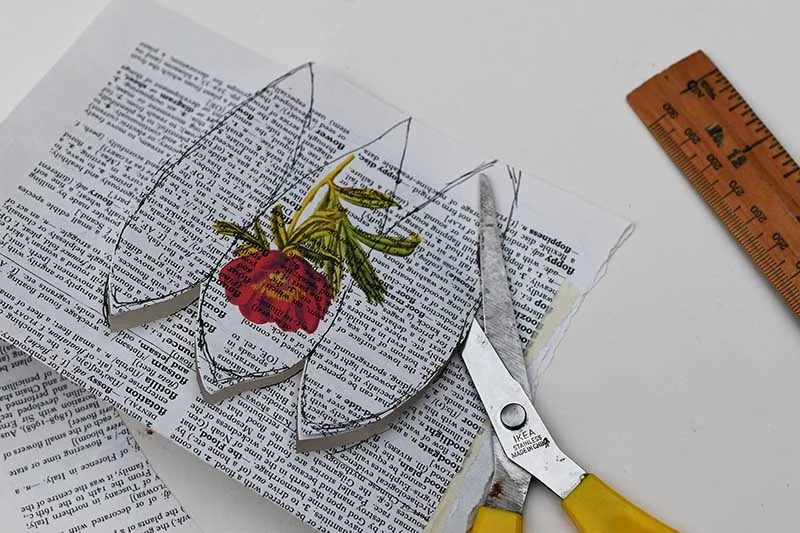
5. Next, carefully remove the printed dictionary page from the masking tape. Fold it in half and then cut out the leaf strips. You should end up with six-leaf strips, one with the printed image on it.

6. Using Mod Podge or other decoupage glue, stick the leaf strip with the picture on it on the front center of the ceramic bauble. Then cover the bauble with the remaining strips.
Top tip – to make it easier to mold the paper around the curve of the bauble with scissors cut some small slits into the sides of the paper strips. Also the wetter the paper the easier it is to mold.
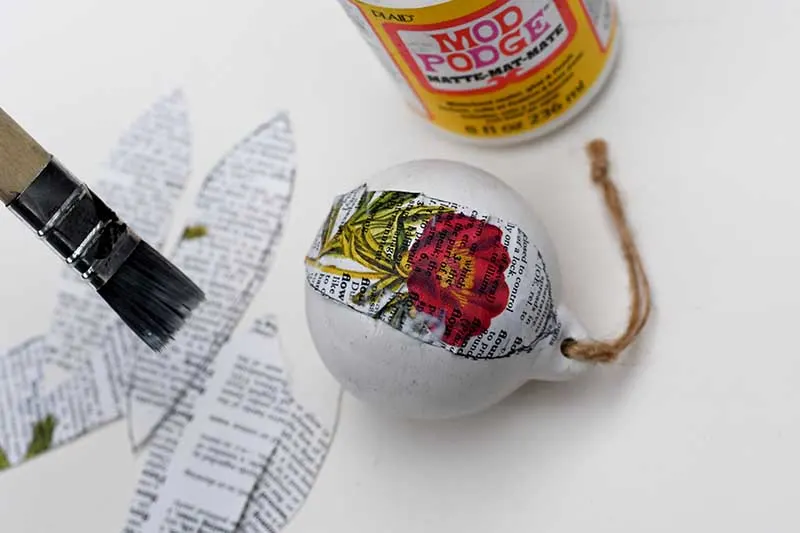
7. Finally, to finish off the decoupage baubles cover the outside with a layer of Mod Podge and hang to dry. This will act as a protective varnish.

I love how these baubles look and can’t wait to put them on my tree. I think the vintage pictures look great with the vintage dictionary pages.


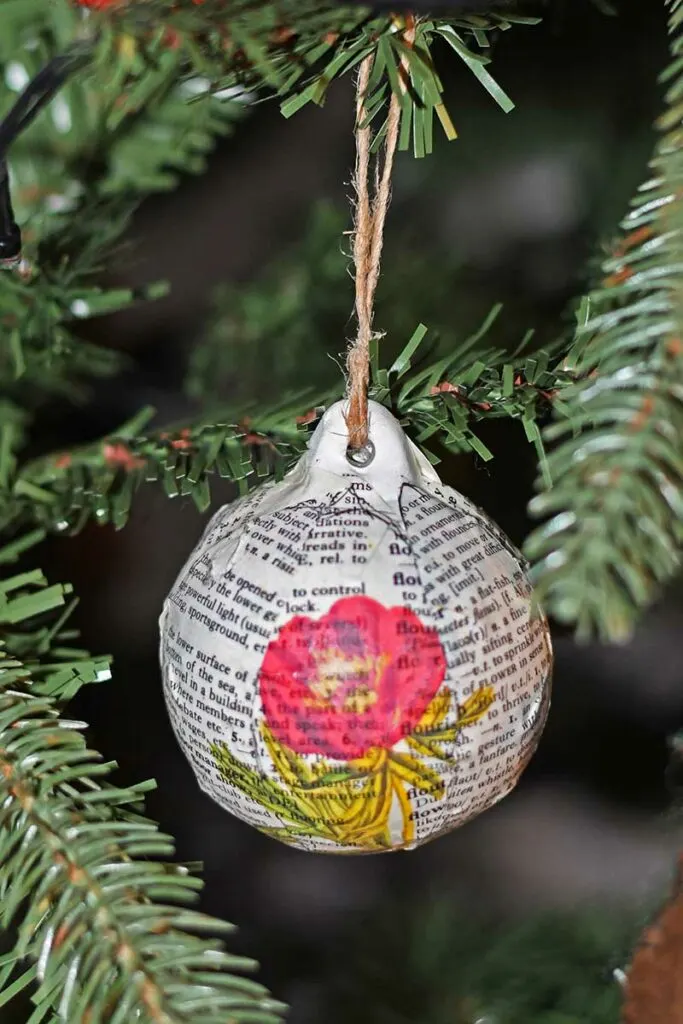
Baubles can also be decoupaged with paper napkins, like with these Marimekko bauble flowers. You can even print images onto baubles, like with these Alice in Wonderland Ornaments.
What vintage images would you choose for your baubles? The images here would also work well with these jar lid ornaments.
If you are more into maps than vintage images then, check out these embroidered map ornaments. Or even how to embroidery onto dictionary pages.
Don’t forget to check out some of the other vintage image decoupage projects on Pictureboxblue.com
- Vintage seed packet art
- Still Life Flowers Decoupage Tray Table
- Blueprint DIY Placemats
- Beautiful Decoupage Shell
These baubles featured in this round-up of wonderful upcycled Christmas ornaments.
For more decoupaged Christmas crafts visit allfreechristmascrafts.
Chris
Sunday 19th of December 2021
How wonderful!
claire
Wednesday 22nd of December 2021
Thank you so much.
Cecilia
Monday 18th of November 2019
These are lovely, Claire. Thanks for sharing at Vintage Charm!
claire
Monday 18th of November 2019
Thank you so much, Cecilia.
Audra @ Renewed Projects
Sunday 17th of November 2019
Great tip on cutting the paper into leaf shapes. Creates a smooth finish. Your baubles are adorable! BTW, I'm a huge fan of your other page, Pillar Box Blue.
claire
Sunday 17th of November 2019
Thank you, it does make it easier. This one is more about vintage images with the odd craft project using the images. Whilst the other one Pillarboxblue is all about crafts and upcycling. Thanks.
Adree | The Keele Deal
Tuesday 12th of November 2019
These ornaments are so cute!! I love the idea of printing on a dictionary page, it's so fun!
claire
Tuesday 12th of November 2019
Thank you, it was fun.
Linda aka Crafty Gardener
Monday 11th of November 2019
Very nice ornaments.
claire
Tuesday 12th of November 2019
Cheers, and thank you.