
How To Make A DIY Placemat With Free Kitchen Patents
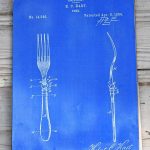
Did you know that Google has a search engine for old patents? They have had one since 2006, you can find it here. It is a fun tool to play around with and I used it to find kitchen and dining-themed images to make a DIY placemat.
The trouble with the Google patent search is that there are over 87 million patents in the database so it can be difficult to find what you are looking for. In the past, I curated a collection of retro patents prints for scouts and campers.
As I was making DIY placemats with these patents I thought a kitchen/dining theme would be more appropriate. I searched for vintage cutlery and crockery themed patents in particular.
Decoupaged Dining Themed DIY patents
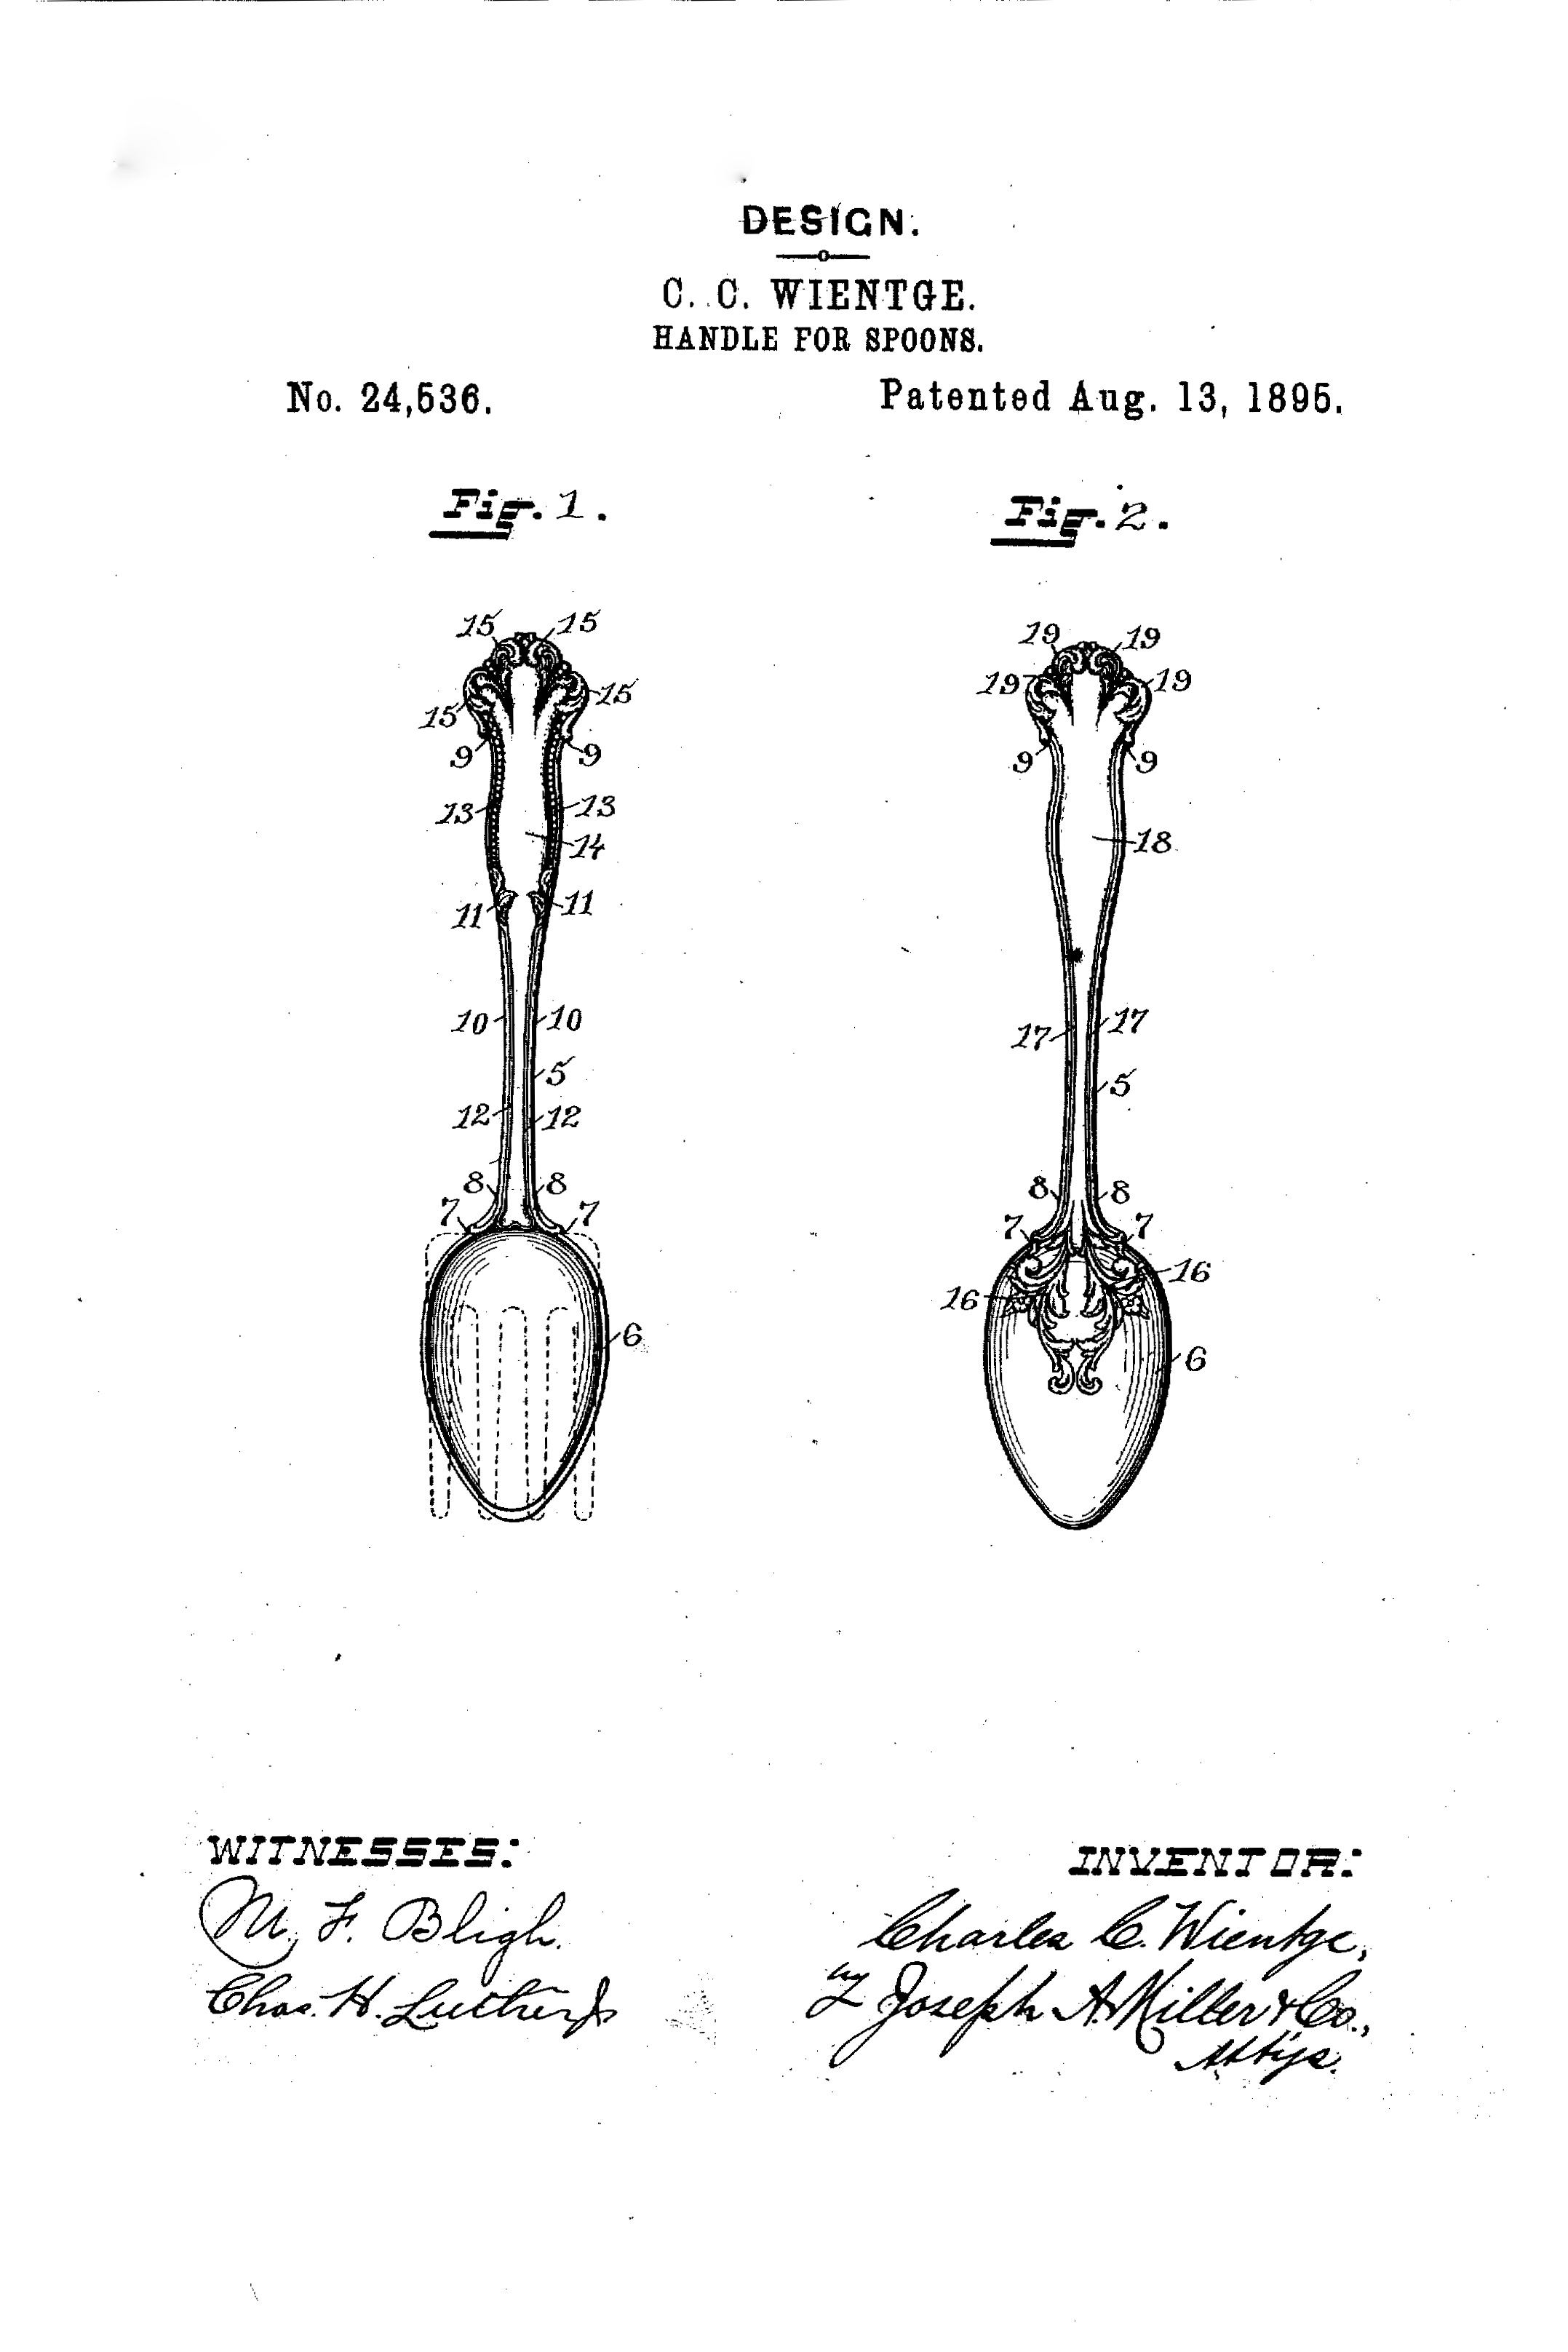
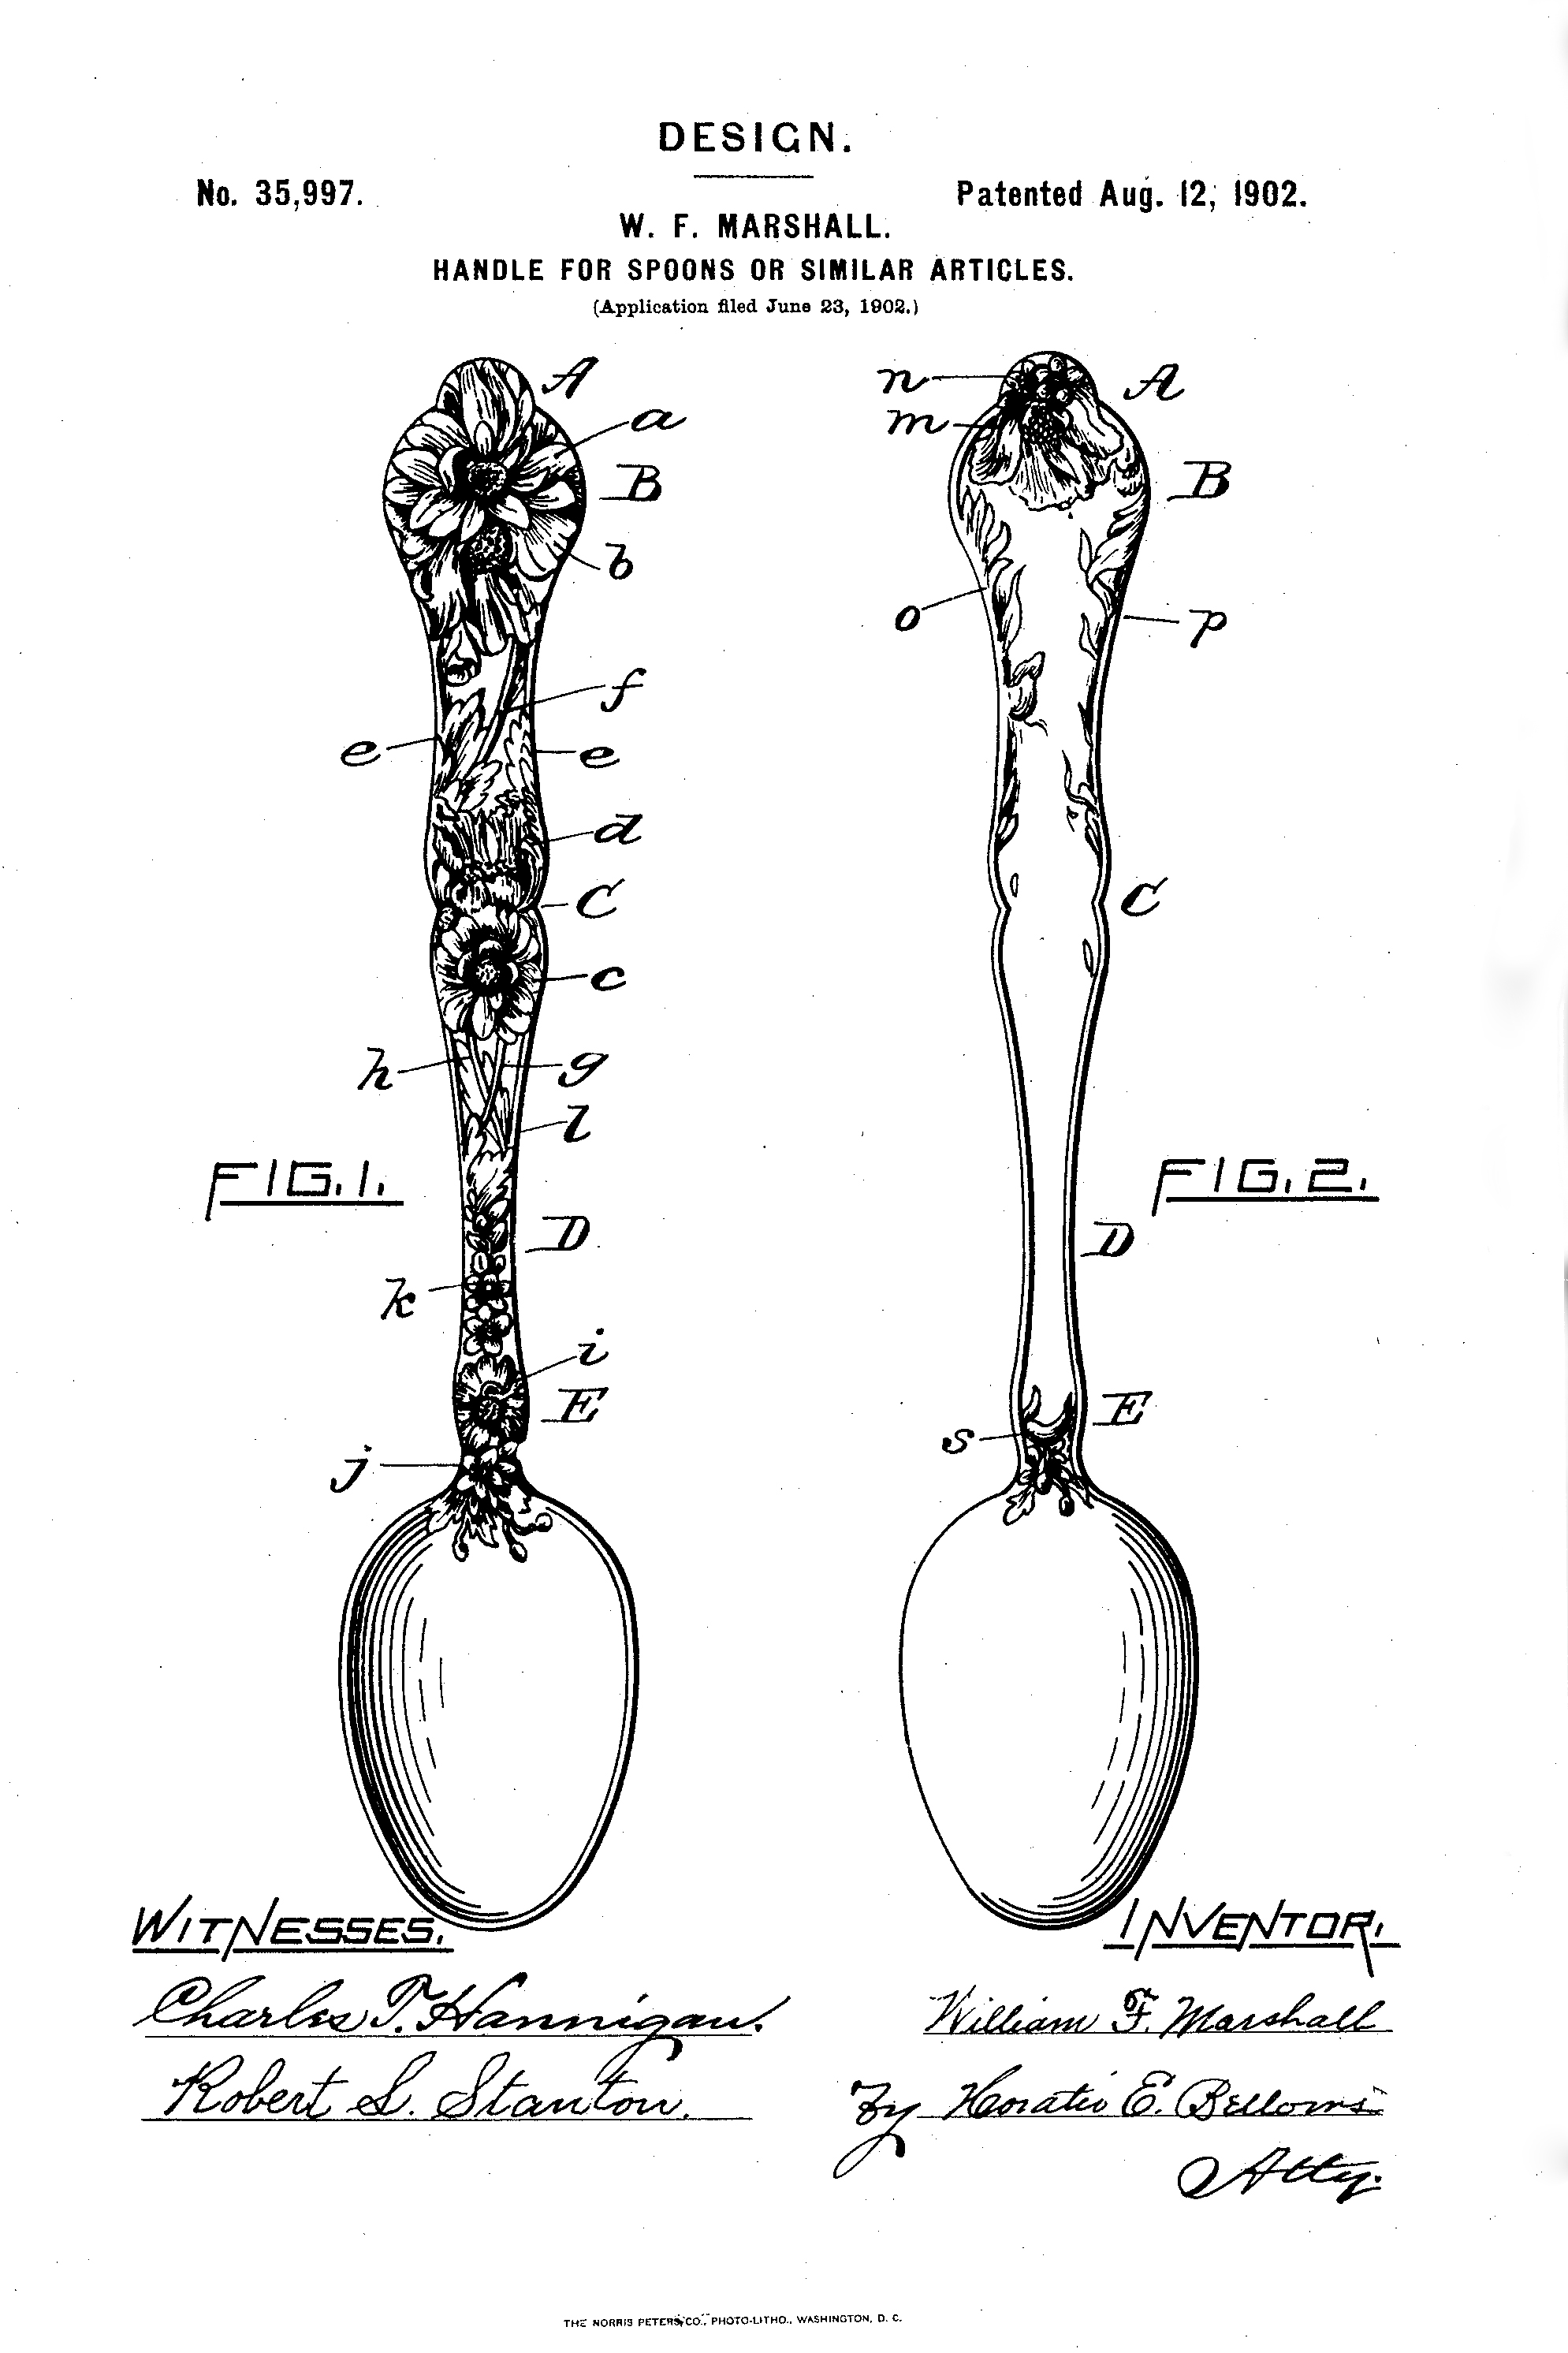
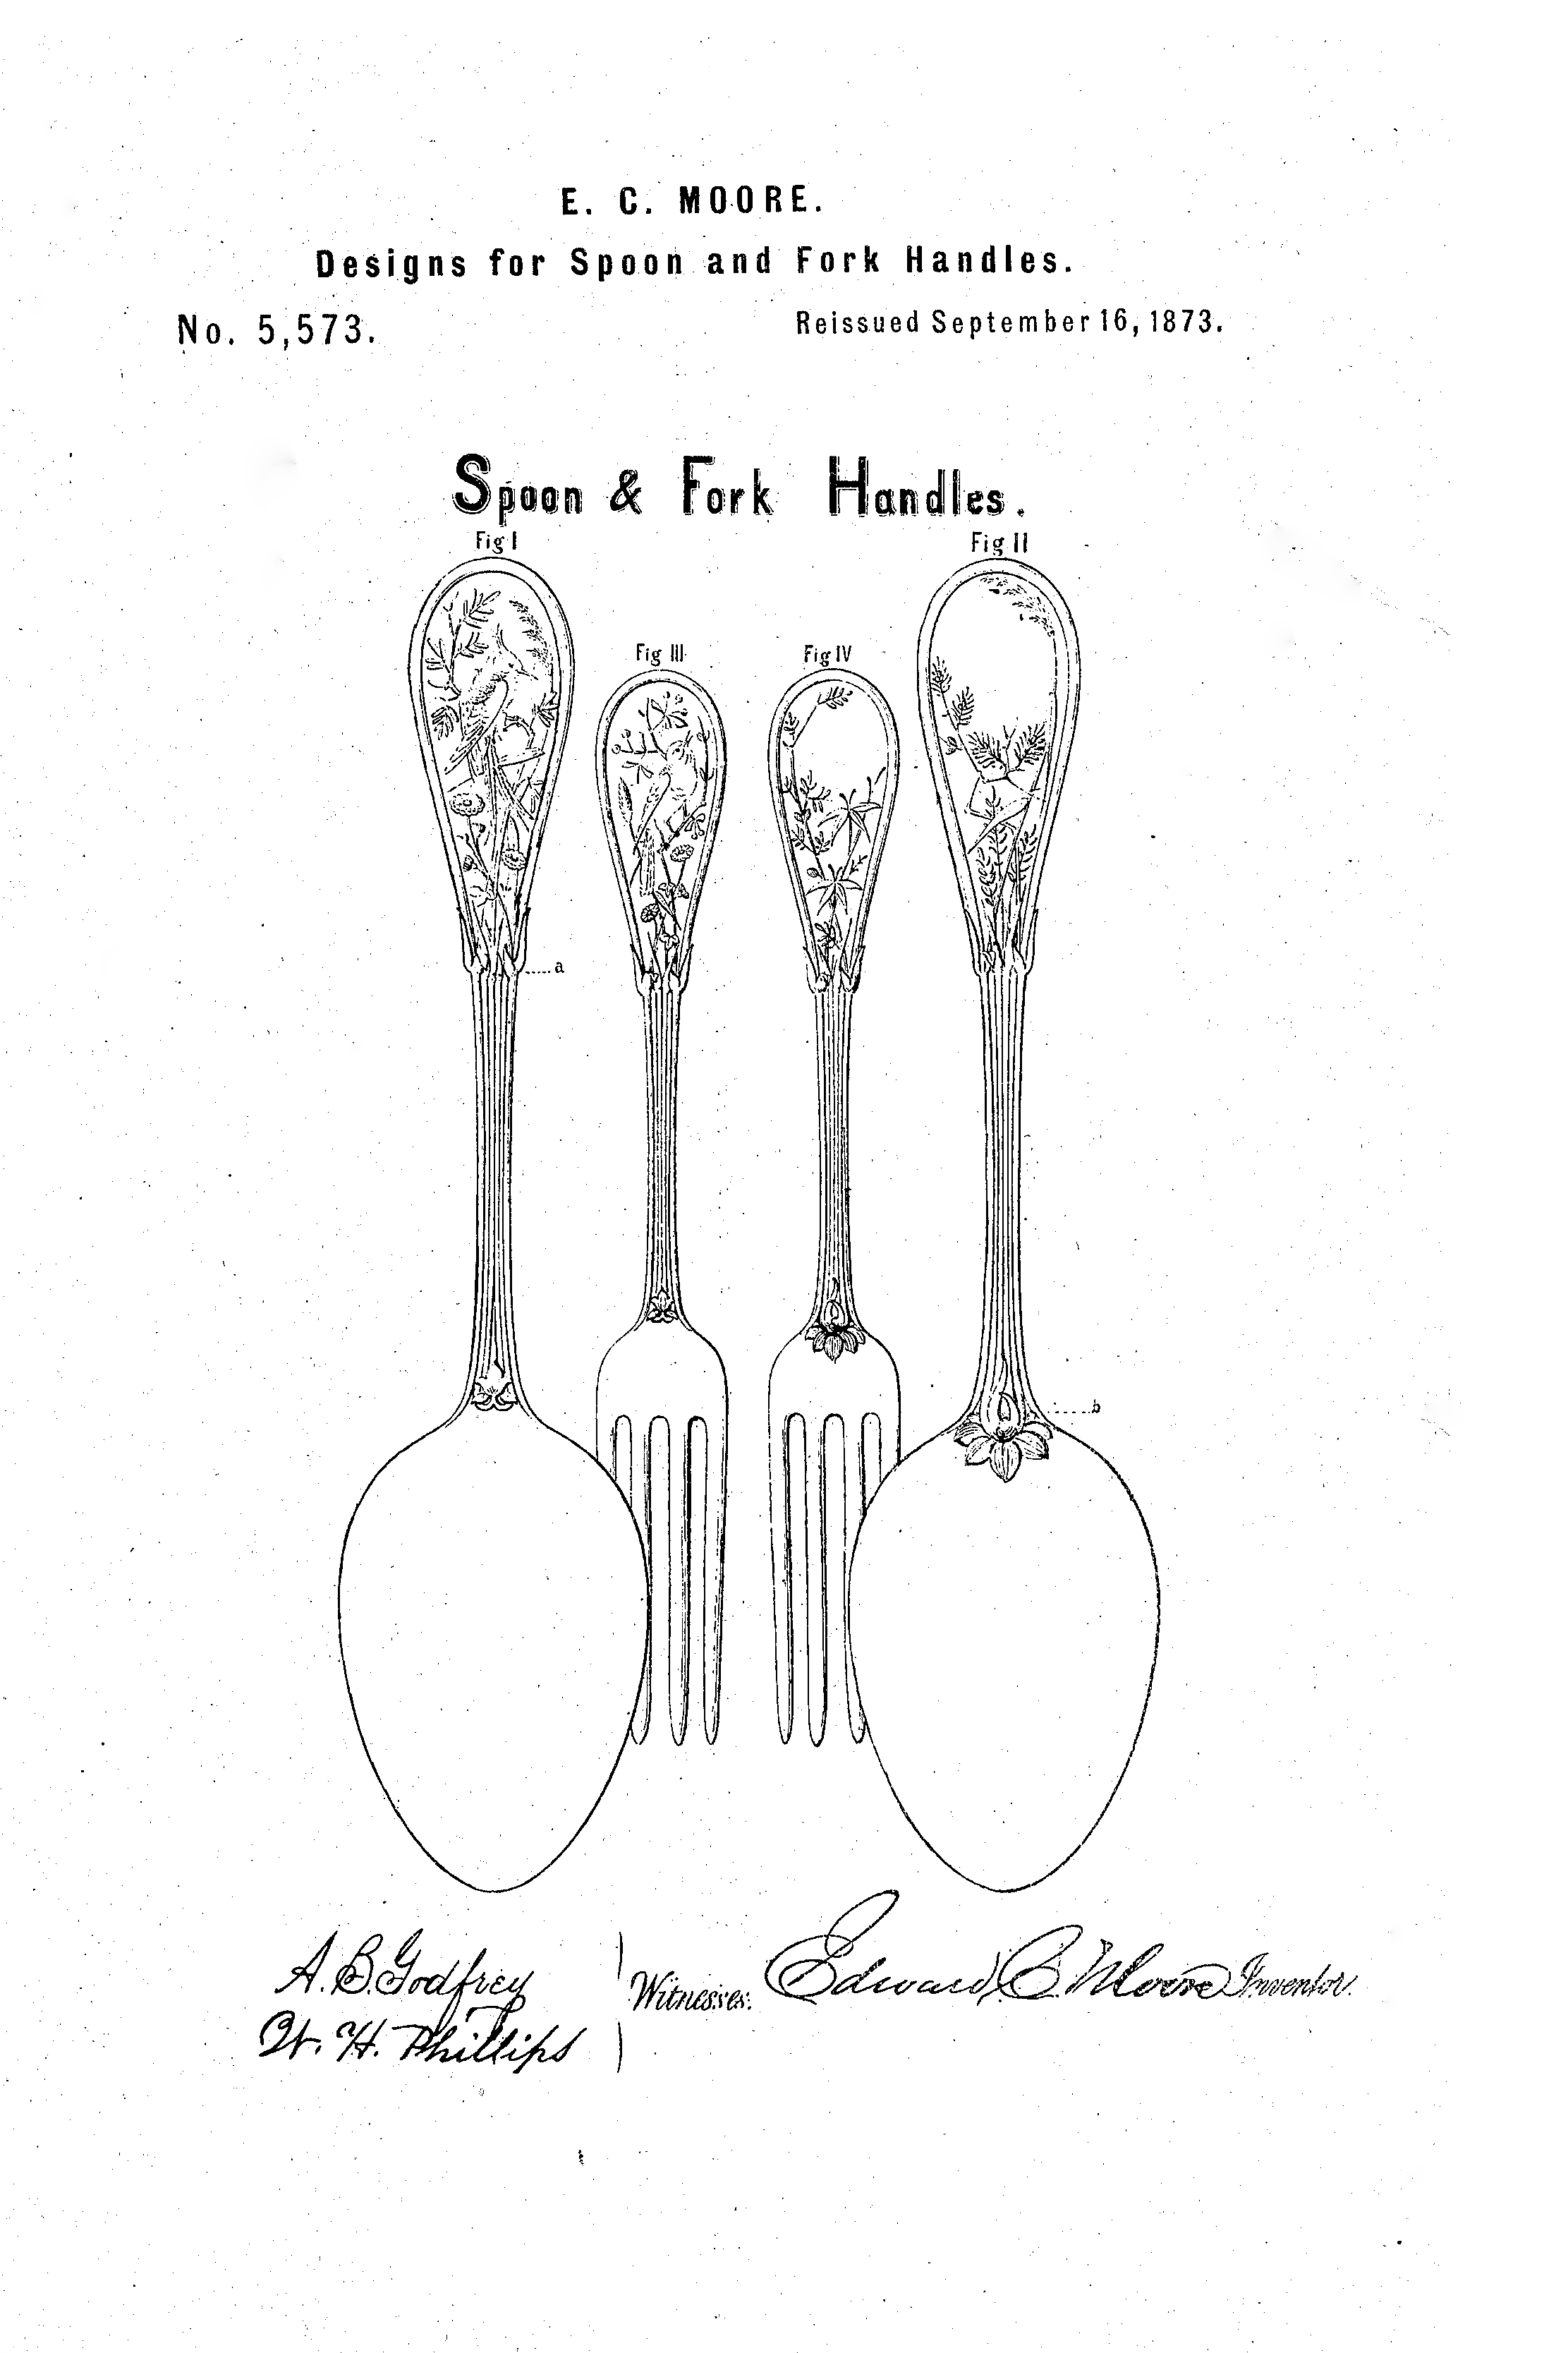
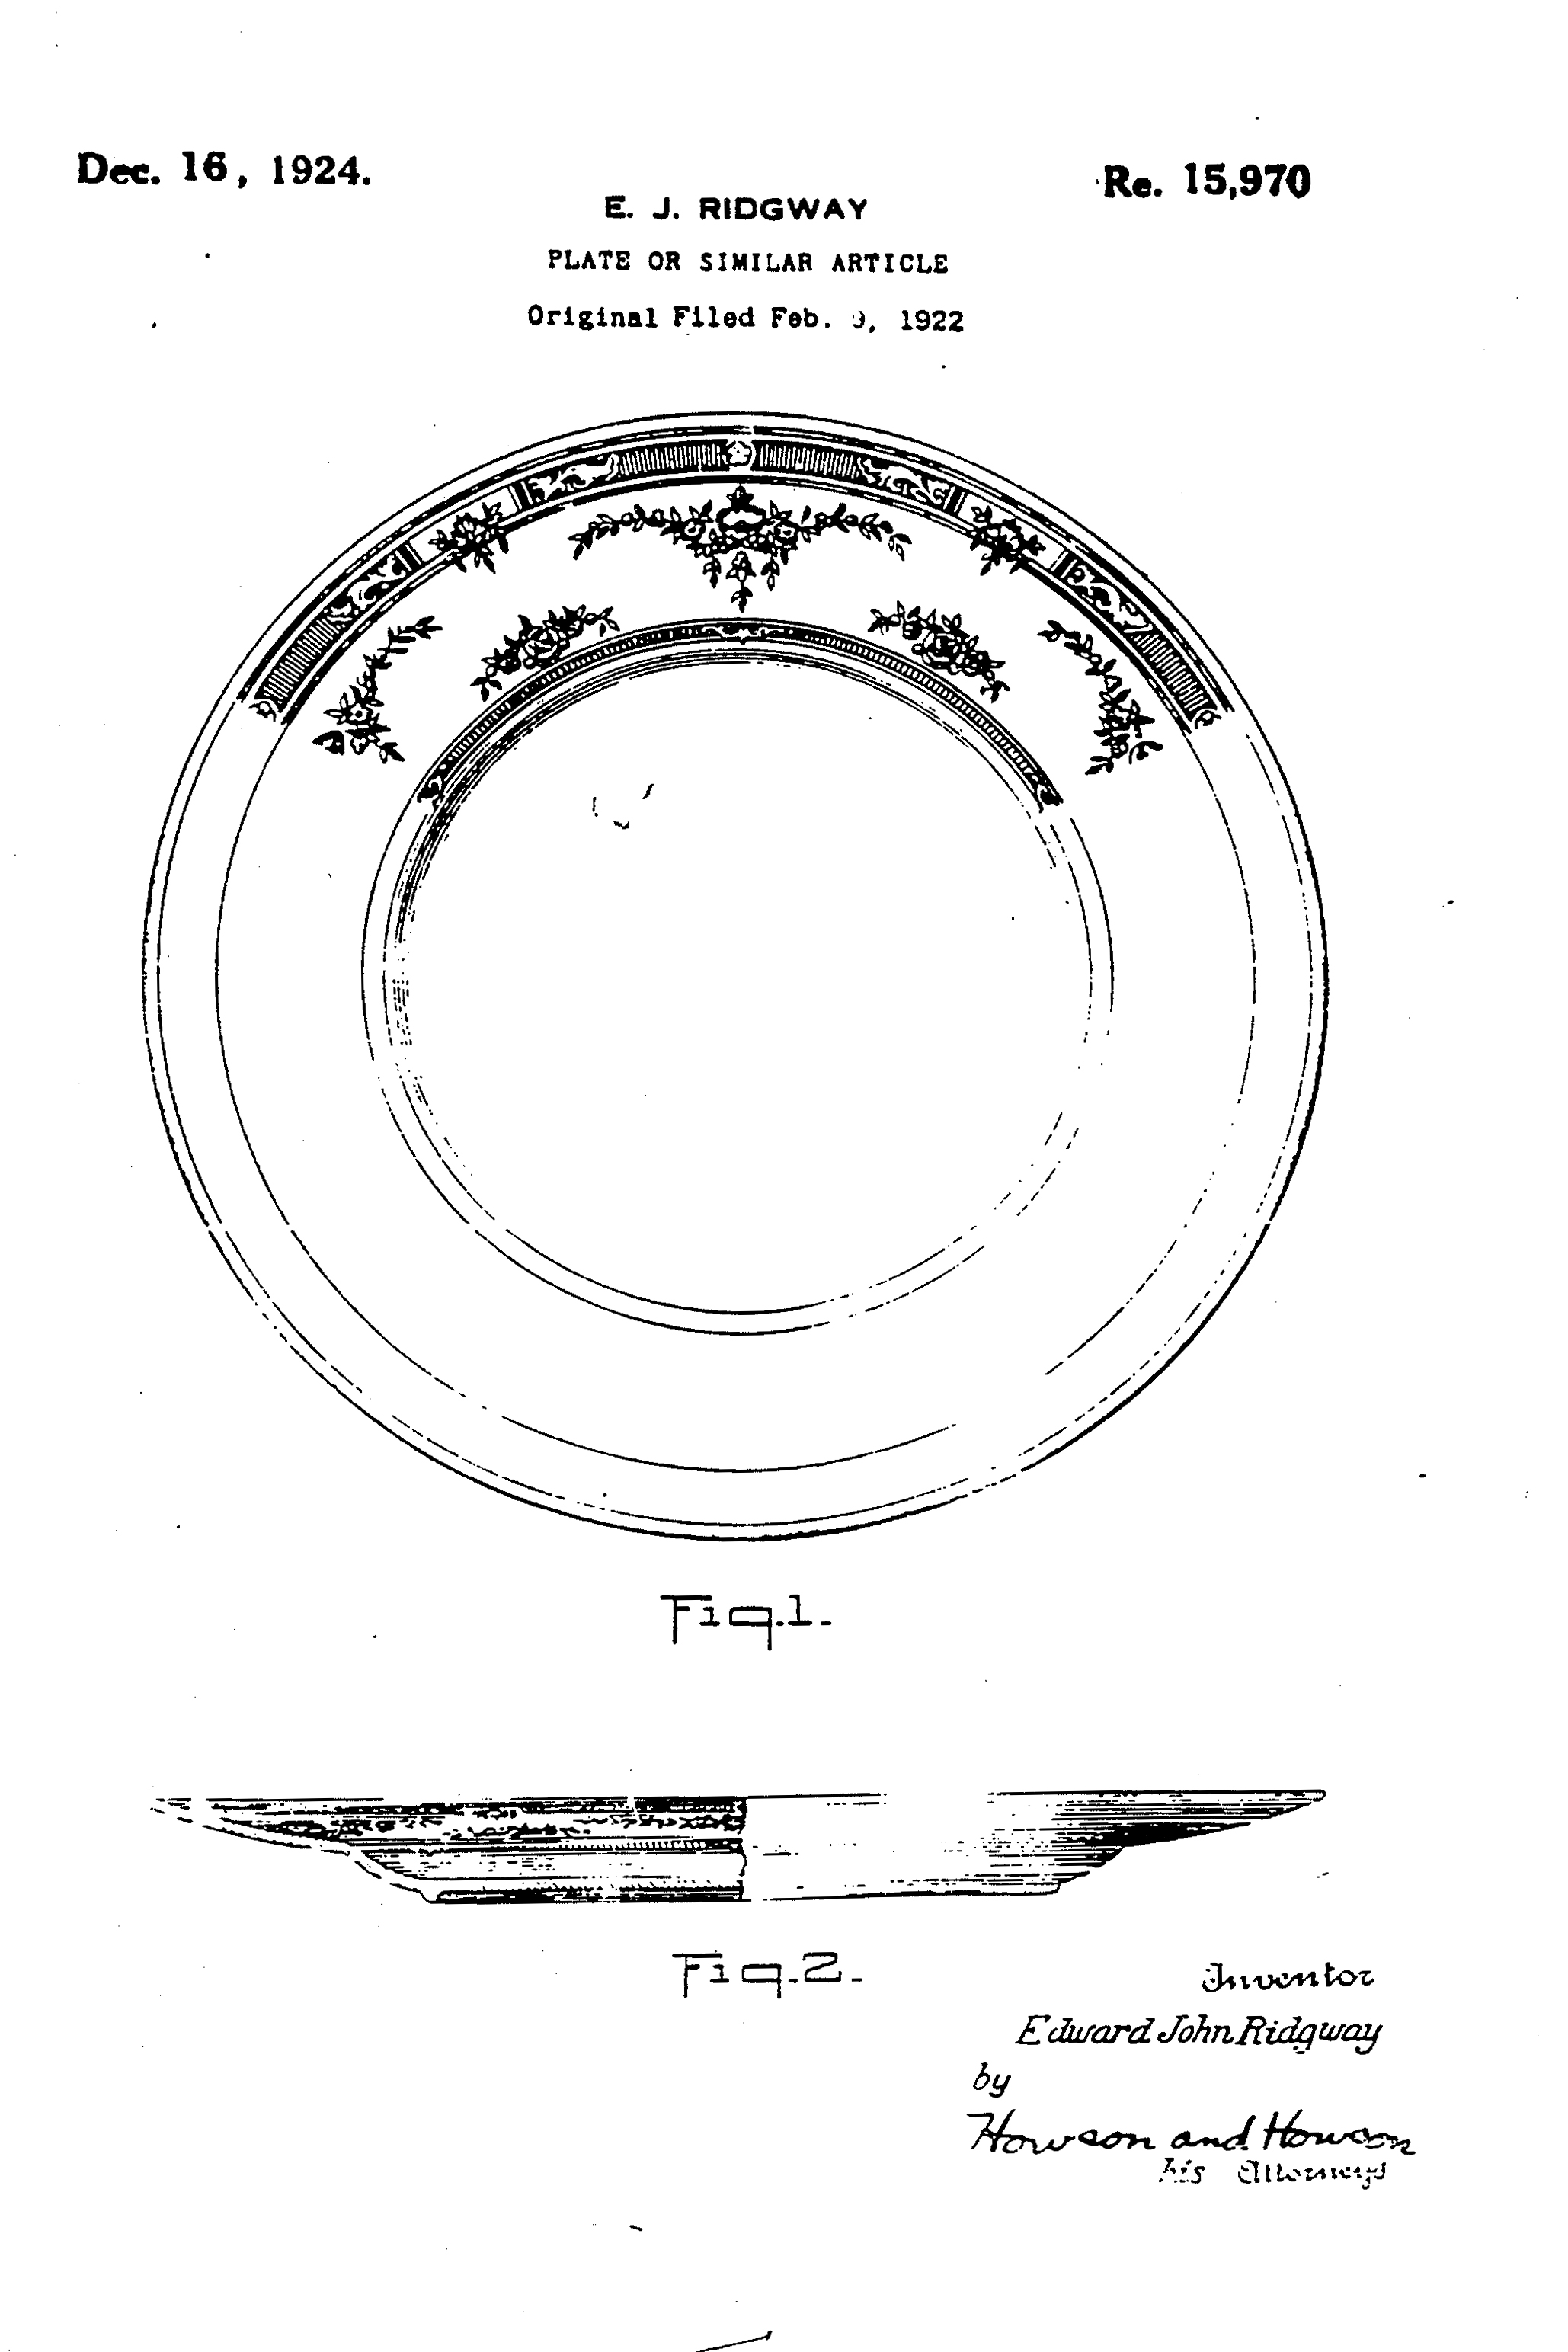
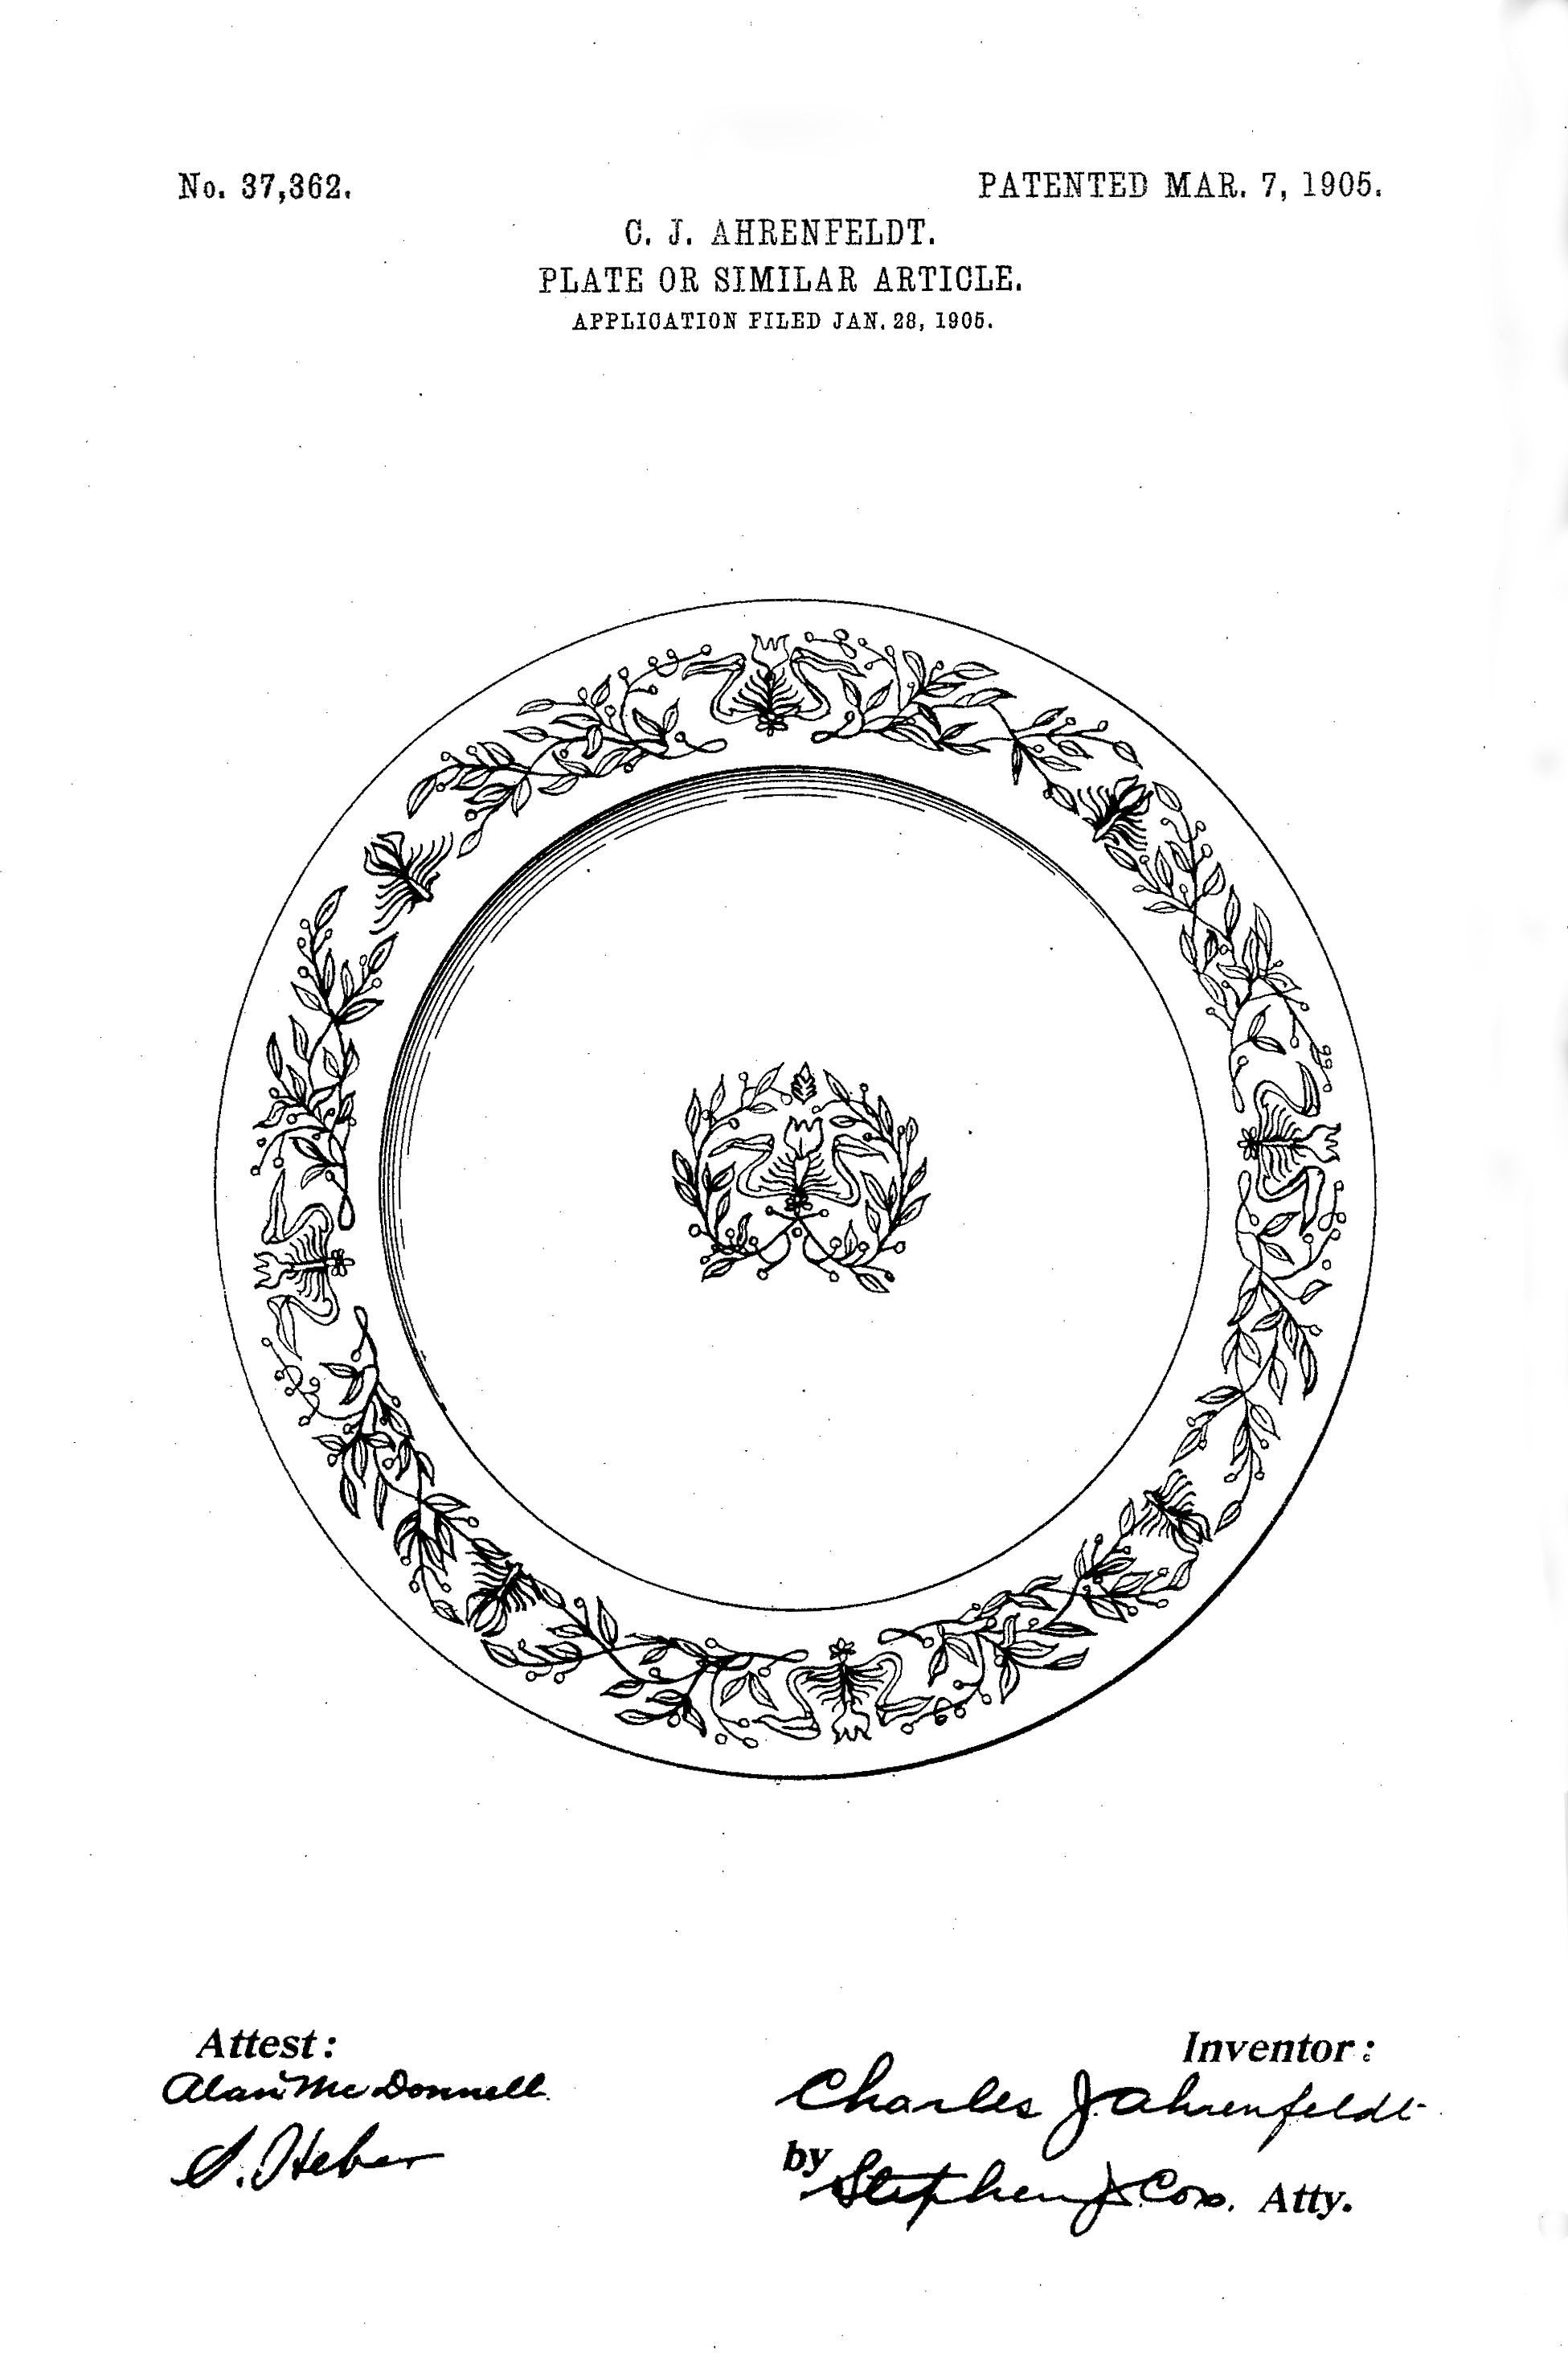
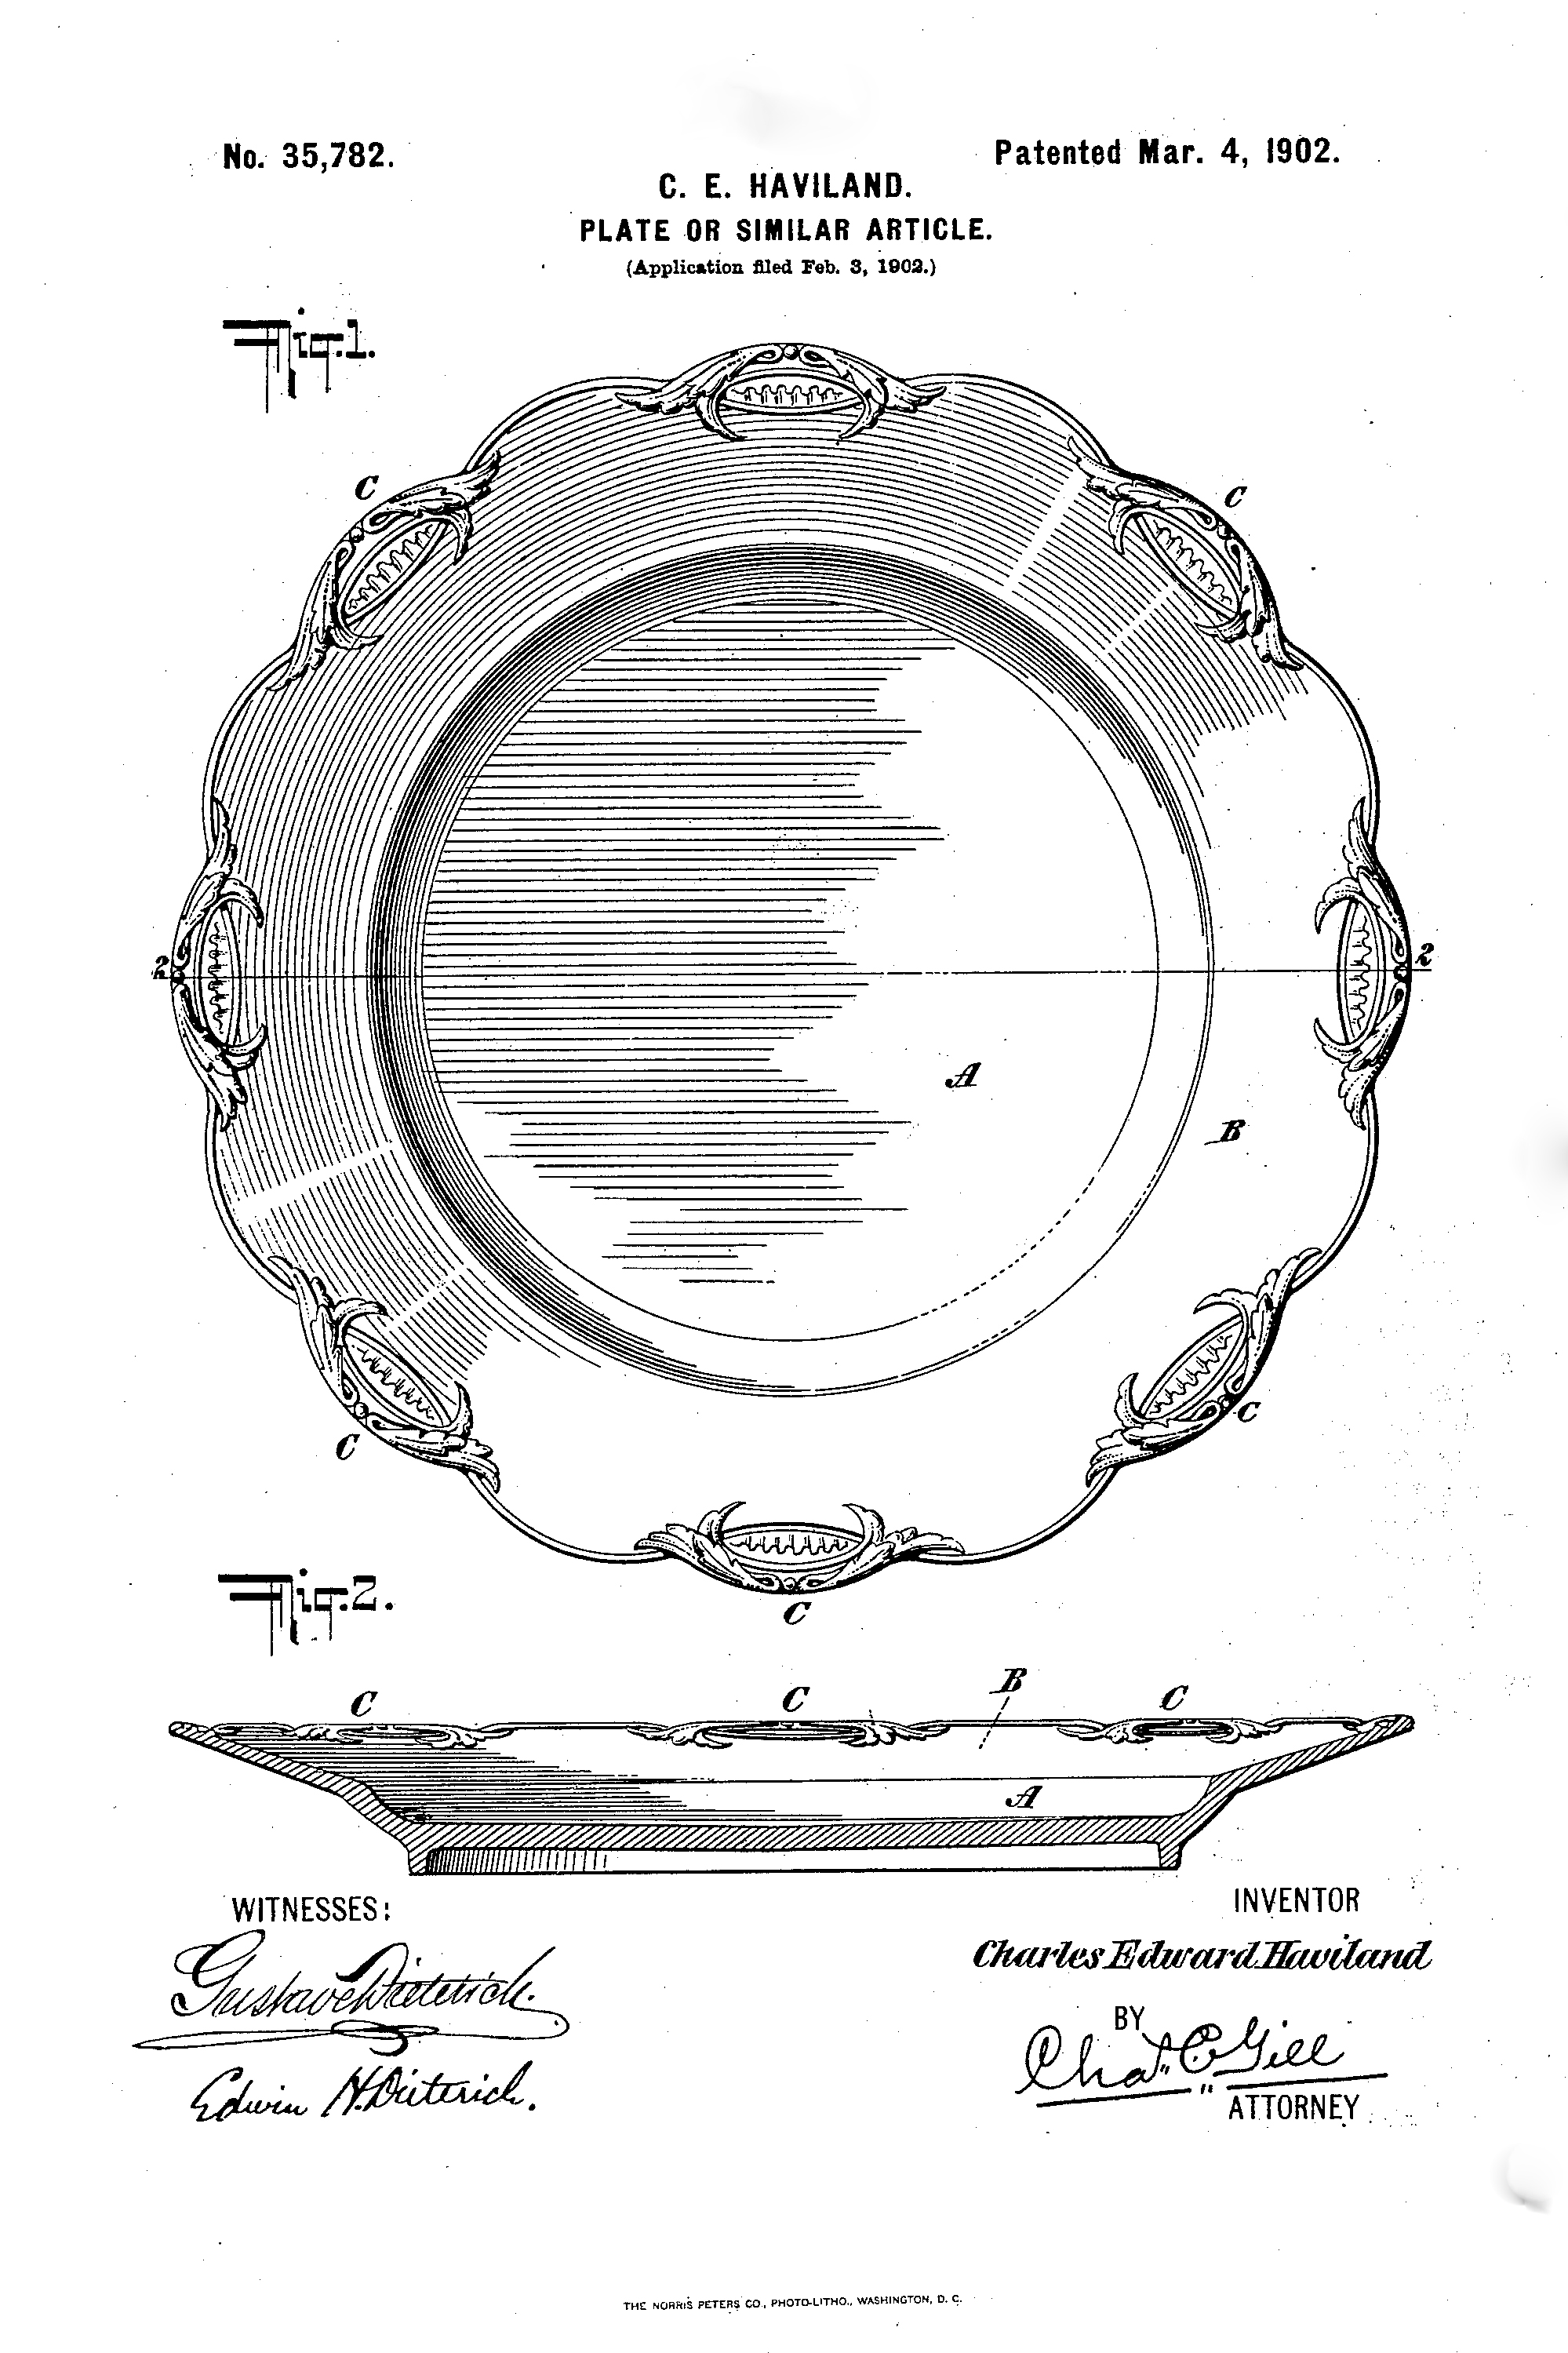
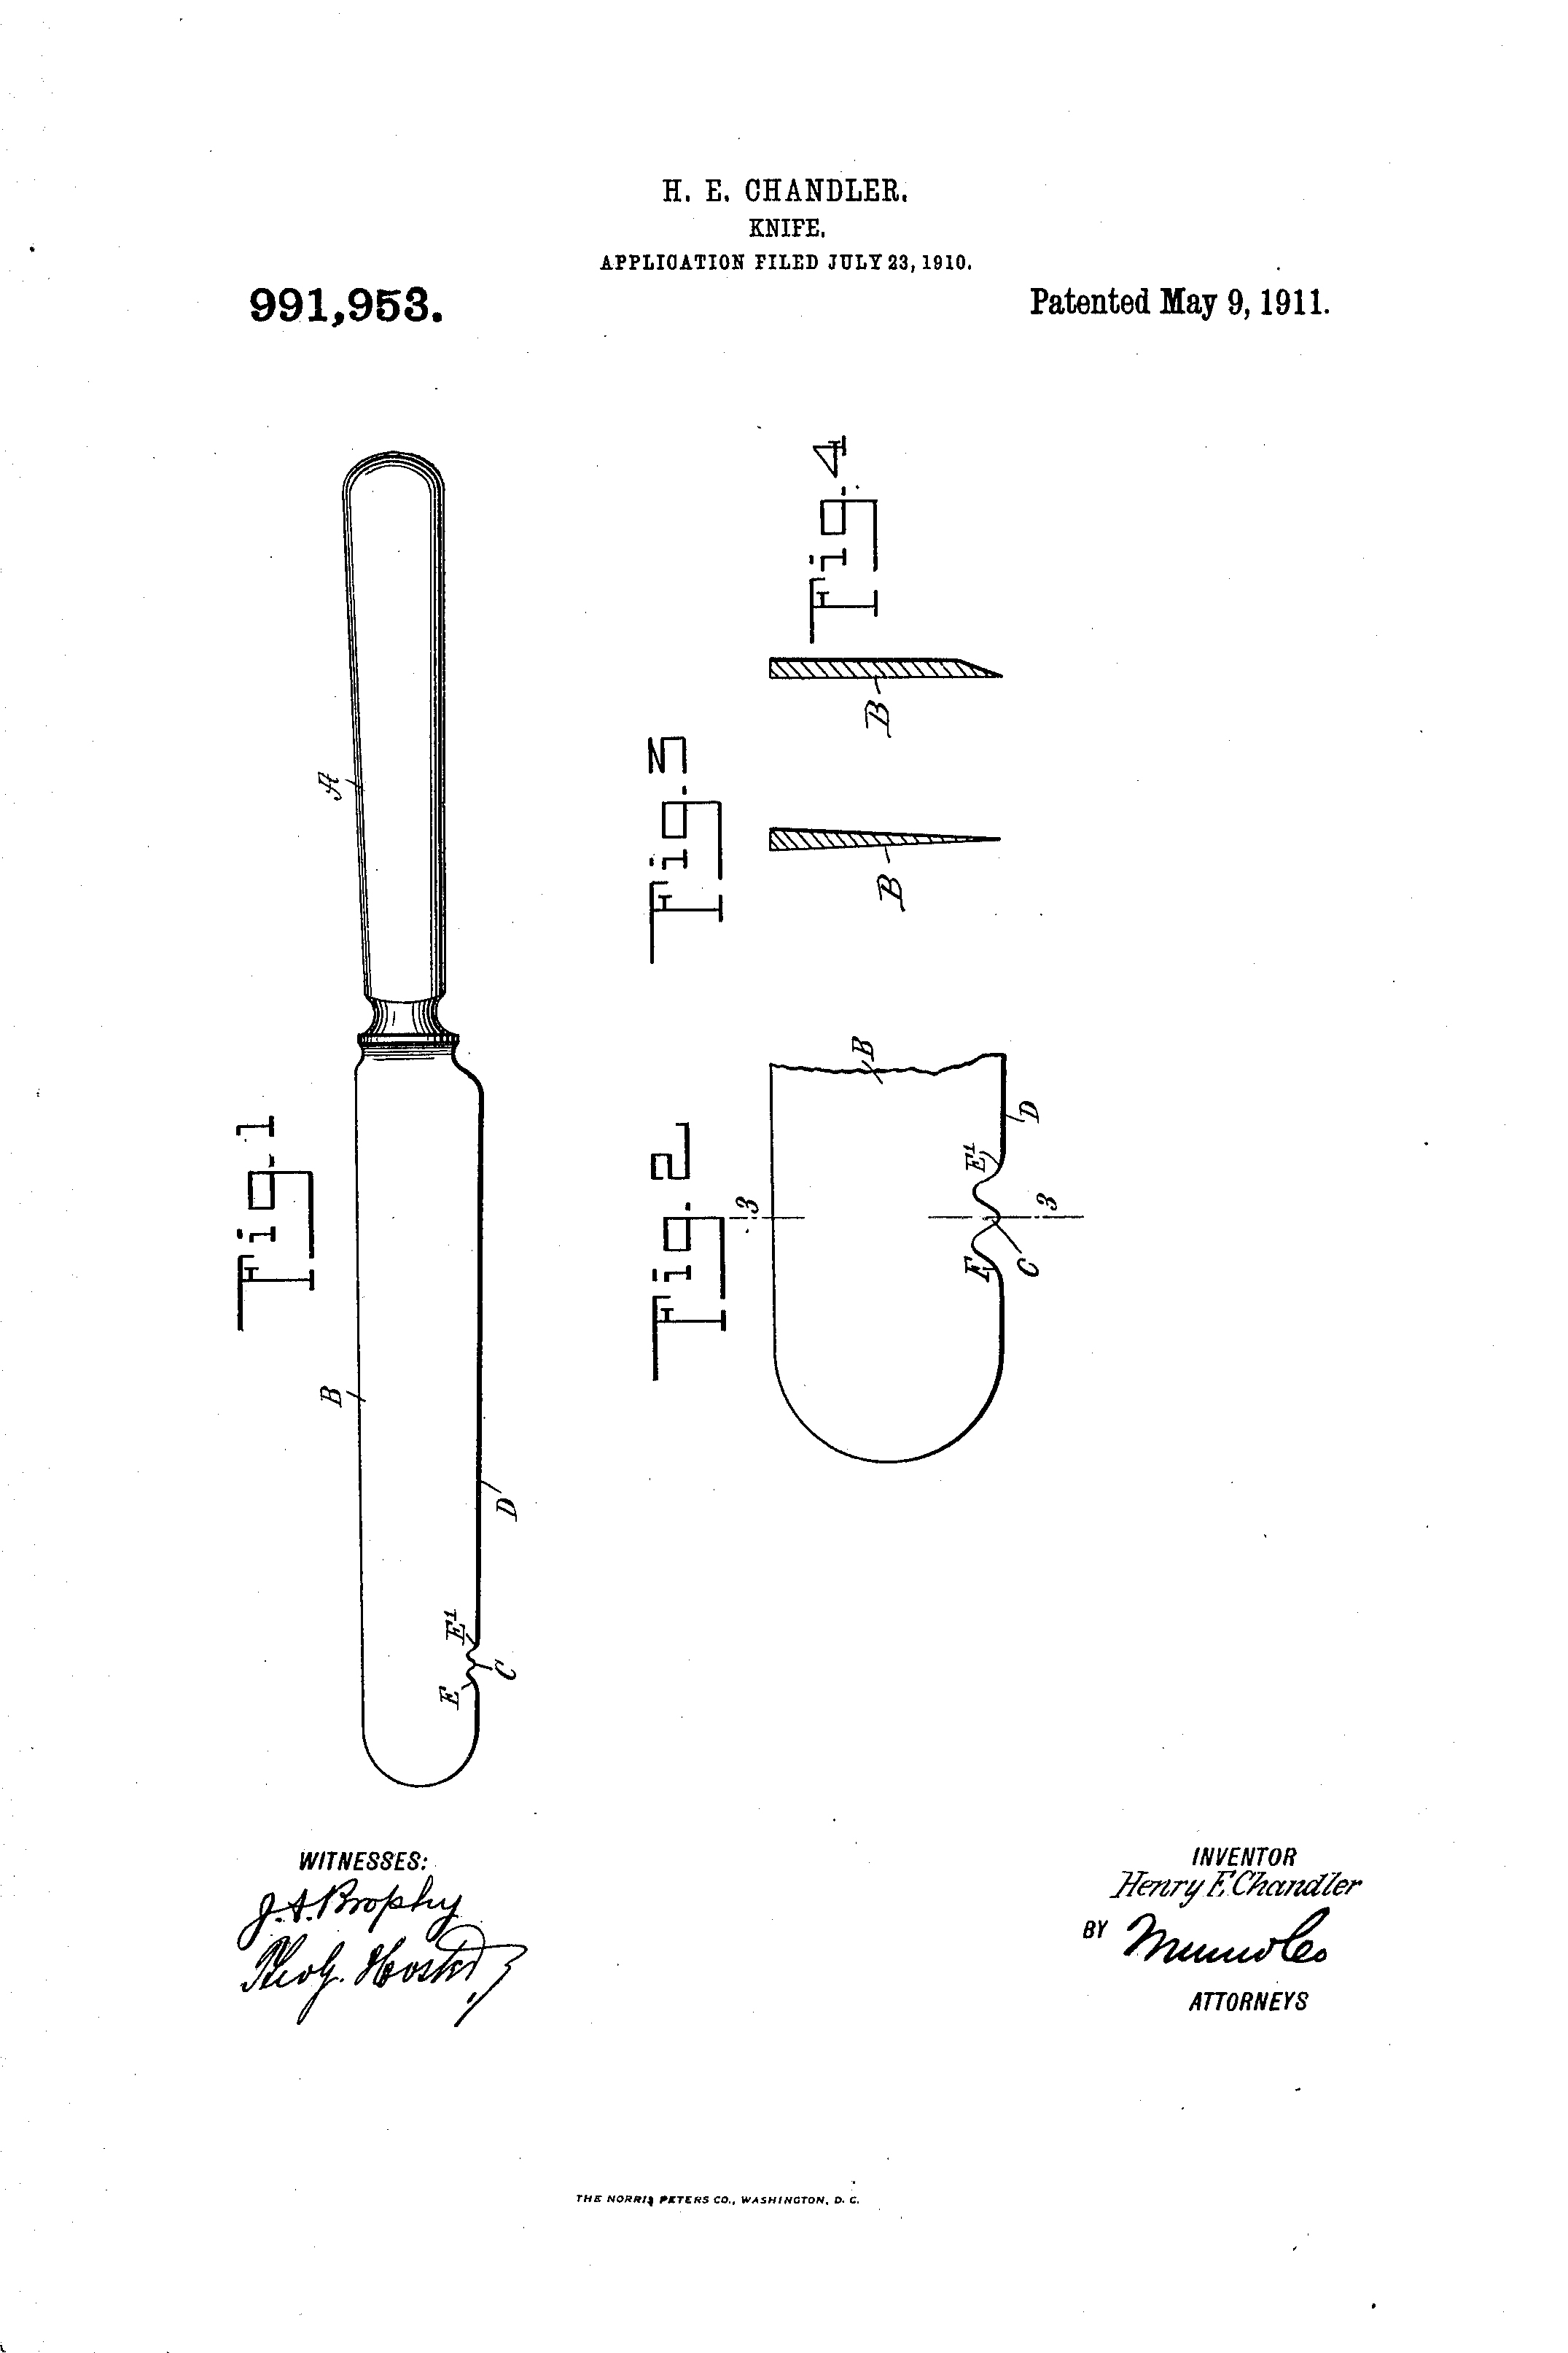
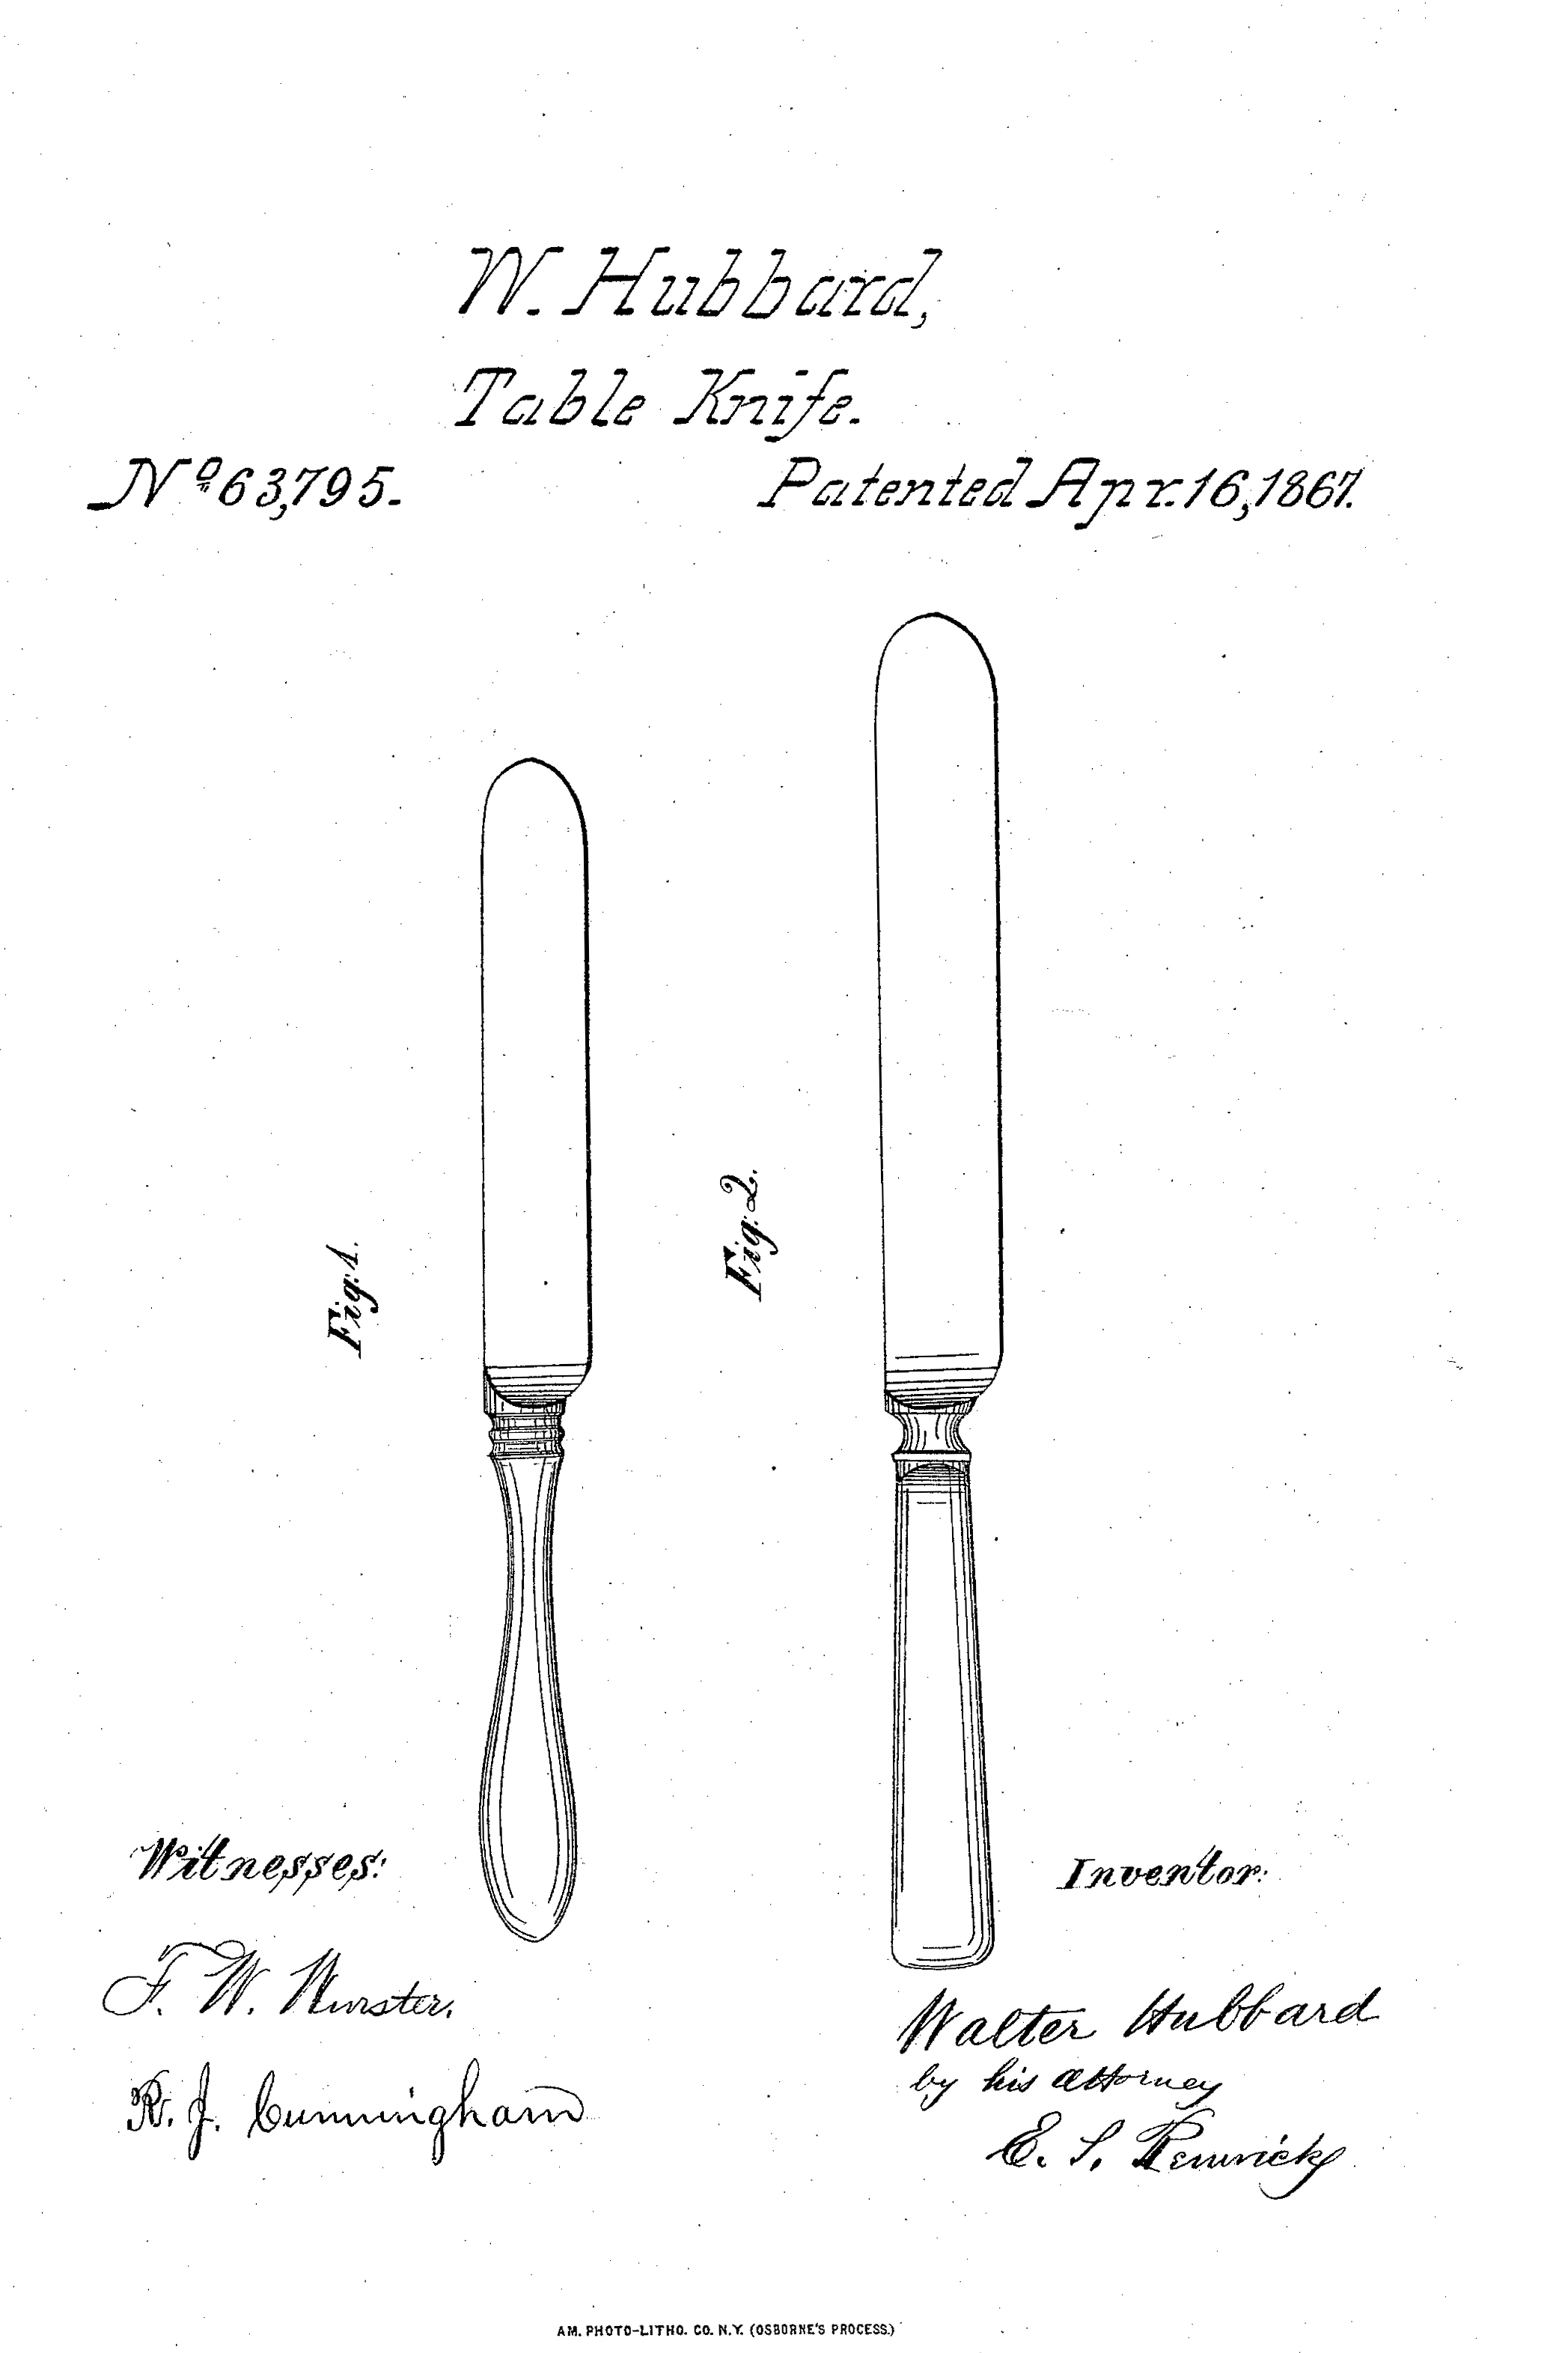
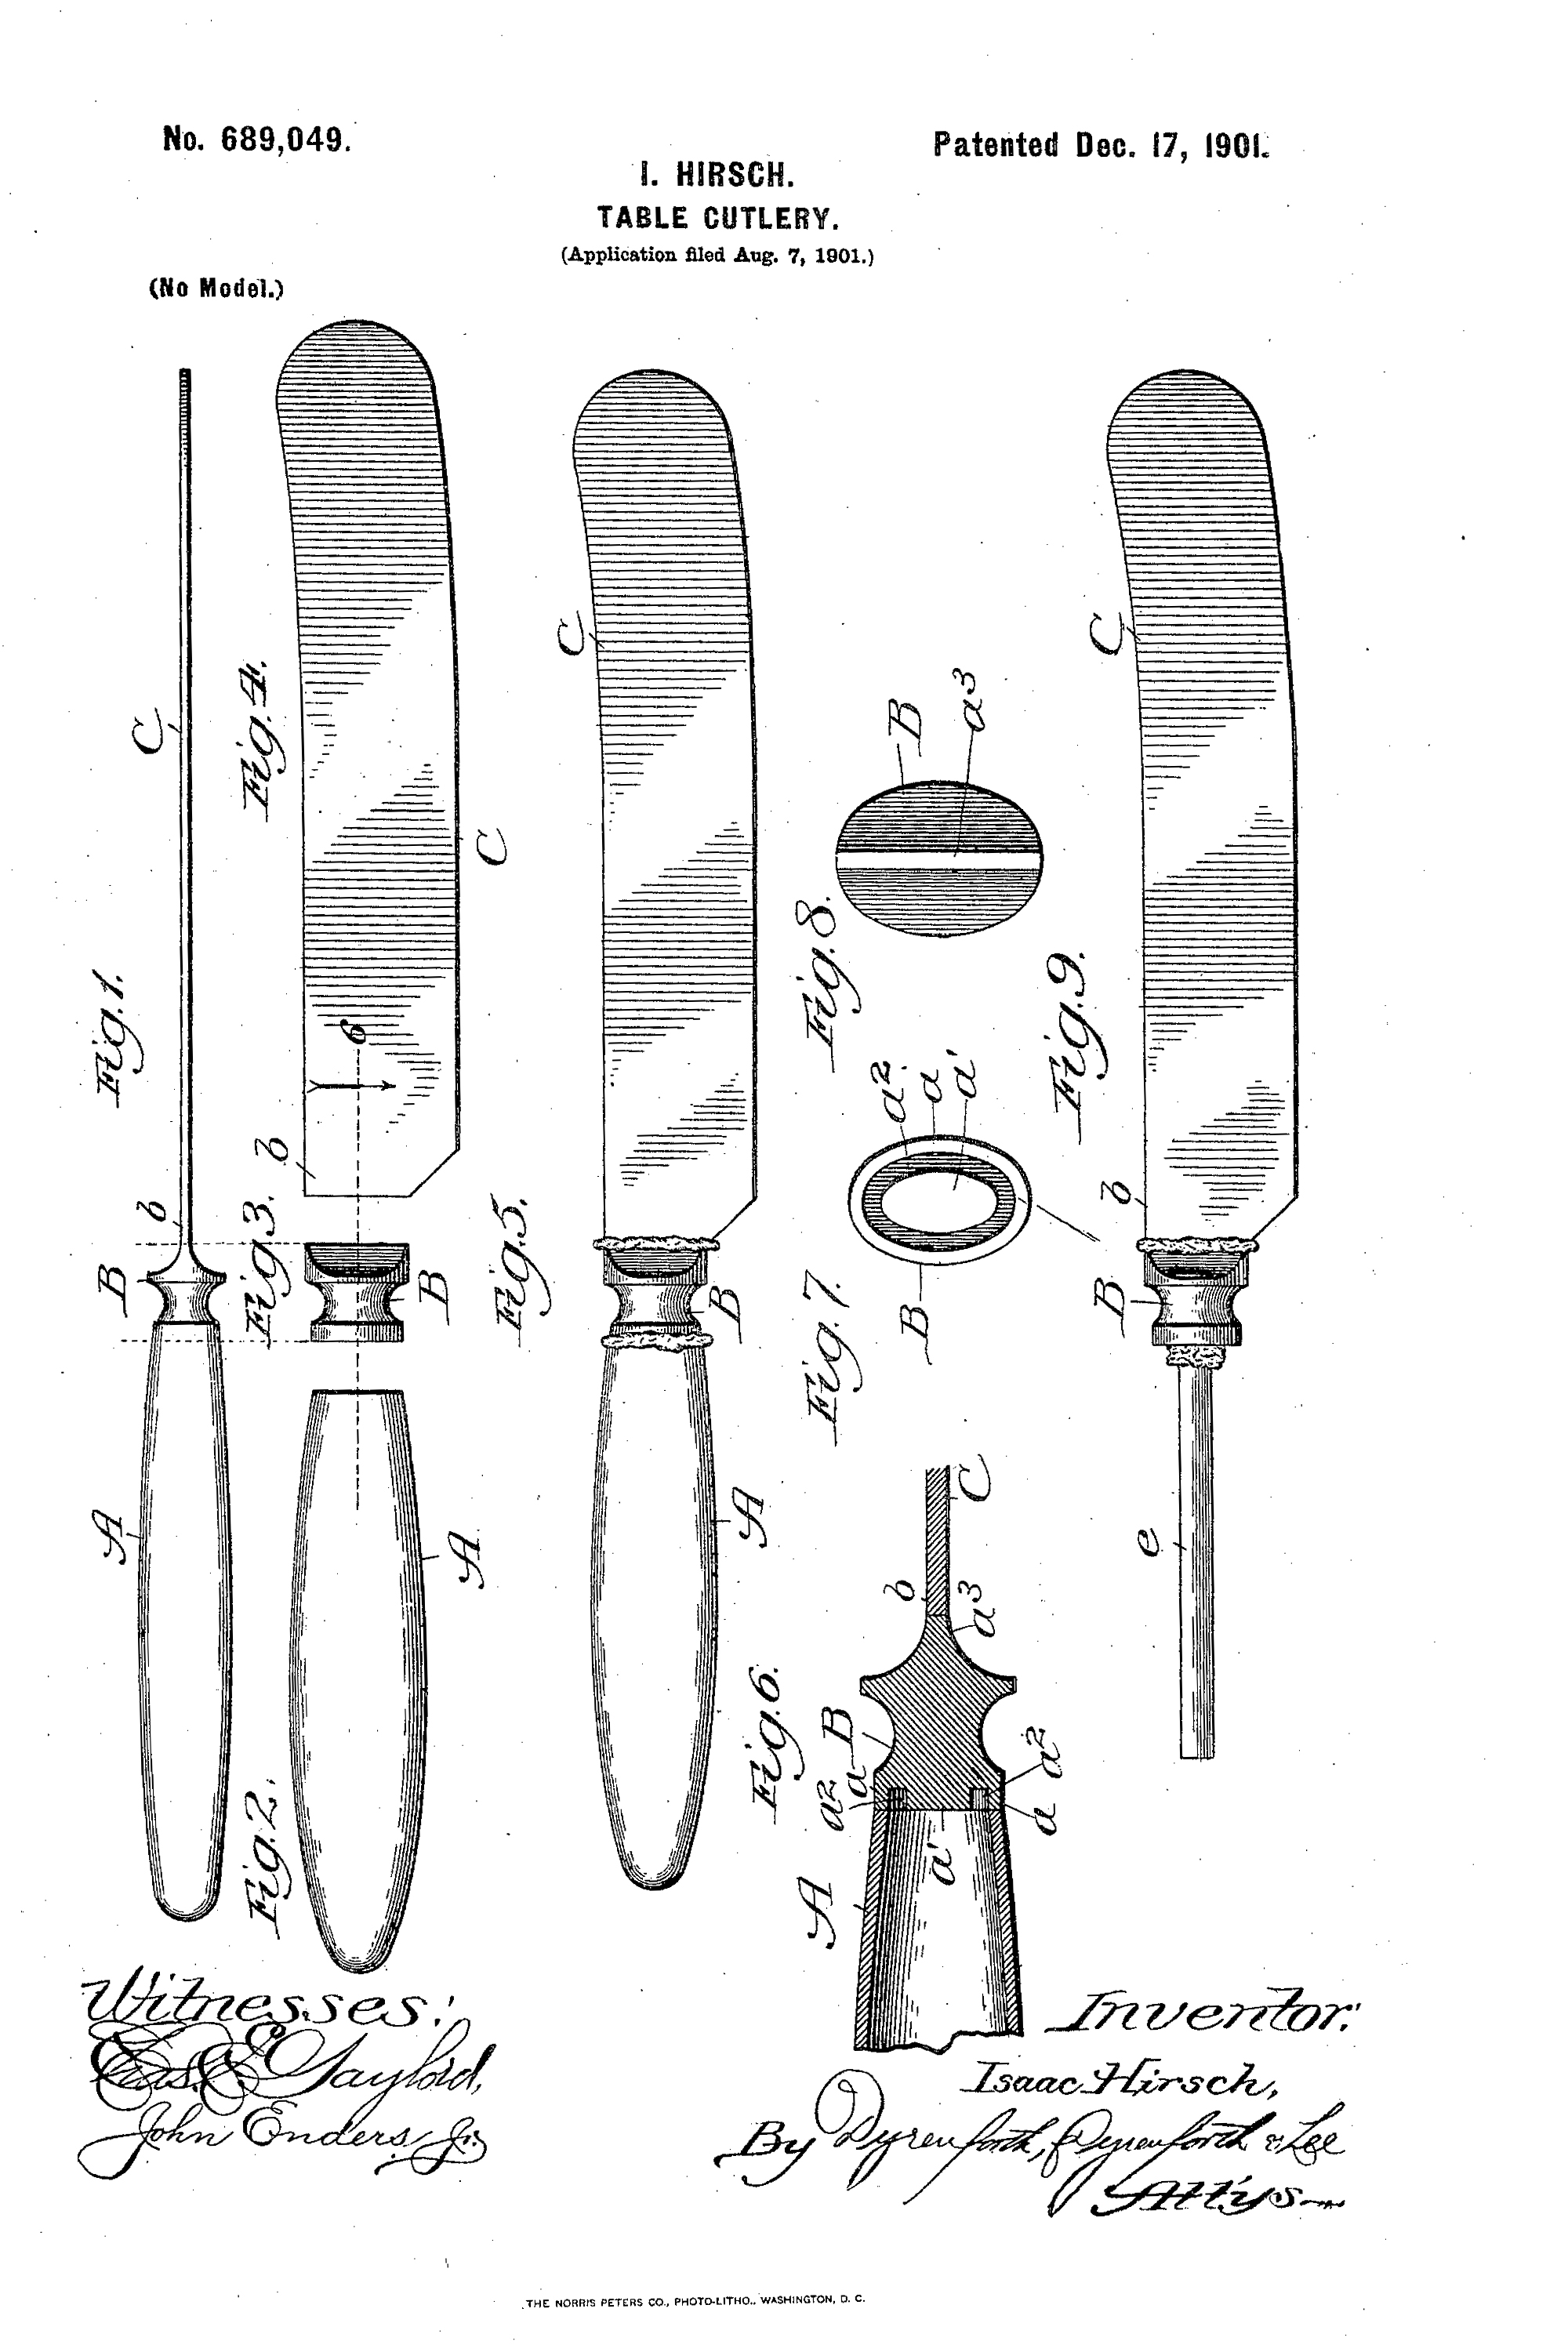
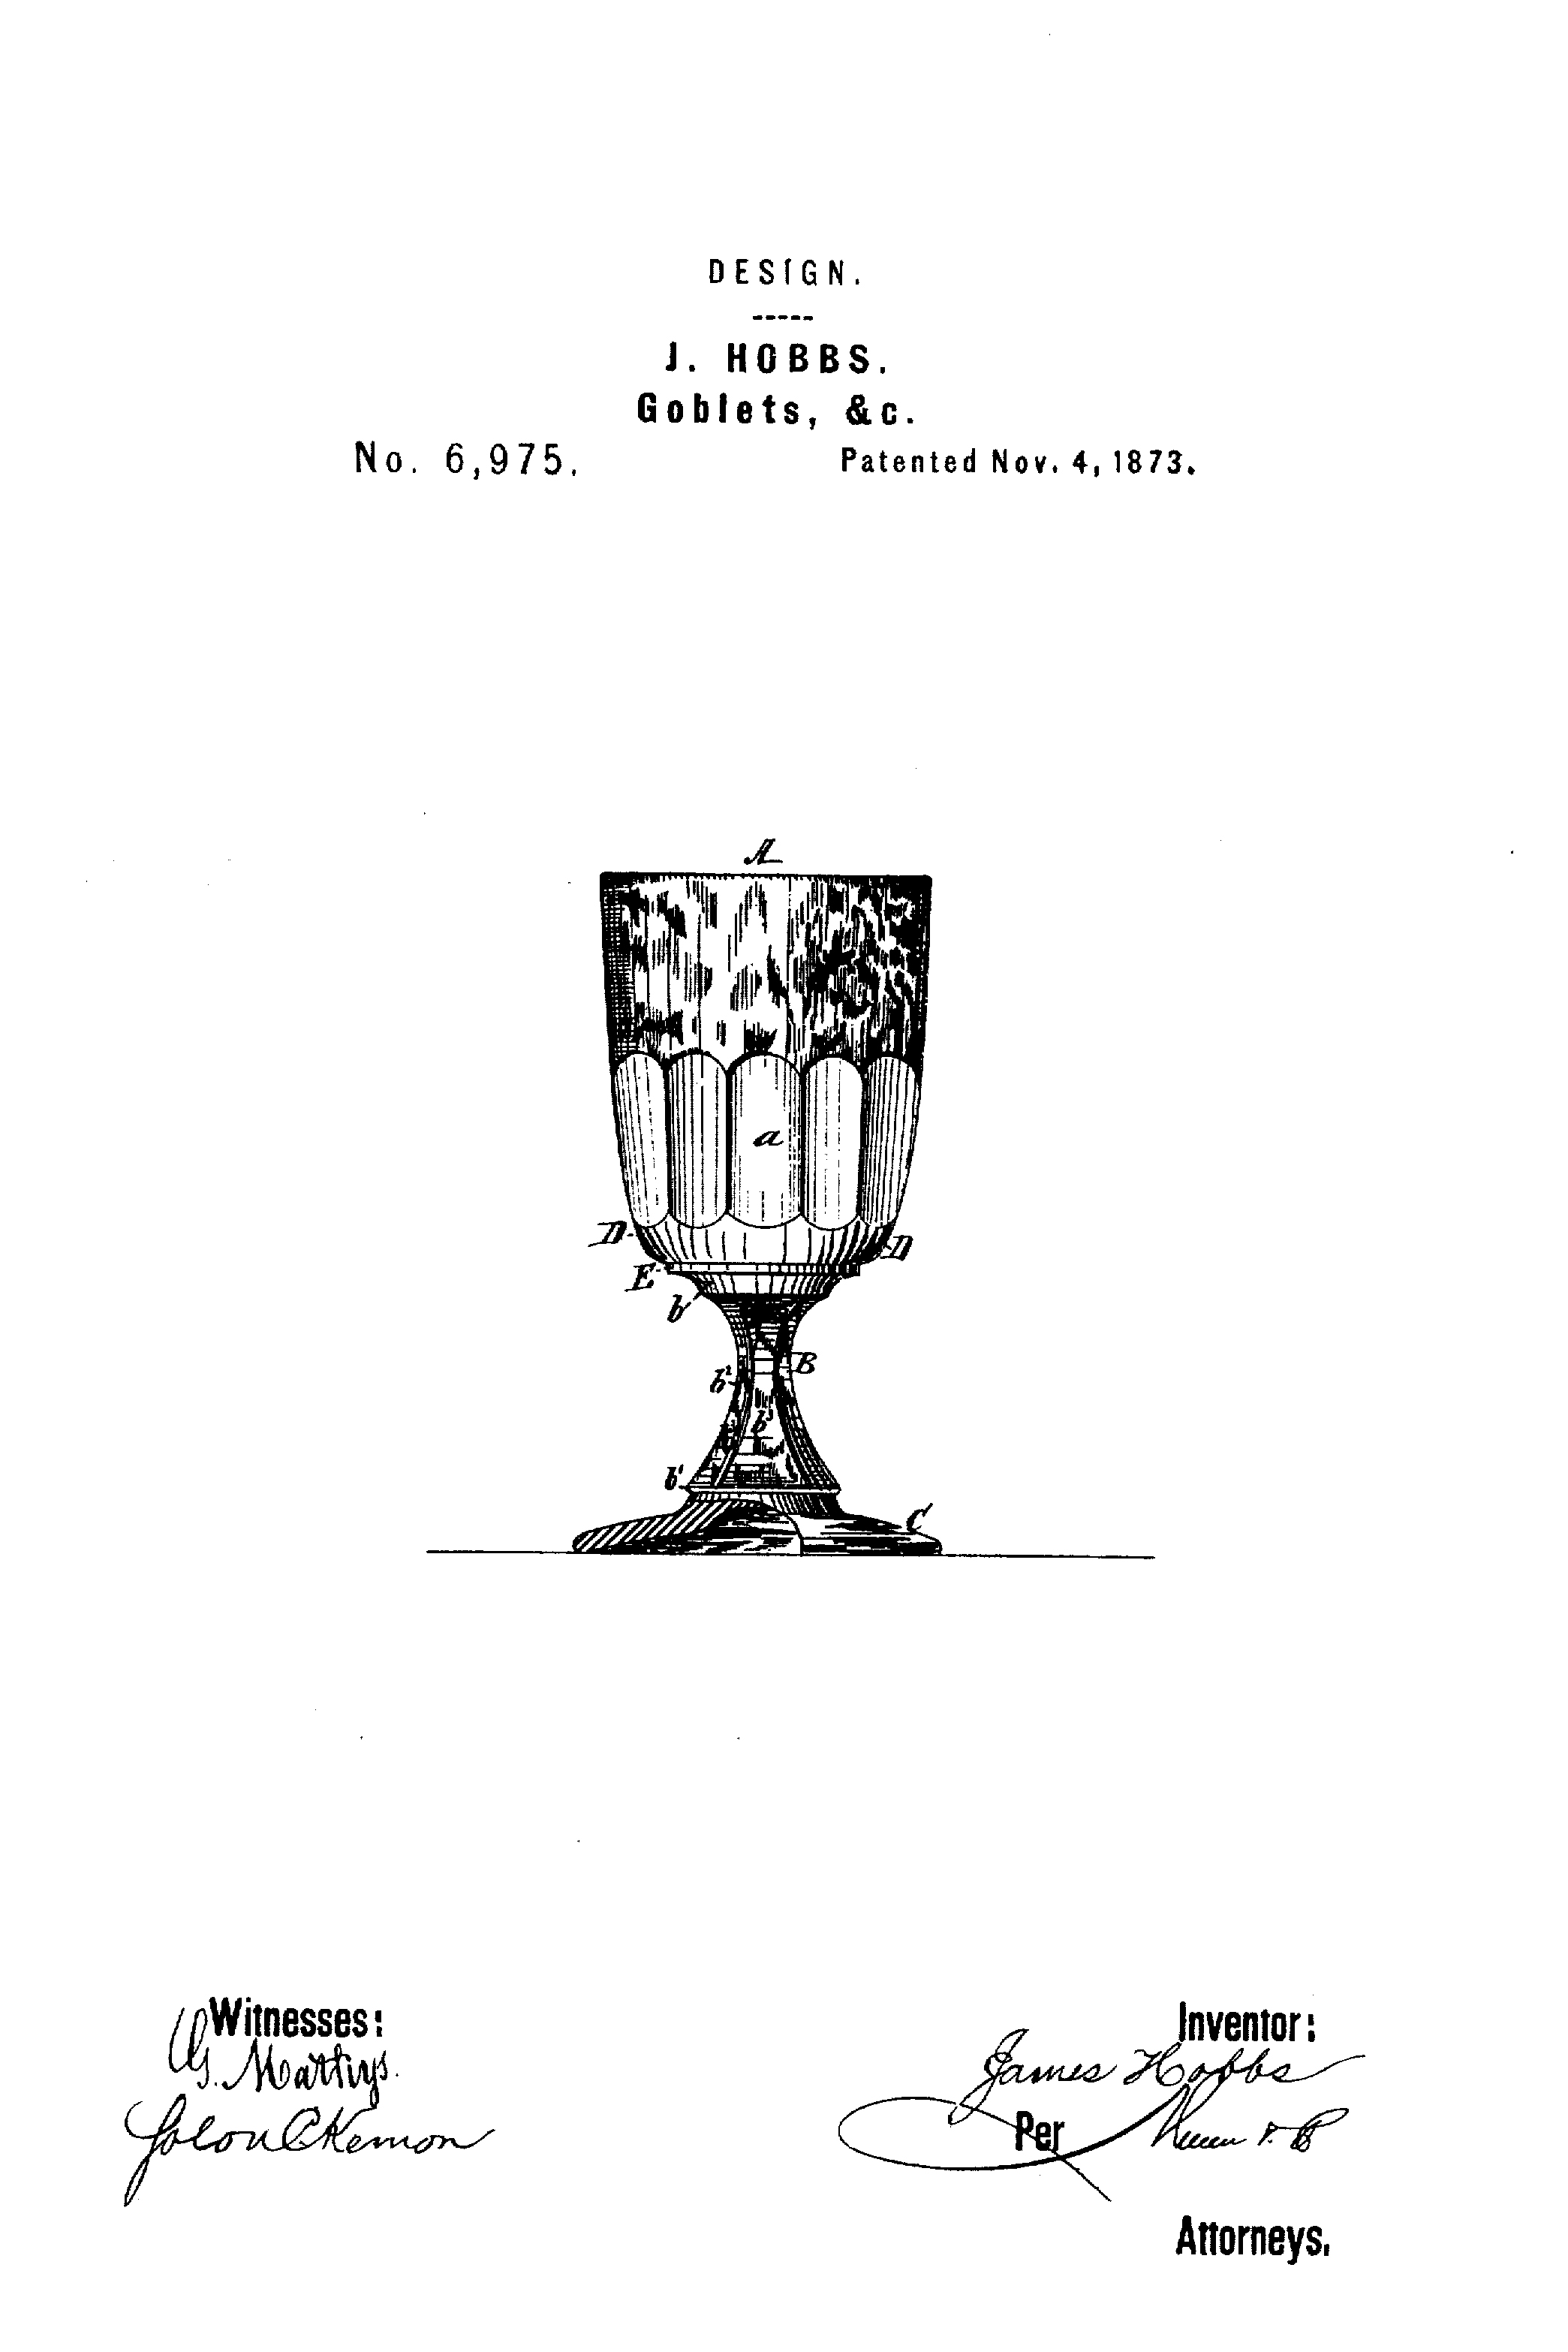
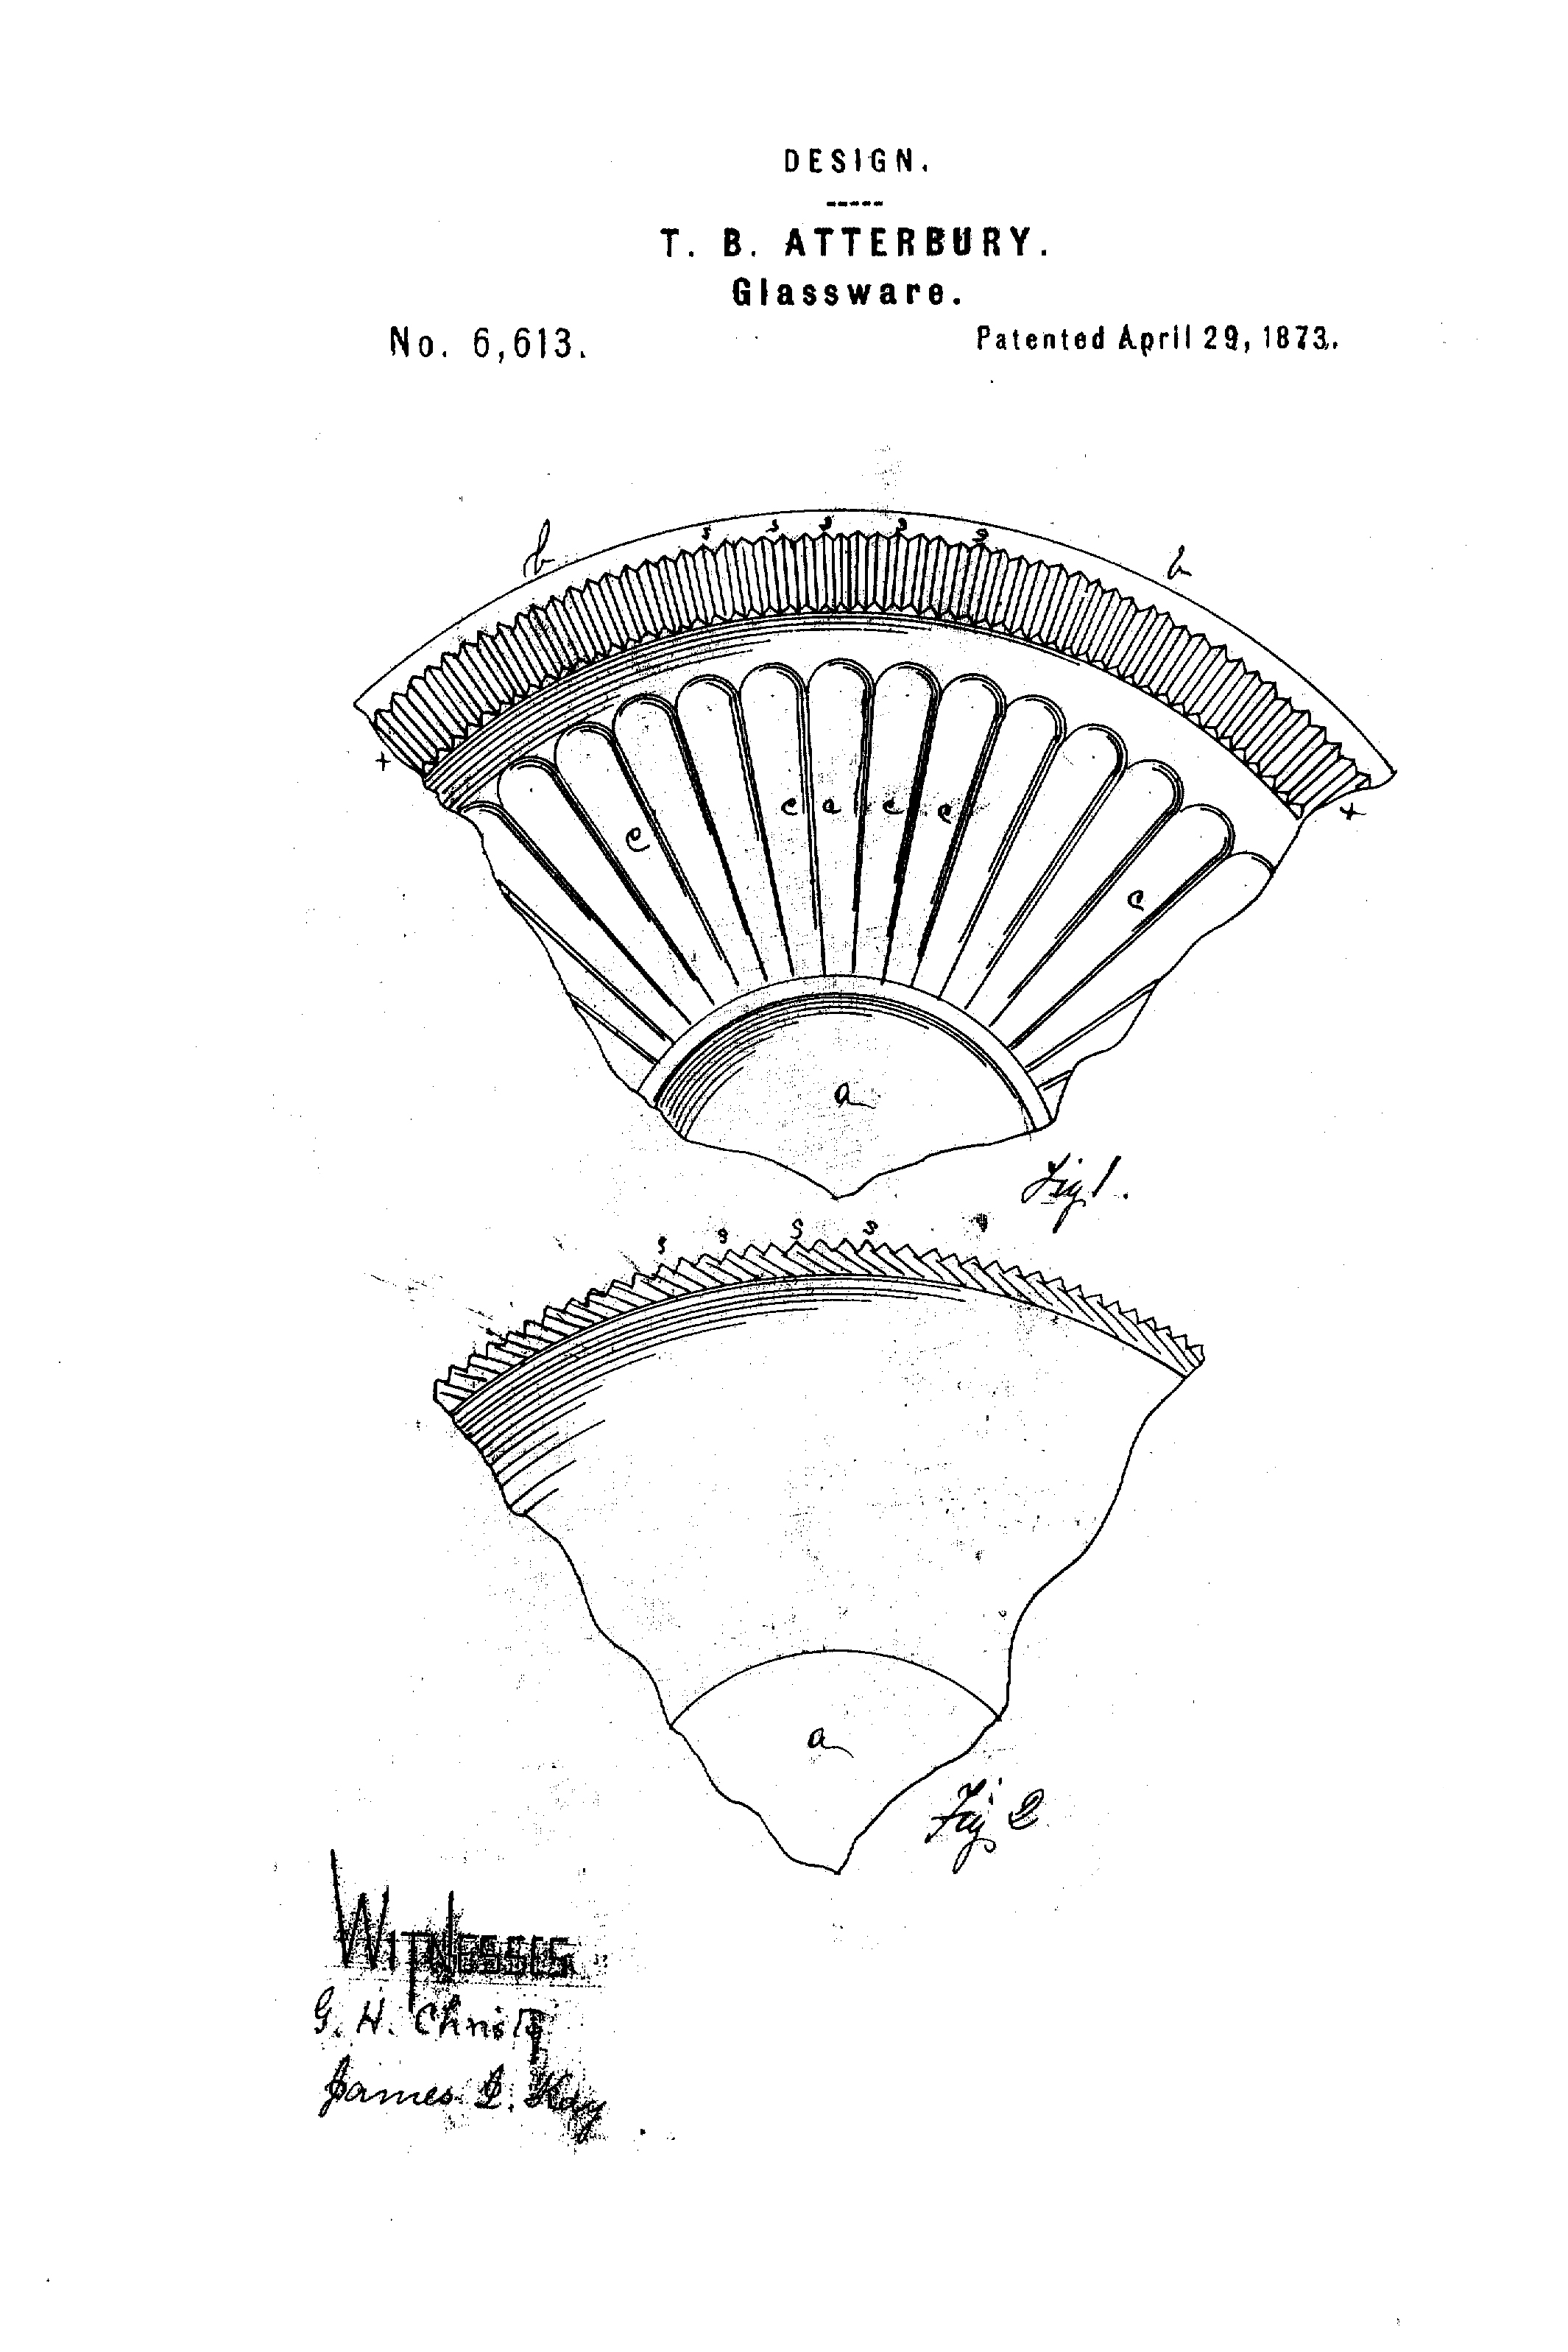
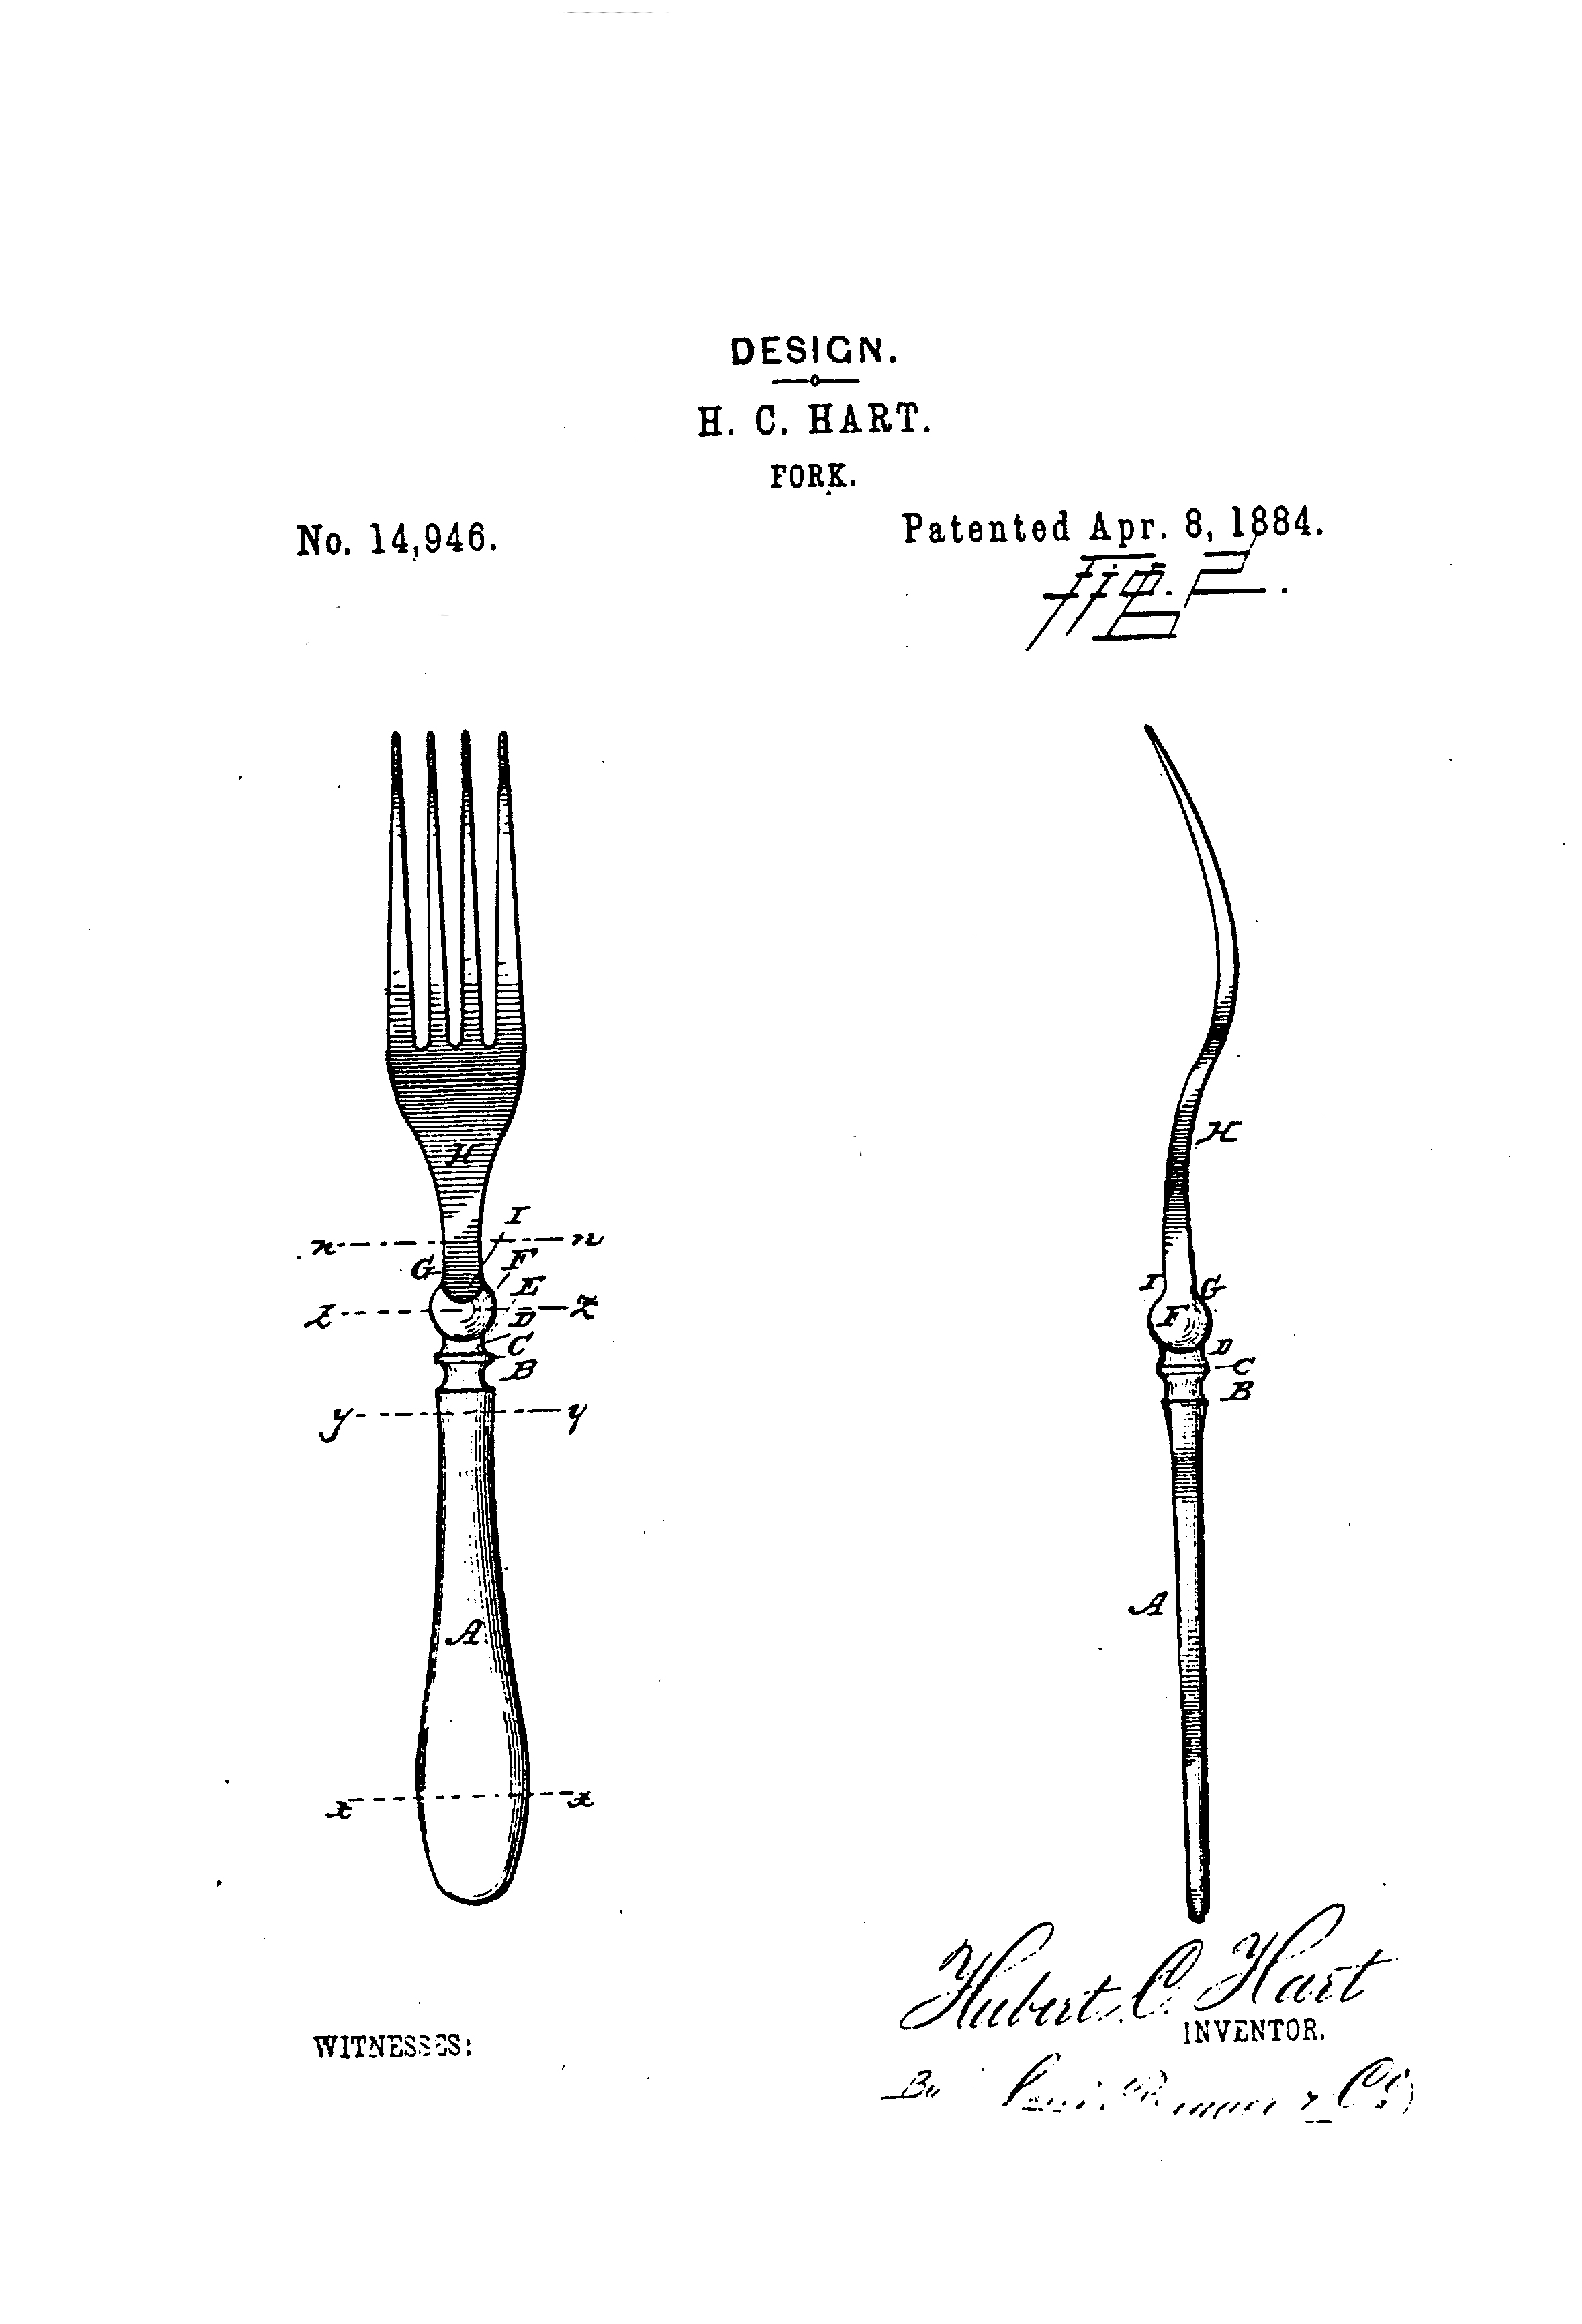
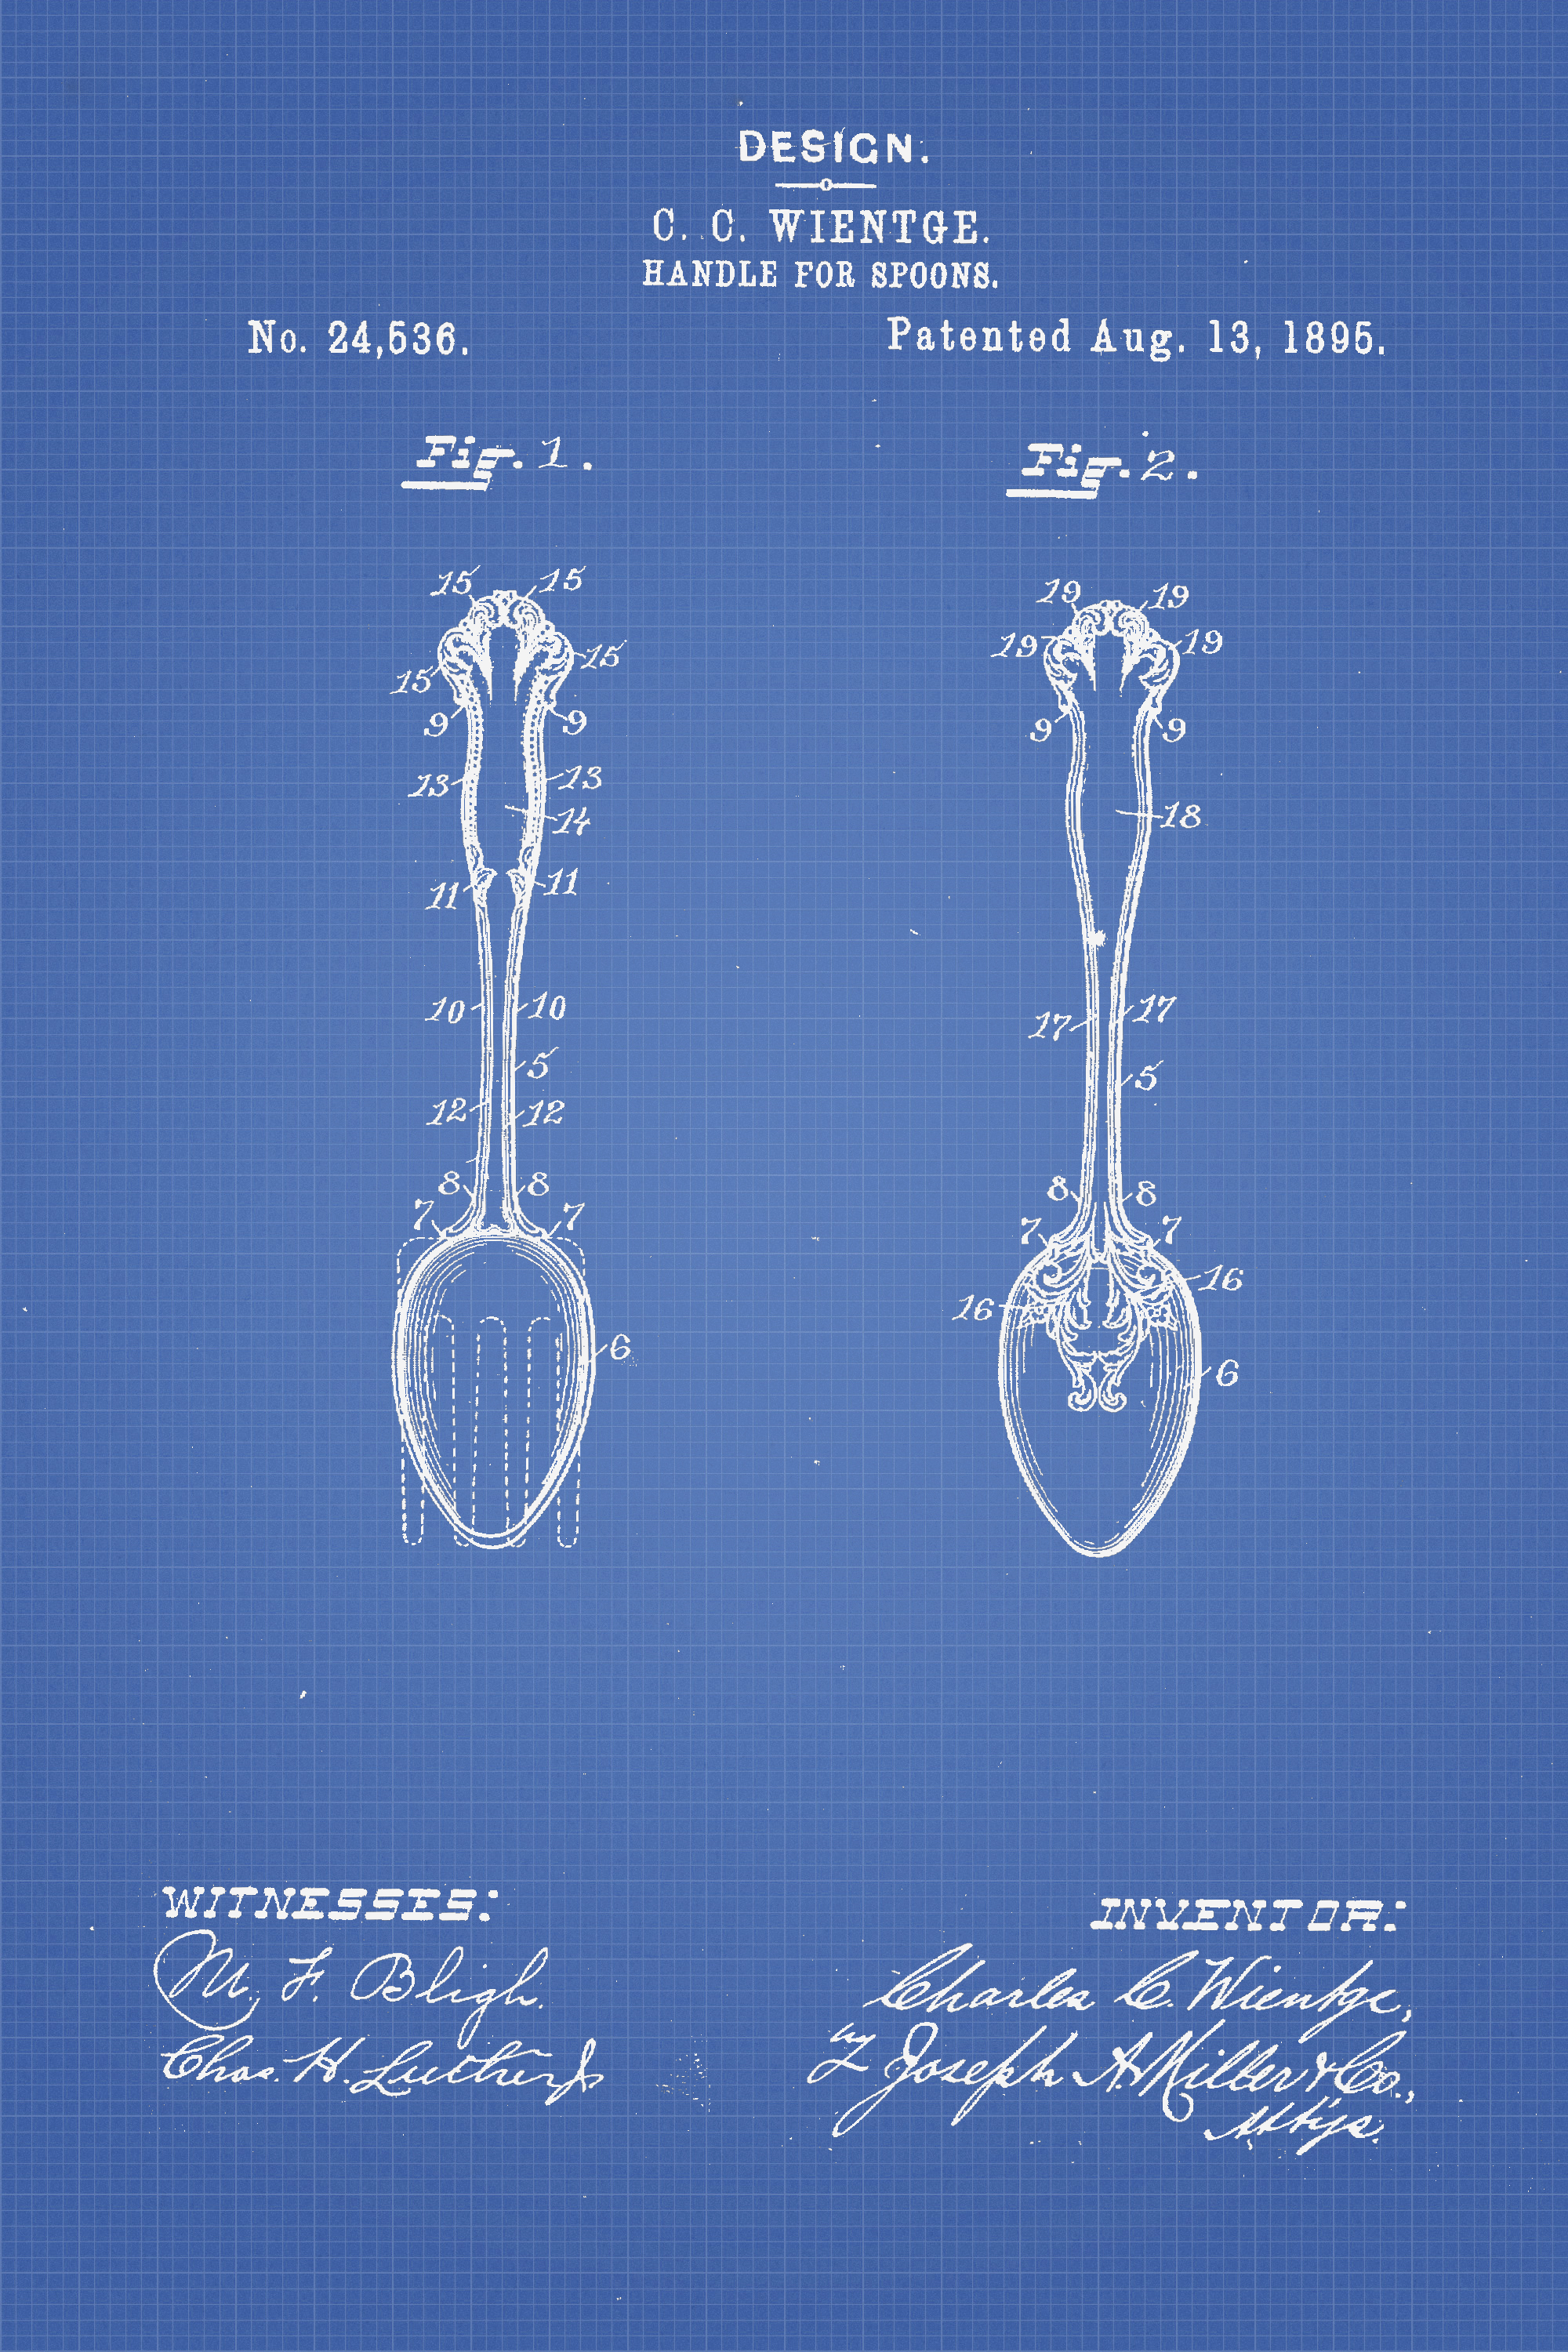
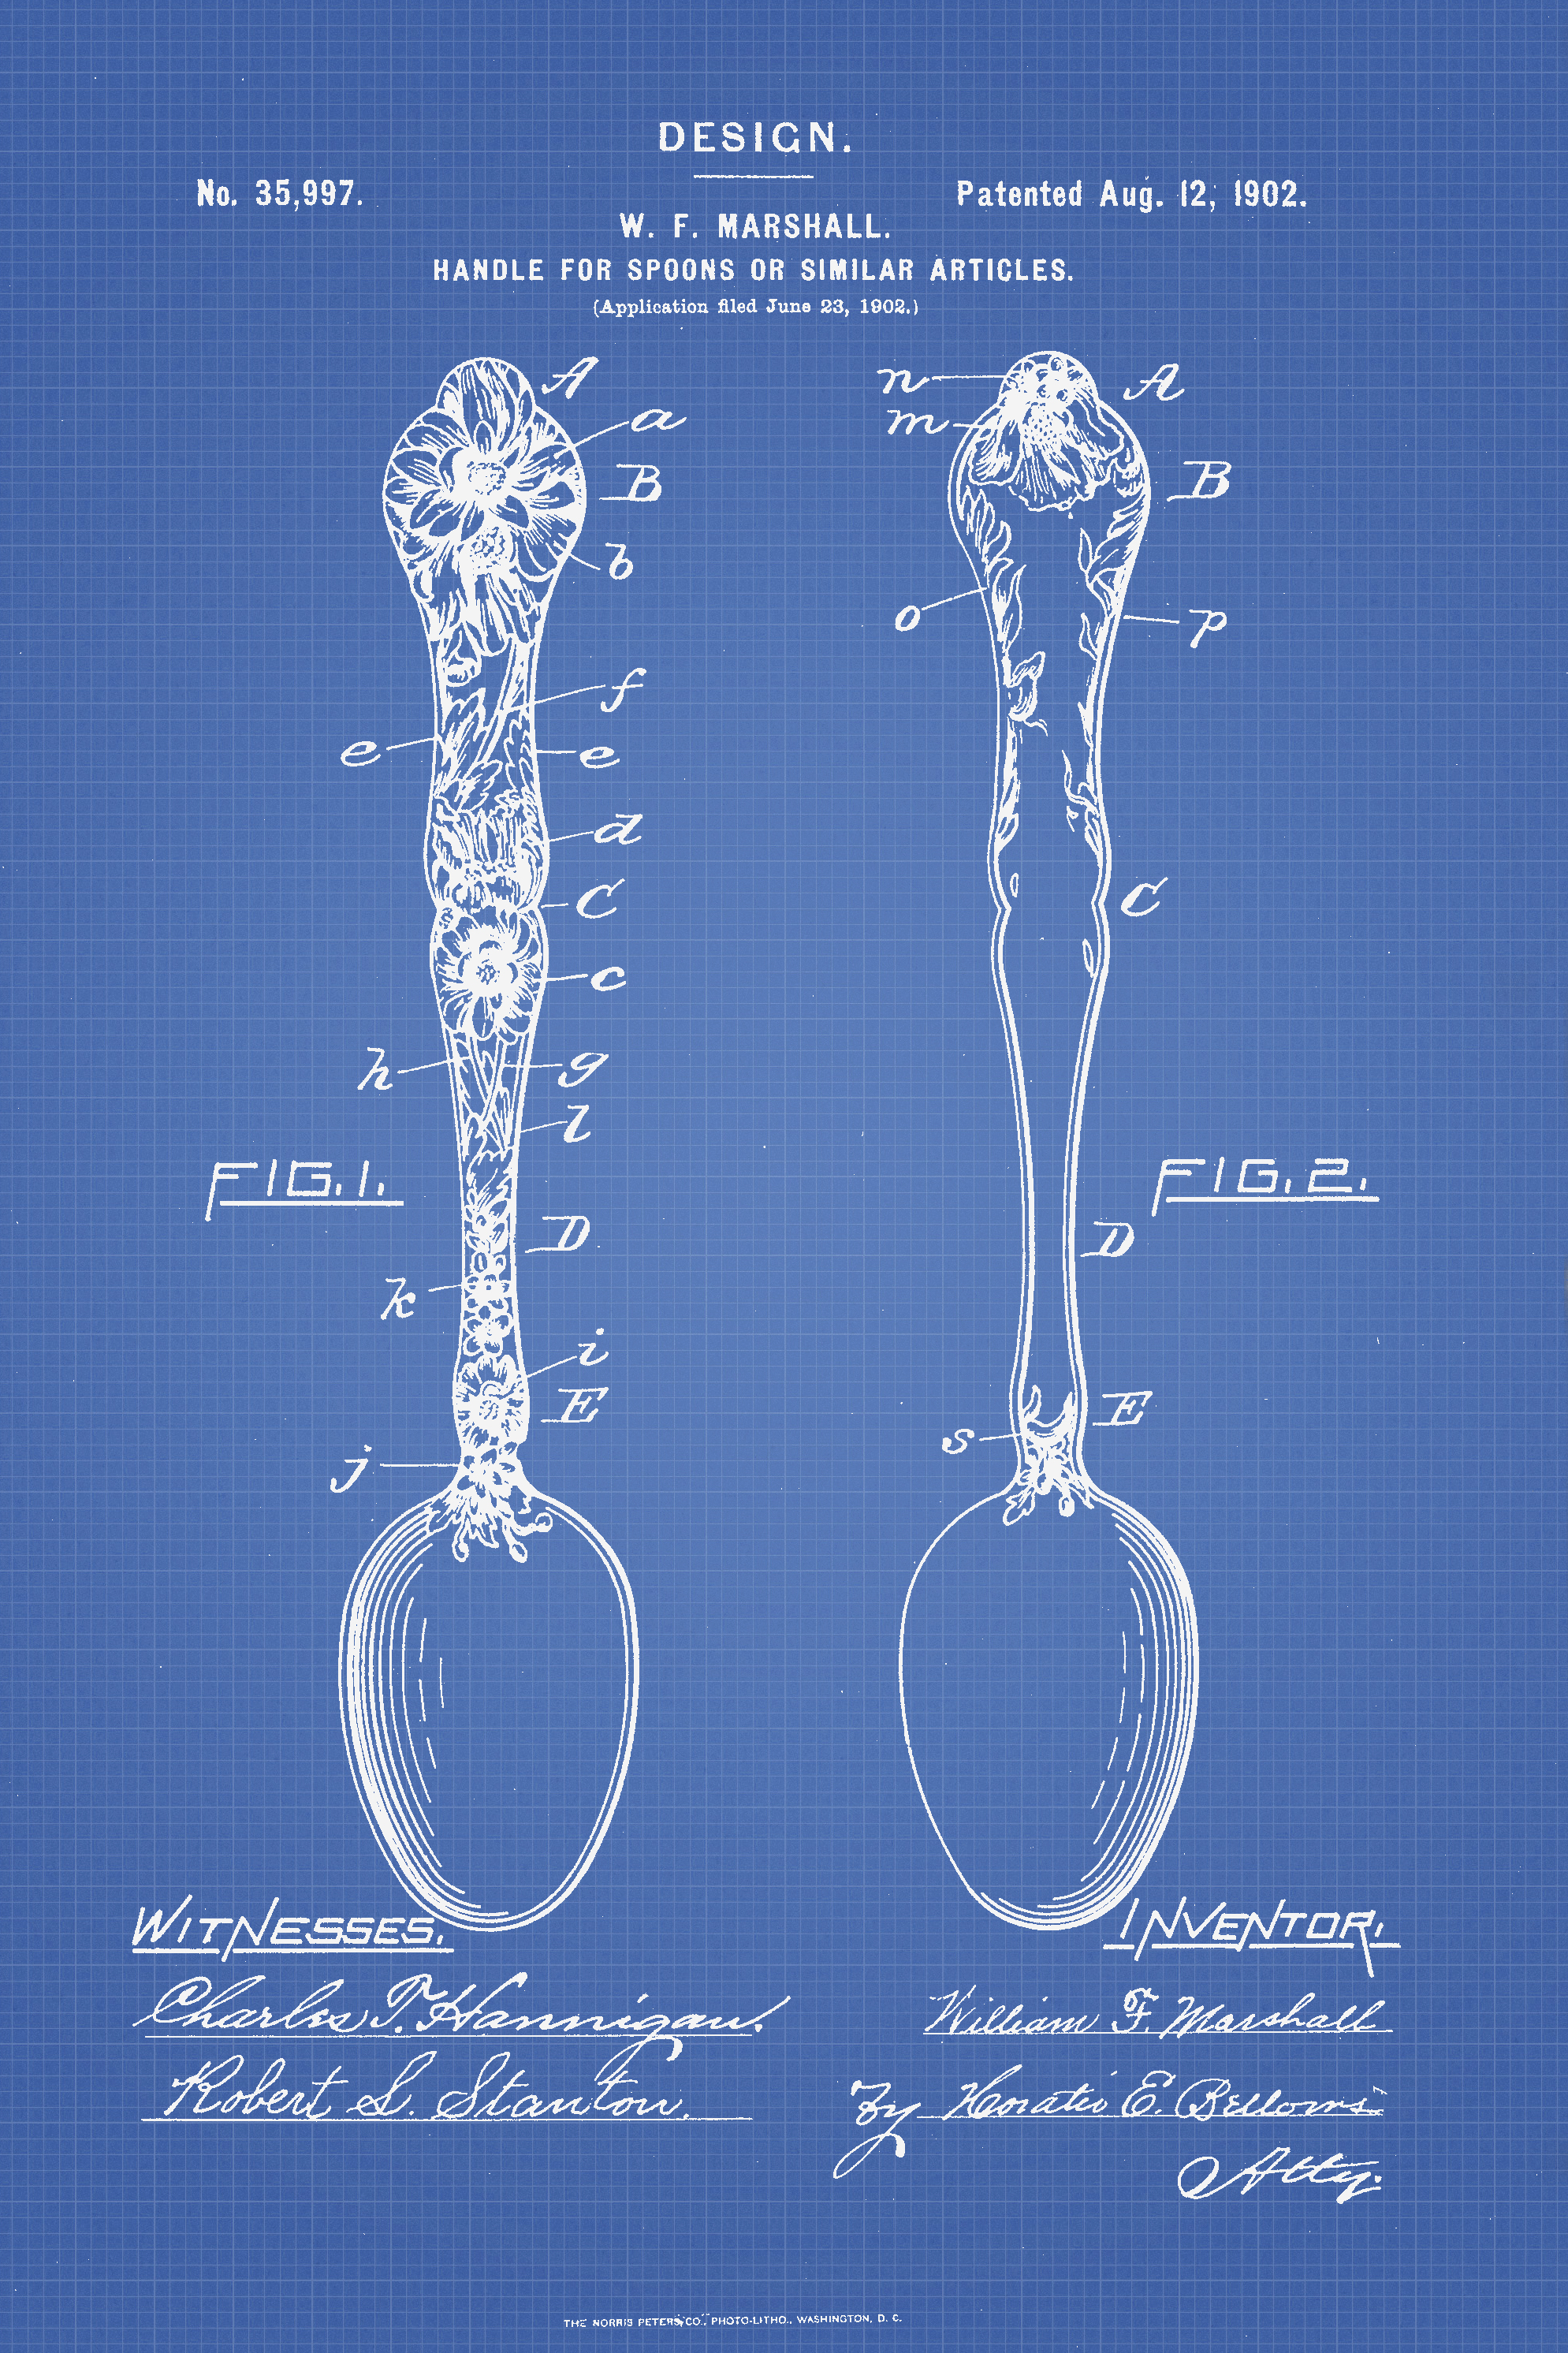
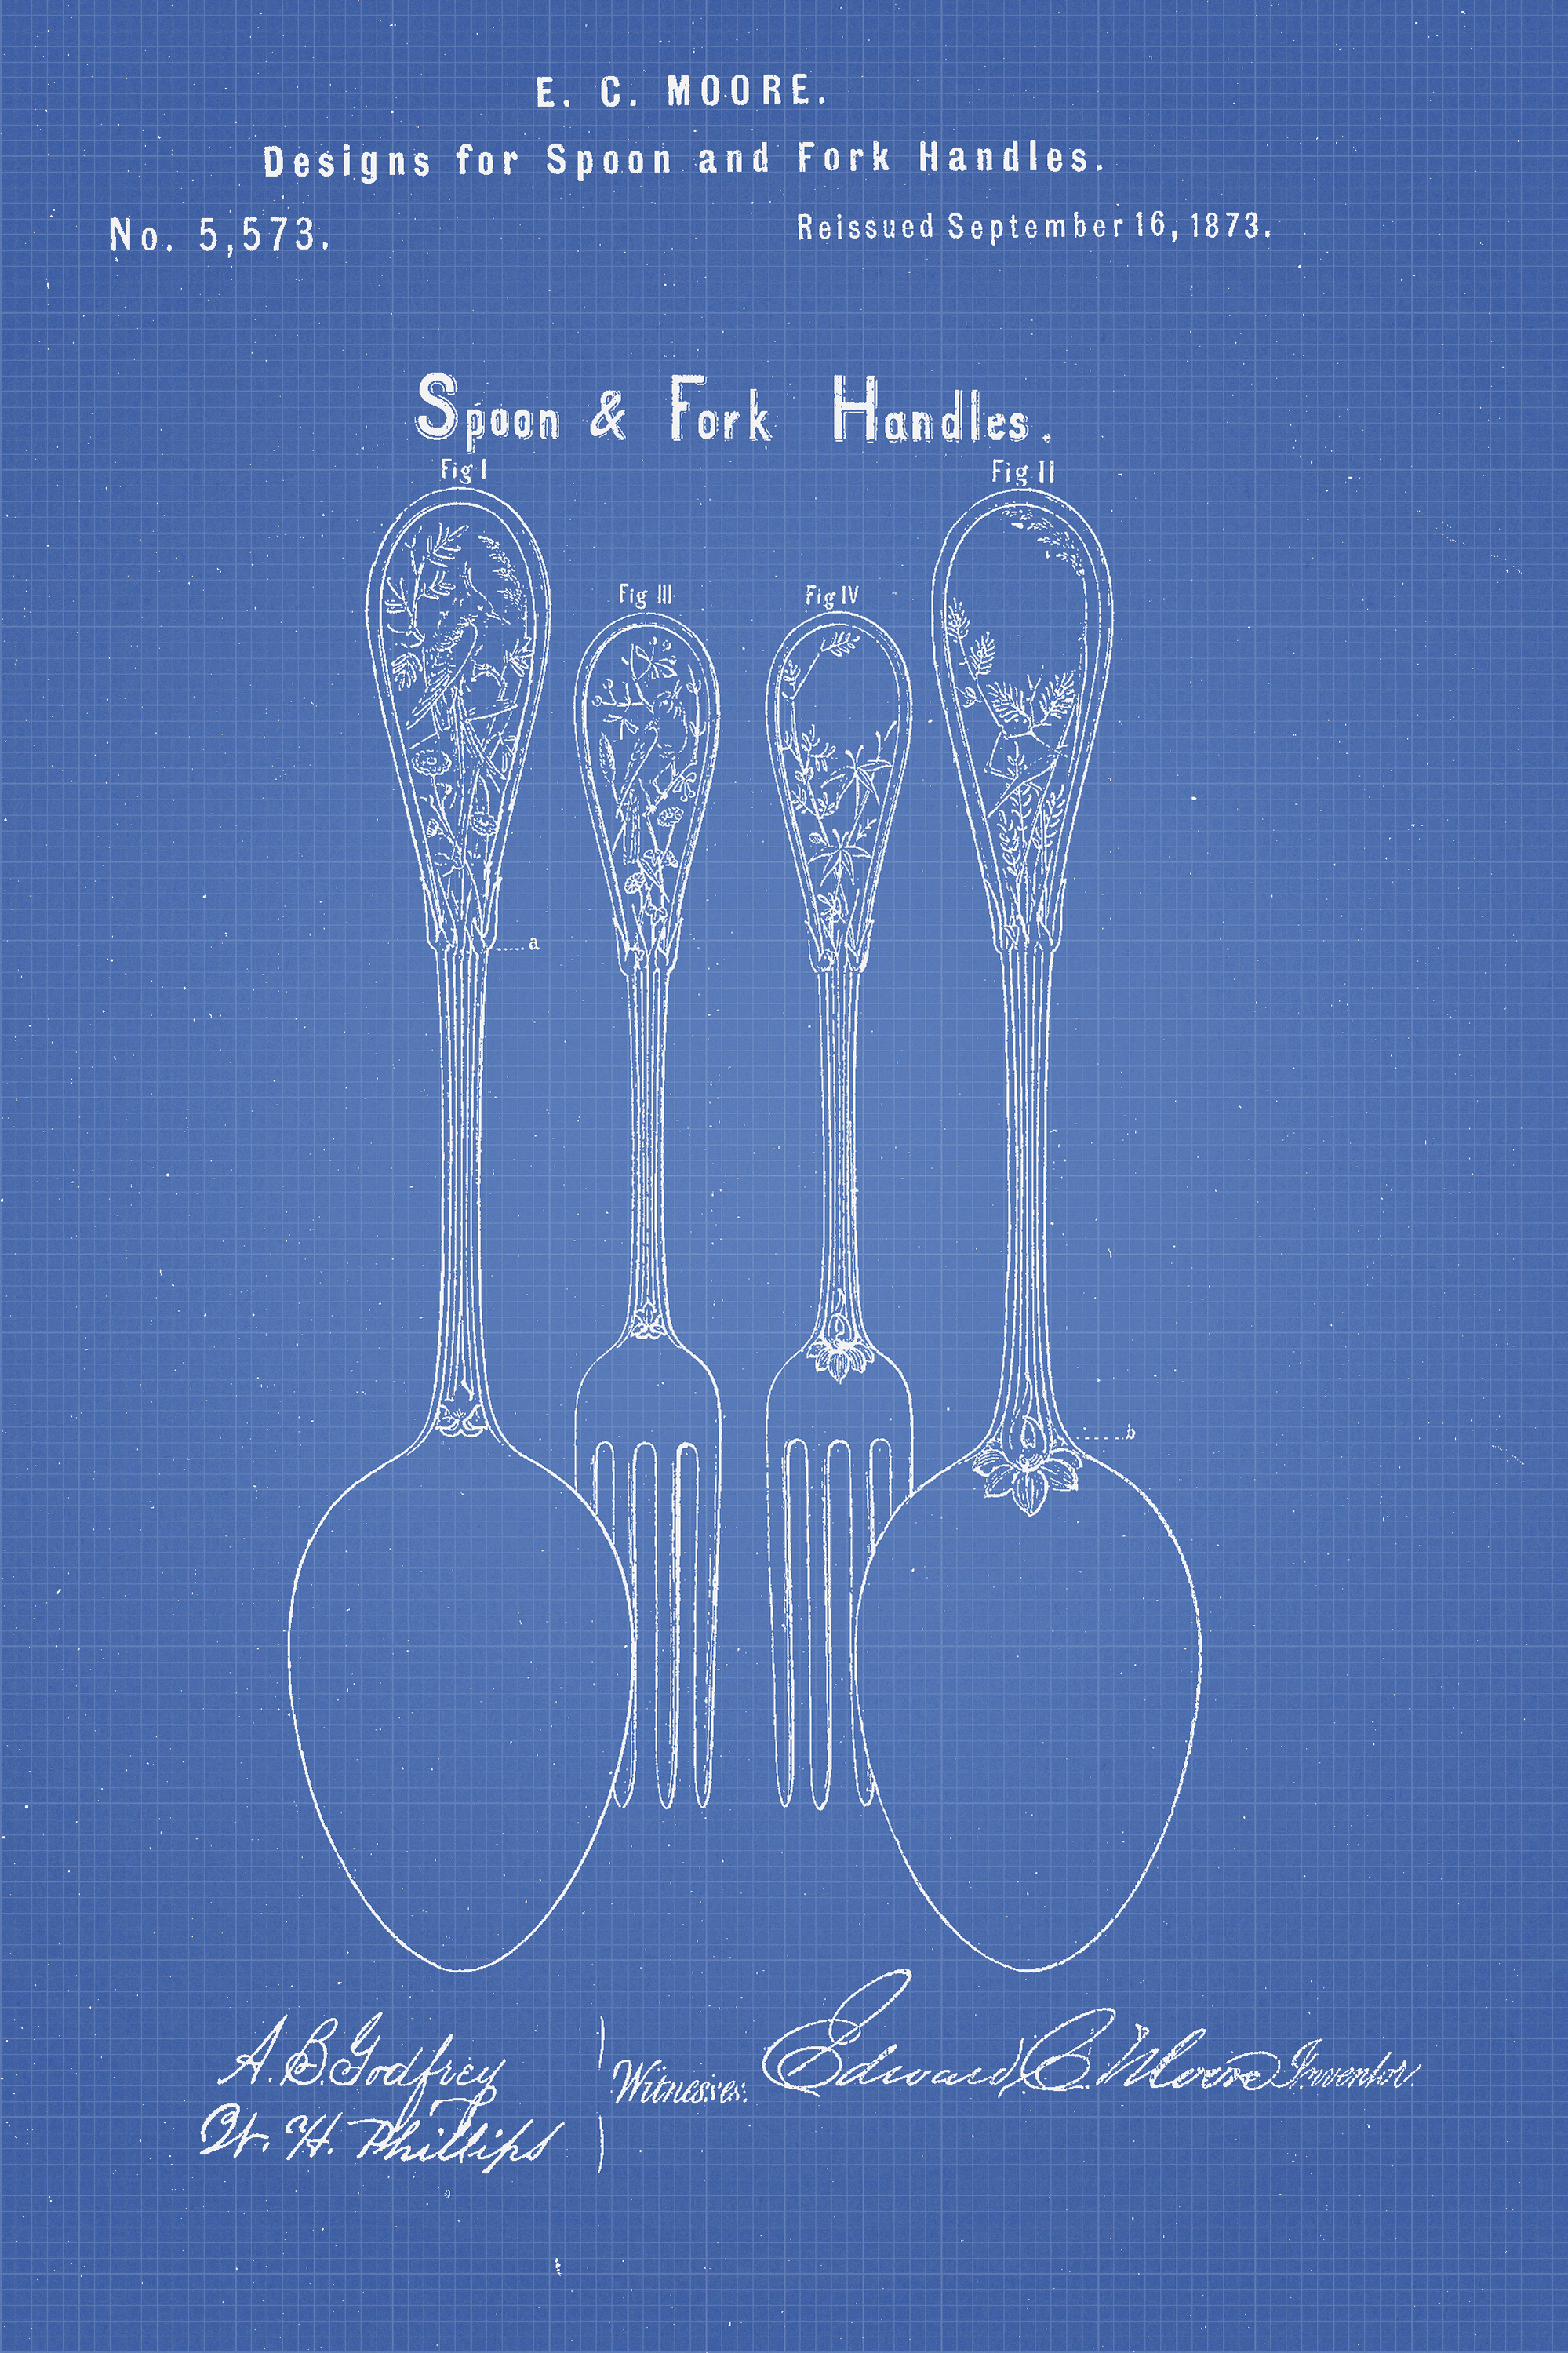
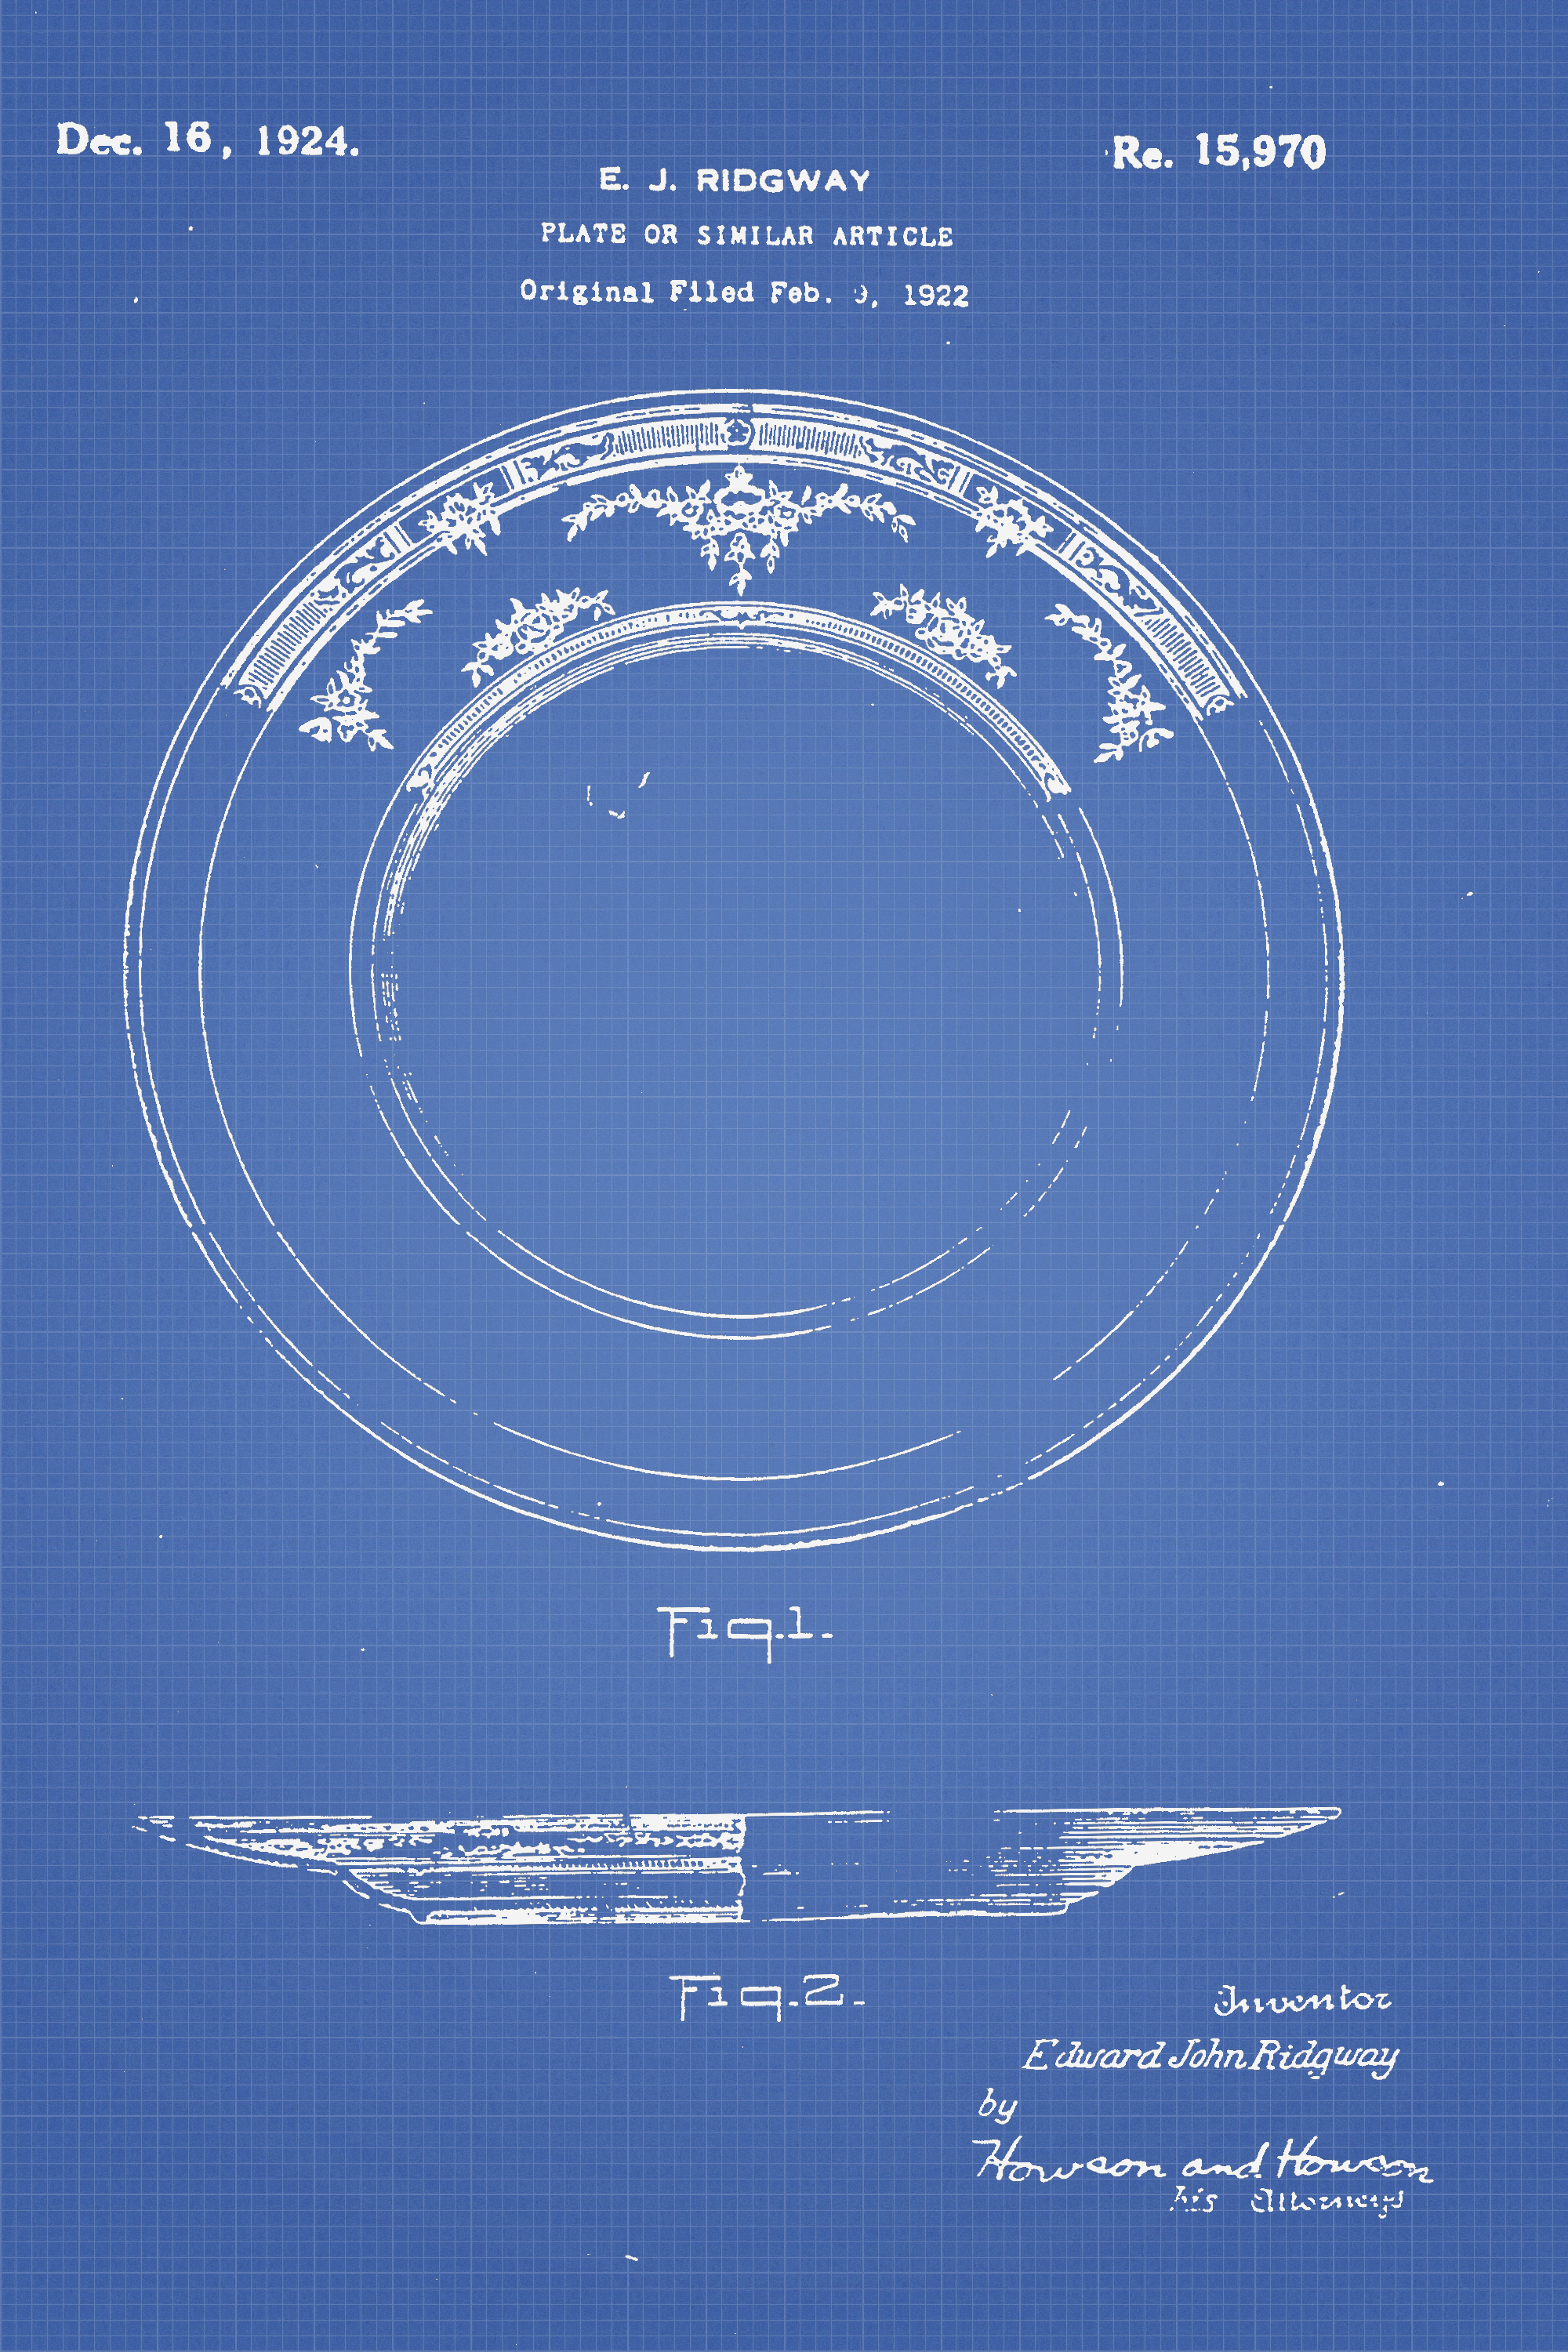
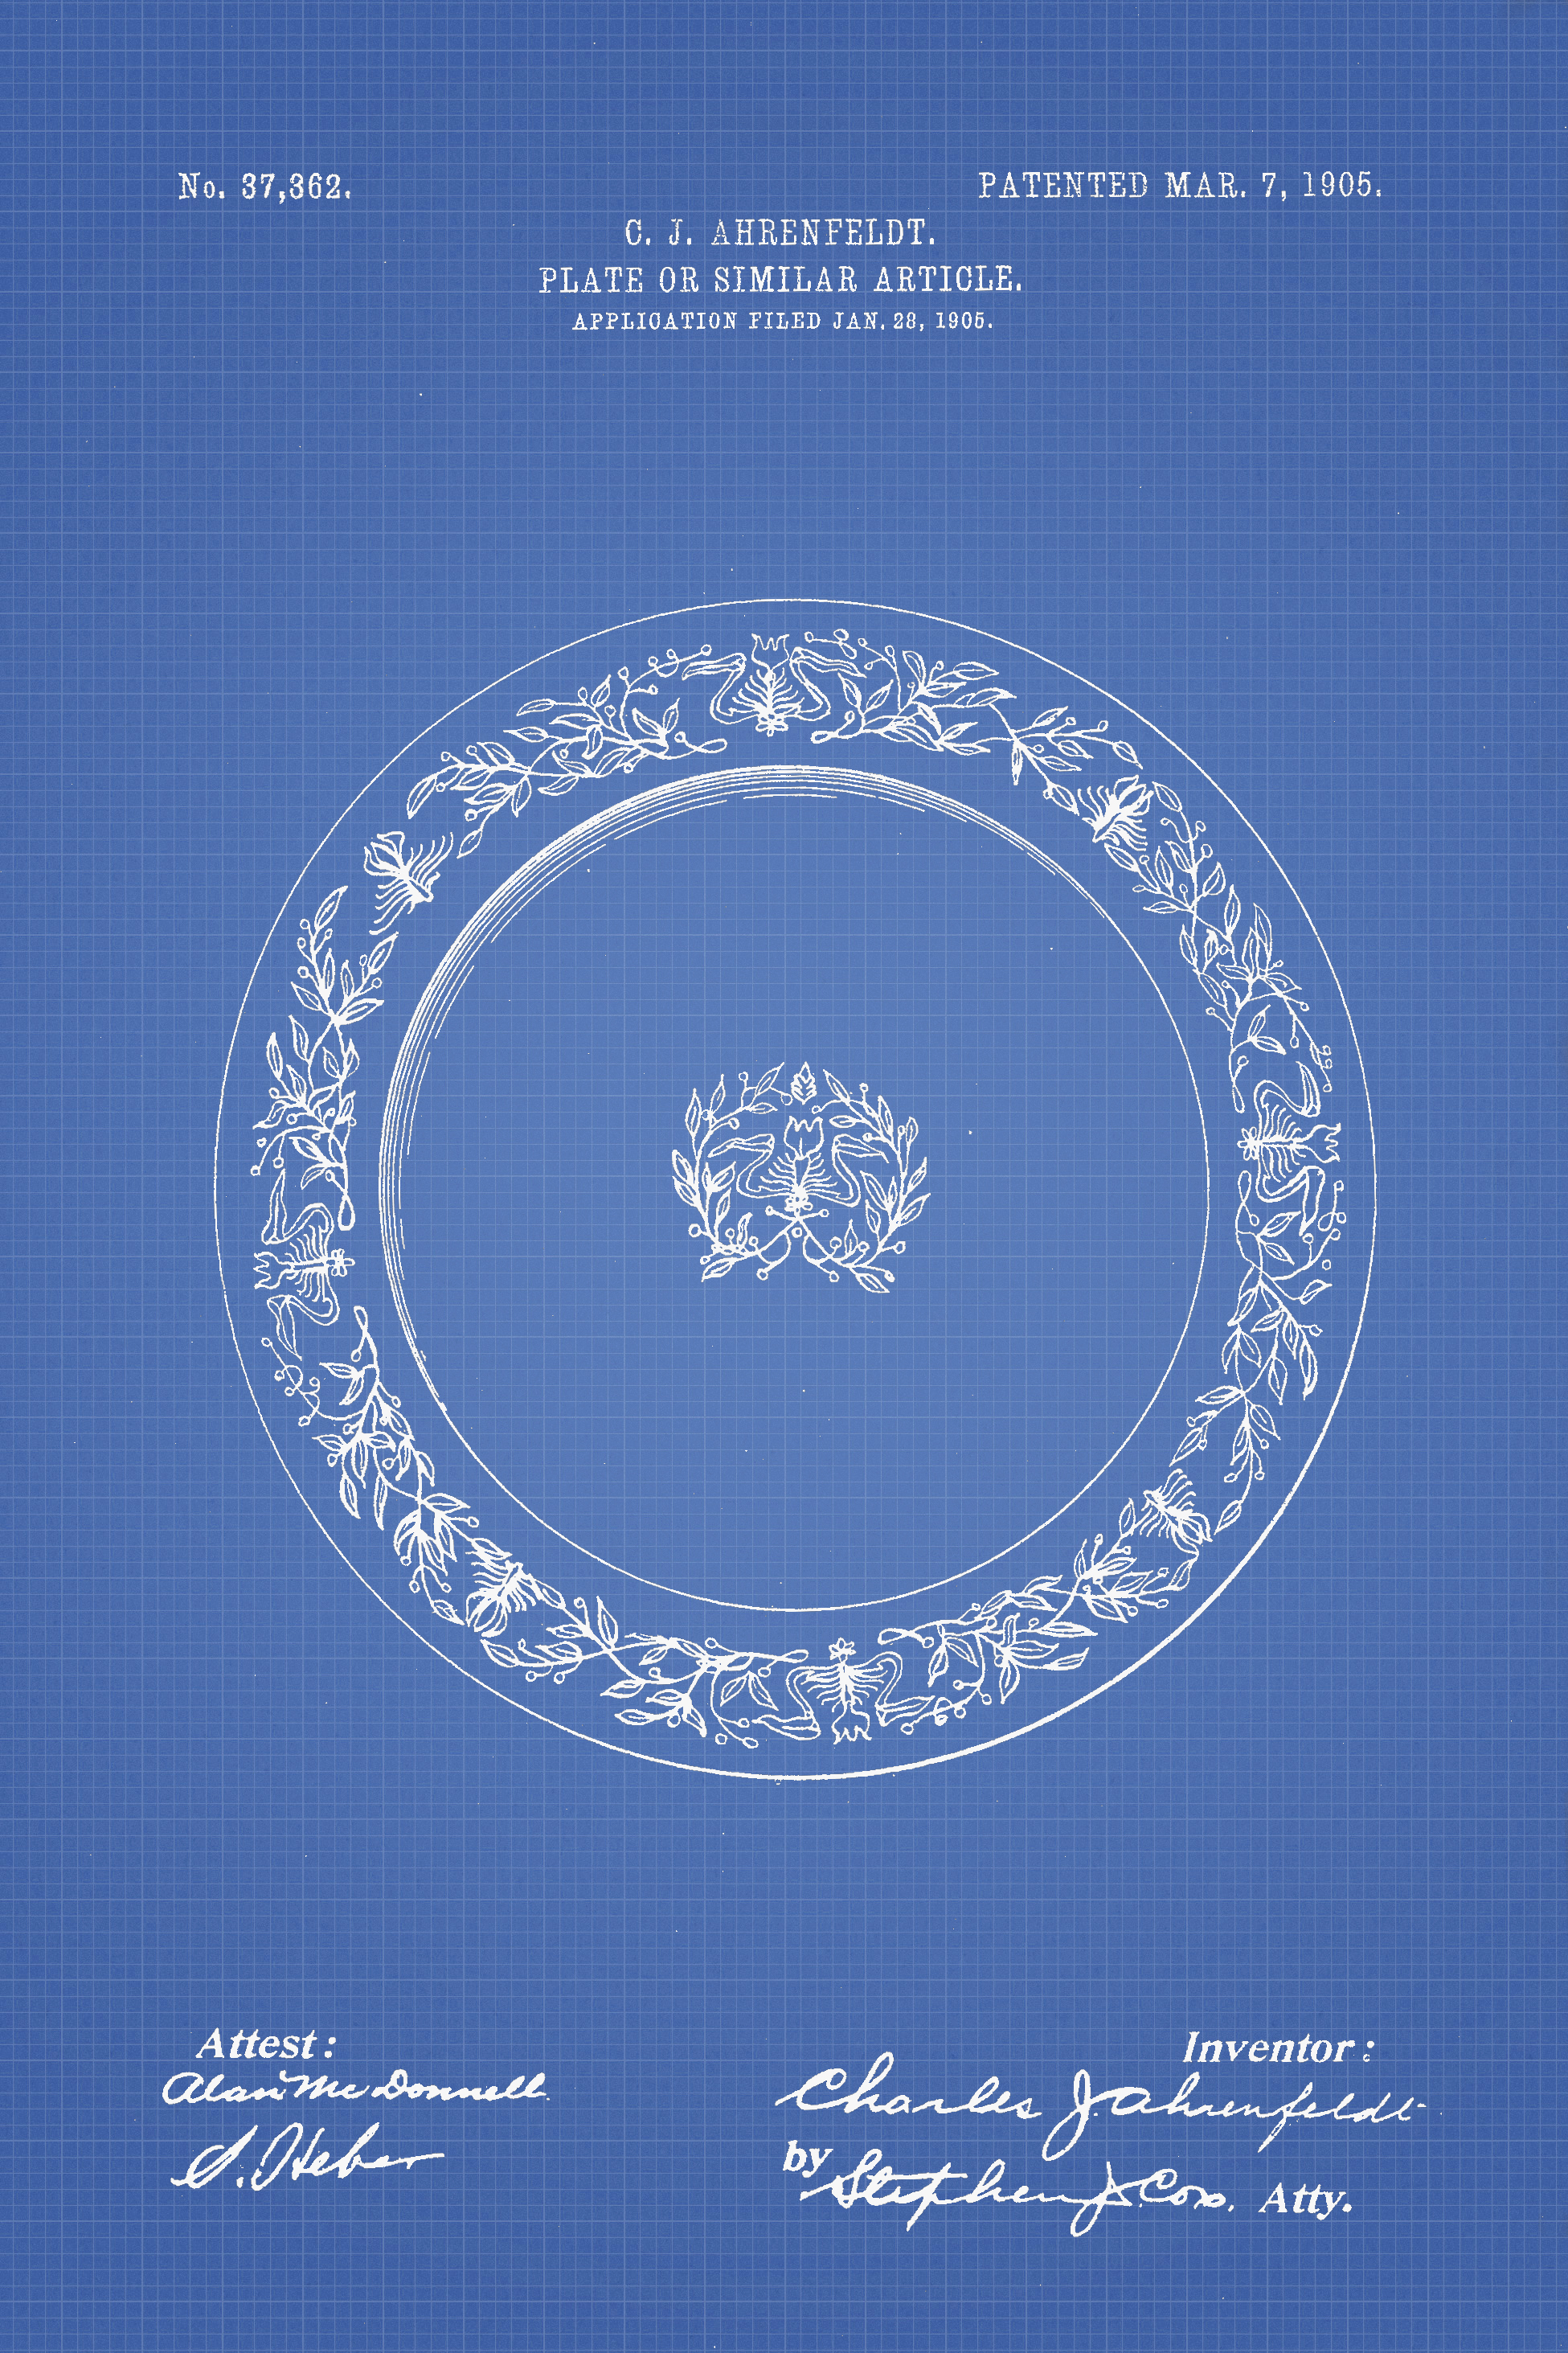
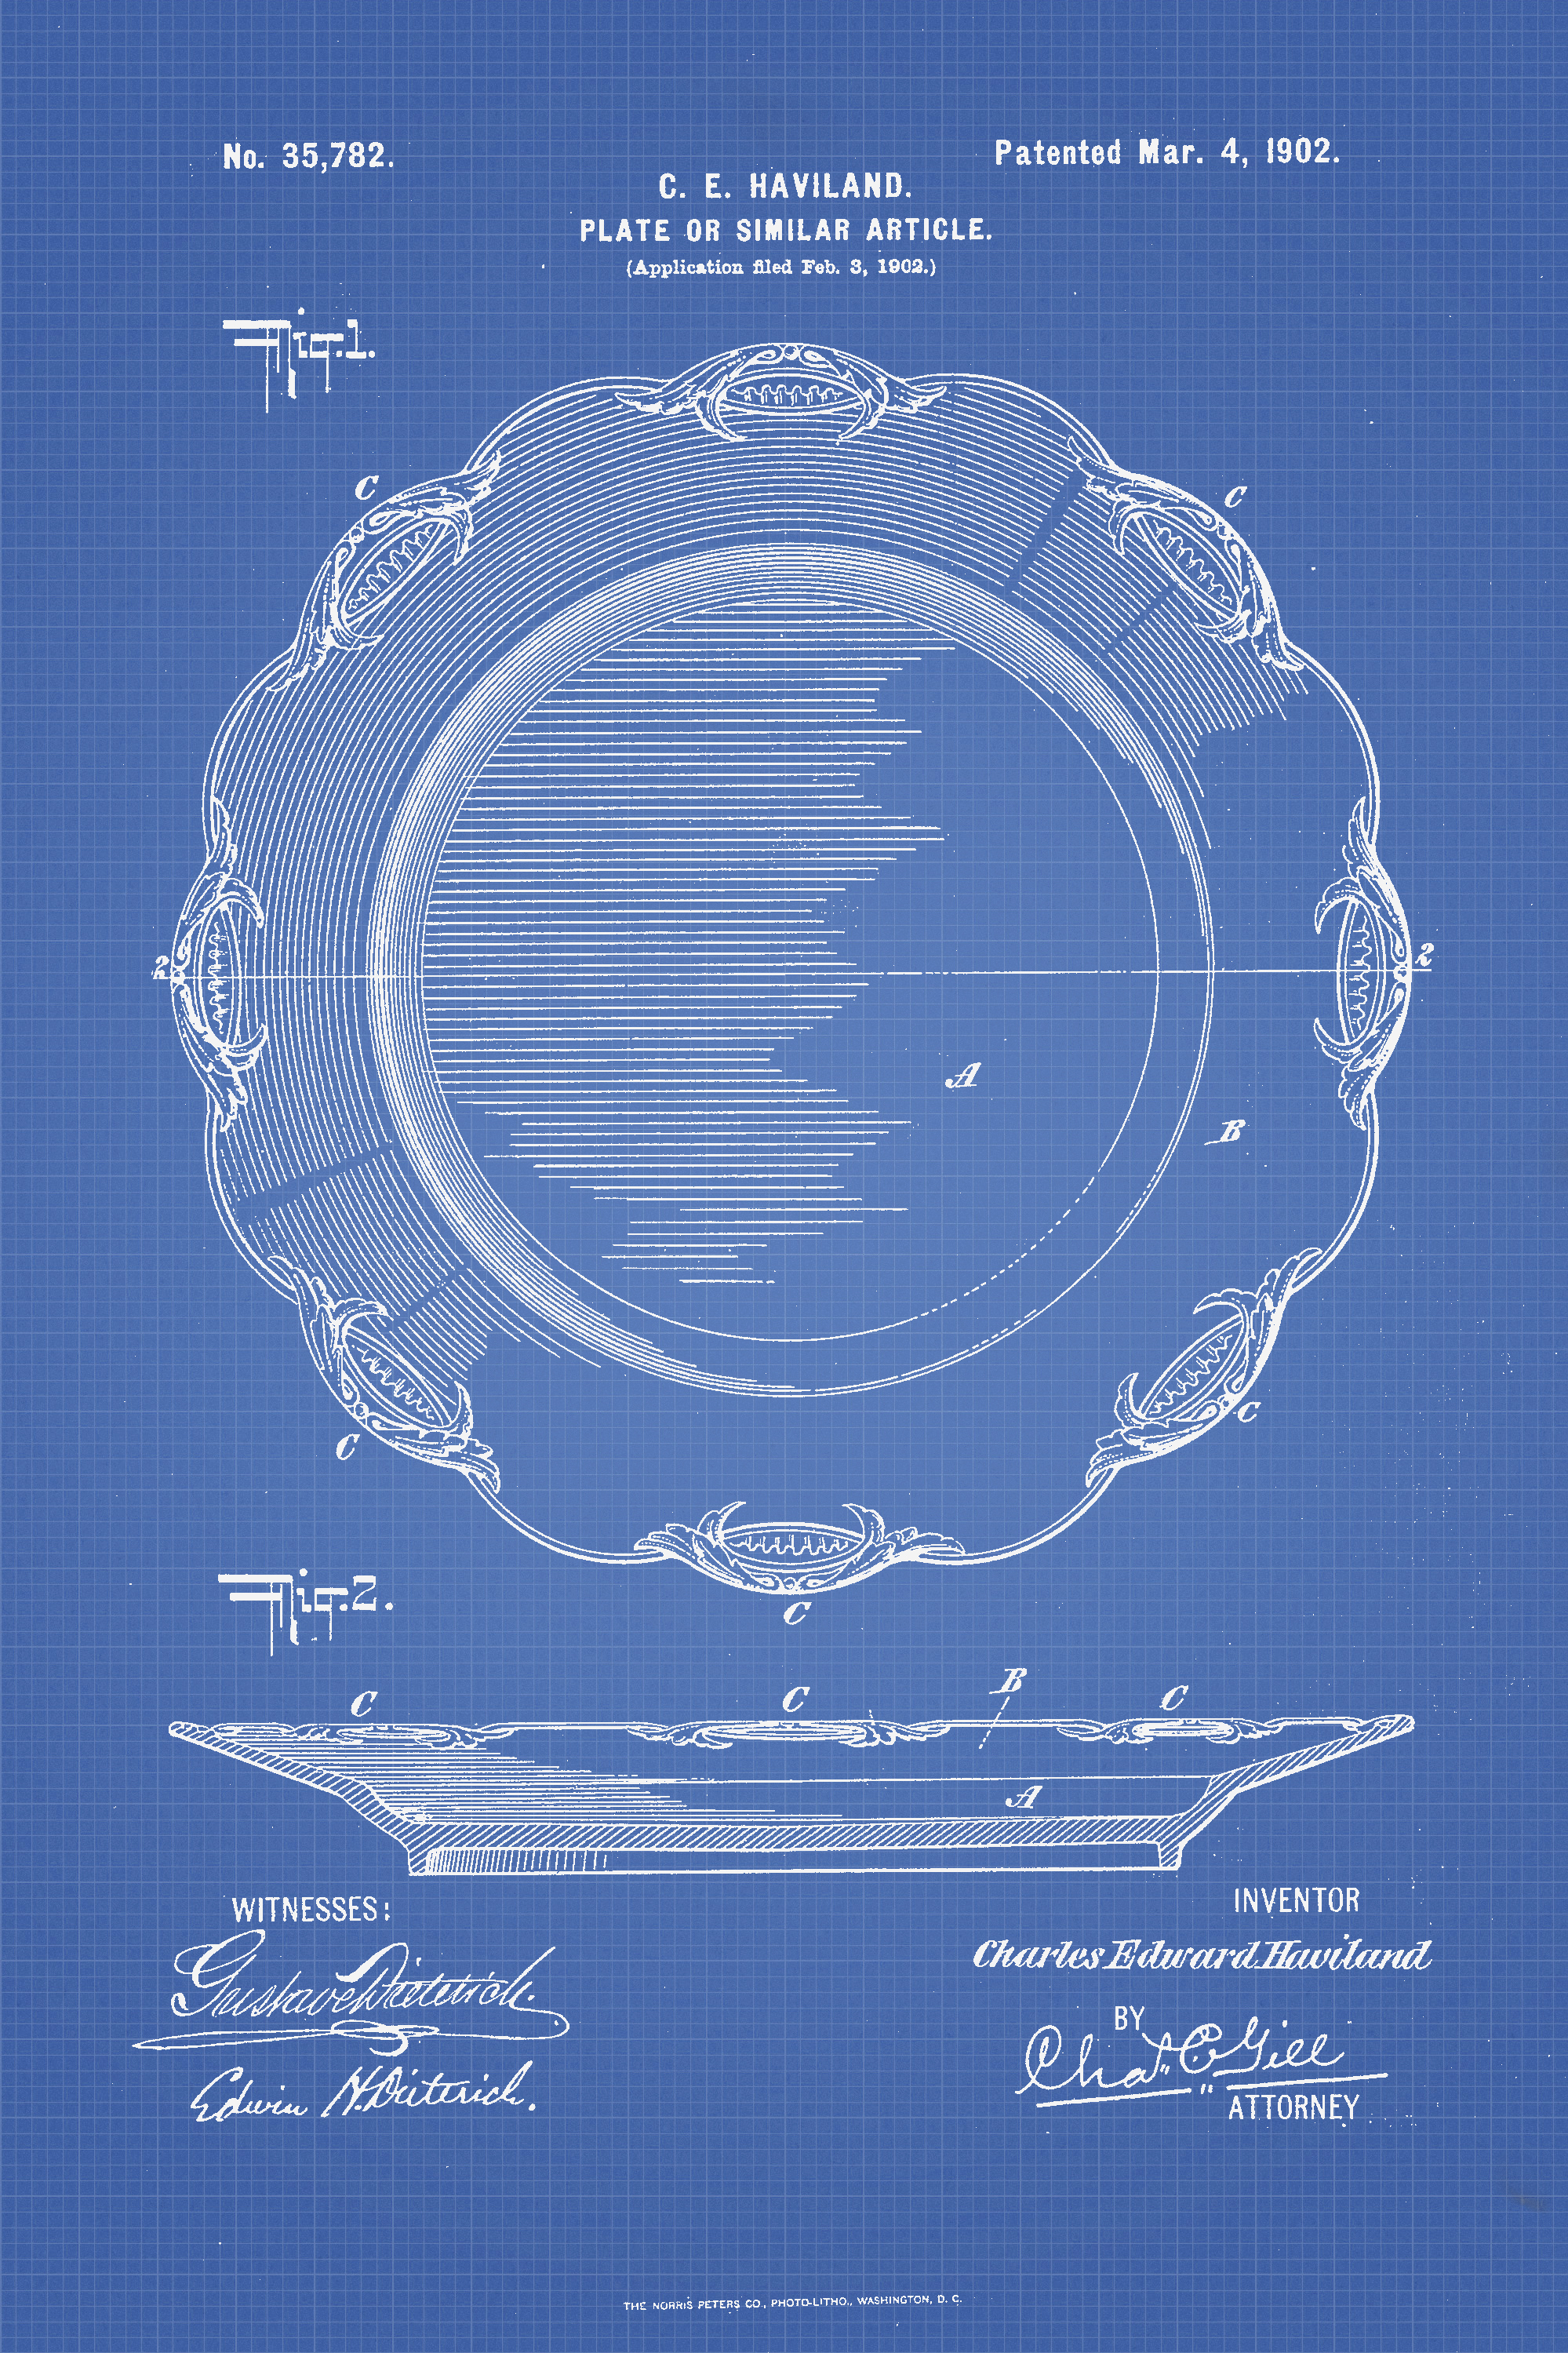
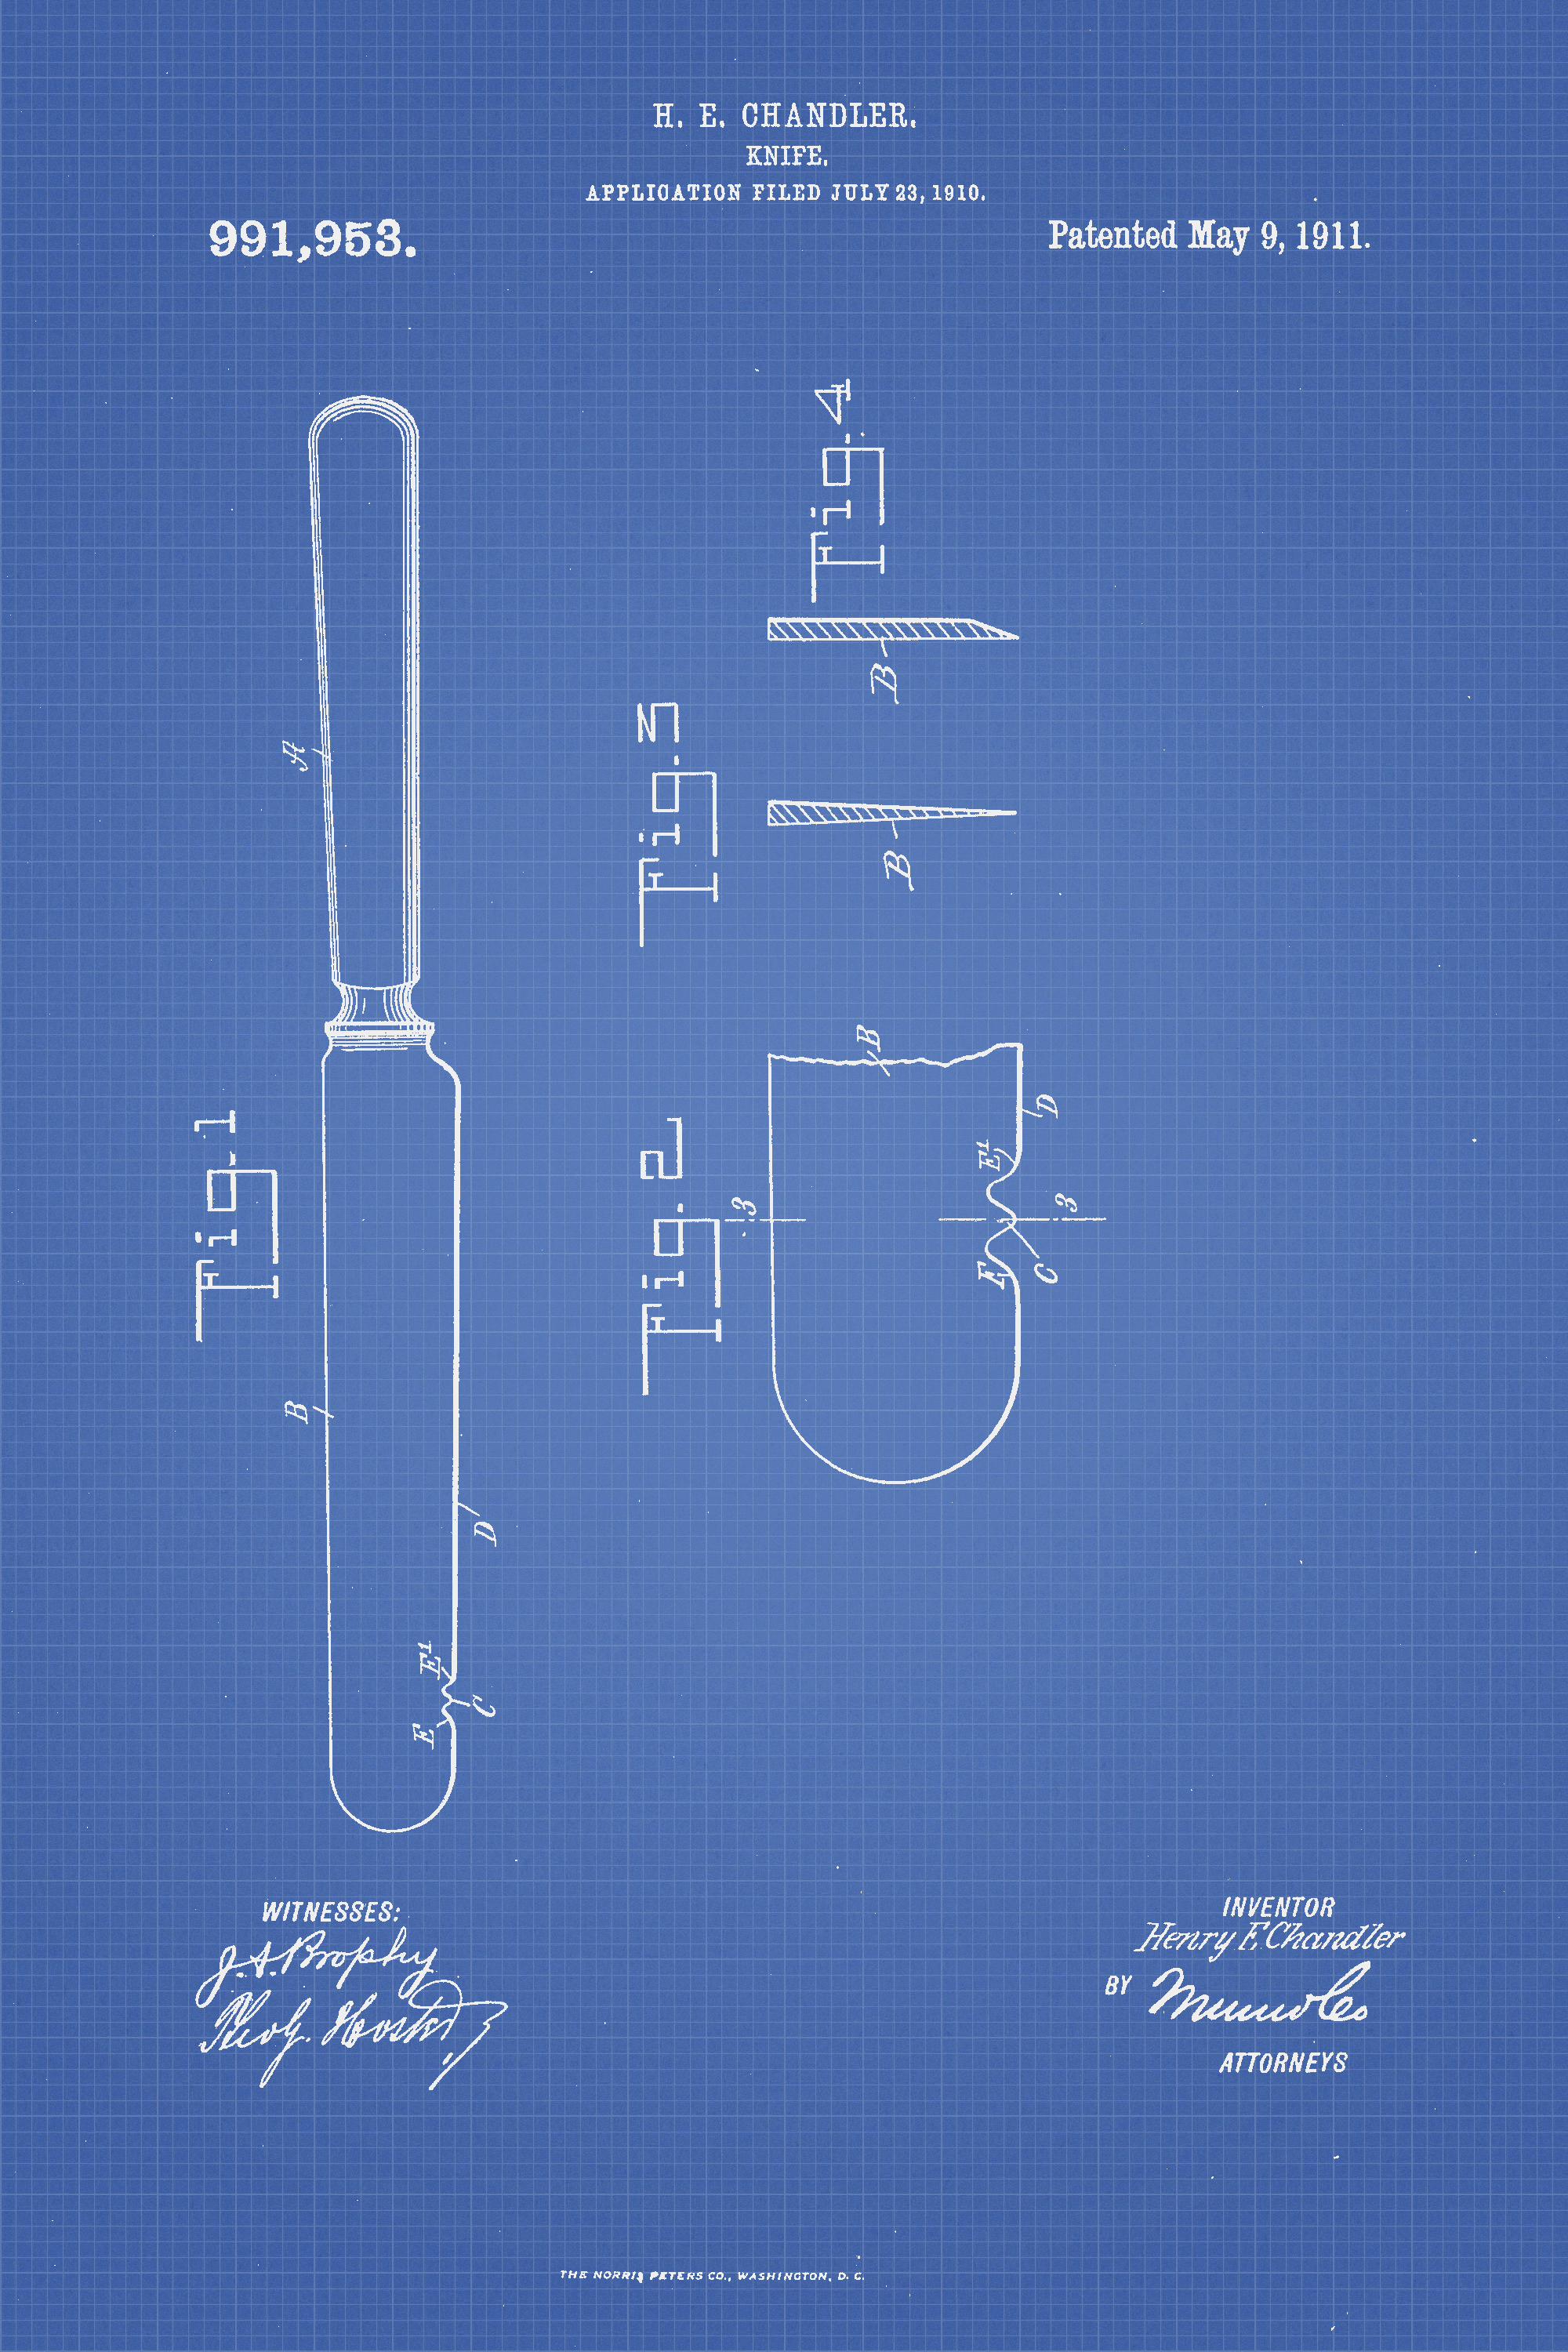
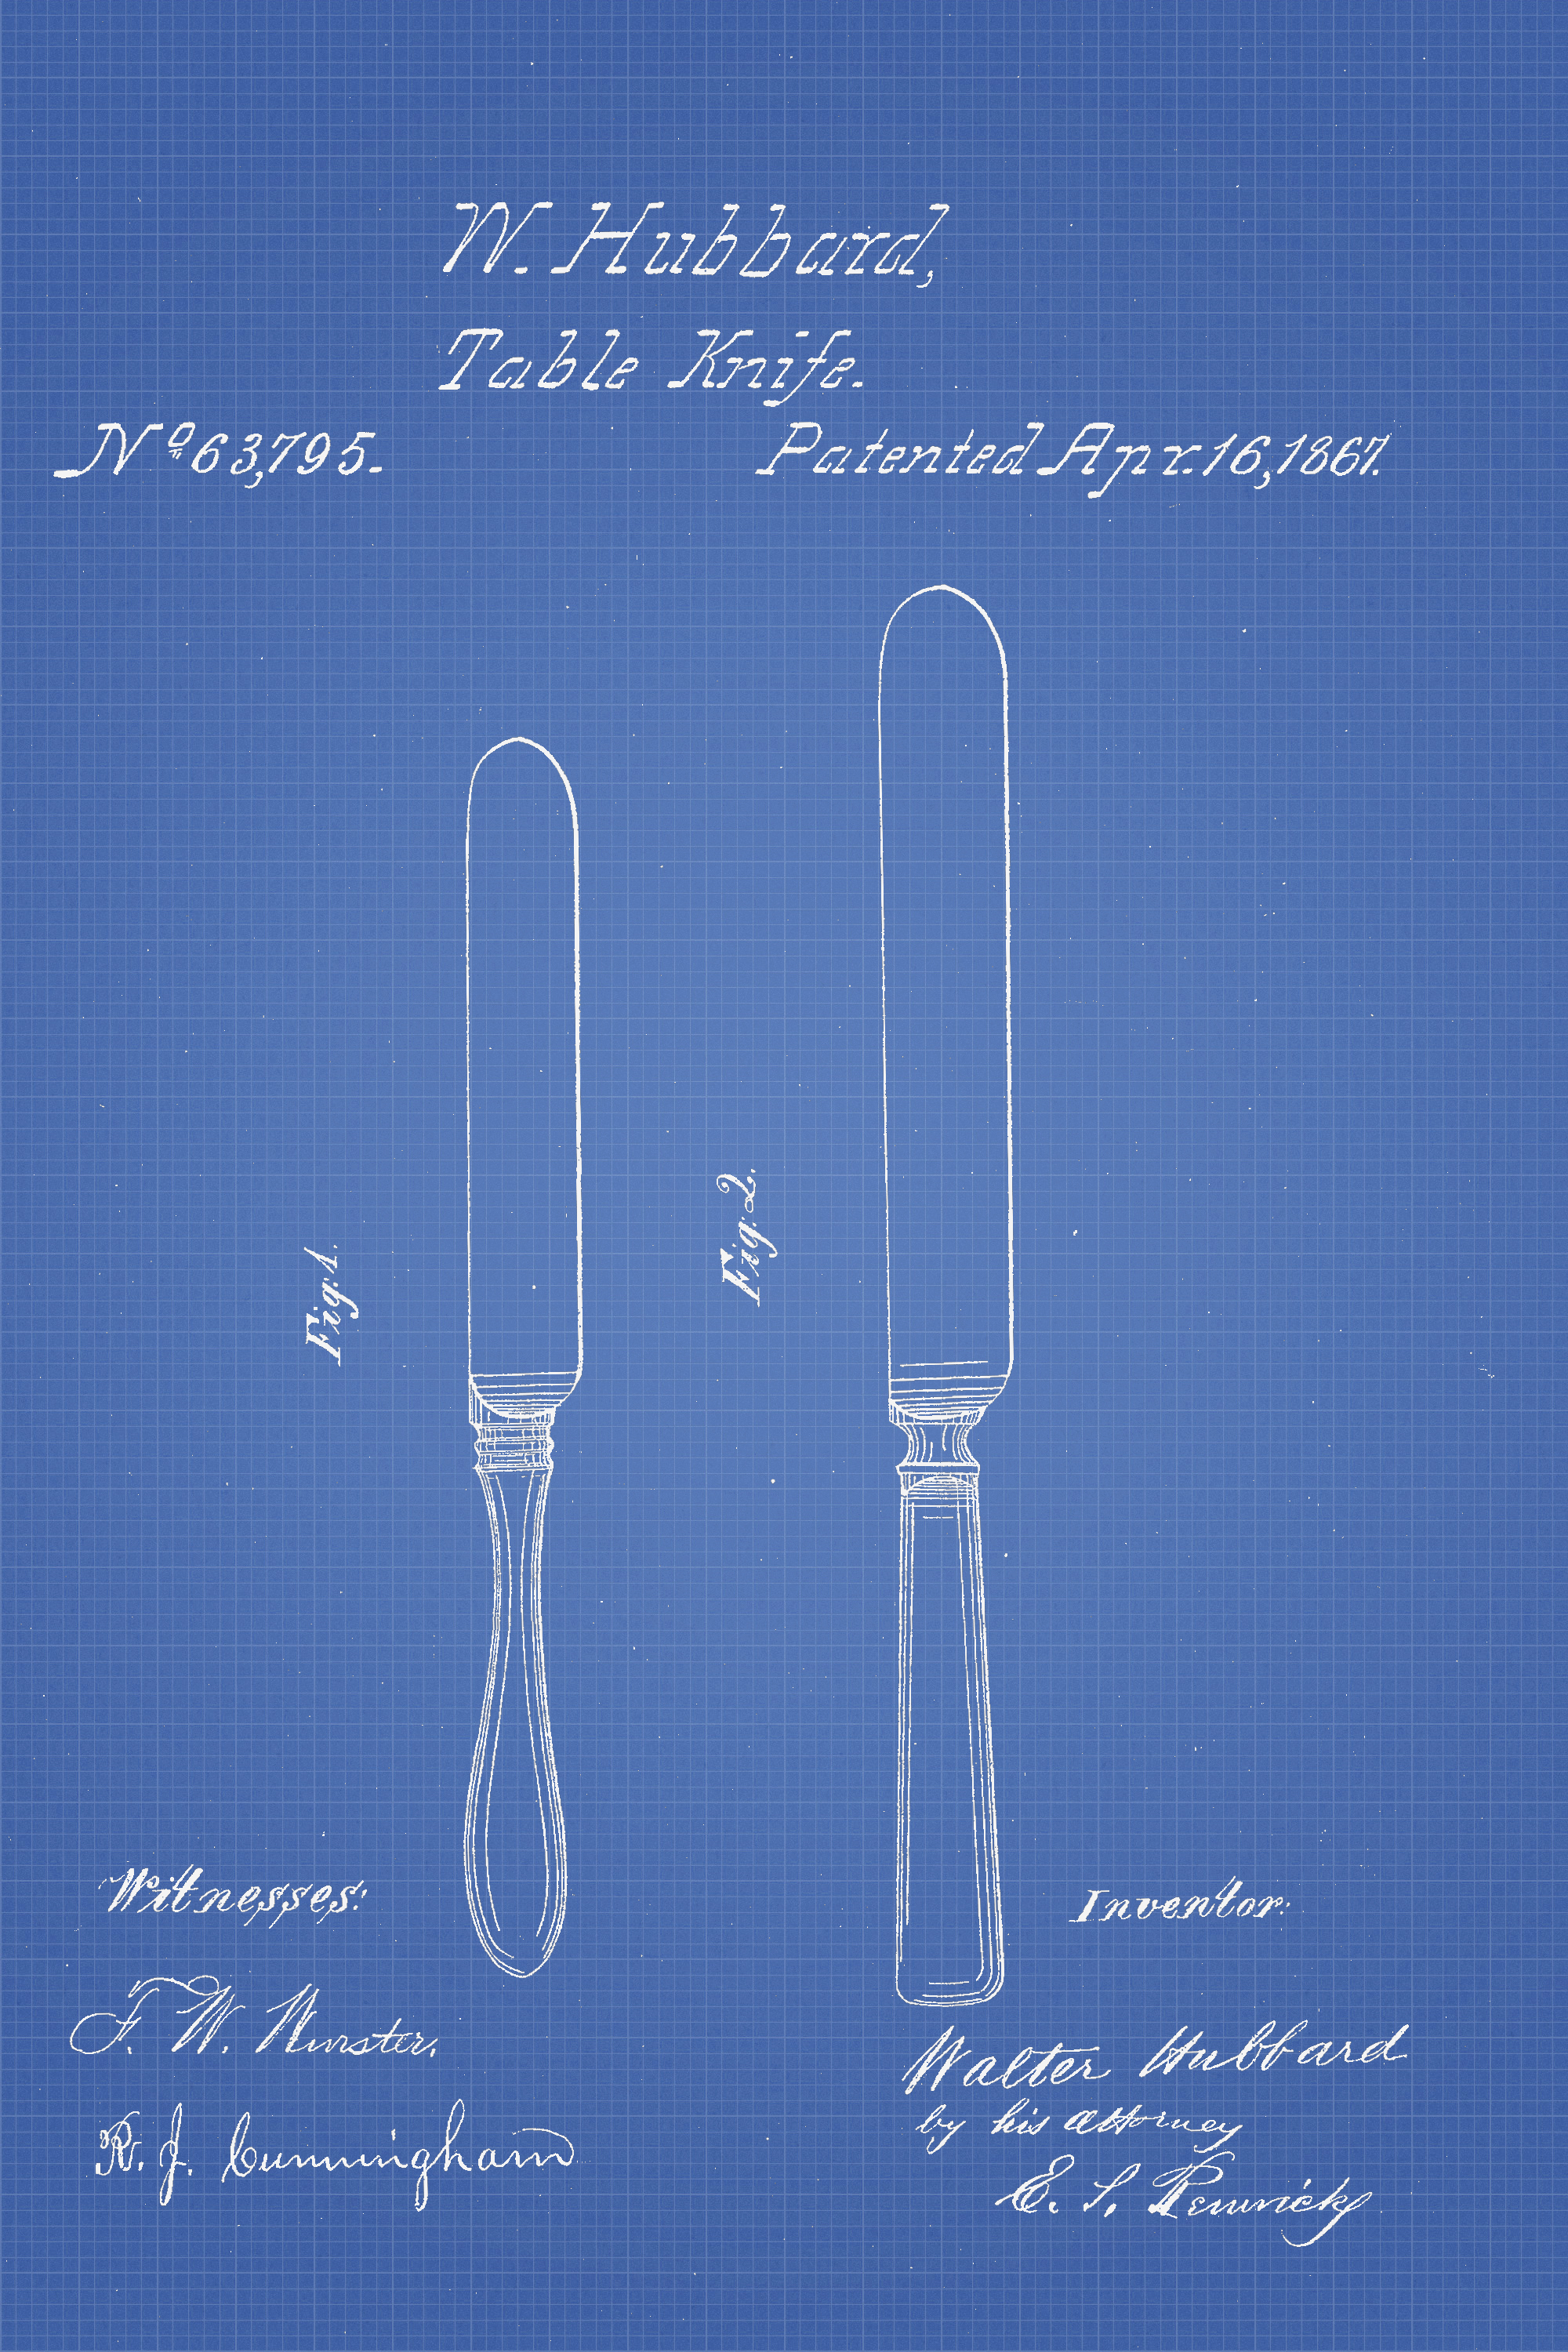
After sifting through the Google patent database I managed to find some pretty cool vintage patents for spoons, forks, knives and plates. You can download them for free below.
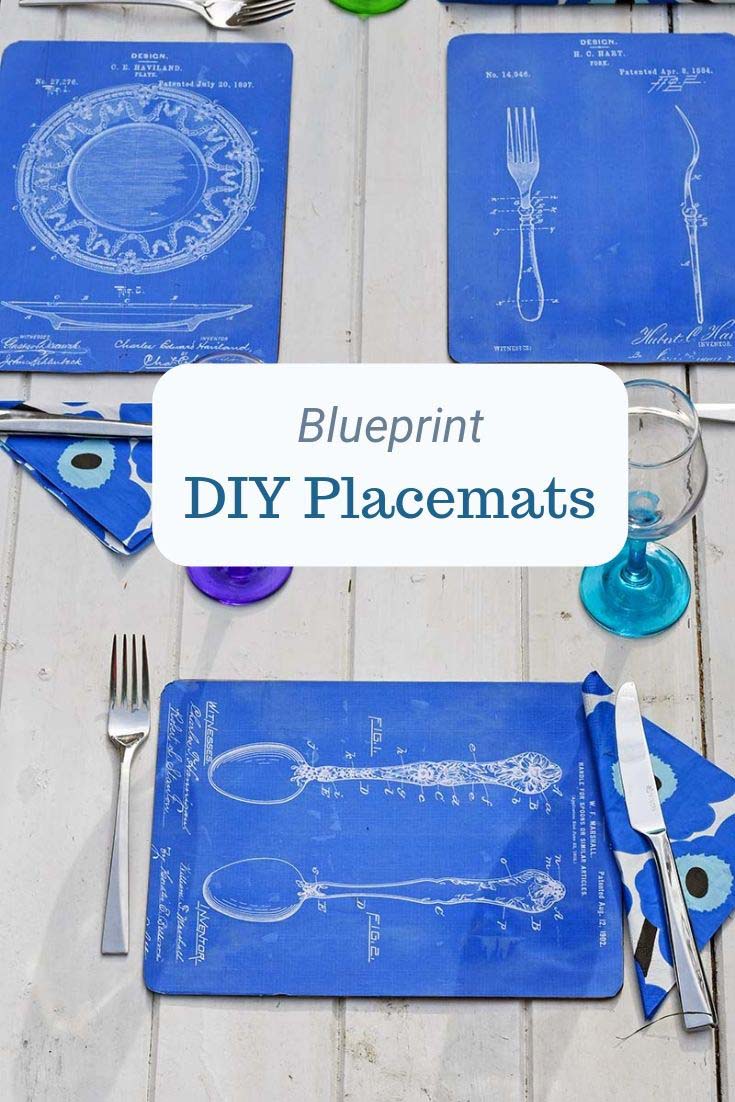
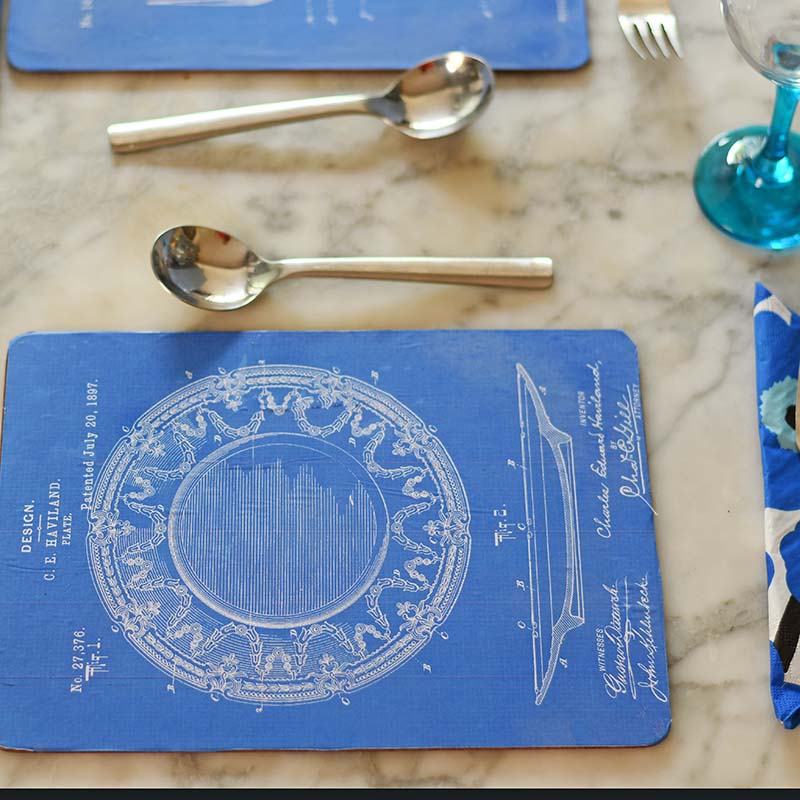
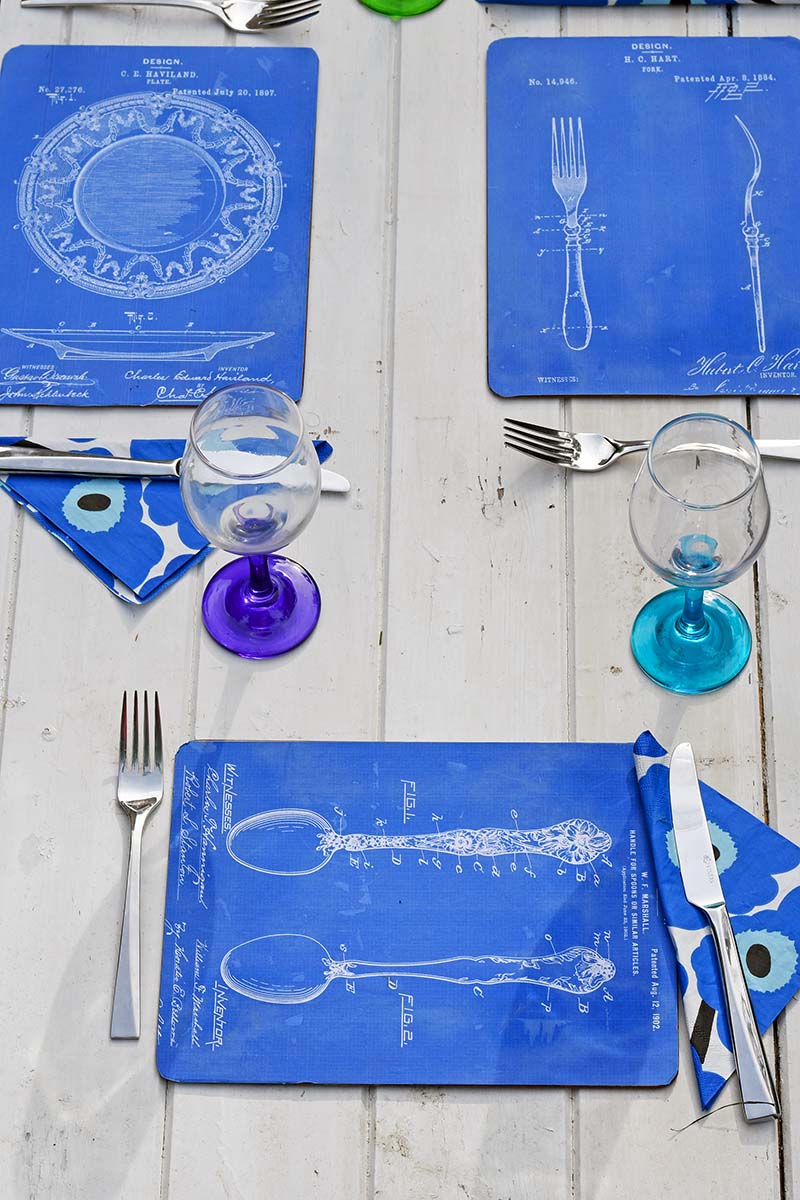
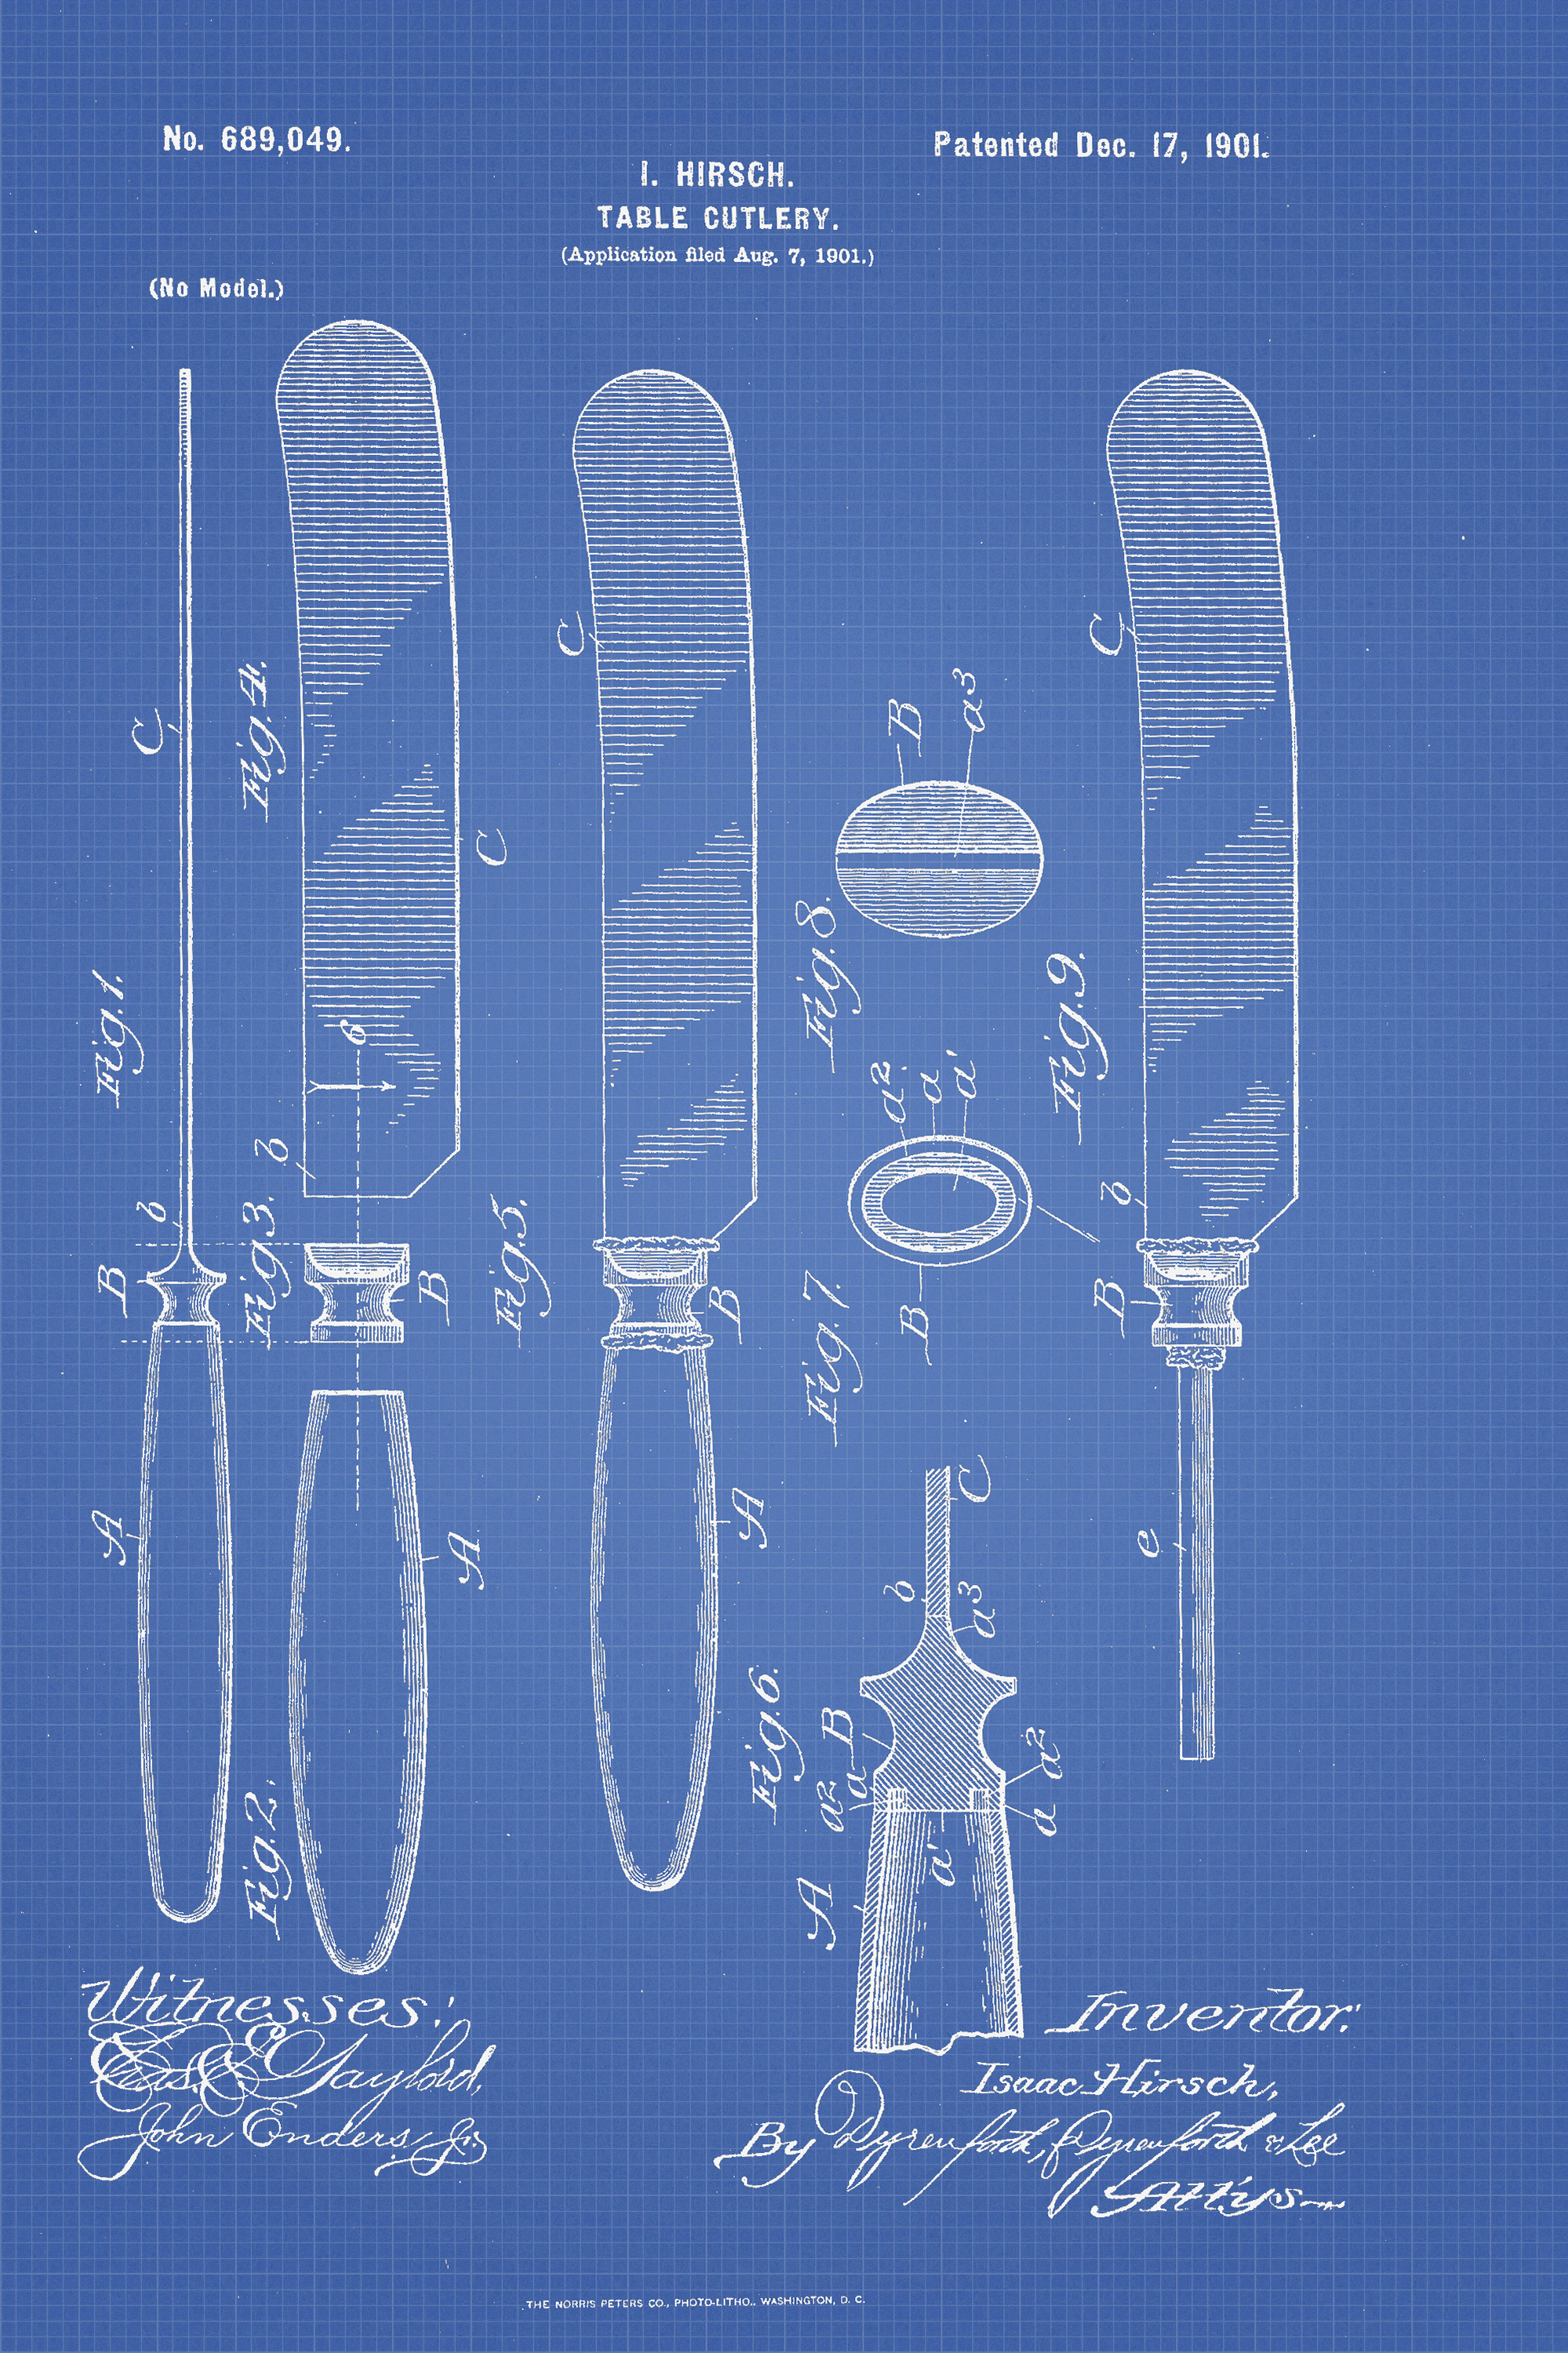
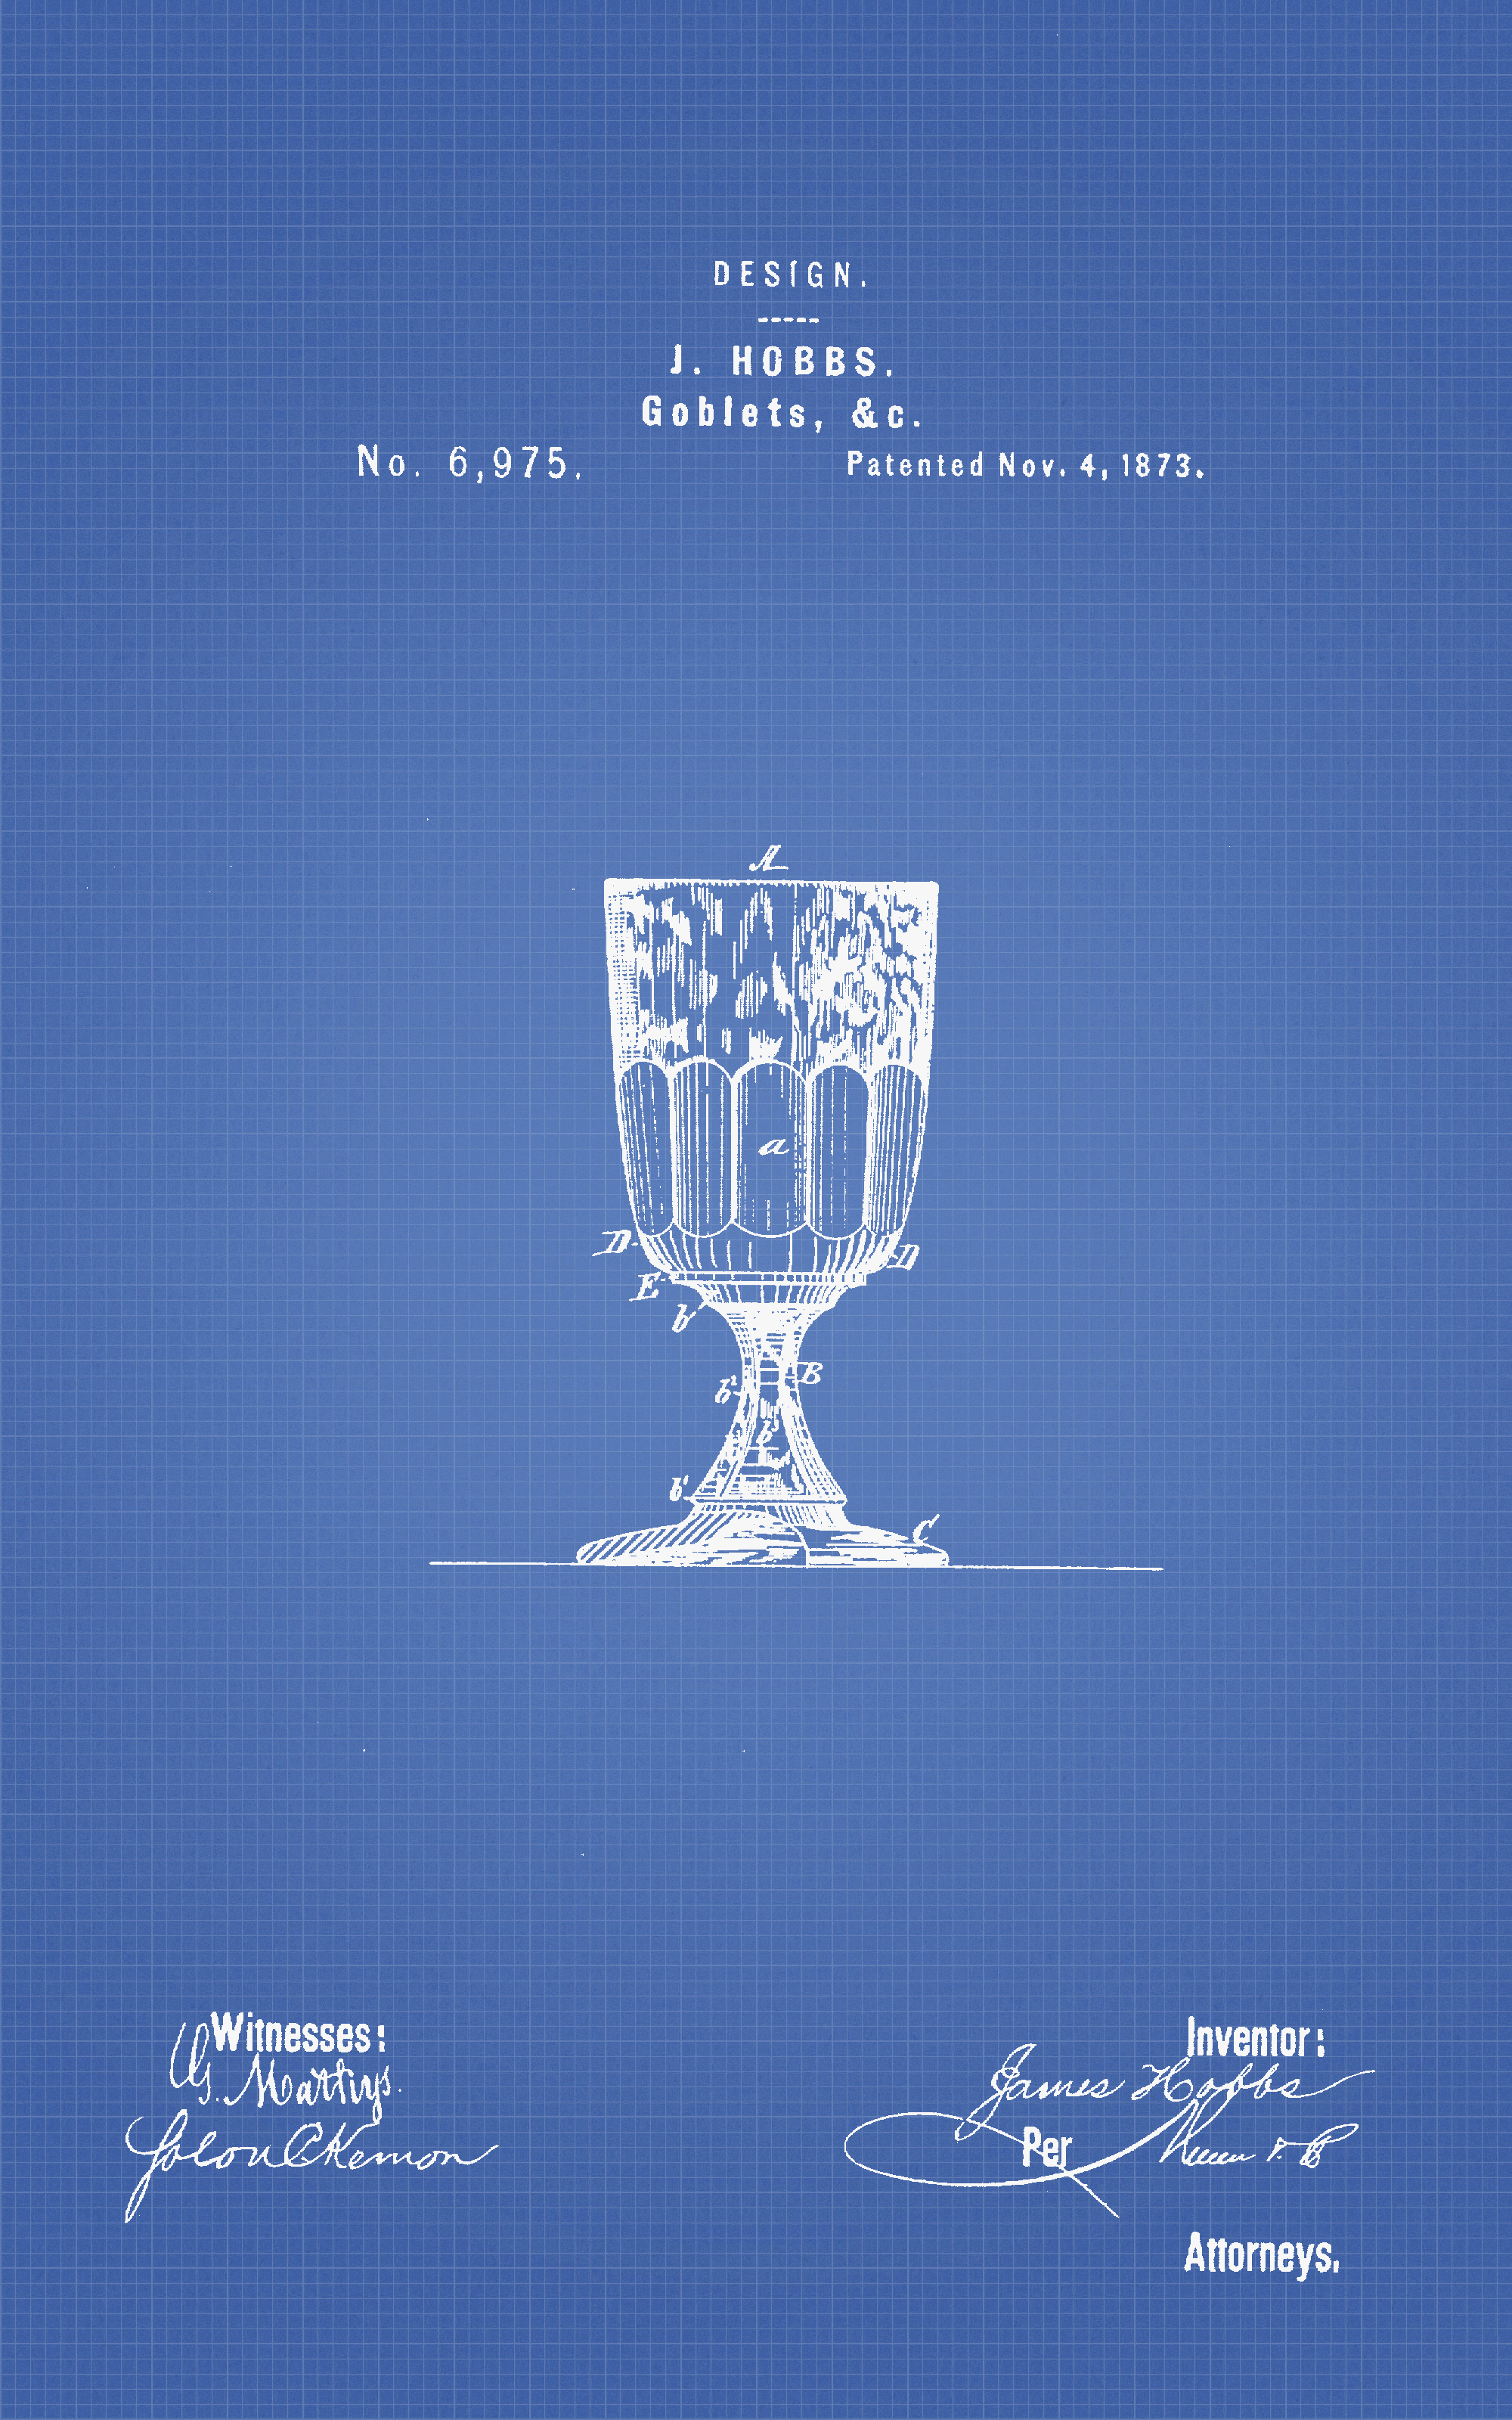
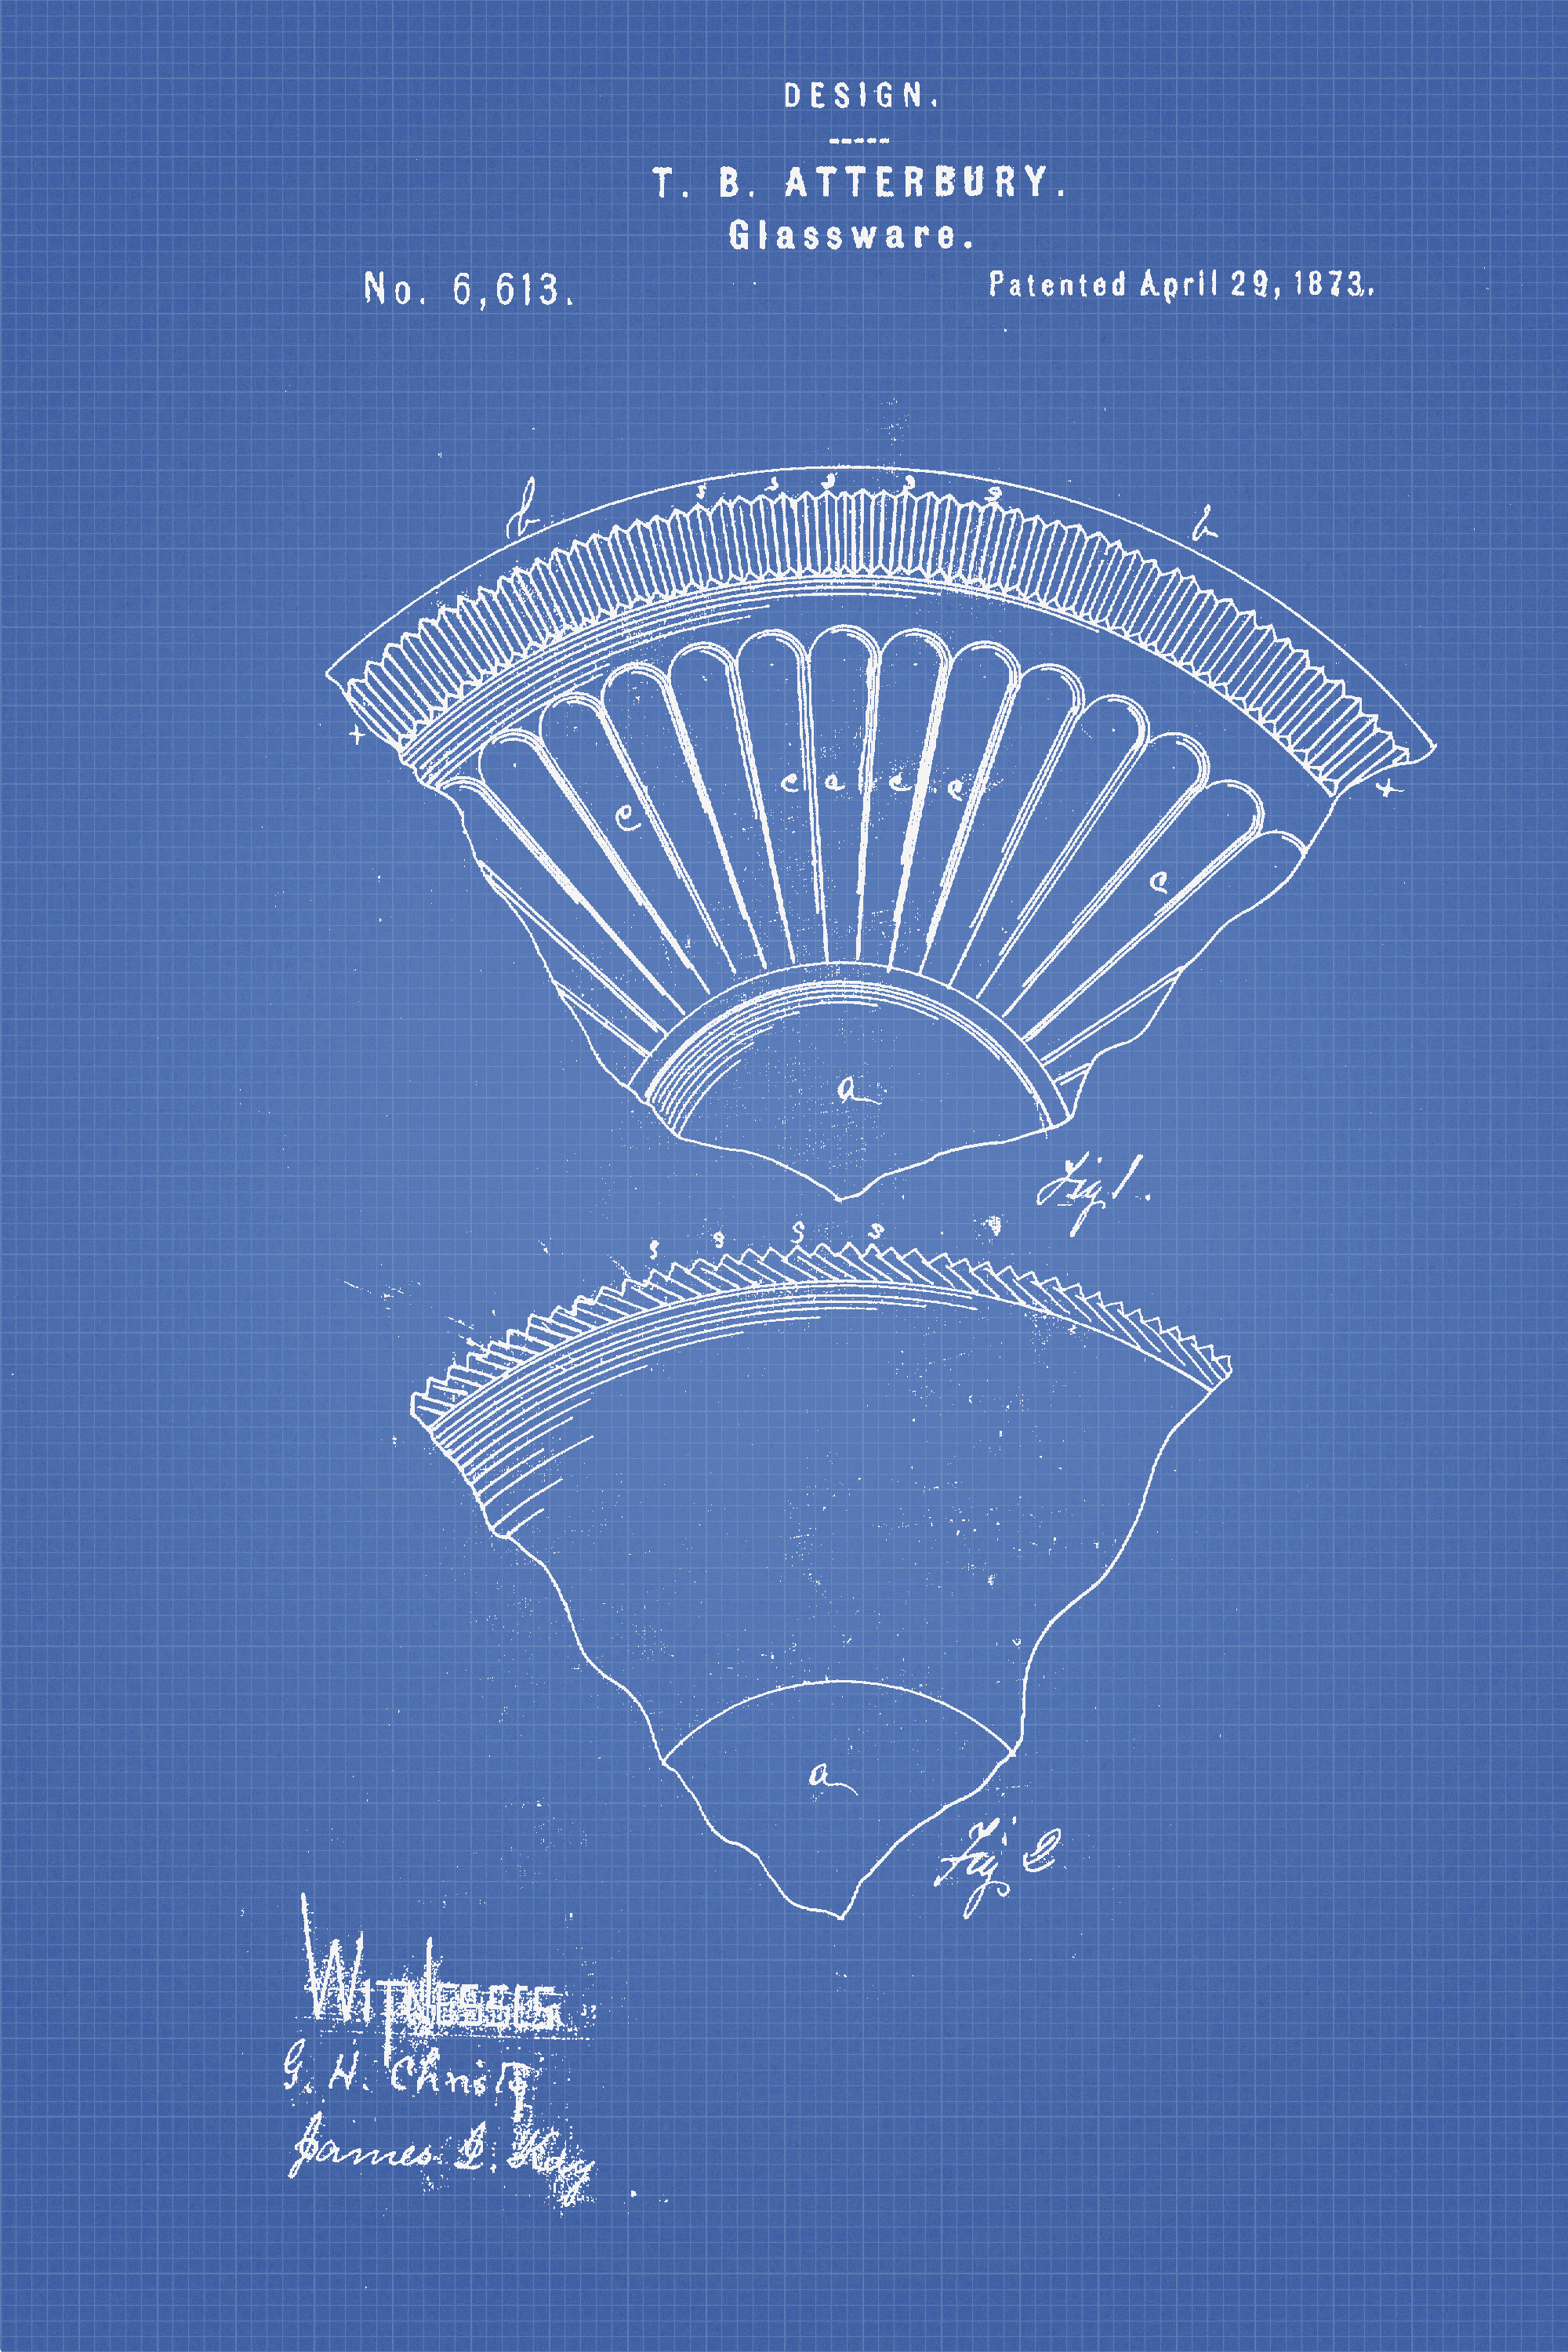
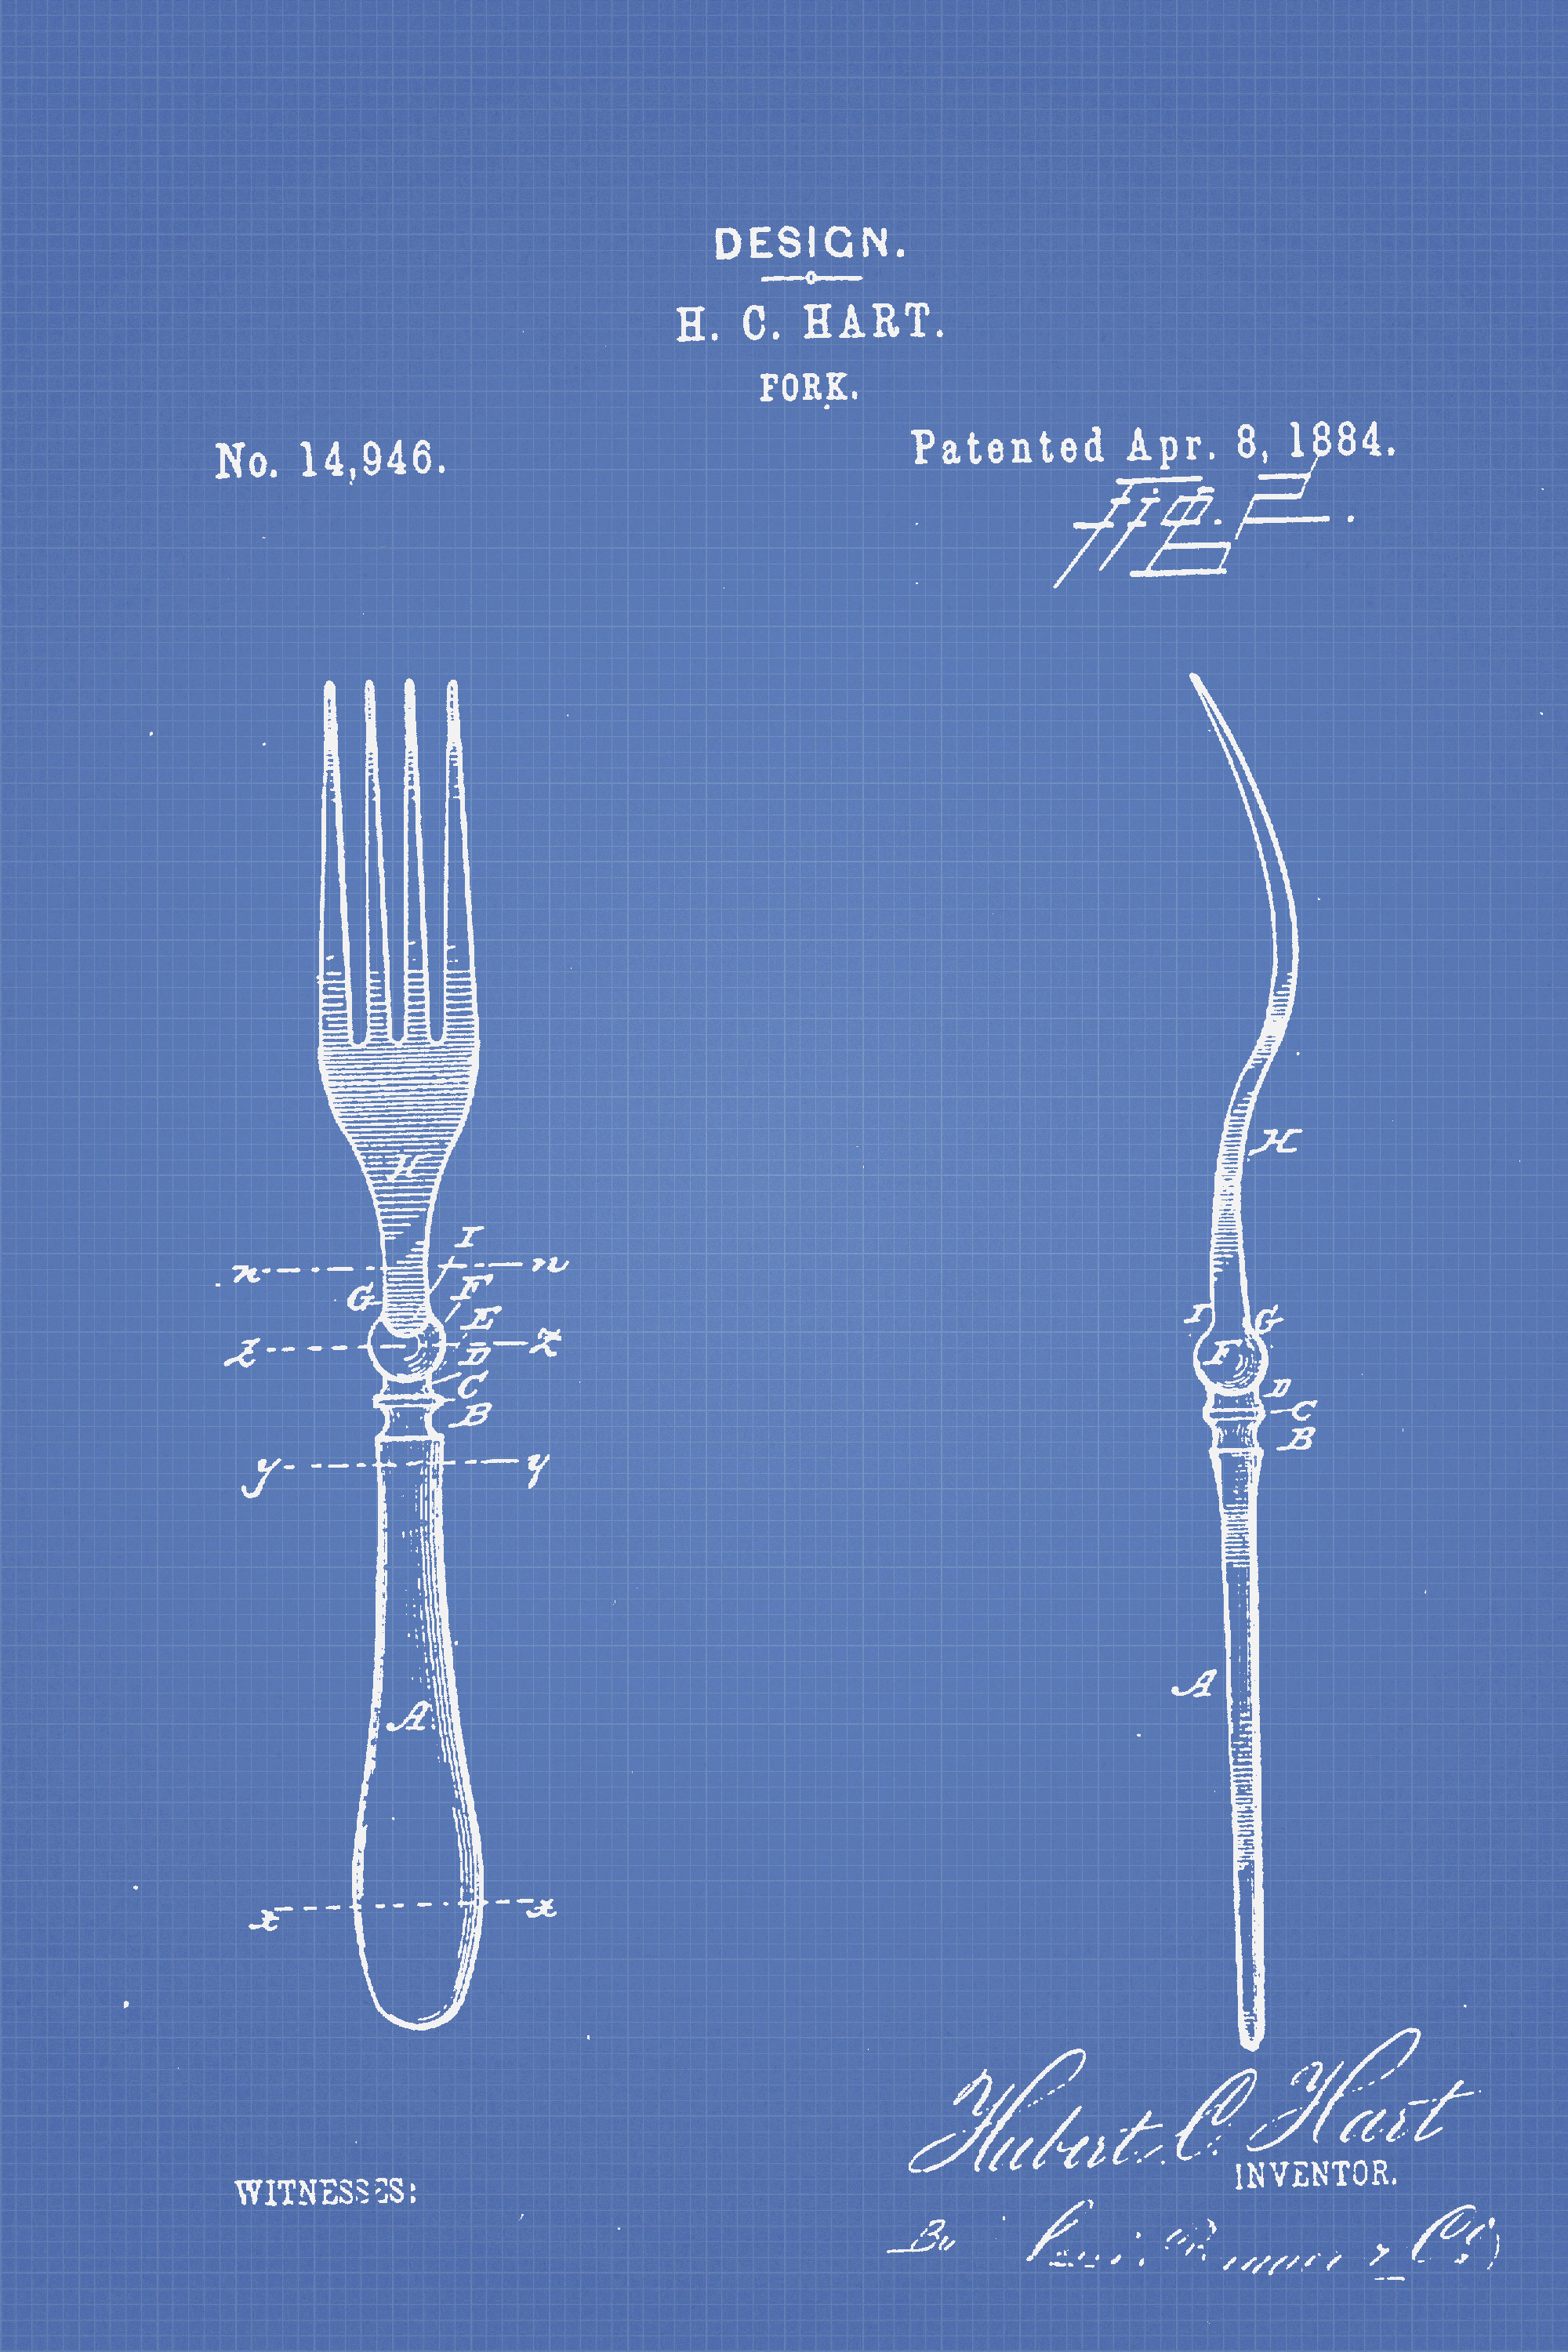
The patents on the Google database are printed in black and white. However, using the magic of Photoshop I changed the background of these patents for the DIY placemats. I used blueprint background for the vintage patents as I thought they would look fun on the dining table. Also, I'm a big fan of the colour blue.
You can also download these for free and follow the tutorial for the DIY placemats.
We participate in the Amazon Services LLC Associates Program, an affiliate advertising program designed to provide a means for us to earn fees by linking to Amazon.com and affiliated sites. As an Amazon Associate, I earn from qualifying purchases.
The Vintage Dining Themed Patents
The black and white kitchen patents are available to download below. The blueprint patents are with the DIY placemat tutorial.
These vintage prints would look fabulous framed and displayed as a gallery wall in either a kitchen or dining room.
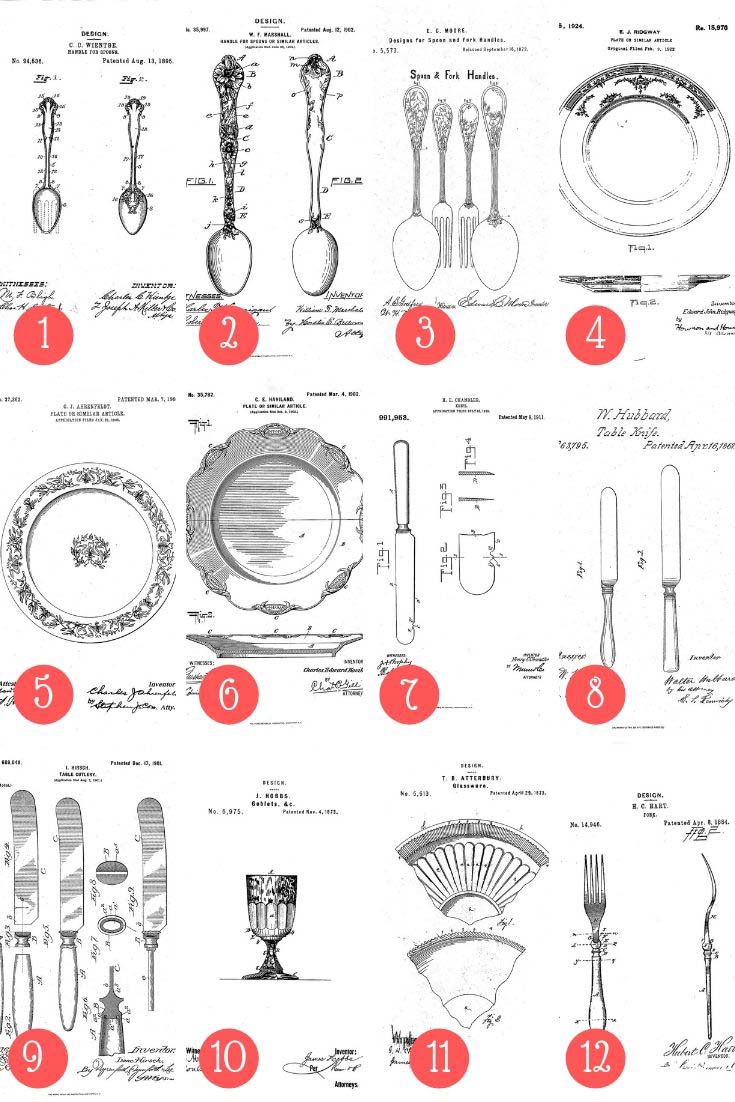
Just click on the numbered linked below to download one of the above kitchen themed patents.
- Two teaspoons patent
- Two large spoons patent
- Spoon and Fork Handles patent
- Dinner plate 1. patent
- Dinner plate 2 patent
- Dinner plate 3 patent
- Knife and blade patent
- Pair of Knives Patent
- 3 Knifes Patent
- Goblet Patent
- China Pieces Patent
- Forks Patent
How To Make A Fun Blueprint DIY Placemat
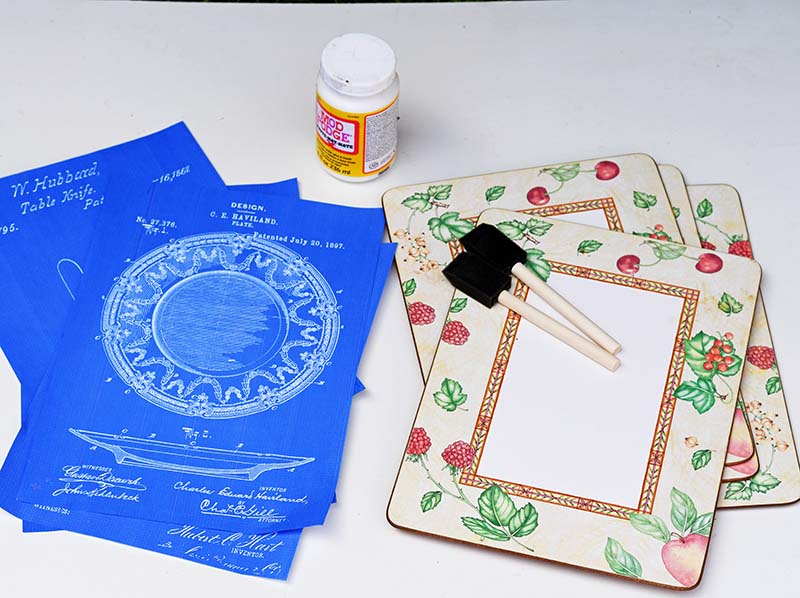
What You Need
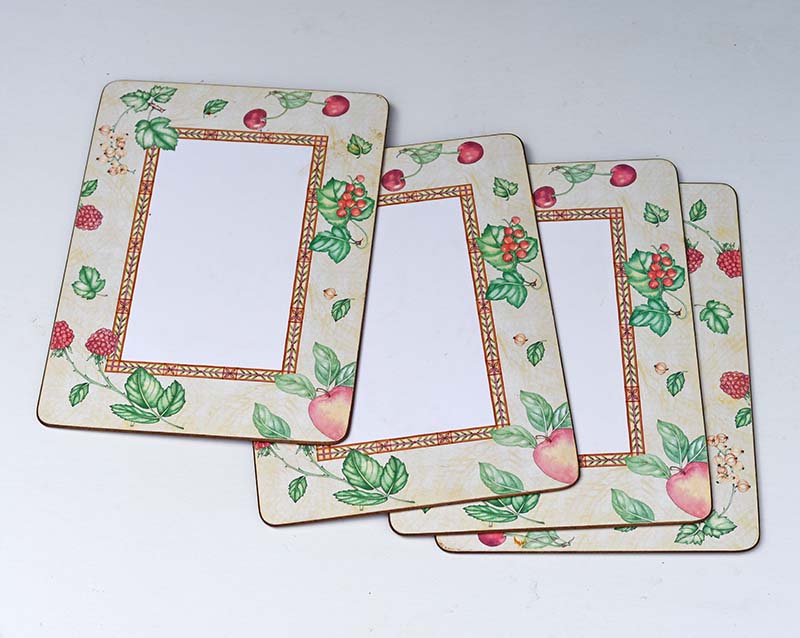
- Old placemats to upcycle or corkboard cut to size. Often you can pick outdated placemats up very cheaply in local thrift/charity shops.
- Blueprint kitchen patents printed out to the size of the placemats.
- Decoupage glue such as Mod Podge
- Foam brushes
- Some sort of waterproof sealer or varnish
- Craft knife and mat
The Vintage Blueprint Kitchen Patents
Choose which blueprint kitchen patents you want to used for the DIY placemats from the picture below and then click on the link to download.
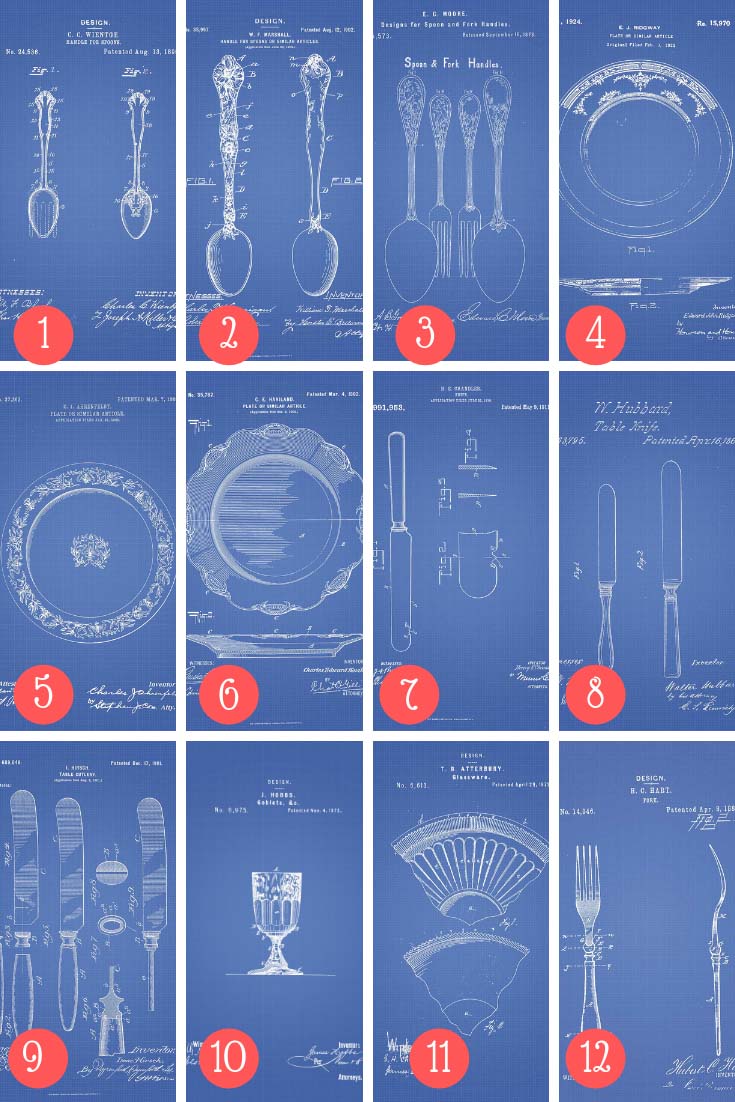
- Two teaspoons blueprint patent
- Two large spoons blueprint patent
- Spoon and Fork Handles Blueprint Patent
- Dinner Plate 1 Blueprint Patent
- Dinner Plate 2 Blueprint Patent
- Dinner Plate 3 Blueprint Patent
- Knife and Blade Blueprint Patent
- Pair of Knives Blueprint Patent
- 3 Knifes Blueprint Patent
- Goblet Blueprint Patent
- China Pieces Blueprint Patent
- Forks Blueprint Patent
How To Make An Upcycled DIY Placemat
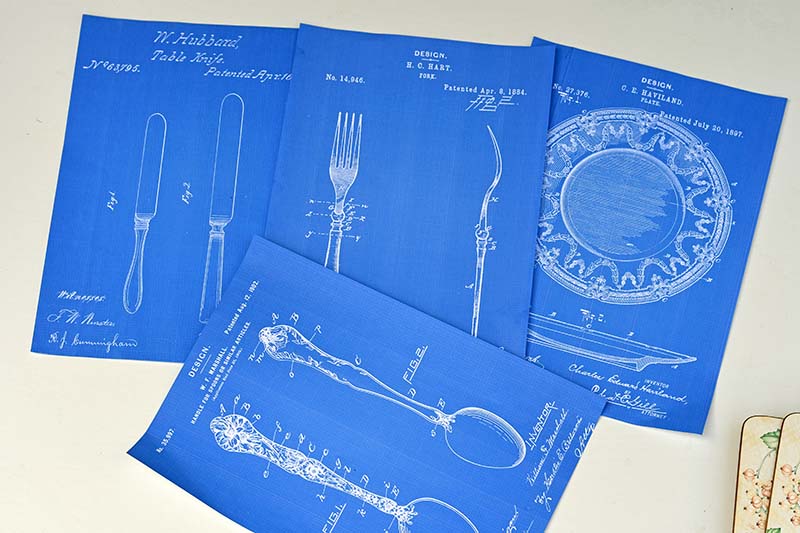
1. First, print out the chosen blueprints. Make sure the print out is large enough for the DIY placemat. Lucky for me the placemats I choose to upcycle were just slightly smaller than A4 paper size.I was able to print them on my home printer. One thing to note is that if you use an inkjet printer instead of a laser printer the blueprint might smudge when the sealer is applied at the end. You can always test a print out before you begin or just spray the blueprints with a fixative first.
*Some hairsprays works well as a fixative and are much cheaper than artists fixative.
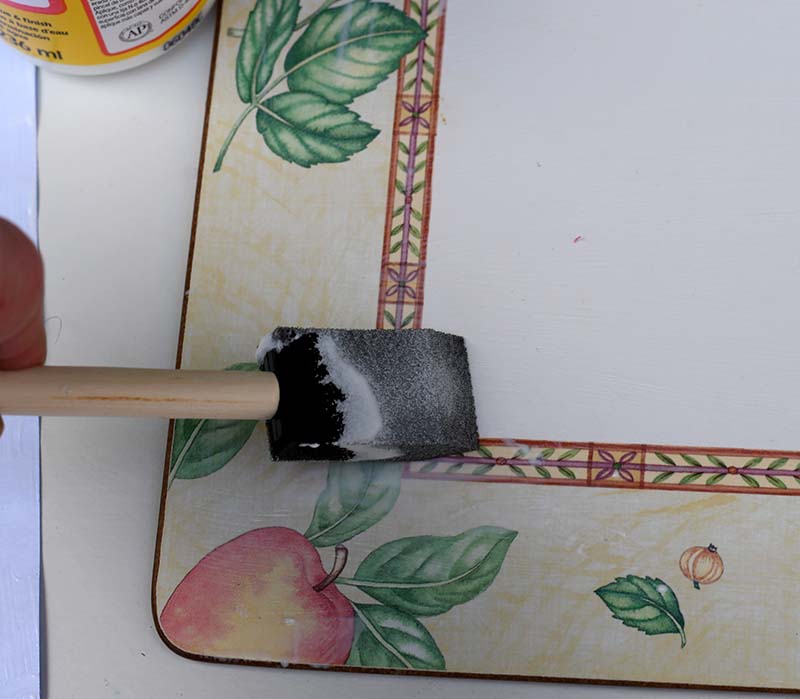
2. Next, using a foam bush apply a coat of the decoupage glue to the top of the placemat. Then, cover the backside of the blueprint with a layer of the glue.
3. Next, place the blueprint on top of the placemat. Gently squeeze out any air bubbles. I find sweeping a credit card over the top of the paper helps moves the air bubbles out to the edge, where they can escape.
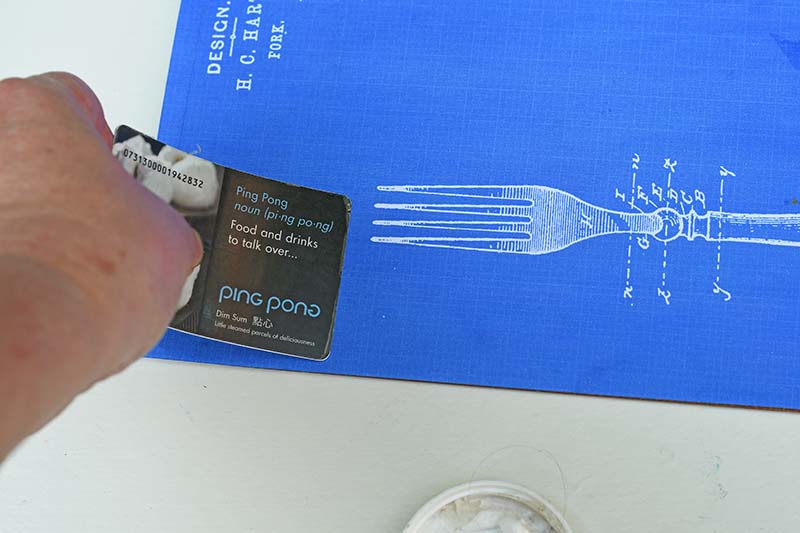
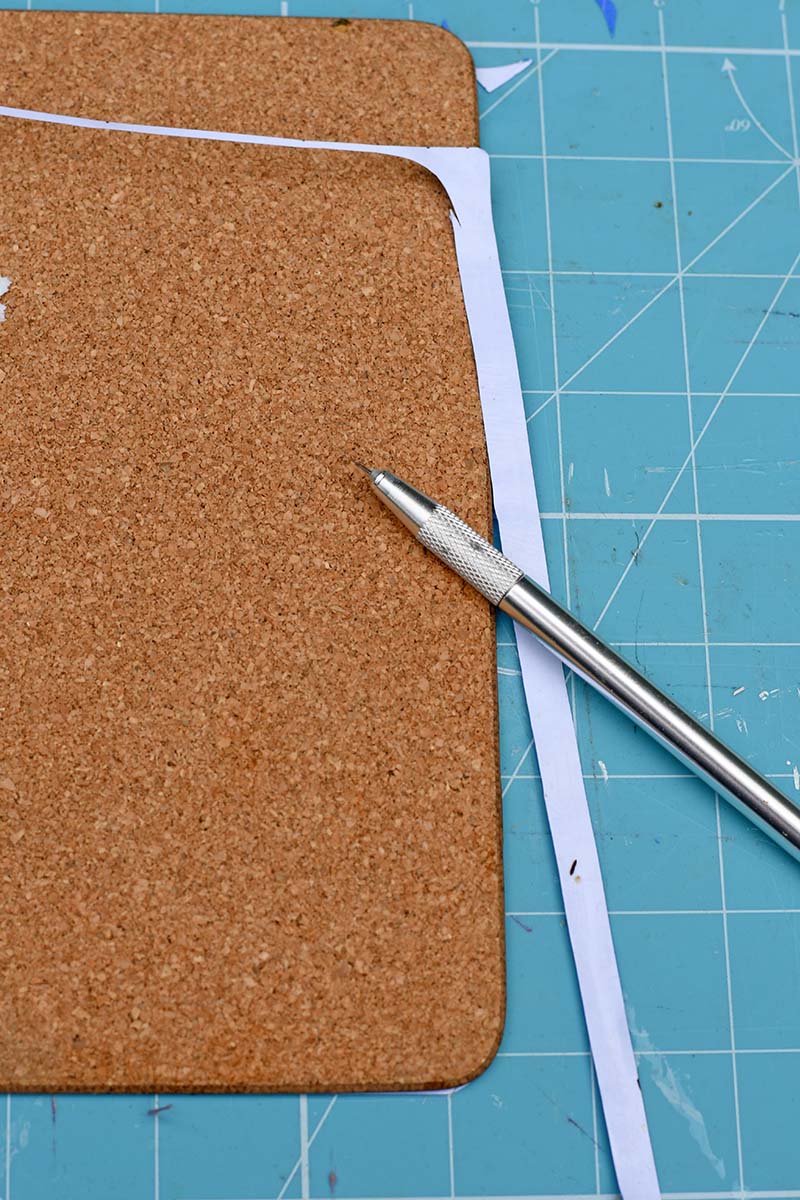
4. Once the glue has dried. Place the mat face down on a cutting mat. Then using a craft knife cut away any excess blueprint paper.
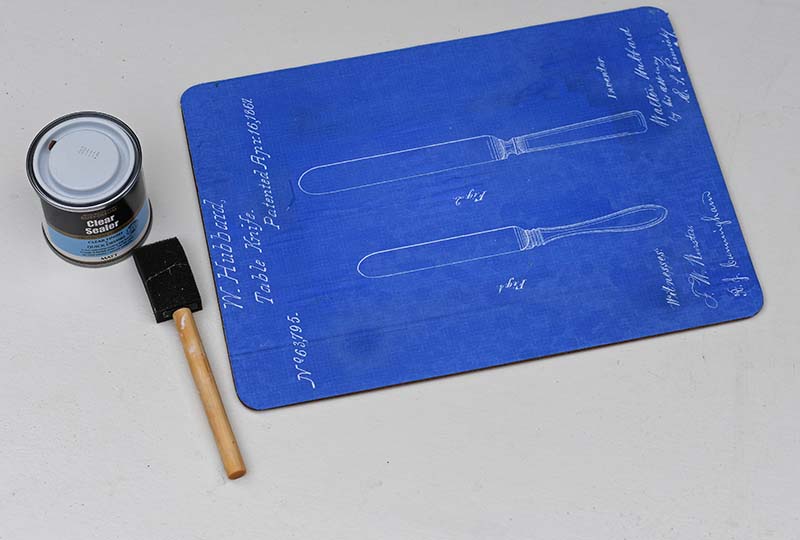
5. All that is left to do is to seal the DIY placemat. This can be done either with decoupage glue sealer or a varnish. If the placemat is going to have direct contact with food then use a food safe varnish. If the placemat is going to be used as a heat mat to protect the table then use a heat proof varnish. However, I find regular varnish sealer works well for me and I can simply wipe clean the placemat if needed.
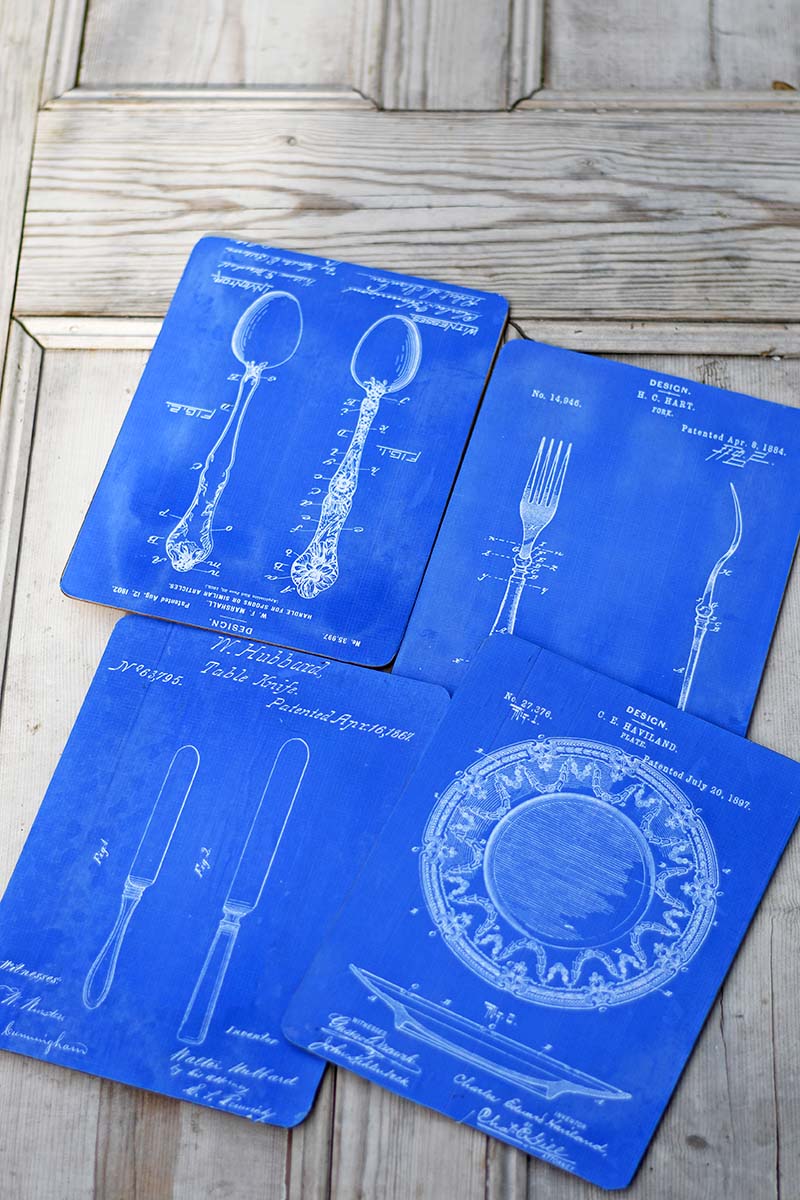
If you would prefer a different patent art theme for your placemats I show you how you can search for Google patent art prints here. I have even curated a collection of guitar patent prints which would be a great theme for musicians.
If you would like seasonal placemats there is a collection of Christmas patent art hear in a festive red colour.
However, if you want a theme other then patents for your DIY placemats how about making easy map table mats or some collaged natural history placemats.
For more fabulous DIY placemat ideas visit favecrafts.com.

Hi the mats look lovely, did you have to prep the old mats first, e.g sand them so the new covers stick well? Thank you
Thank you, no, you can glue straight over the top of the old mats.
These place-mats are so cleaver and pretty. I love those vintage drawings and these are like vintage blue prints in the opposite way.
Happy weekend,
Kippi
Thank you so much, Kipi. I’m glad you liked them.
I like these! Thanks for sharing at Best of the Weekend Link Party.
Liberty @ B4andAfters.com
Thank you so much 😊
Dang! I just recently threw away some placemats. The design was wearing off but they were still in good shape. I could have used them to make these cool placemats.
By the way, I'm so impressed with all of the patent illustrations you've found! They are so cool!
I'm featuring this post in my Party in Your PJs link party that starts tonight. Thanks for always sharing your awesome ideas!!
Thank you, I look forward to seeing it.
These are beautiful and your tutorial is perfect! Thank you for sharing at Party In Your PJs!
Thank you so much. They were fun to make 😊
These are so charming! Thanks for sharing at Vintage Charm!
Thank you, Cecillia.
These are so unique! Love the patent printables, and the tutorial is made so easy. Thanks for sharing at Tuesday Turn About, Claire!
Thank you, I try to make my tutorials as clear as possible.
Hi Claire!
What a fun project! I love those patents! Thanks for sharing the links (for printing) and the great tutorial! And thanks for sharing at Homestyle Gathering!
>>> Kim
I’m glad you like them. Thank you 😊
This is such a brilliant idea...and these prints are BEYOND fabulous! Thank you so much for the great tutorial! xoxo
Thank you so much, glad you liked them.
These are so cute! I love those blueprints!
Thank you so much.
This is such a creative and fun idea! Thanks for sharing!
Karin
Aww, thank you so much.
Great project! Pinned.
Aww, thank you so much.
I love these, so much fun. I do love a good patent printable 🙂
They could be nice dining room art too couldn't they? I can imagine a few of them in a row in matching frames.
Thank you, Julie. Yes I think they would make a fabulous gallery wall in a kitchen.