
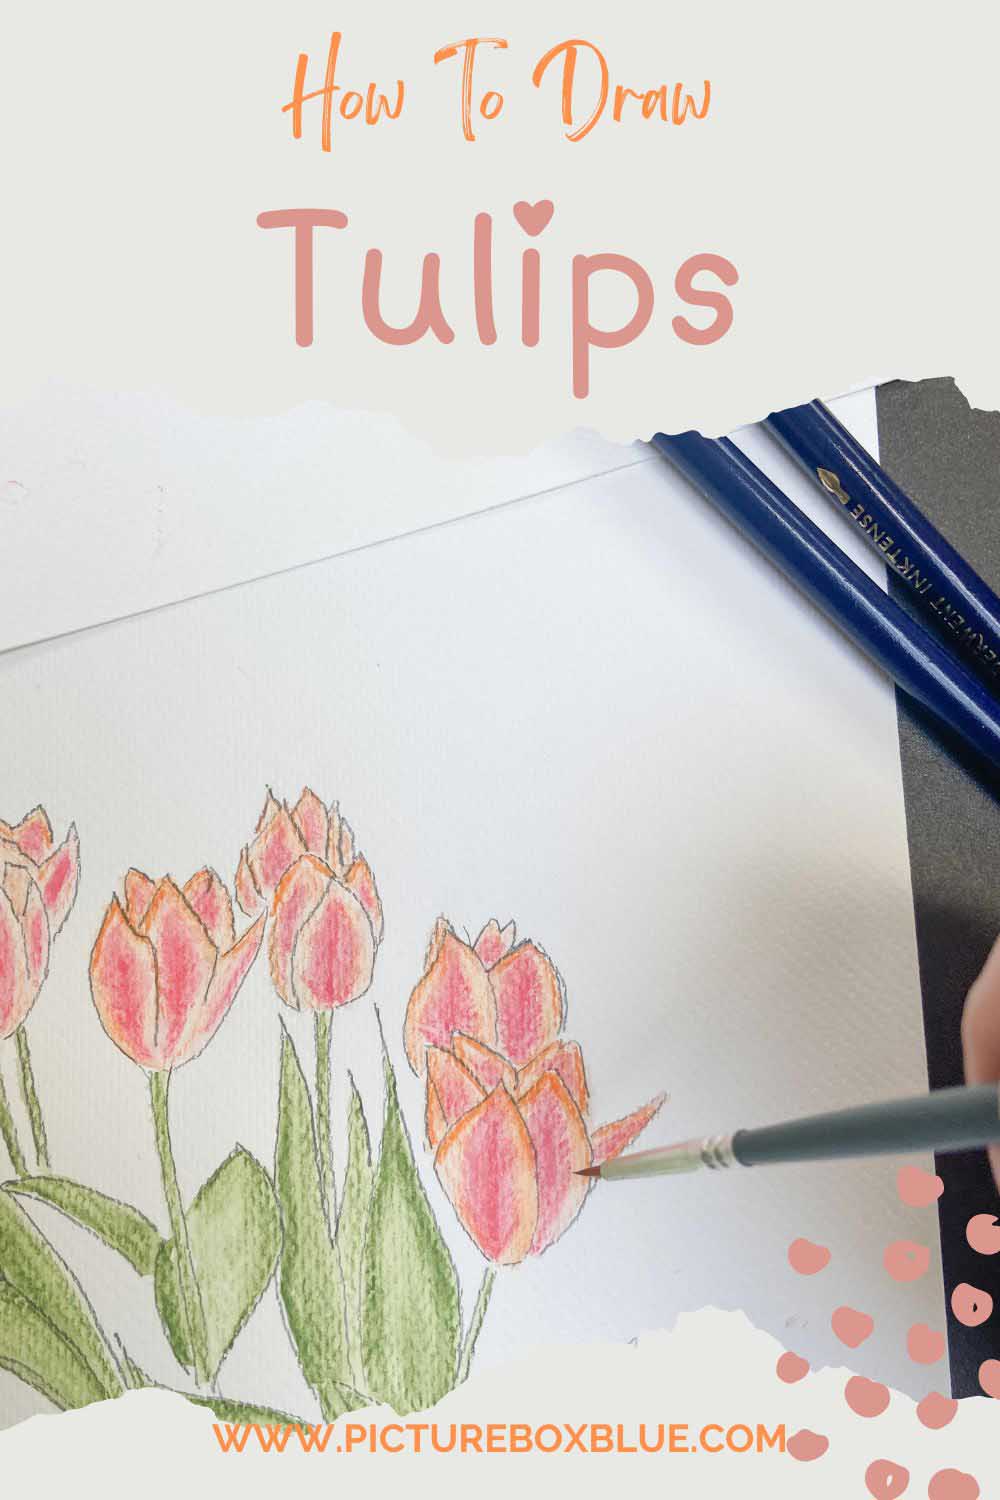
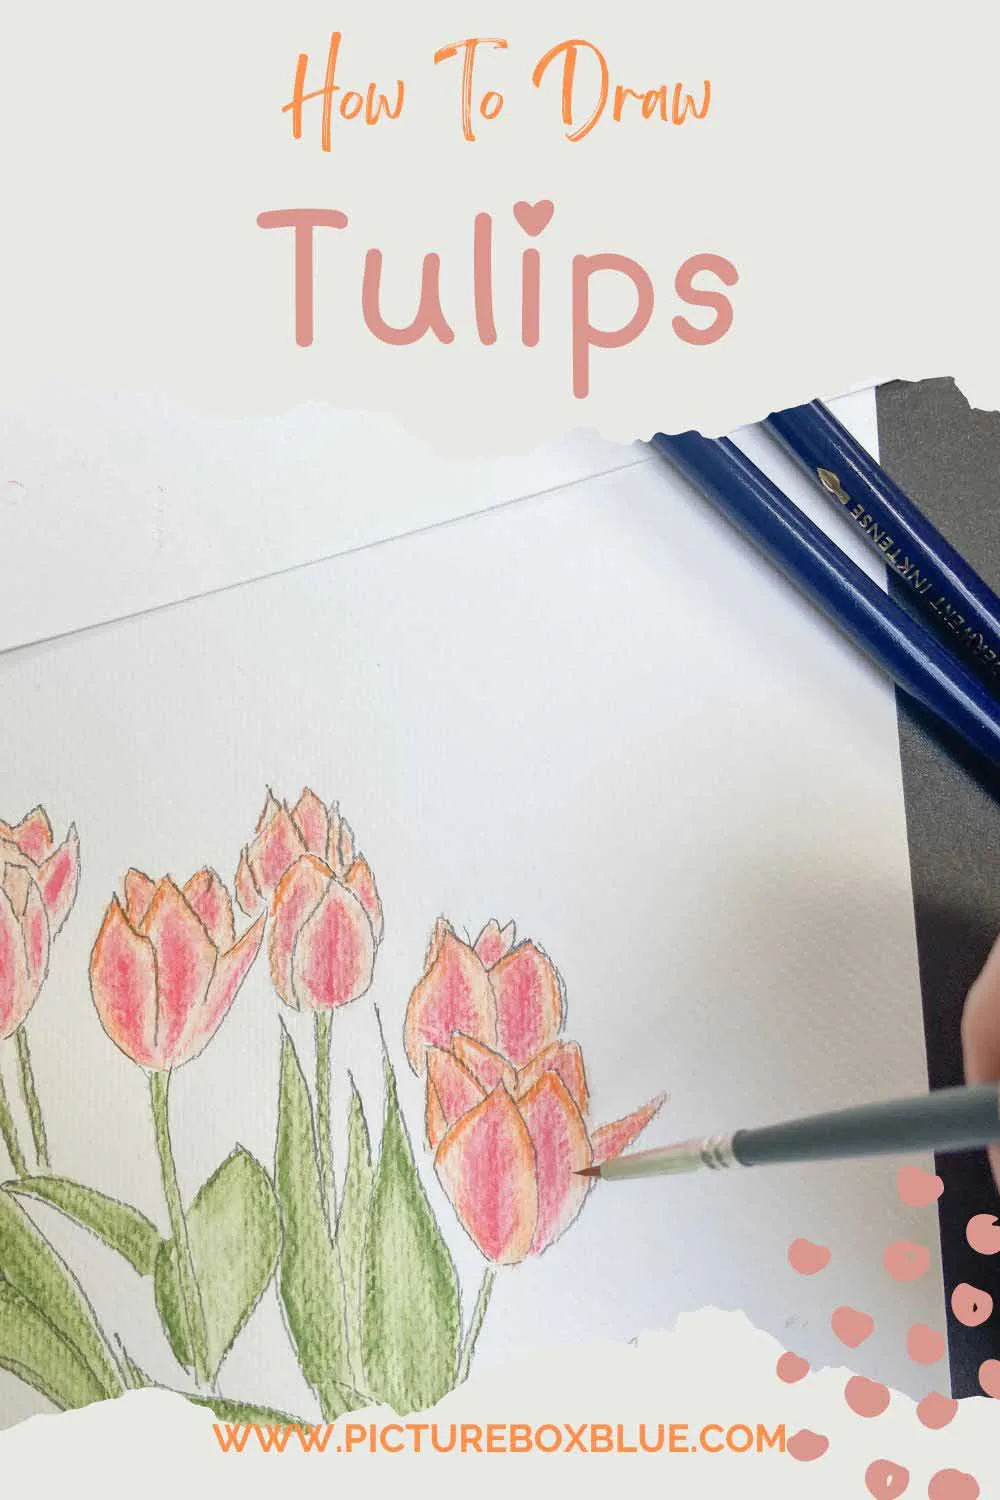
Draw tulips like a pro! Discover simple guides and step-by-step tutorials for creating tulip flowers using watercolour pencils with vibrant results.
Is there a flower more famous than the beautiful tulip? Tulips have a captivating allure and a rich history, reaching legendary status during the Dutch “Tulip Mania” of the 17th century. In this craze, 99 tulip bulbs astonishingly sold for what would be the equivalent of 7.5 million dollars today!
The tulip, originating in the Ottoman Empire, is named after the Persian word for turban. I adore the appearance of tulips in my garden every spring, and their intriguing history makes them even more appealing.
On our site, you can find a collection of vintage botanical tulip paintings to inspire and guide your creative journey. As a subject for drawing and painting, tulips are beautiful flowers which delight with their simple shape and vibrant colours, making them a real pleasure to recreate.
Our fun guides will help you master tulip drawing step by step, so follow along to capture this iconic flower’s beauty using drawing and watercolour pencils.
Drawing Materials
We participate in the Amazon Services LLC Associates Program, an affiliate advertising program designed to provide a means for us to earn fees by linking to Amazon.com and affiliated sites. As an Amazon Associate, I earn from qualifying purchases.
- Derwent Inktense Watercolour Pencils – Inktense pencils differ from regular watercolour pencils because they behave more like ink. Once dry, they become permanent and won’t reactivate, allowing for continuous layering without disturbing previous colours. A friend who works as a fabric designer told me she’d had the same set of watercolour pencils for over 30 years! If you enjoy working with watercolour pencils, it’s worth investing in high-quality sets from an art store. They offer vibrant pigments and can last long with the right care.
- Inktence Watercolour Paper
If these materials exceed your budget, you can use regular watercolour pencils and paper for flower drawings. Either way, you can draw a great-looking tulip in different colour combinations.
Top Tips for Using Watercolor Pencils in Tulip Drawing
Using watercolour pencils can bring a new vibrancy and versatility to your tulip drawings. Here are some top tips, including specific notes for Inktense pencils:
- Start Light: When applying colour, begin with light strokes. Gradually layer colours to build intensity without overwhelming your initial lines. This technique maintains control and prevents the colours from becoming muddy.
- Dry-to-Wet Blending: For smooth gradients, apply the colour dry and then blend with a damp brush. This is especially useful for creating layered, translucent petals on tulips.
- Layer and Mix Colors: Build dynamic textures by layering and mixing colours. Start with lighter shades to highlight and use darker shades for shadows. Inktense pencils have intense pigments that allow for vibrant, rich colours.
- Experiment with Permanent Layers: Since Inktense pencils become permanent once dry, you can layer over them without reactivating previous colours. This is helpful for complex petal layers where you want to preserve underlying hues.
- Practice Brush Control: Use different brushes to see which offers the best control. A water-filled brush pen ensures consistent water application and helps bring out the unique properties of Inktense pigments.
- Leave White Spaces: Maintain white areas to capture natural light and reflections on petals. Later, deepen shadows or refine edges with darker pigments.
- Test Your Colors: Test colours on scrap paper before applying them to your drawing. This step is particularly important with Inktense pencils due to their vibrant and bold pigments.
These tips will help you master watercolour pencil techniques and make the most of your Inktense pencils, allowing you to create perfect tulip drawings that are not only colourful but also lifelike and captivating.
Tulip Step-by-Step Drawing Instructions
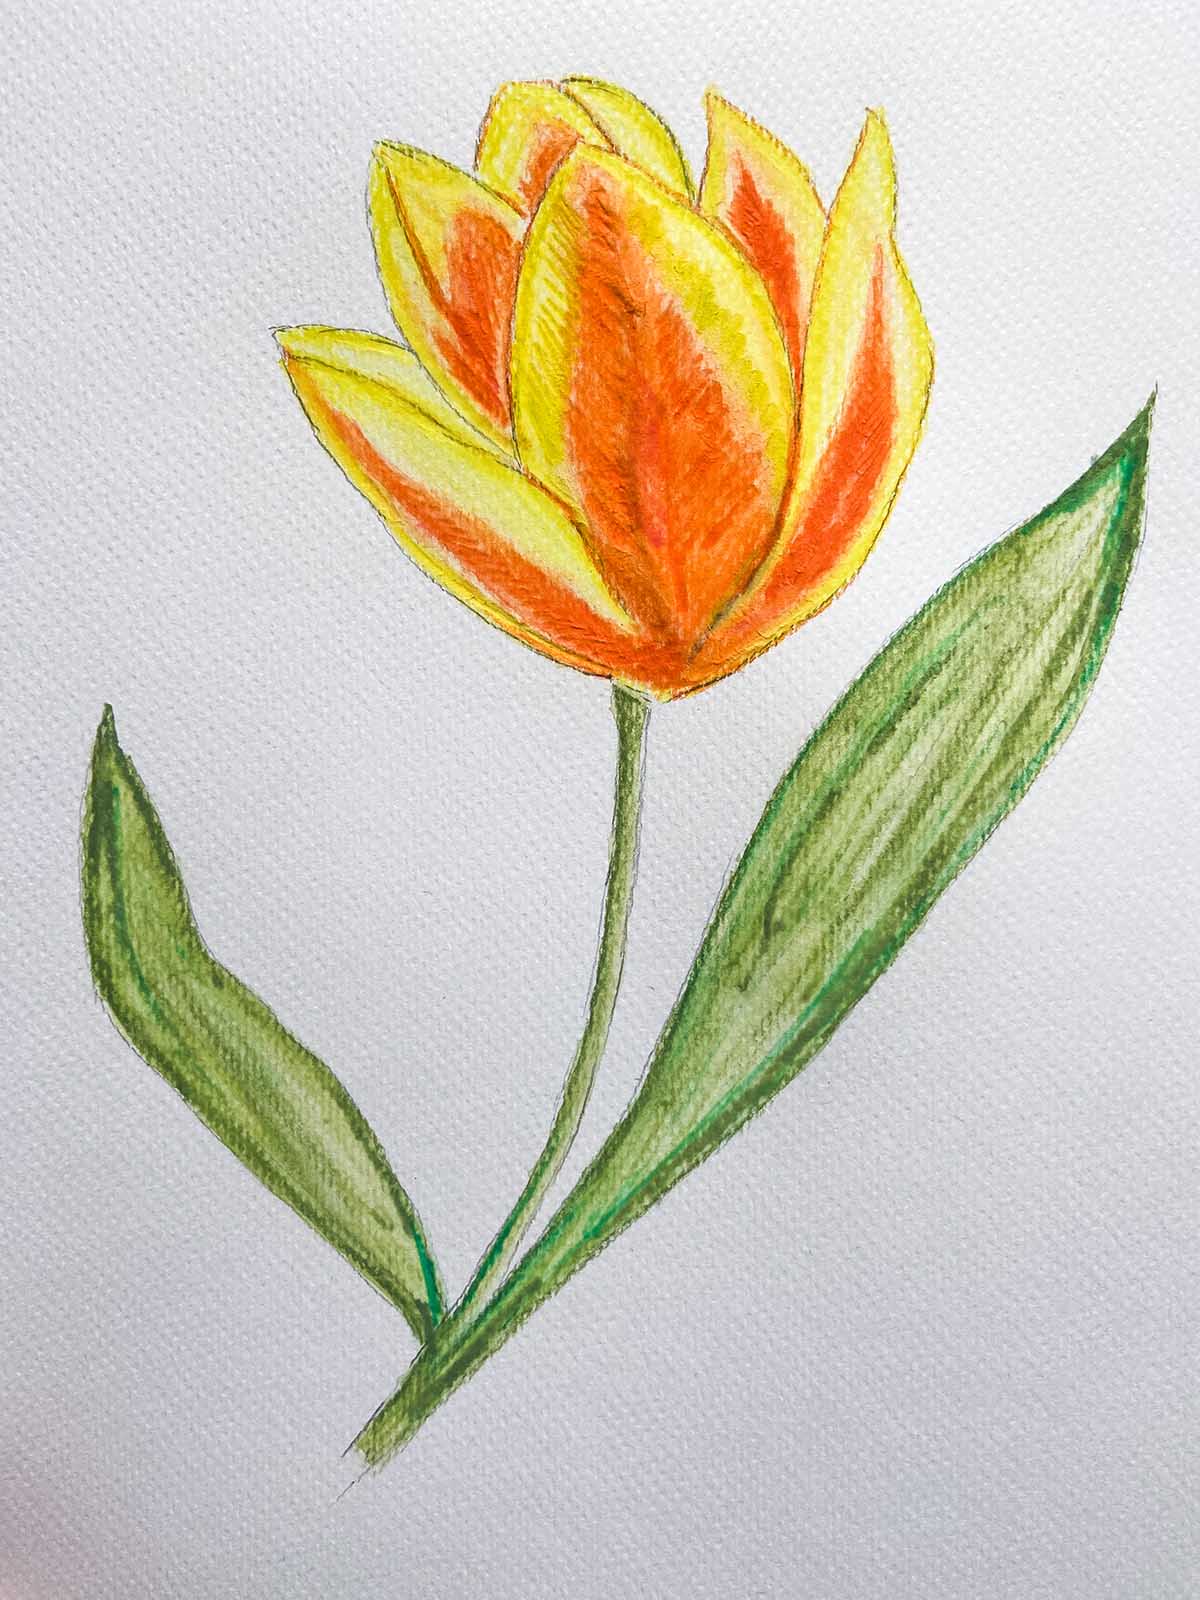
How to Draw Yellow & Orange Tulips
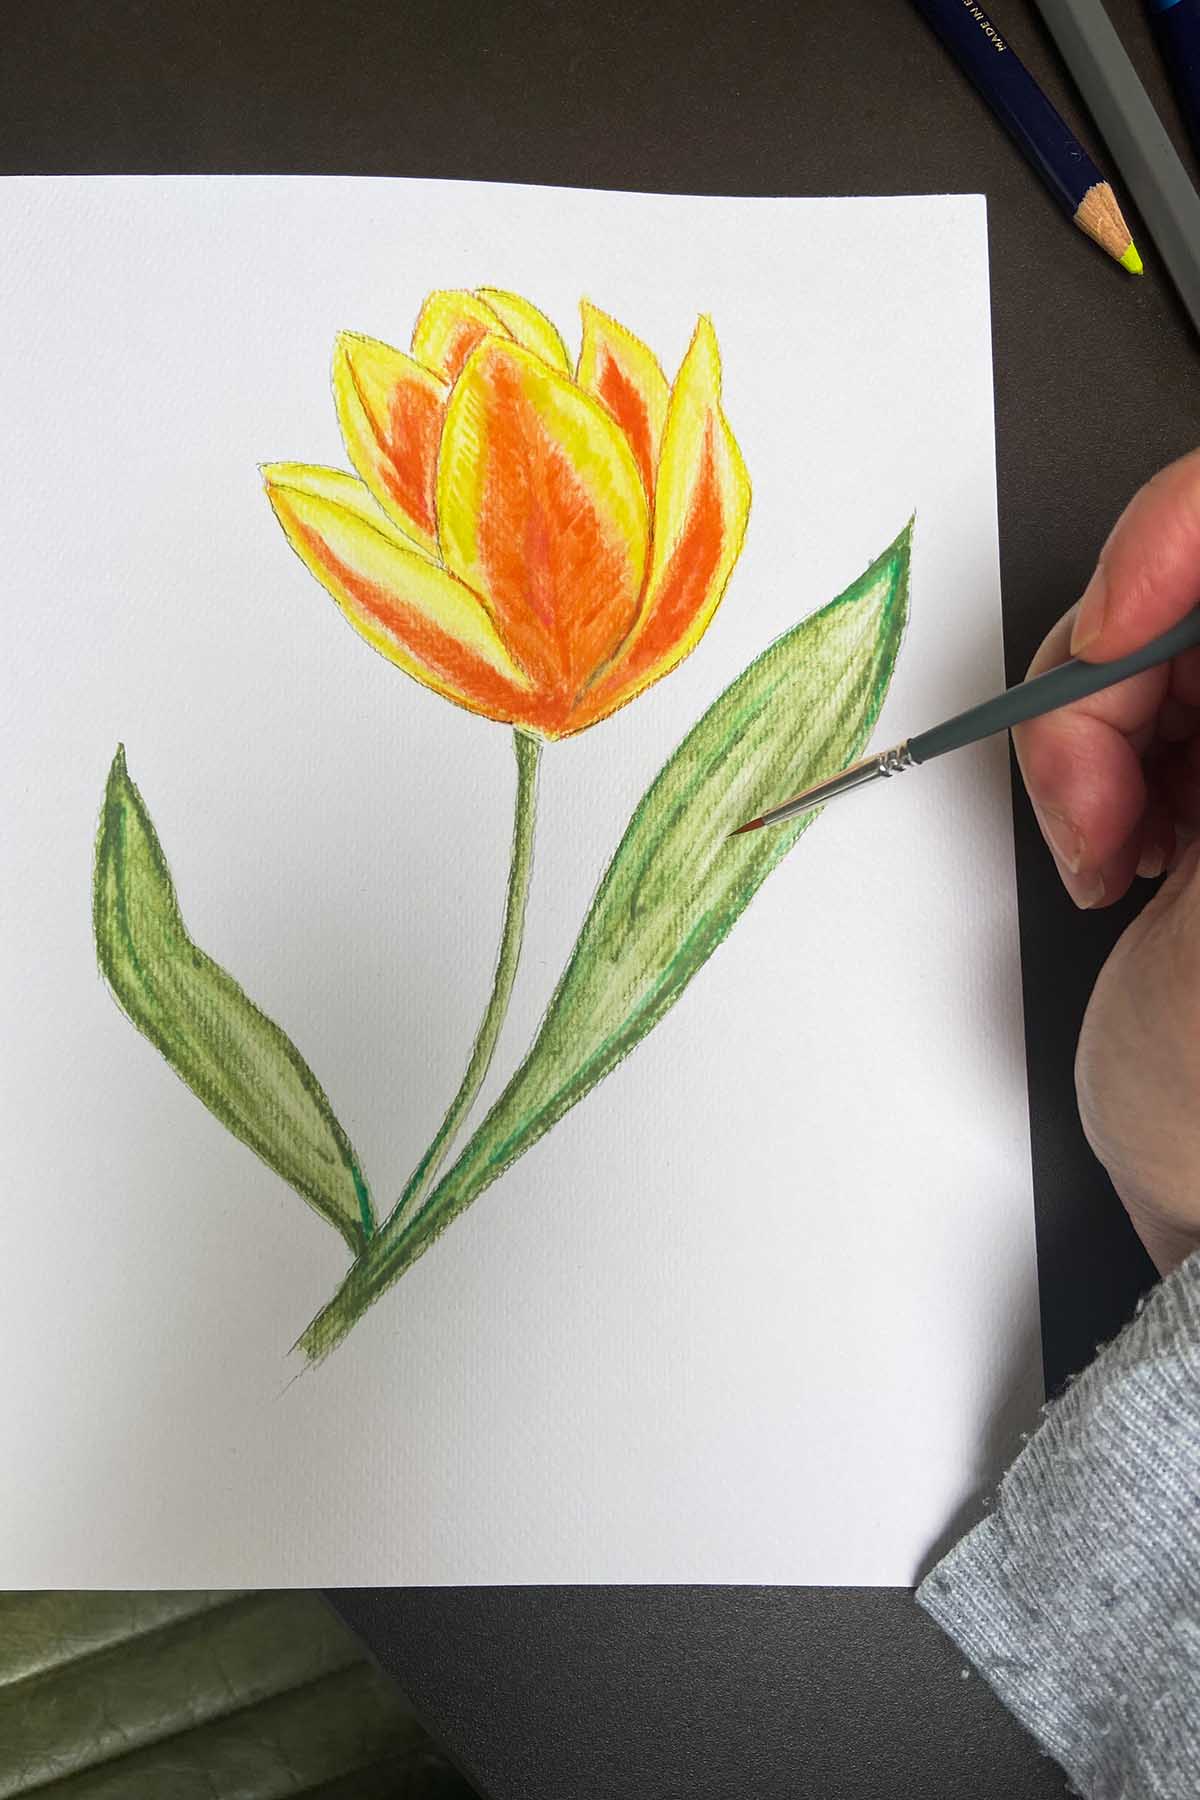
I love the vibrancy of a two-toned Tulip; nothing is more vibrant than a yellow and orange tulip. Tulips are such an iconic basic shape that the real delight is finding ways to add colour. With so many varieties of Tulips, the choice of colours is endless. Here, I used watercolour pencils on textured watercolour paper.
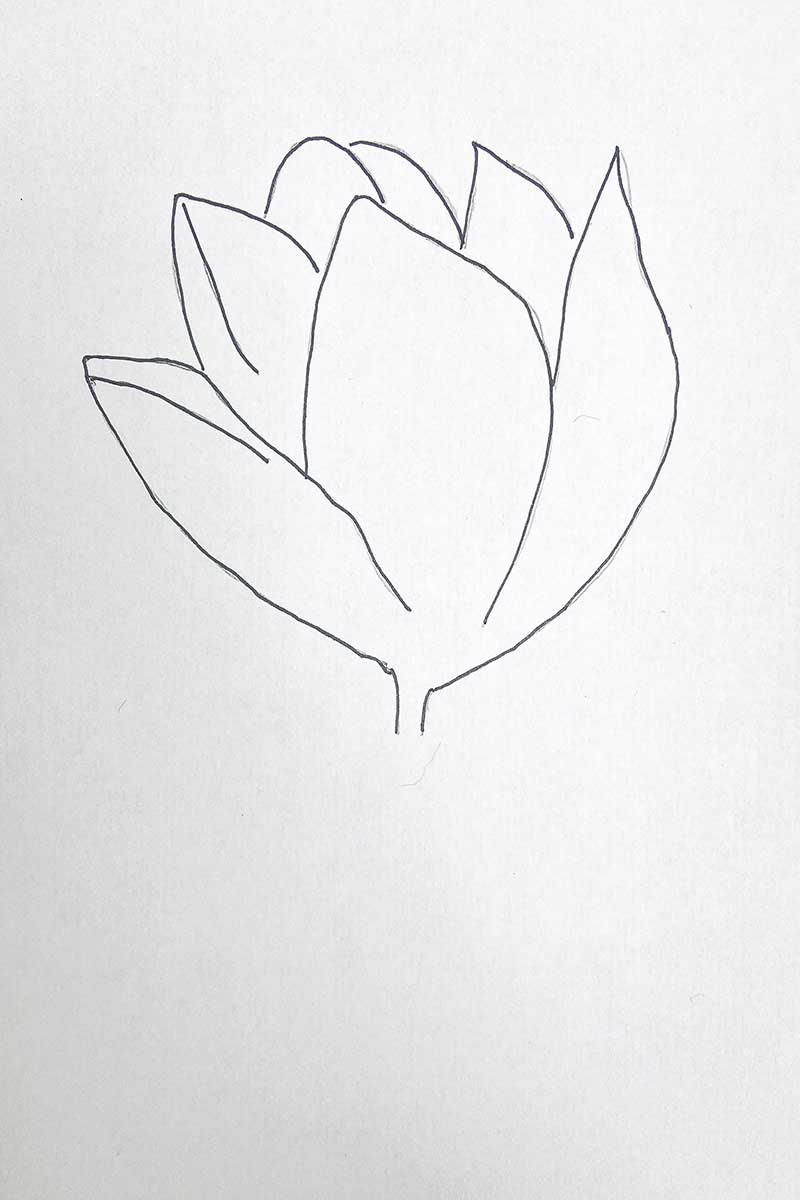
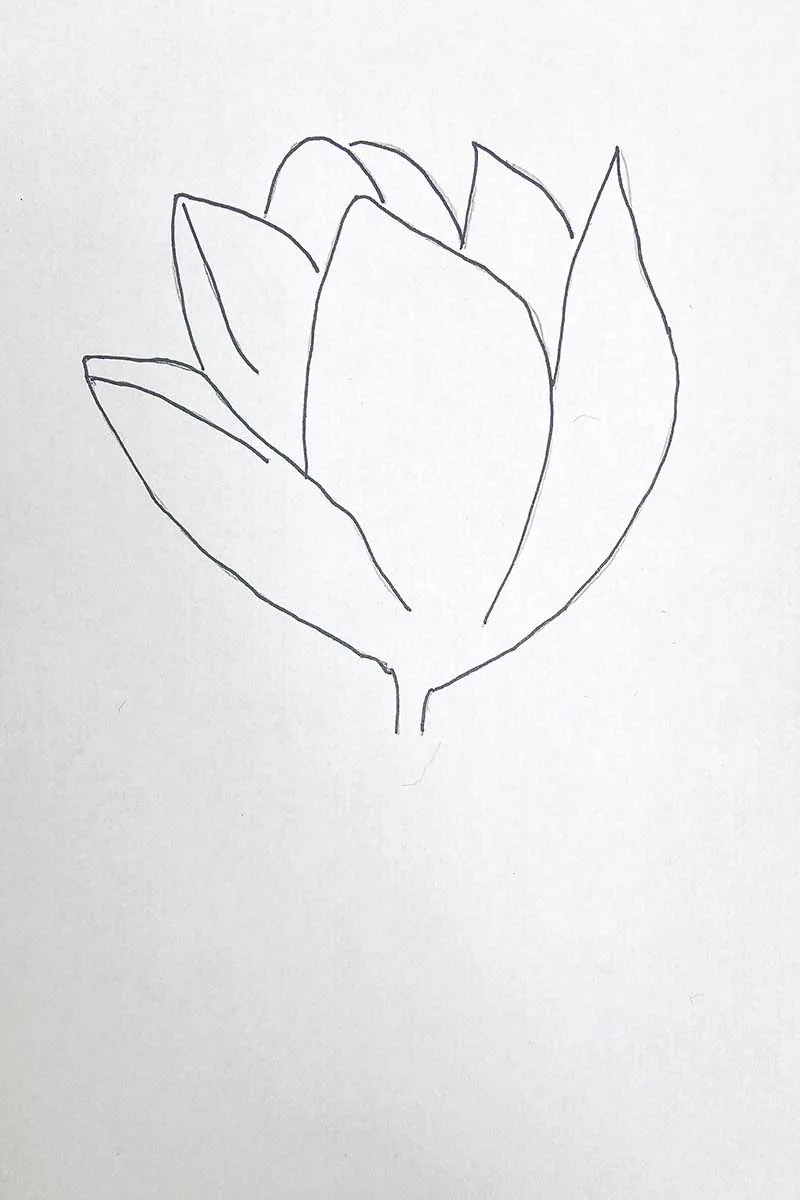
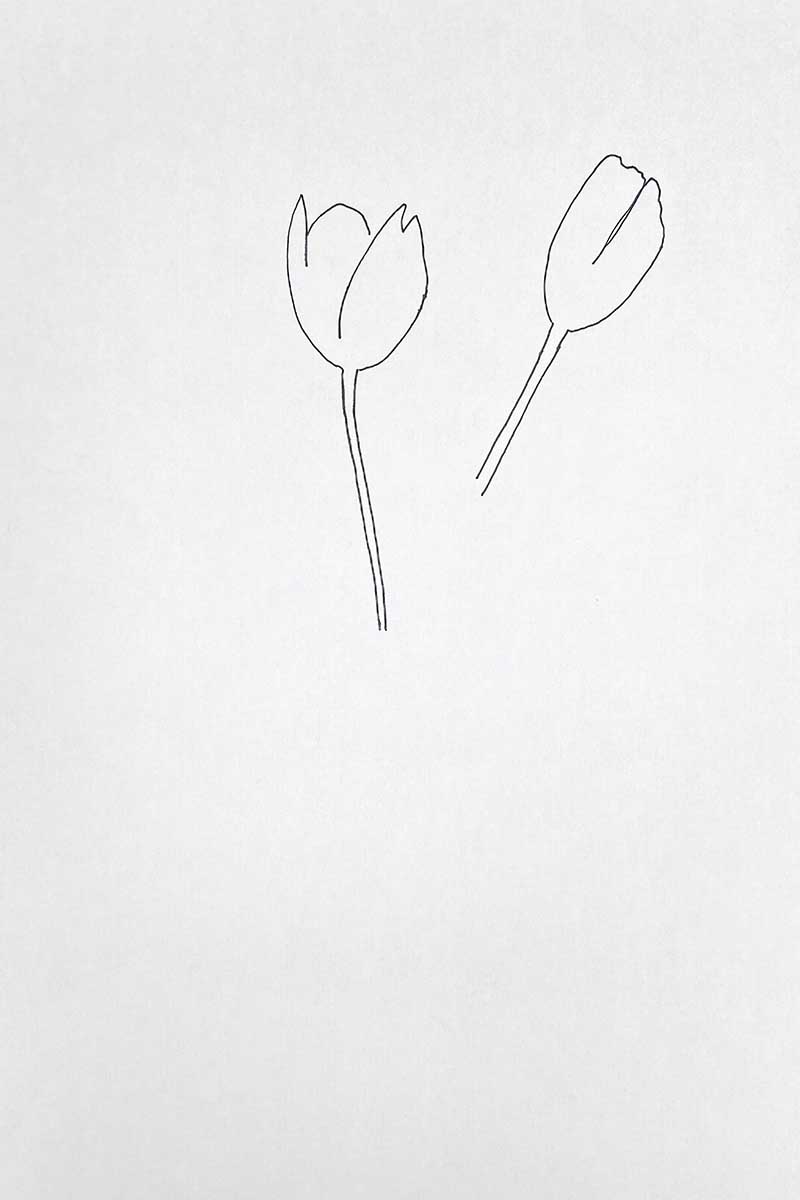
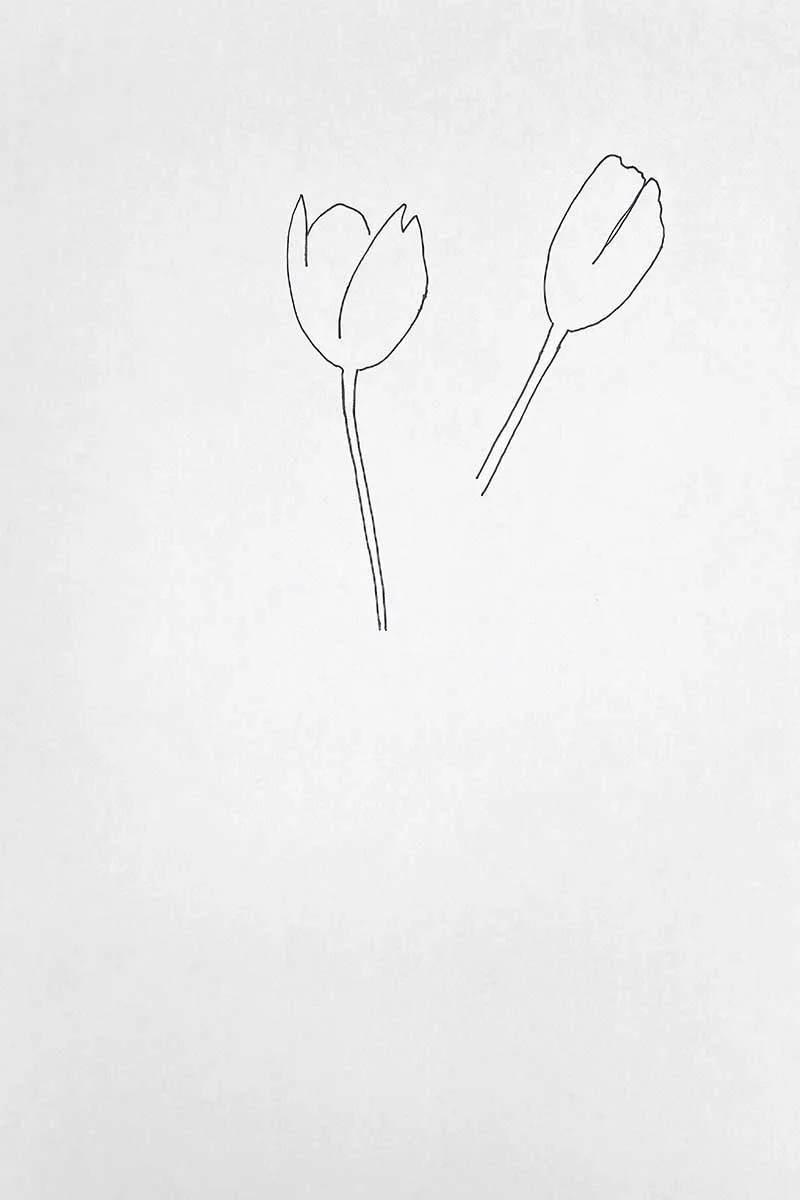
Steps 1 & 2: First, draw the outline and tulip petals of the flower head. These are the side petals with a slight curve with pointy tips. If you are adding colour, use a hard pencil lightly so that it won’t smudge when you add it later.
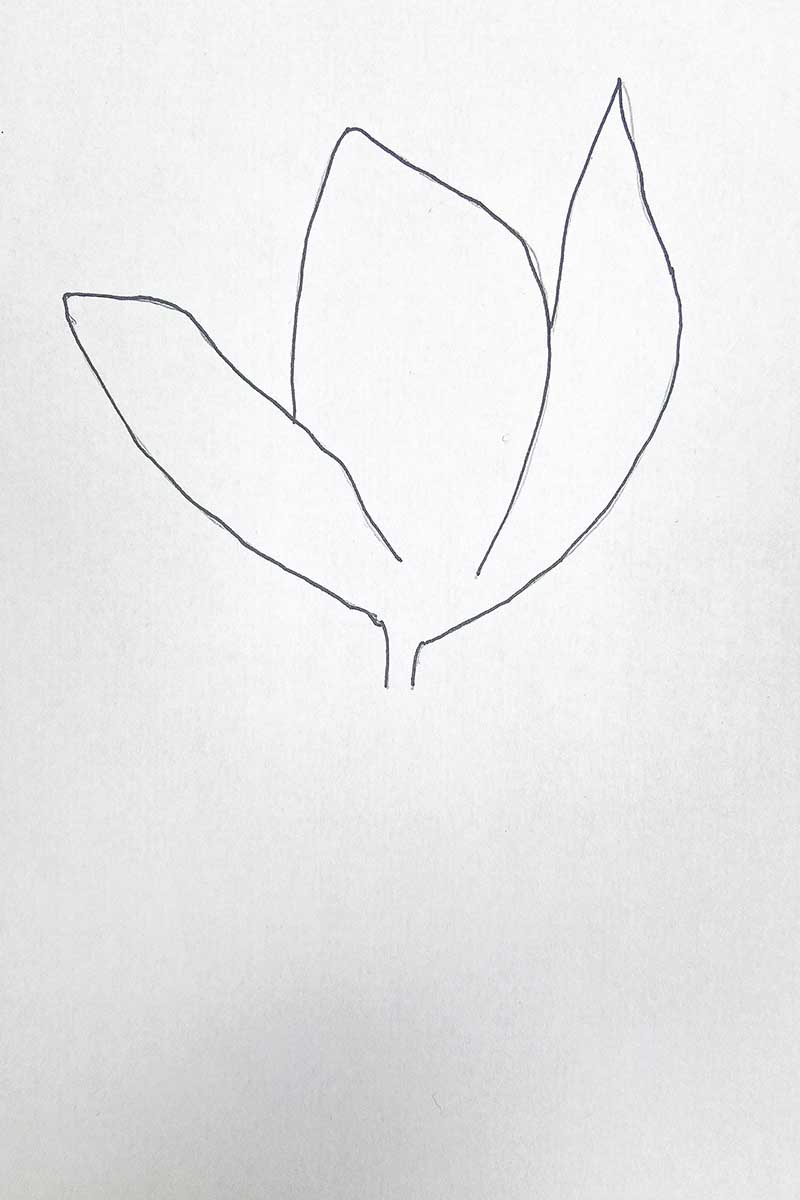
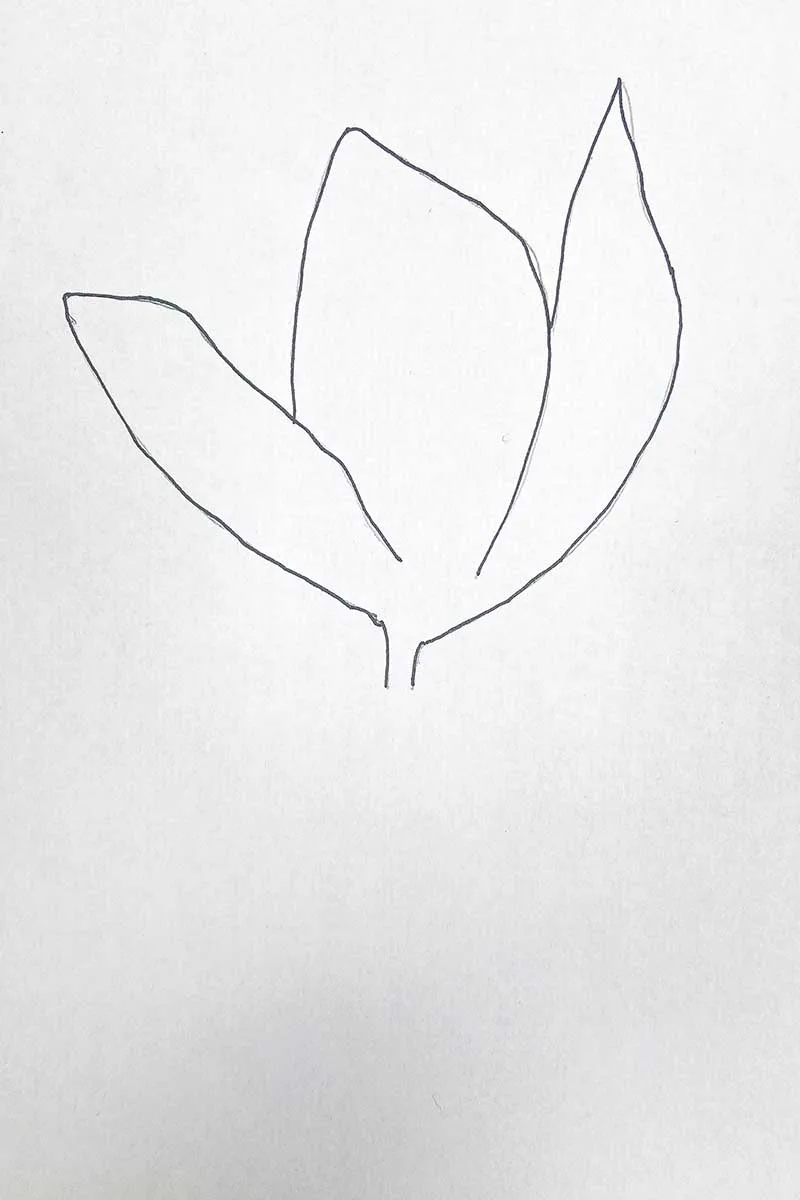
Below, I then drew the middle petals, just picking above the outer flower petals.
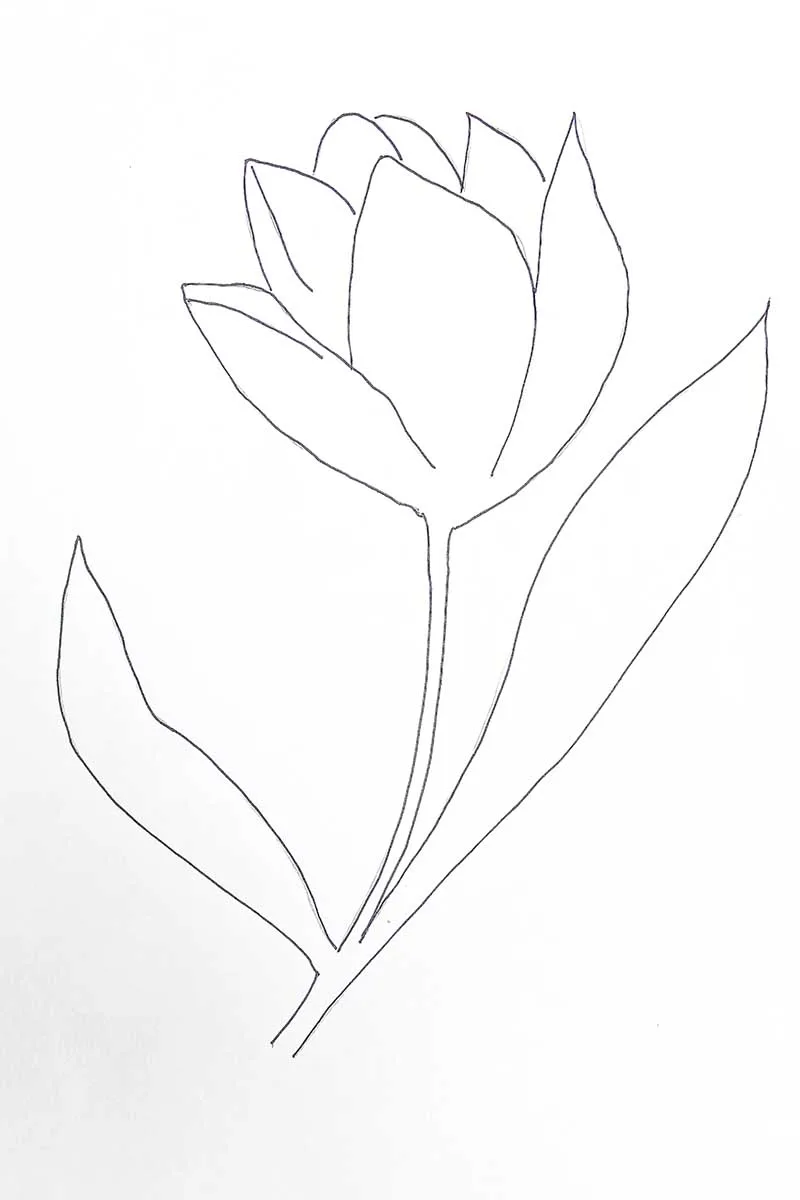
Step 3: Draw the tulip’s stem and leaves from the bottom of the flower.

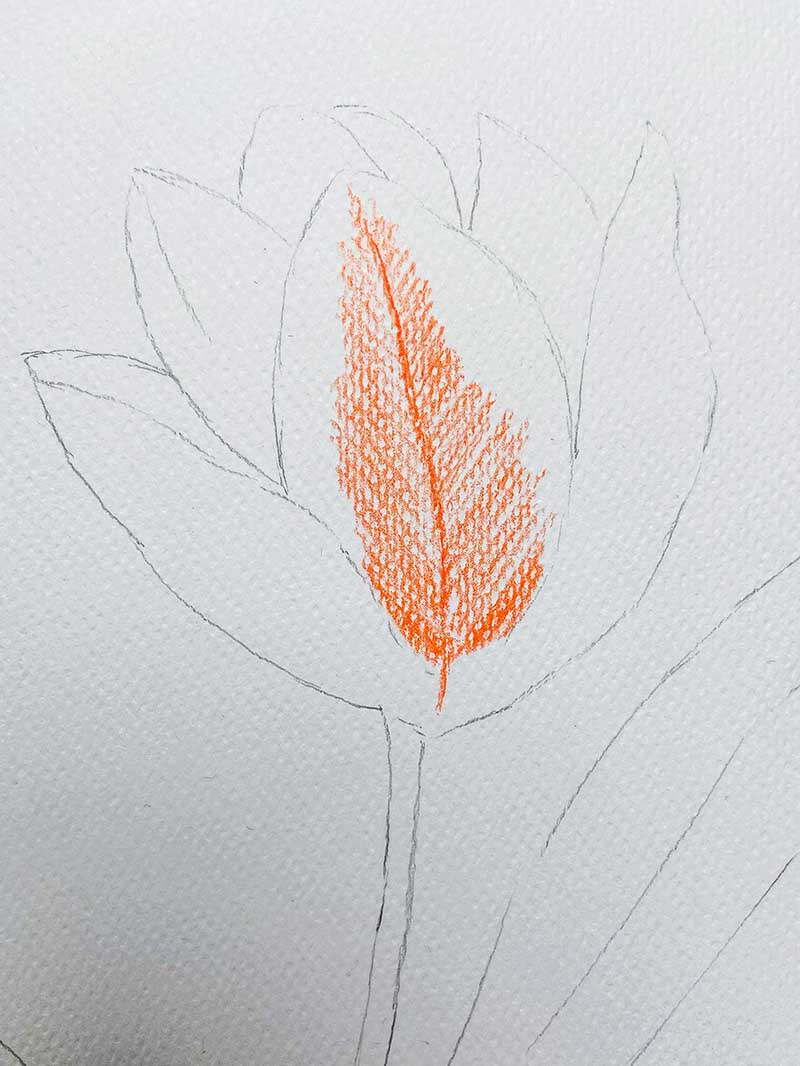
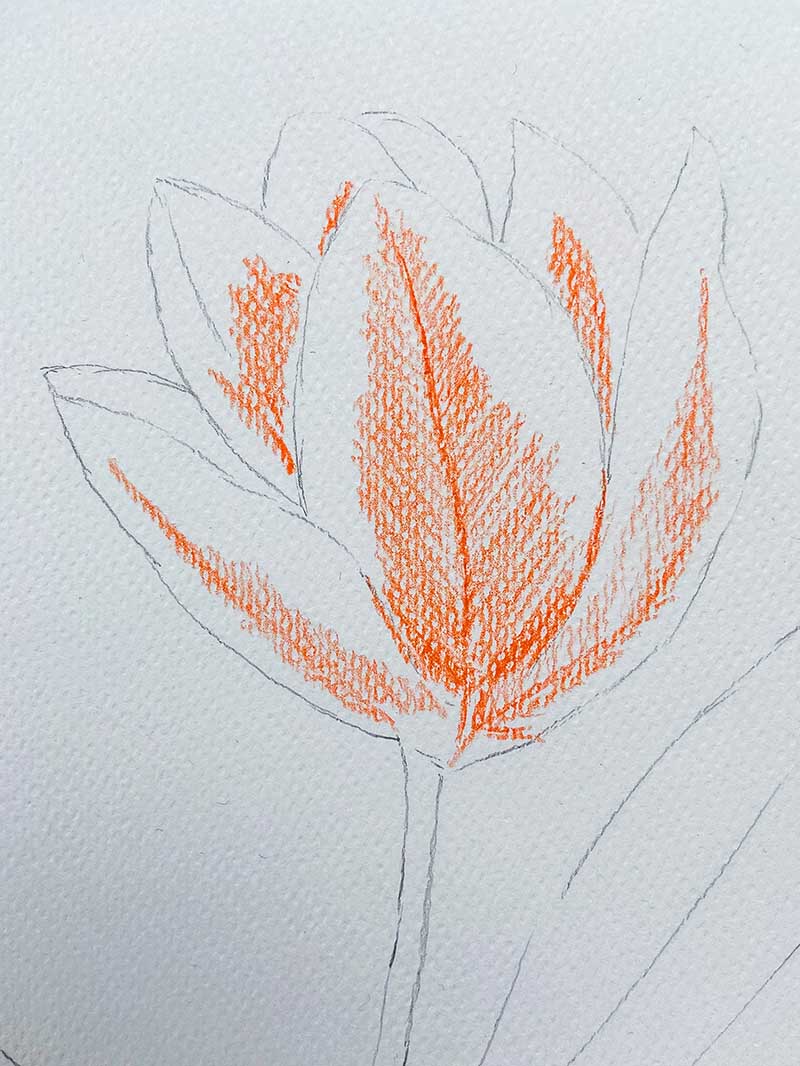
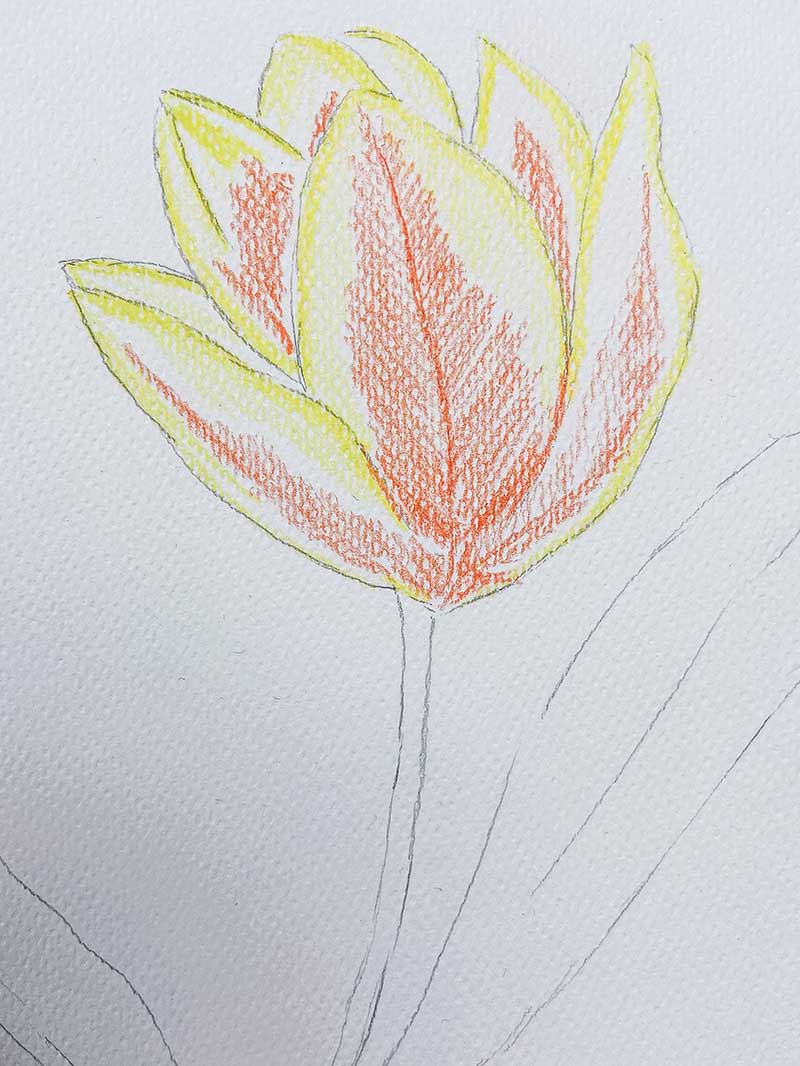
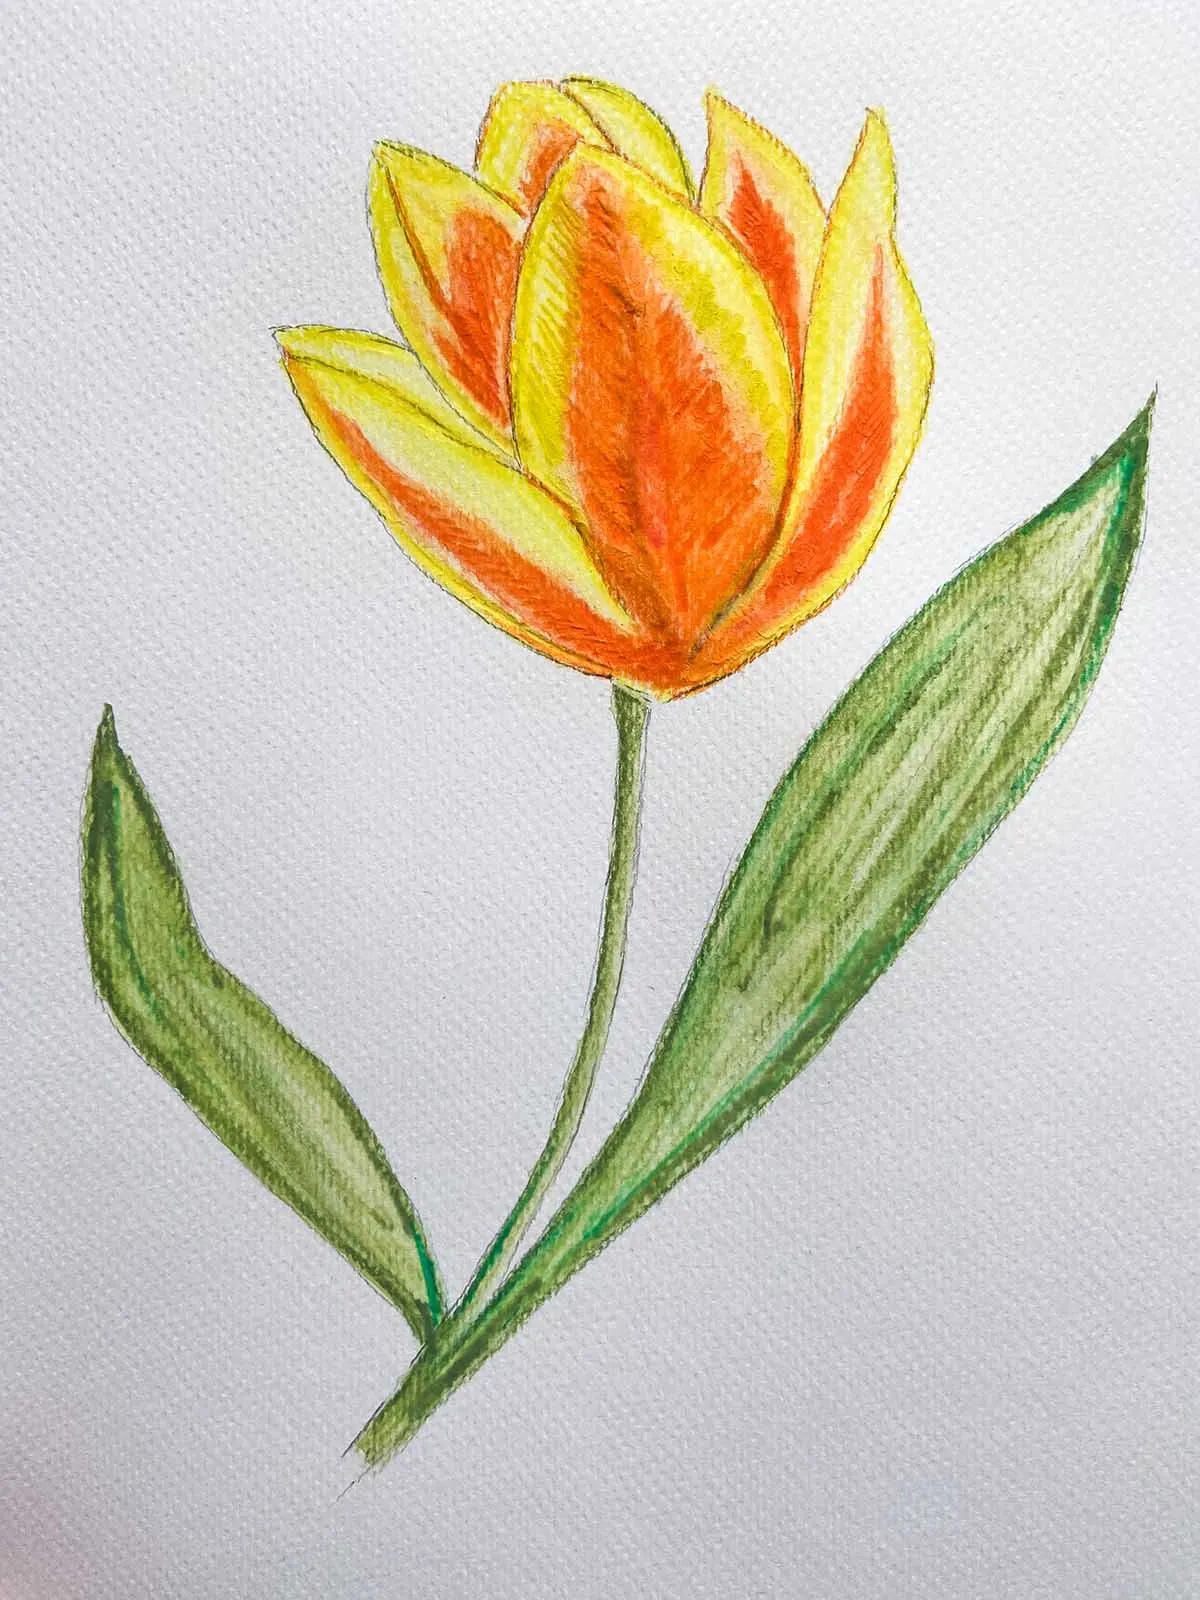
Steps 4, 5, & 6: I used a watercolour pencil to add orange to the centre of the petals in a feather shape. There are many different ways to activate watercolour pencils. You can wet the nib, use a paintbrush, or use it like a colouring pencil. Here, I used it like a colouring pencil to use a wet paintbrush to smooth and blend the colours later.


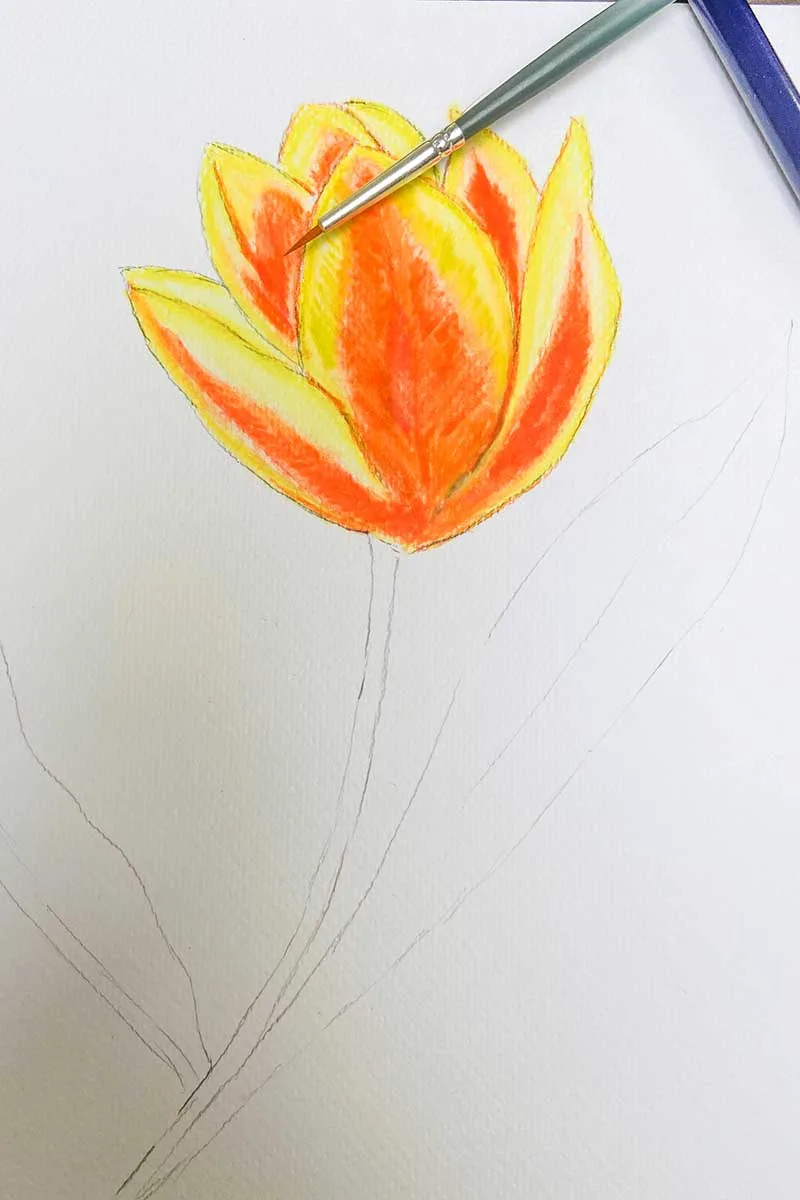
Steps 7 & 8: I used a paintbrush to blend the colours on individual petals. It is better to blend from light to dark colours, leave a slight gap between each colour, and always use clean water on the paintbrush to blend. However, there are many different ways to add colour; just choose your favourite way.


Drawing Tulips In A Vase
How to draw a dark purple tulip that in a certain light can even appear black. They are a sophisticated tulip masterpiece and they also have great names- my favourite is “Queen of the Night”. Alexandre Dumas wrote a novel –La Tulipe Noire about a prisoner who develops a black tulip with the help of his jailer’s daughter. The tulip was as “dark as the ink with which I am writing to you”.
This is an easy drawing guide uisng watercolour pencils for two dark purple tulips in a bottle vase.
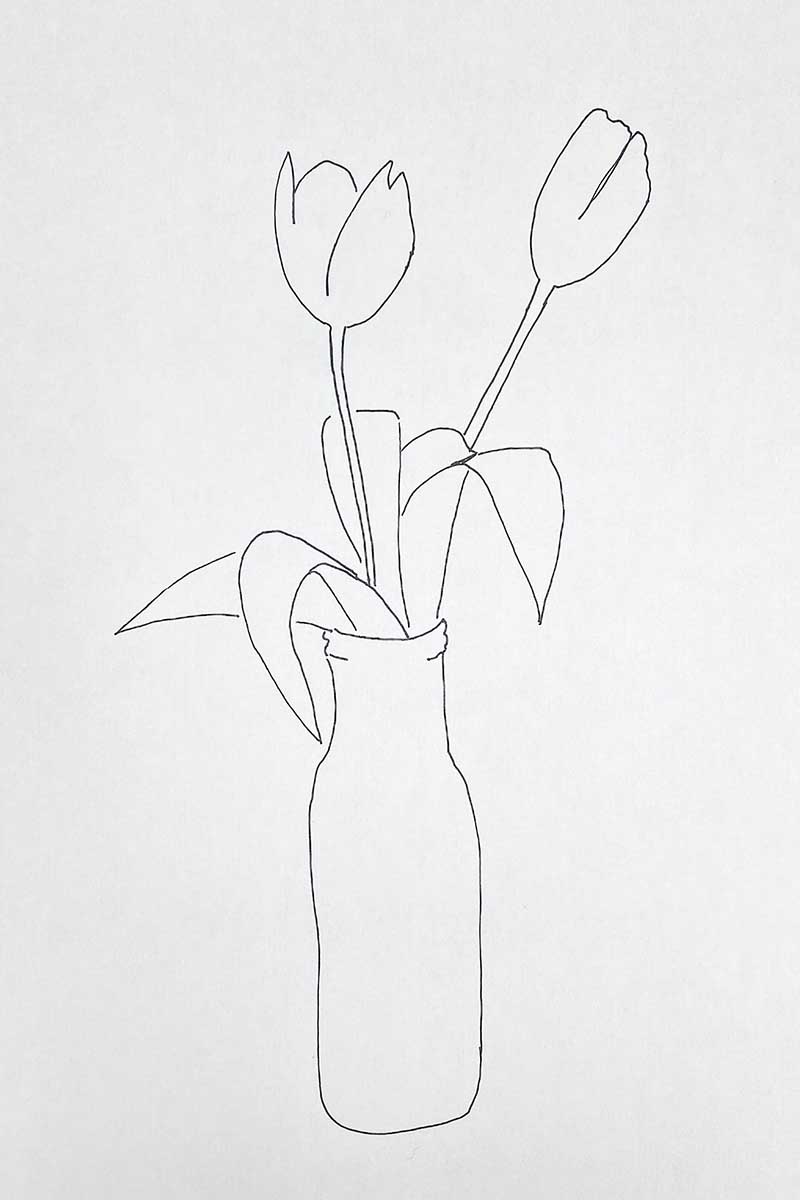
Step 1: Start by drawing two tulips heads with stems at the base of the flower. I like to start my drawing with placing the tulip heads on the piece of paper first as compositionally this is the most important part and focal point of my drawing.
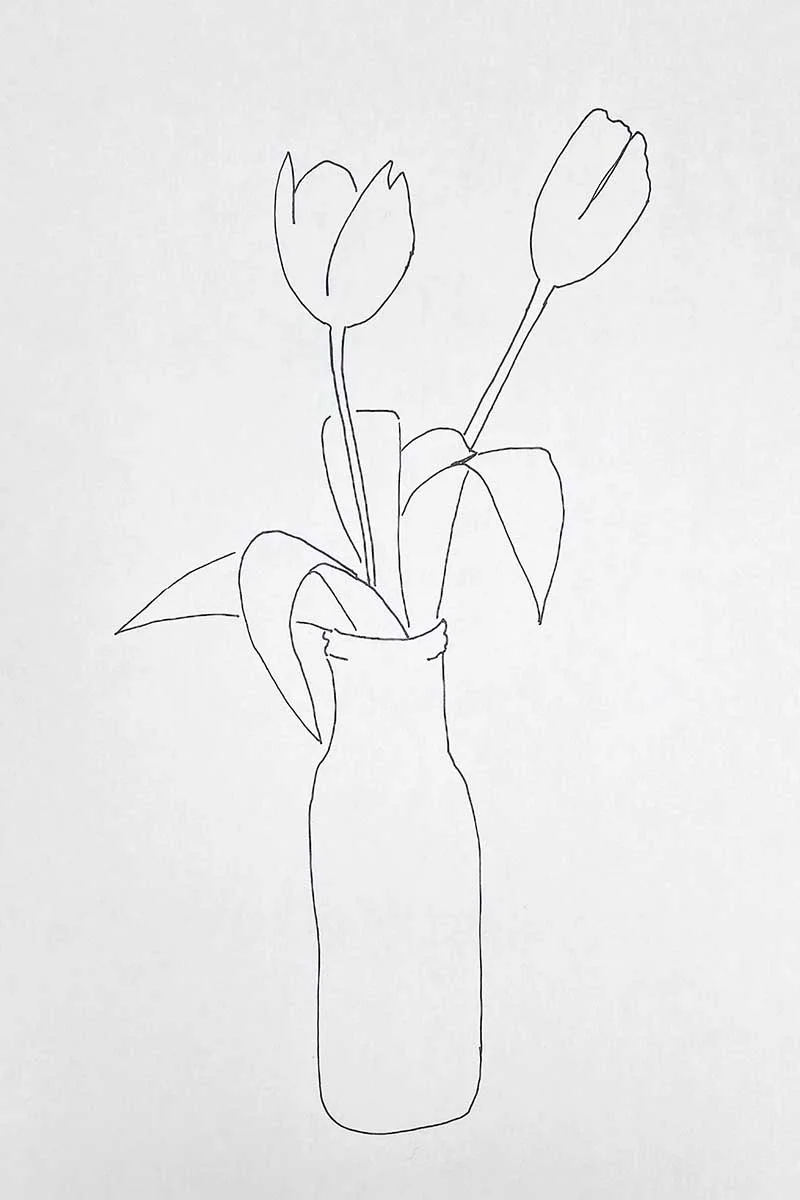
Step 2: Complete your outline of the leaves, the bottom of the stem and the vase.
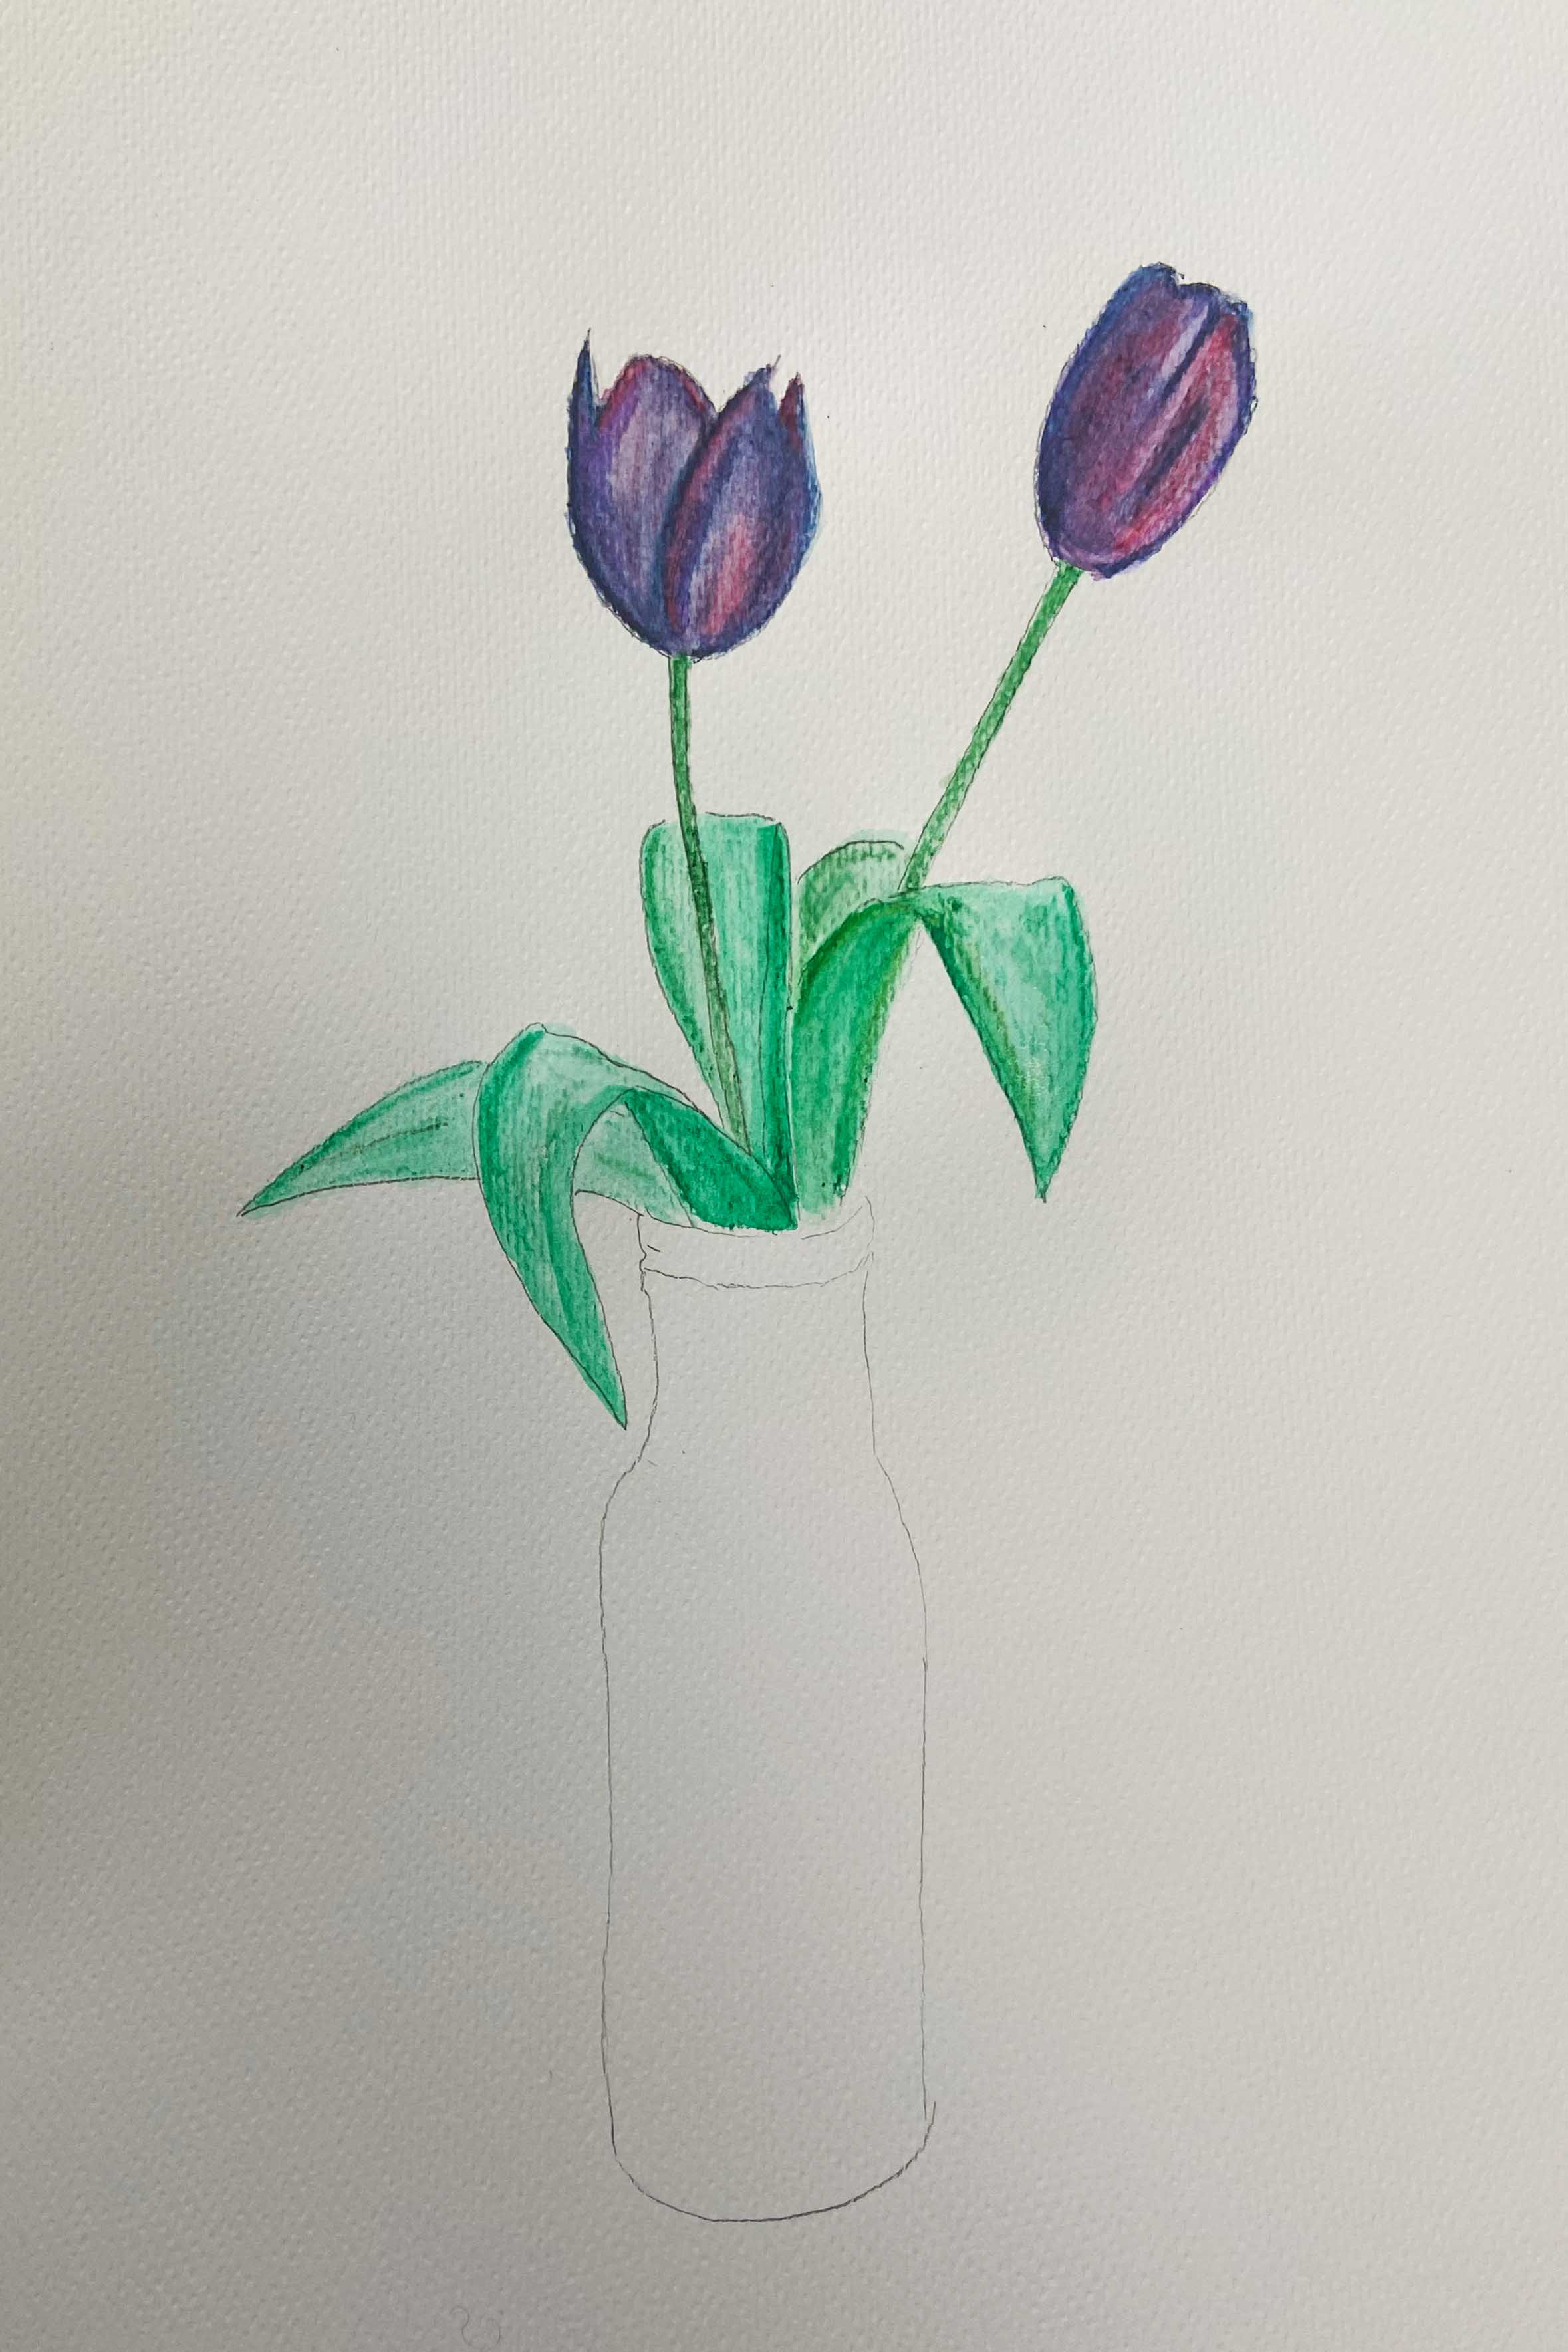
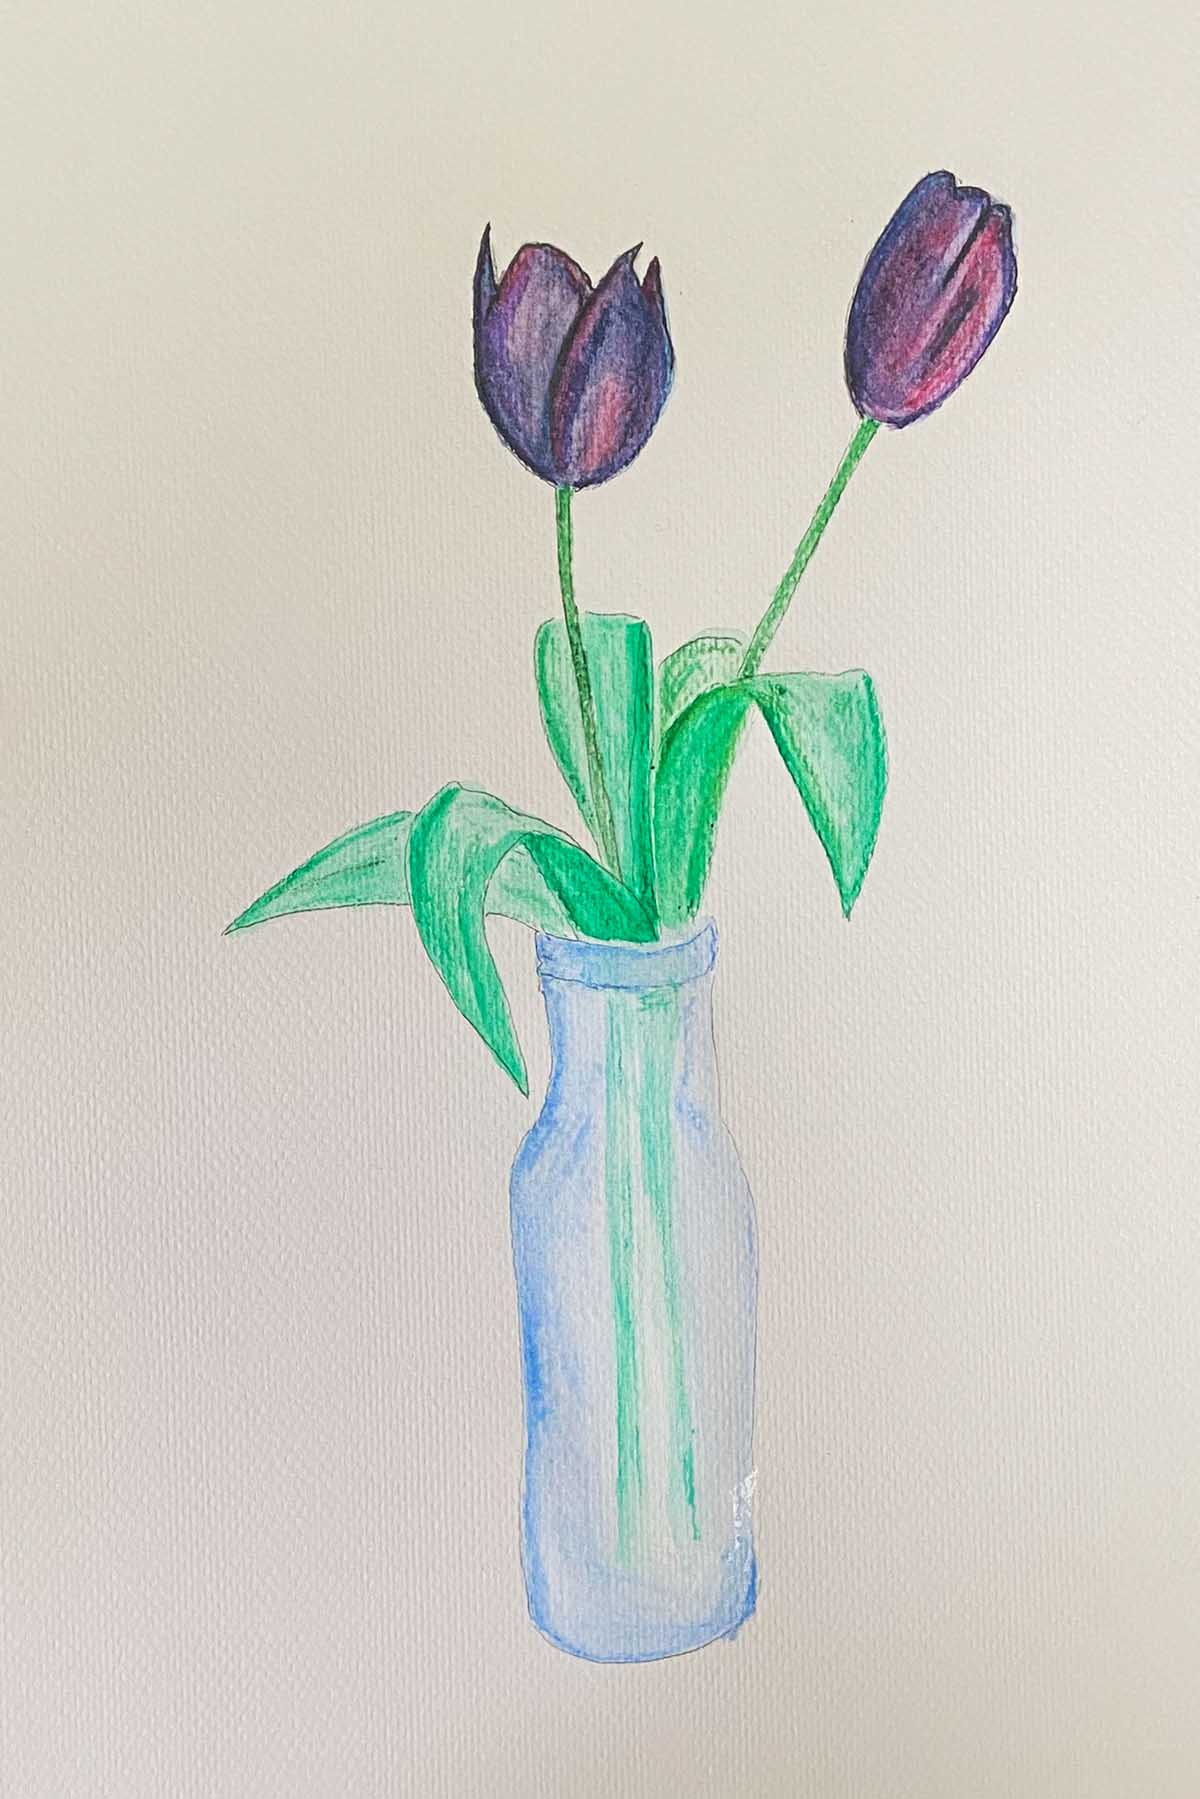
Steps 3 & 4: Now add colour here I used watercolour pencils in the same method as tutorial one. I like to experiment with different tones and layers of colour so here I tried blending red with a dark blue. I used a simple light blue wash for the glass bottle as it has a nice translucency.


Red Tulips Growing
For this tutorial I went for the classic red tulips, which are all over my local park at the moment, and they just look like lollipops of colour dancing in the wind.
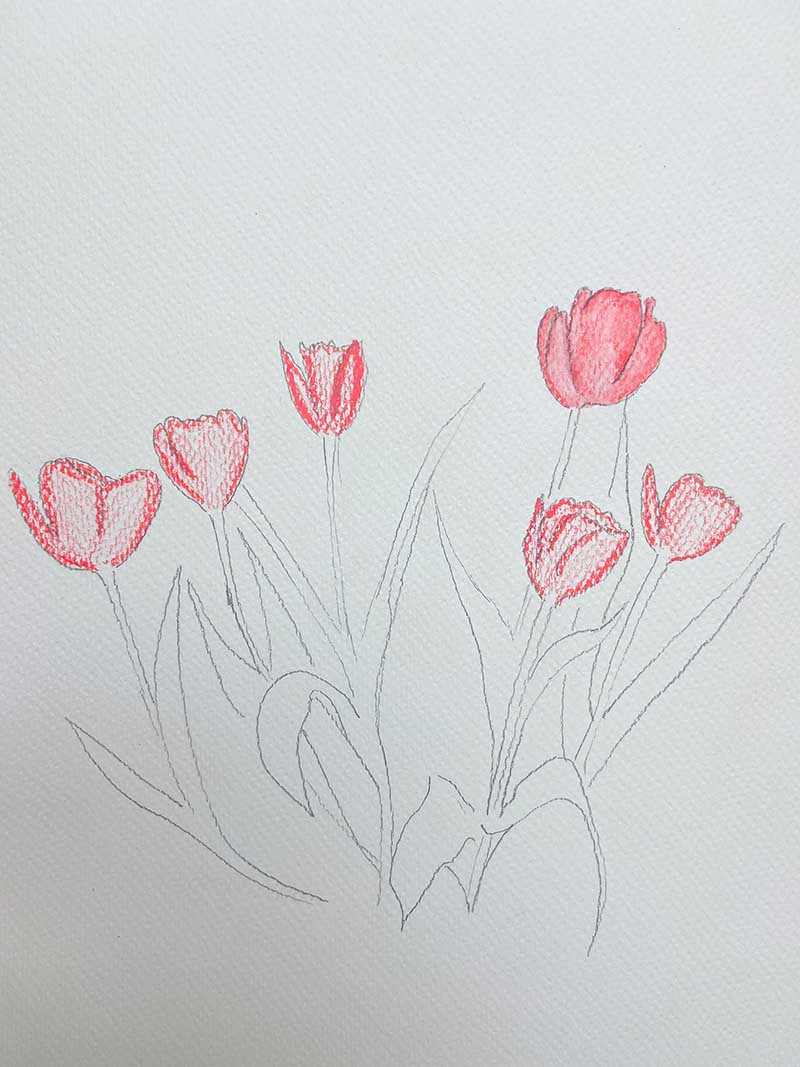
Step 1: Start by drawing your tulip heads and stems here I have drawn six but you can add as many as you like. Use a curved line for the outside petals and wavy lines on the top of the petals.
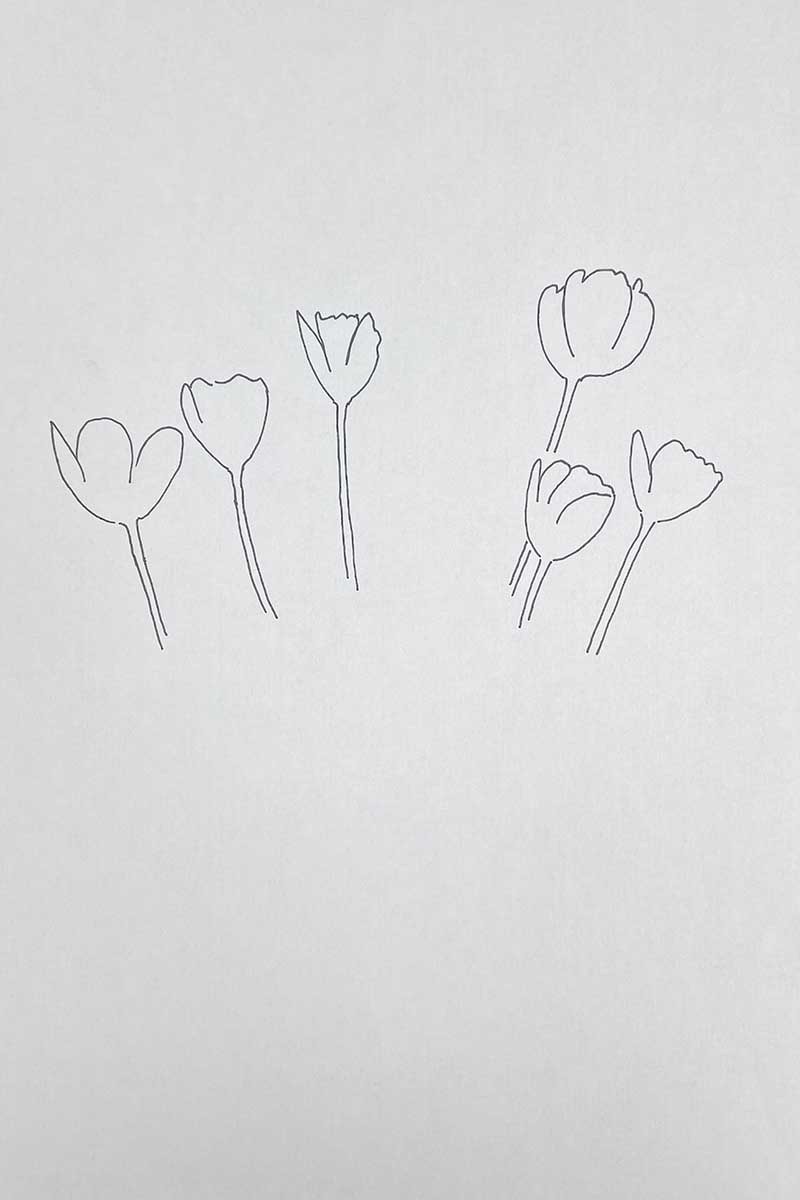
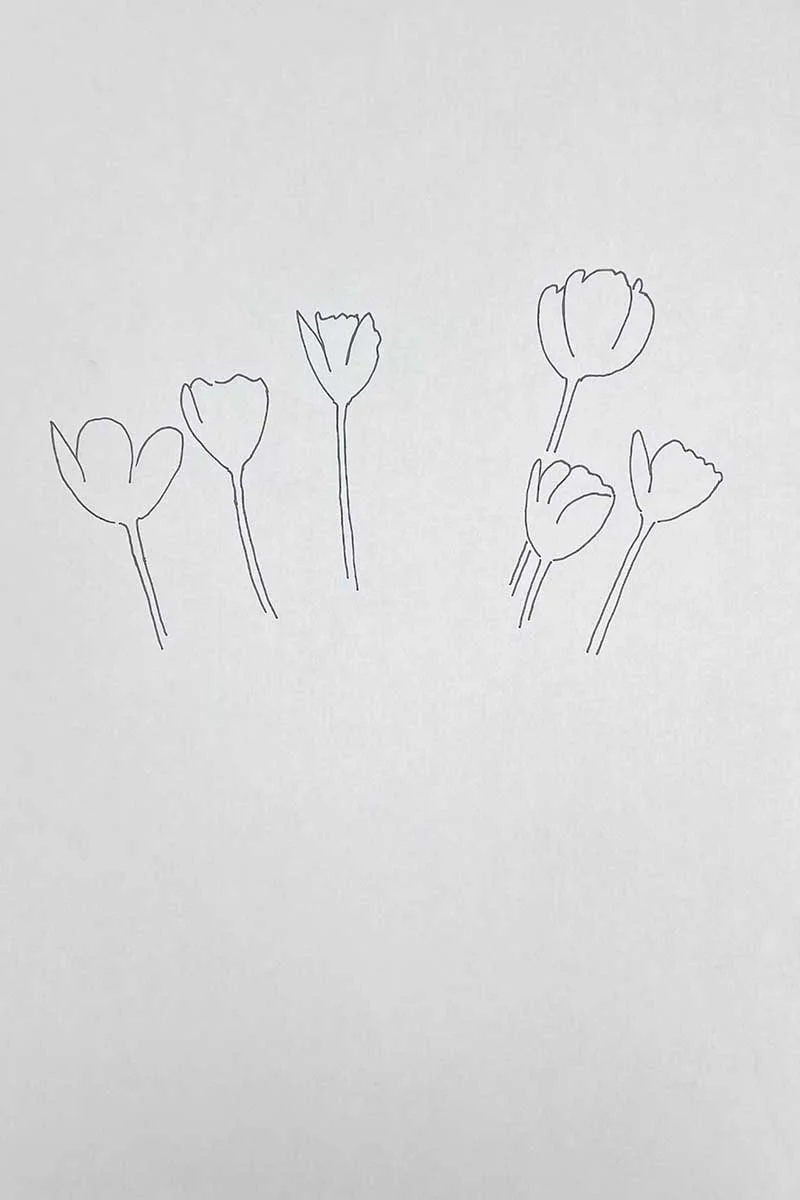
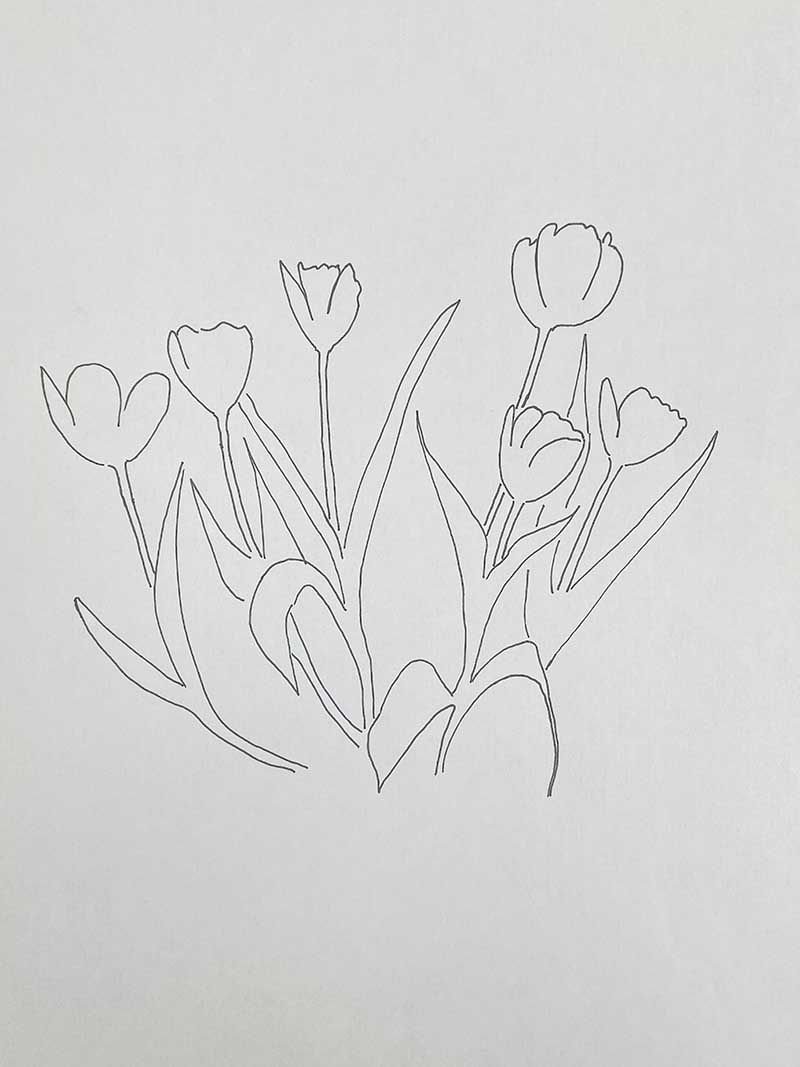
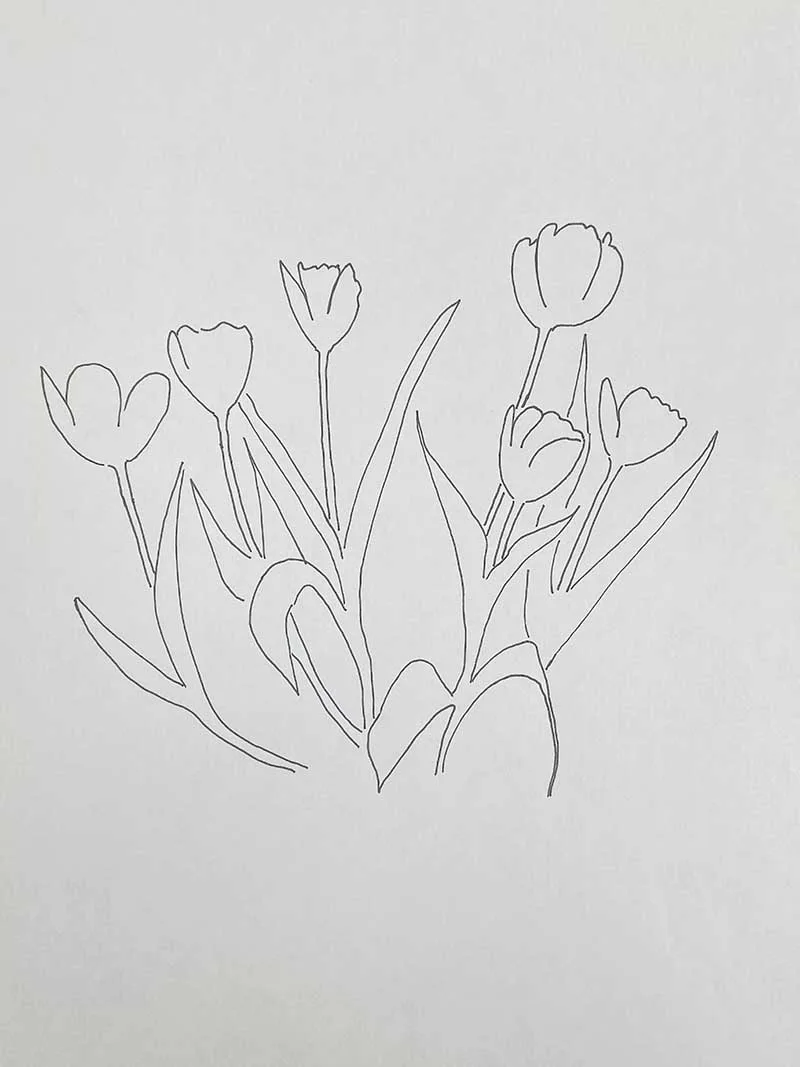
Step 2: Complete the outline of your drawing by adding in the extra detail of the leaves.
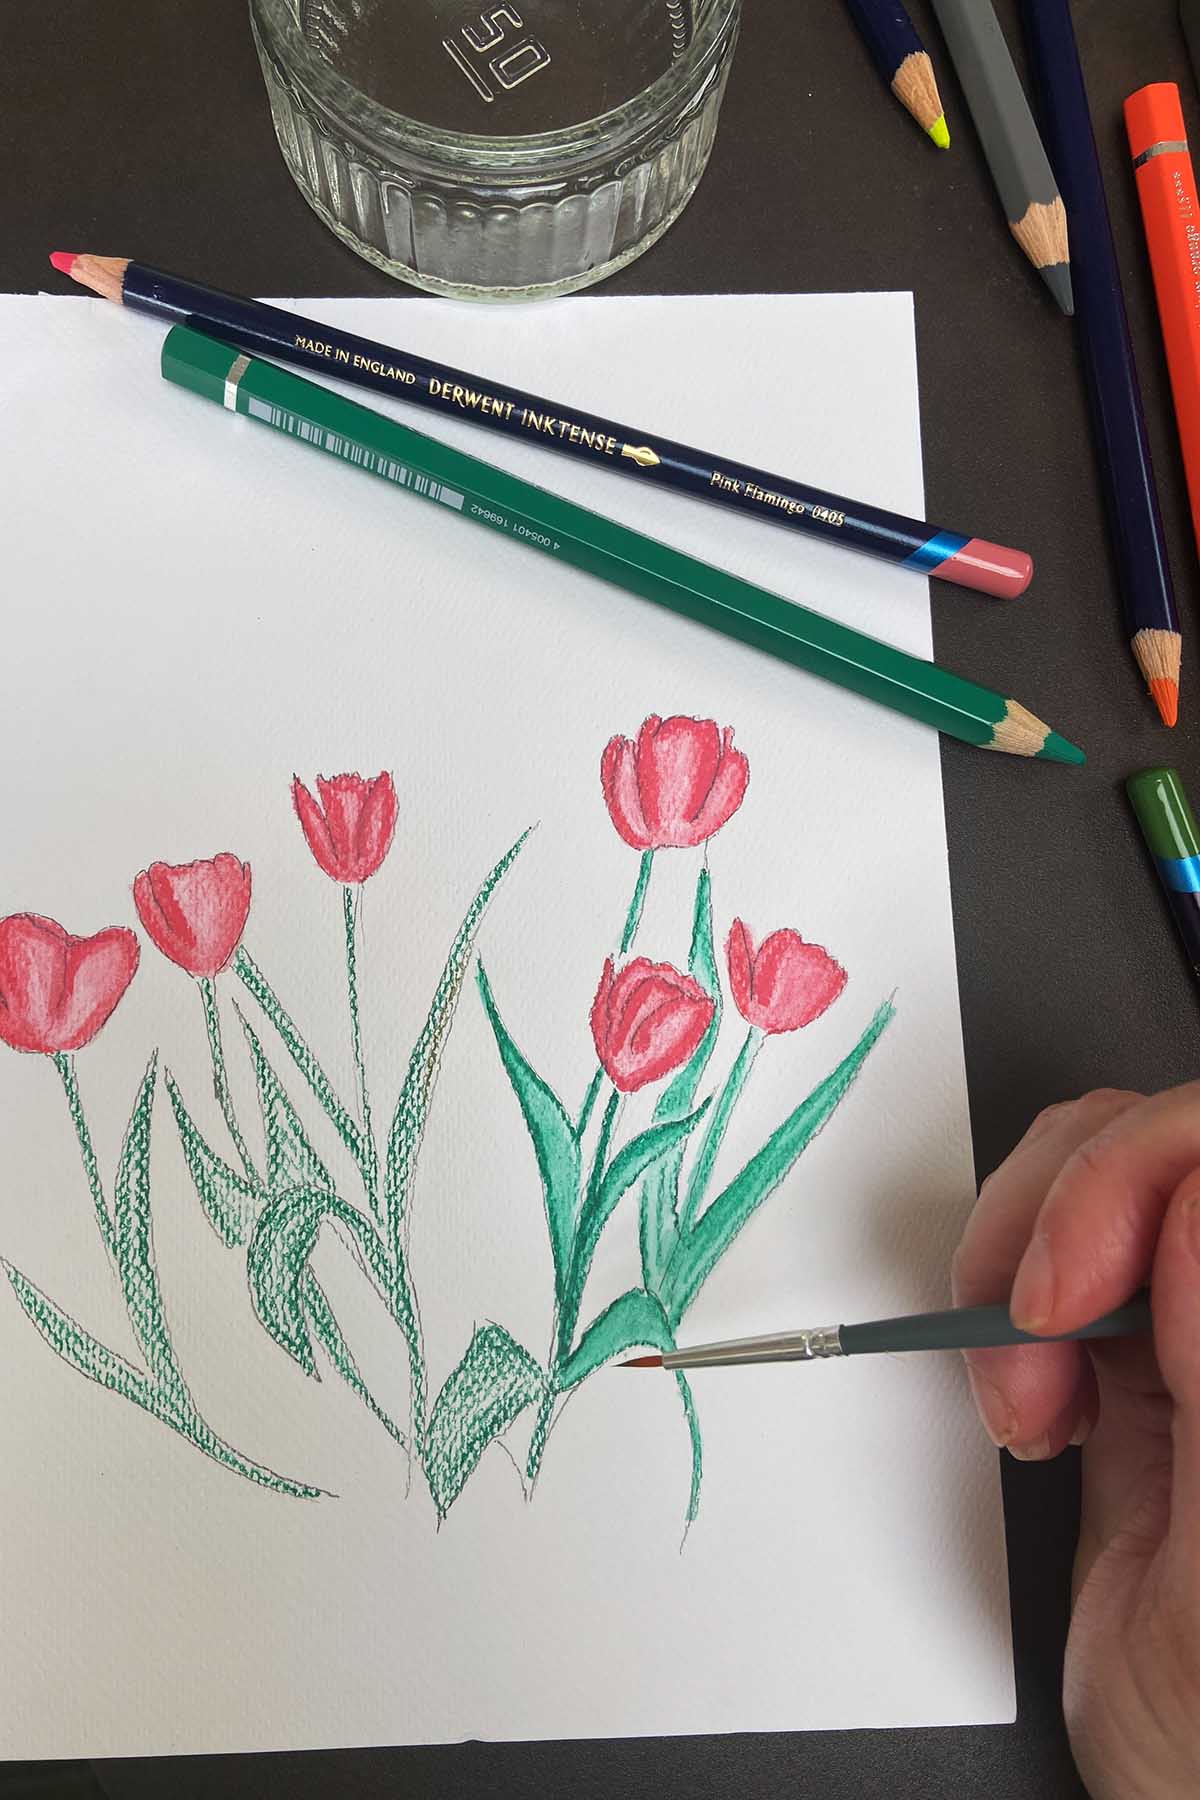
Step 3: Now add colour here I started with colouring the tulip heads with watercolour pencils using the same techniques as in the tutorials above. If you use a thicker line on the edge of the petals this will help create definition and shading when blending with water later.

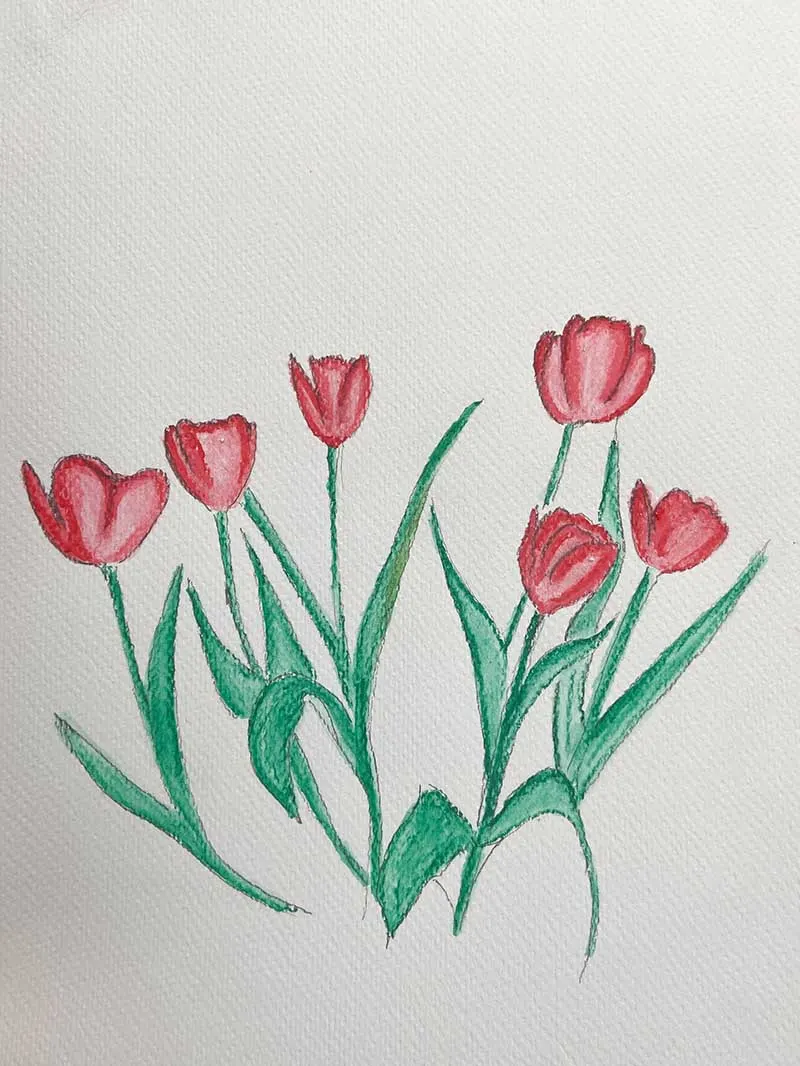
Steps 4: Continue to add and blend colour. One tip when experimenting with watercolour pencils or paints is to create a swatch of all the colours you want to use on a separate piece of paper and experiment with blending techniques.


Tulip “Quebec”
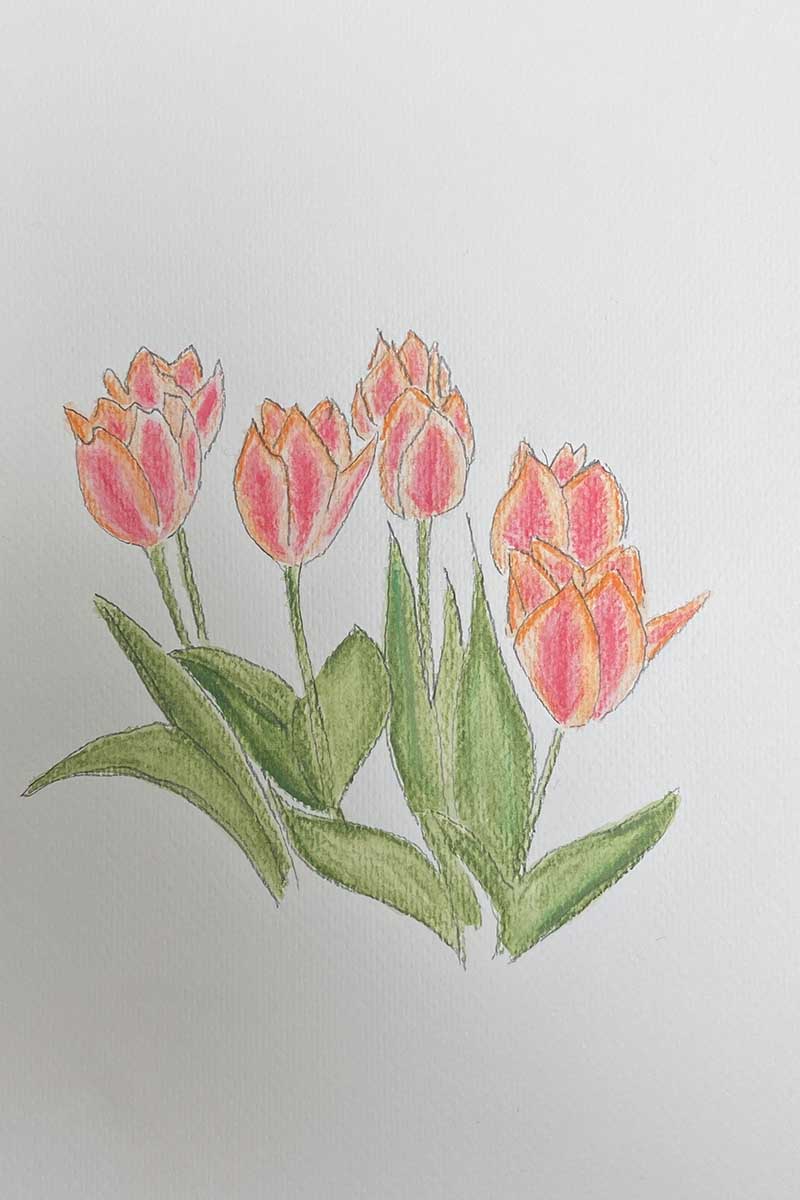
In my local park are these gorgeous two tone peach and creamy yellow tulips that have pointy petals like small crowns and look regal to me. They are called tulip “Quebec” and is a small bunch forming variety of tulip as they can have three or four flower heads per stem.
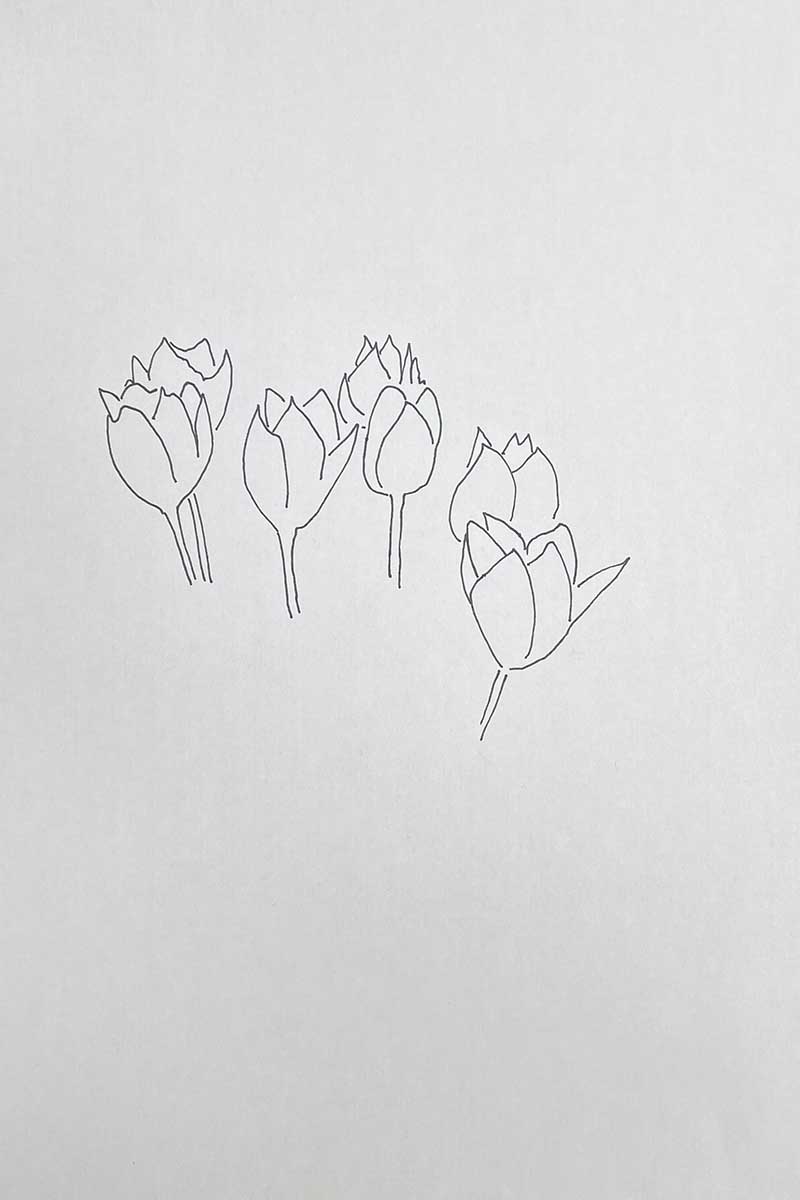
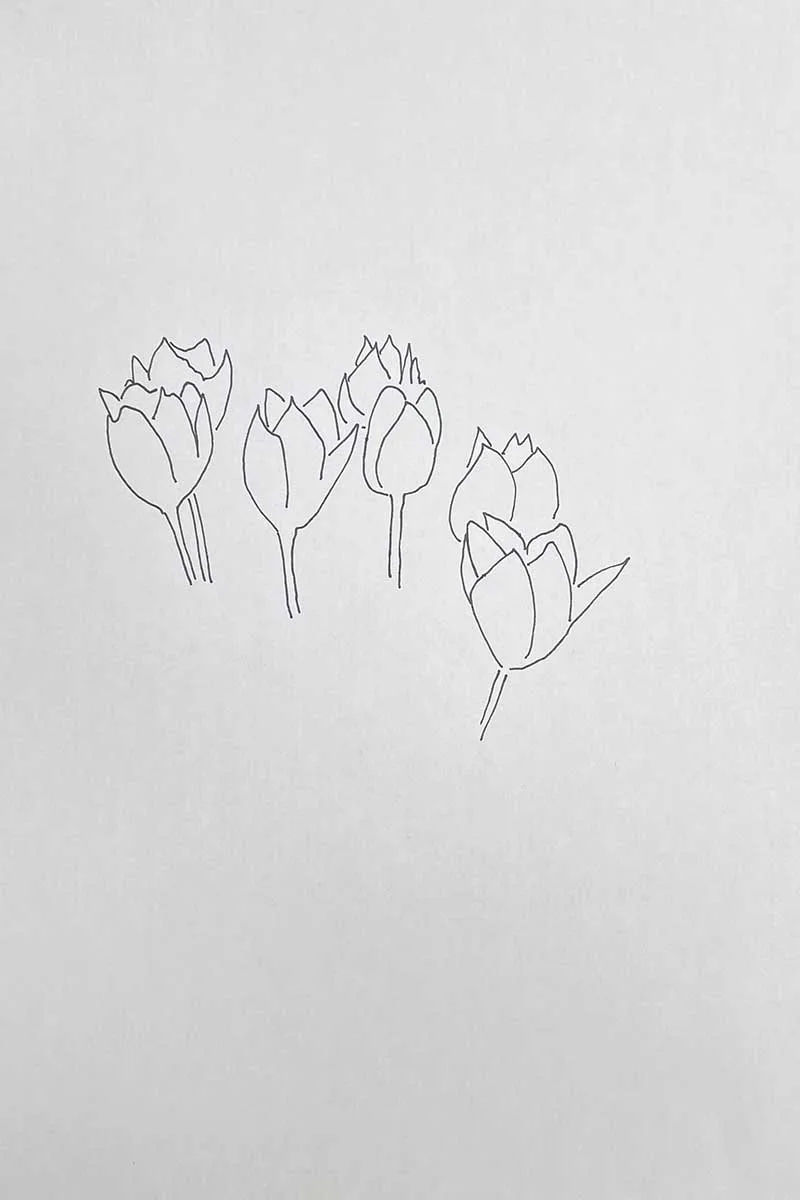
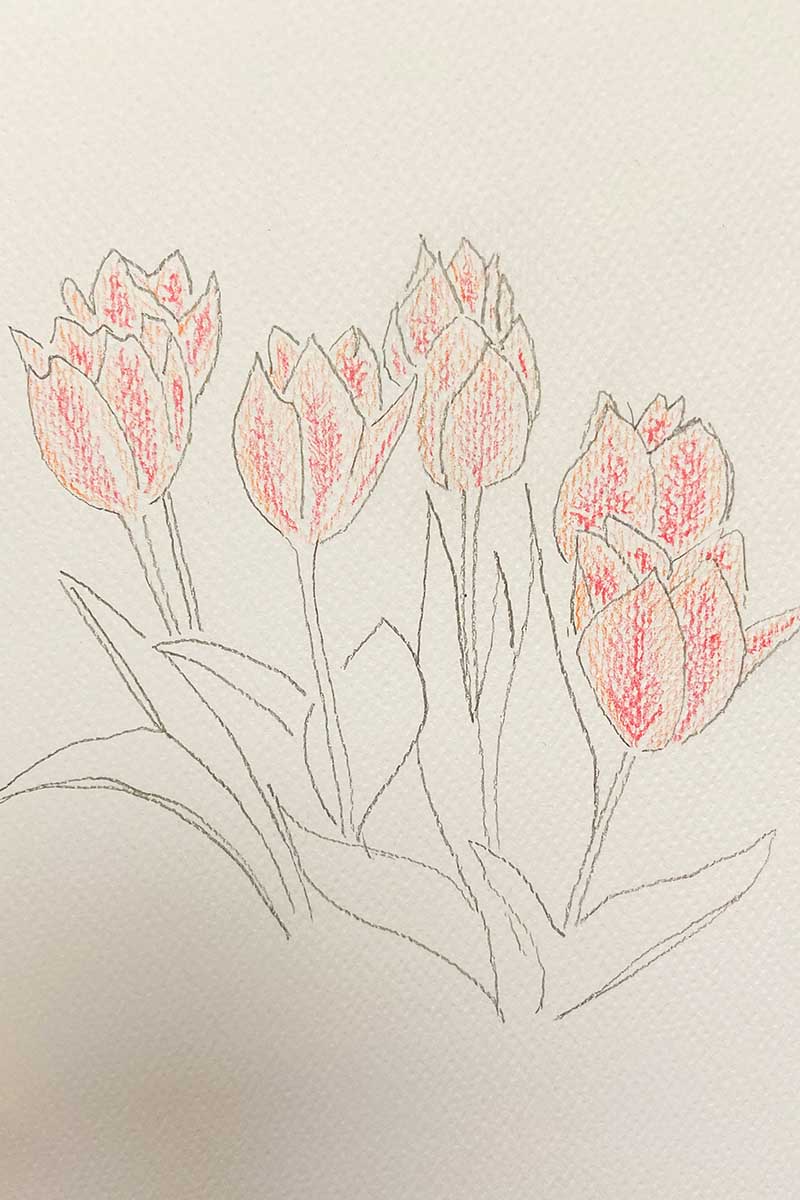
Step 1: Start by drawing your flower heads.
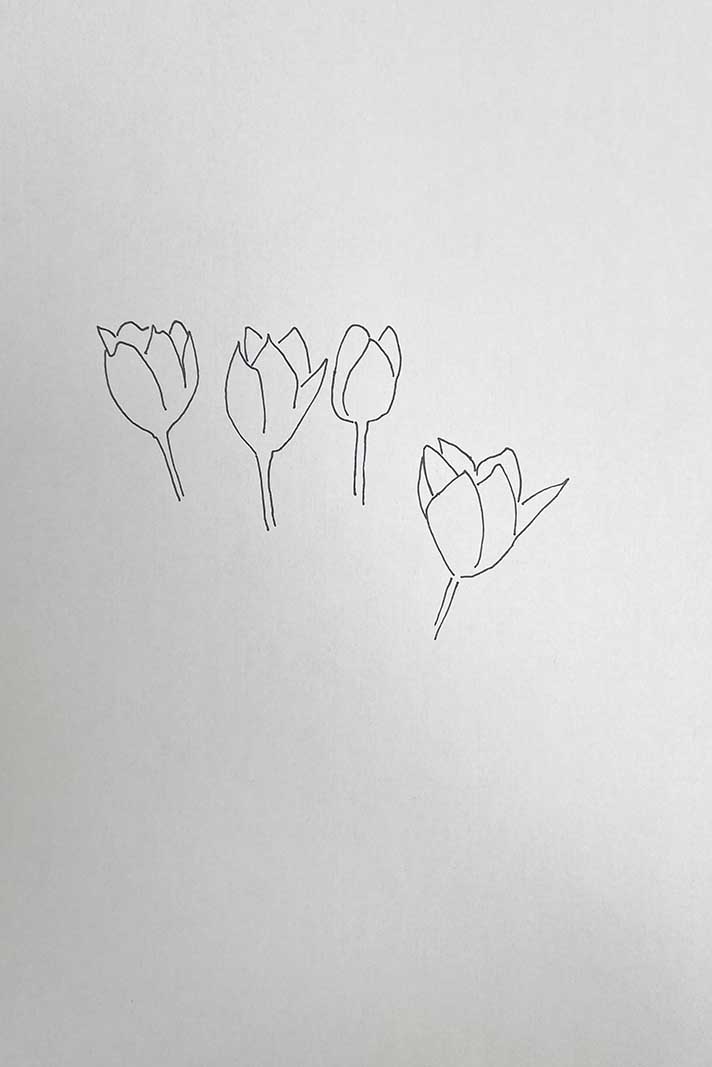

Step 2: As these are bunching tulips I have drawn extra flower heads behind my initial flower heads to give the impression of fullness. The Quebec tulip normally has six petals.
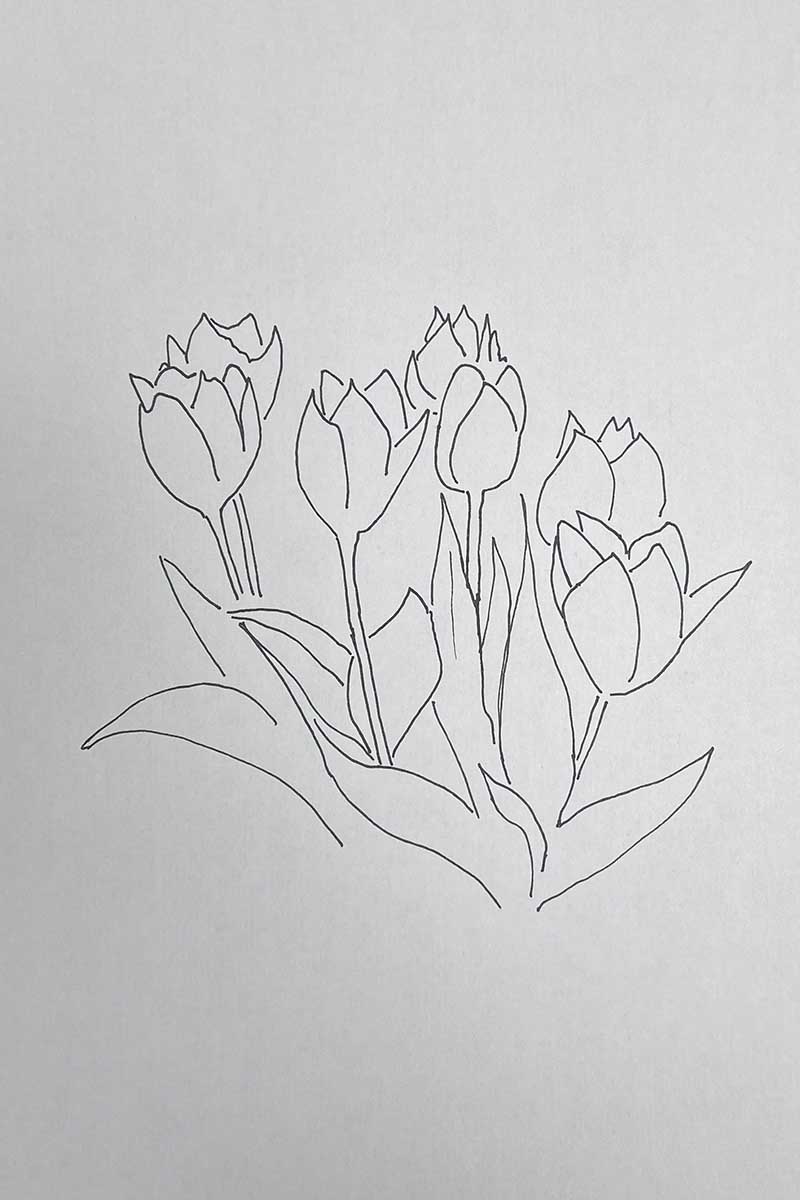
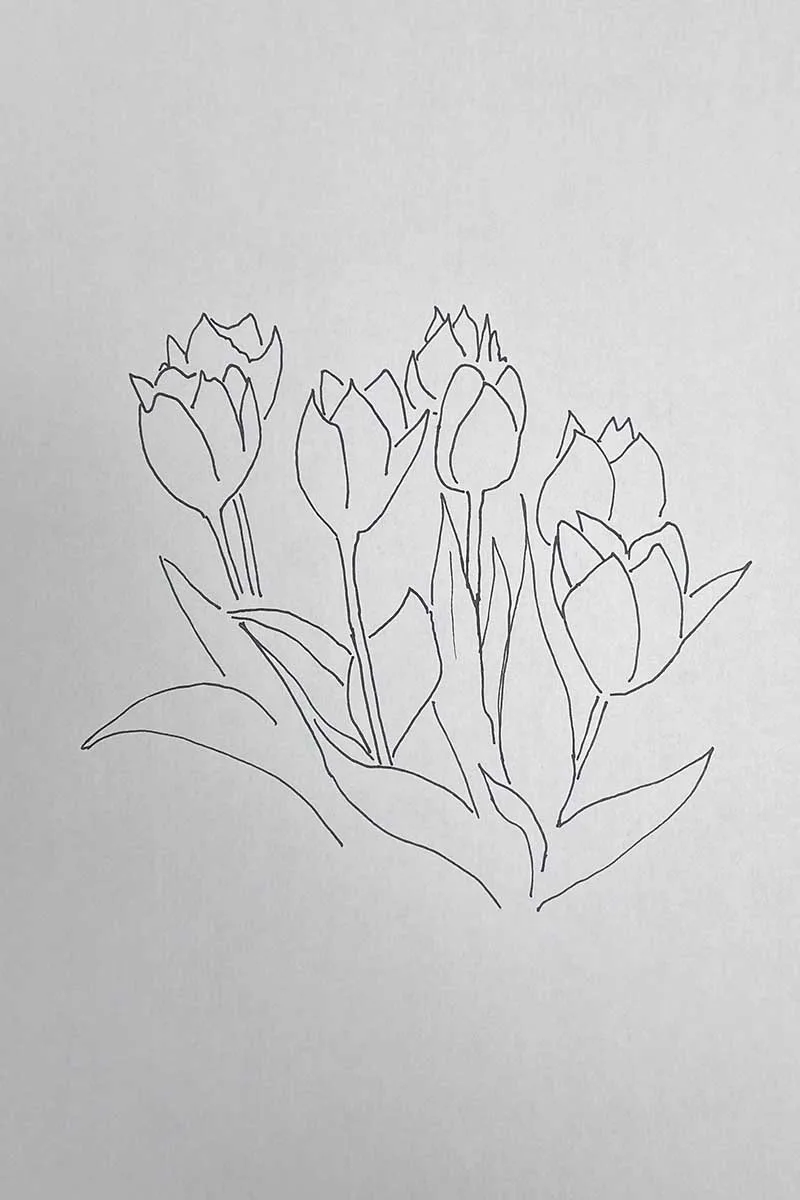
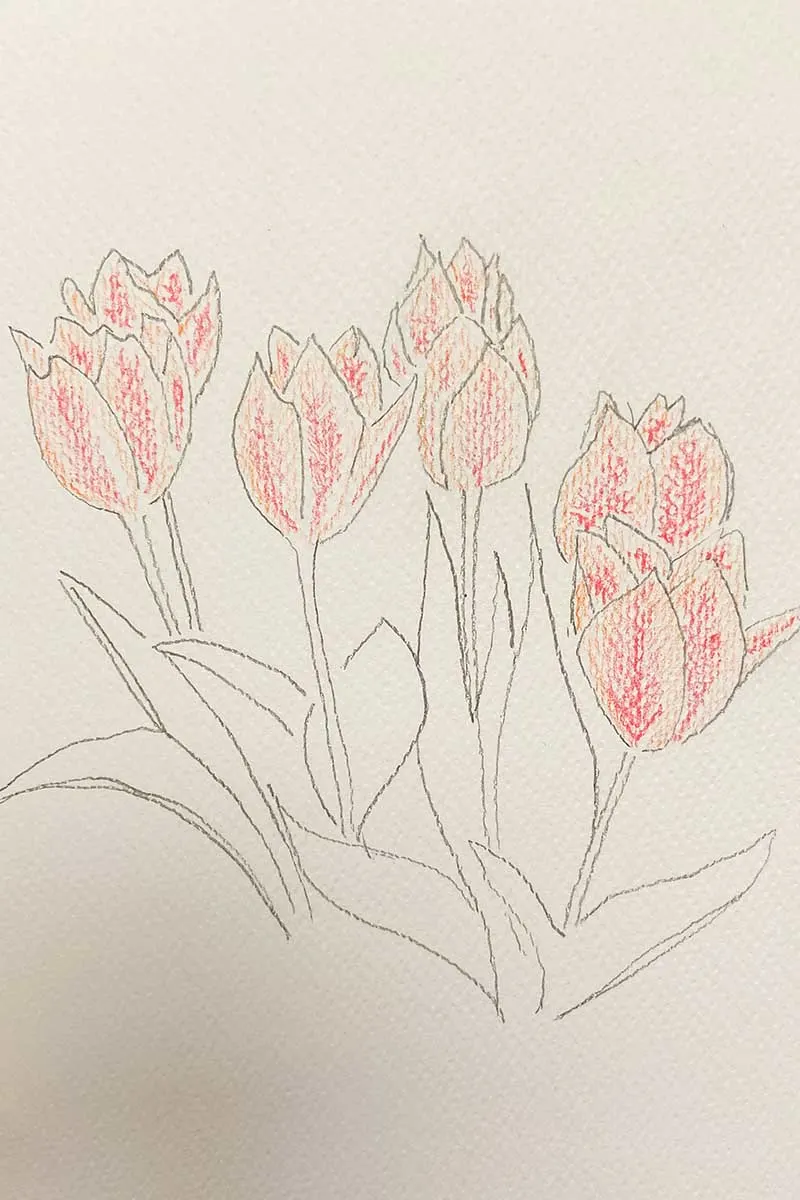
Step 3: Draw in the flower stems and leaves to complete the outline of your drawing.
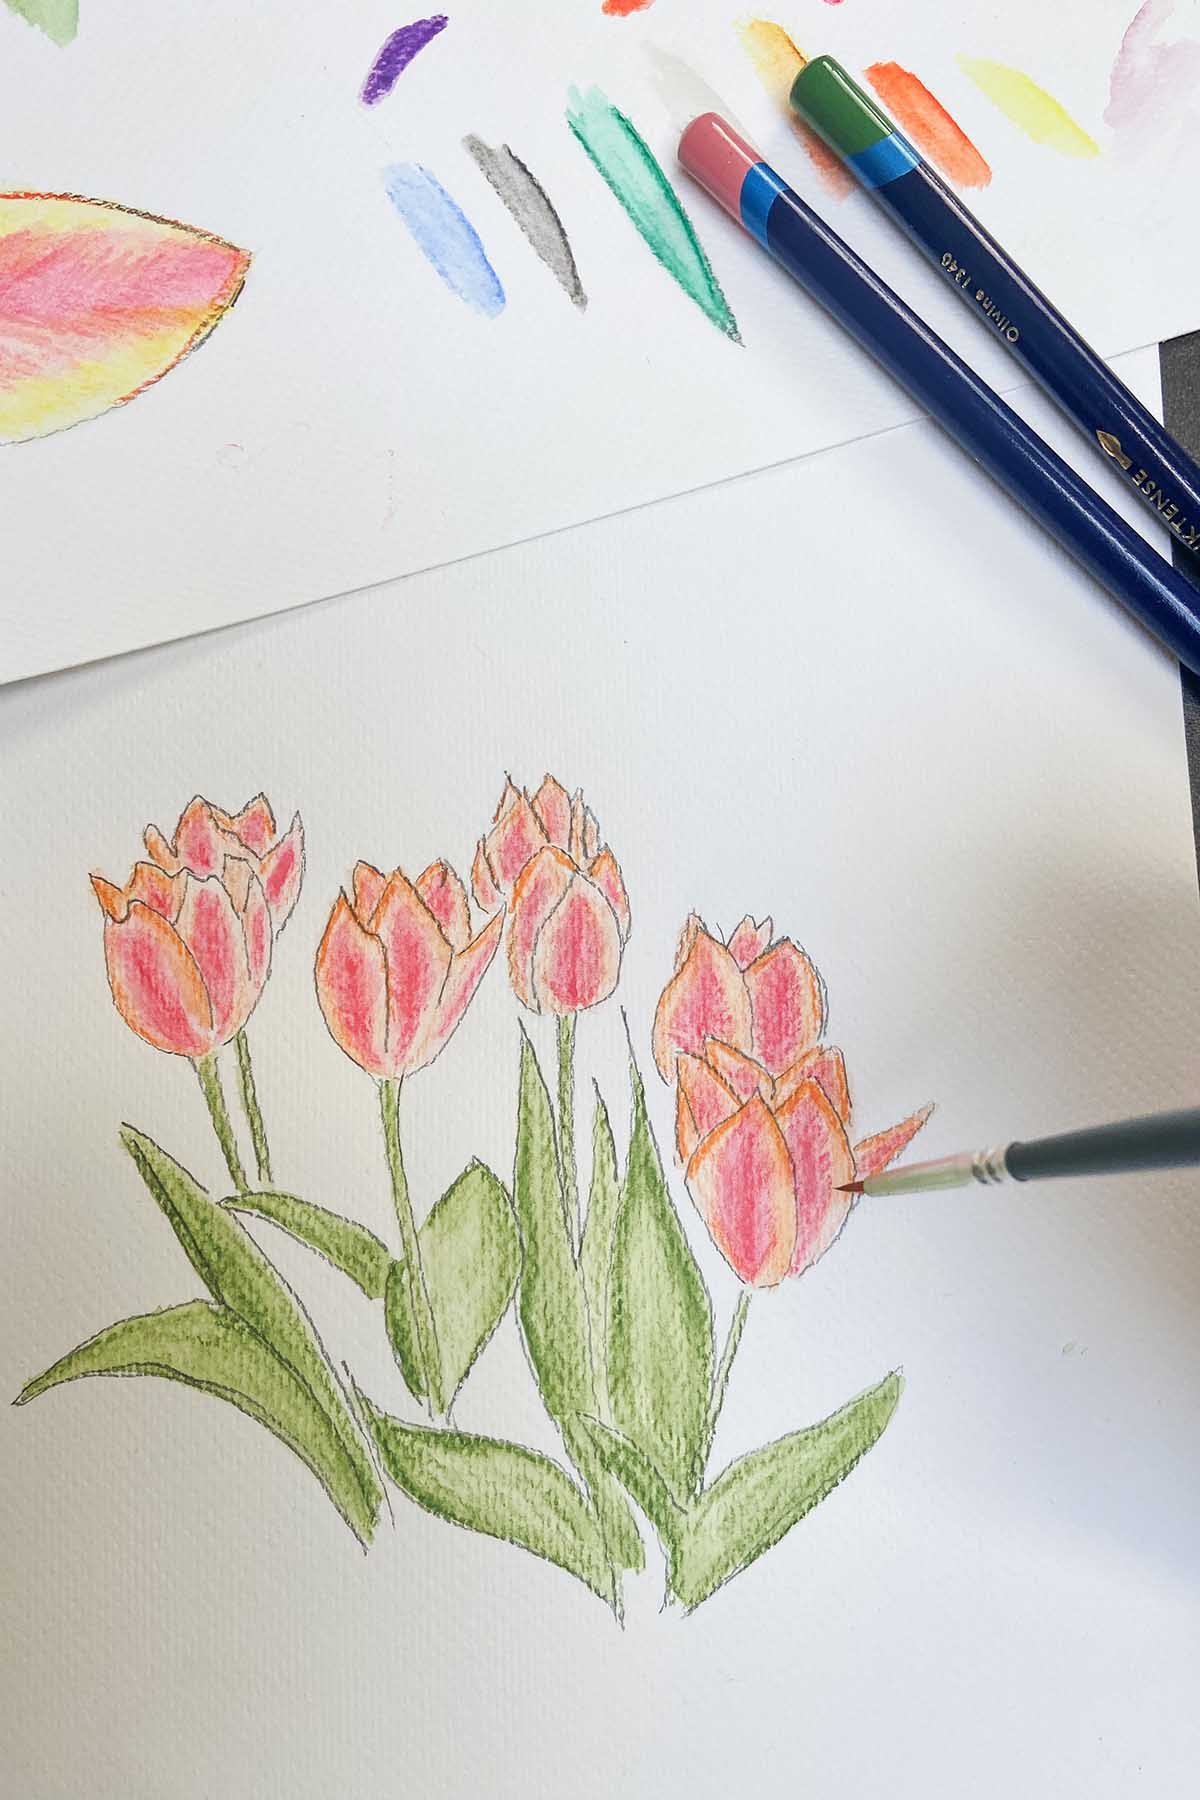
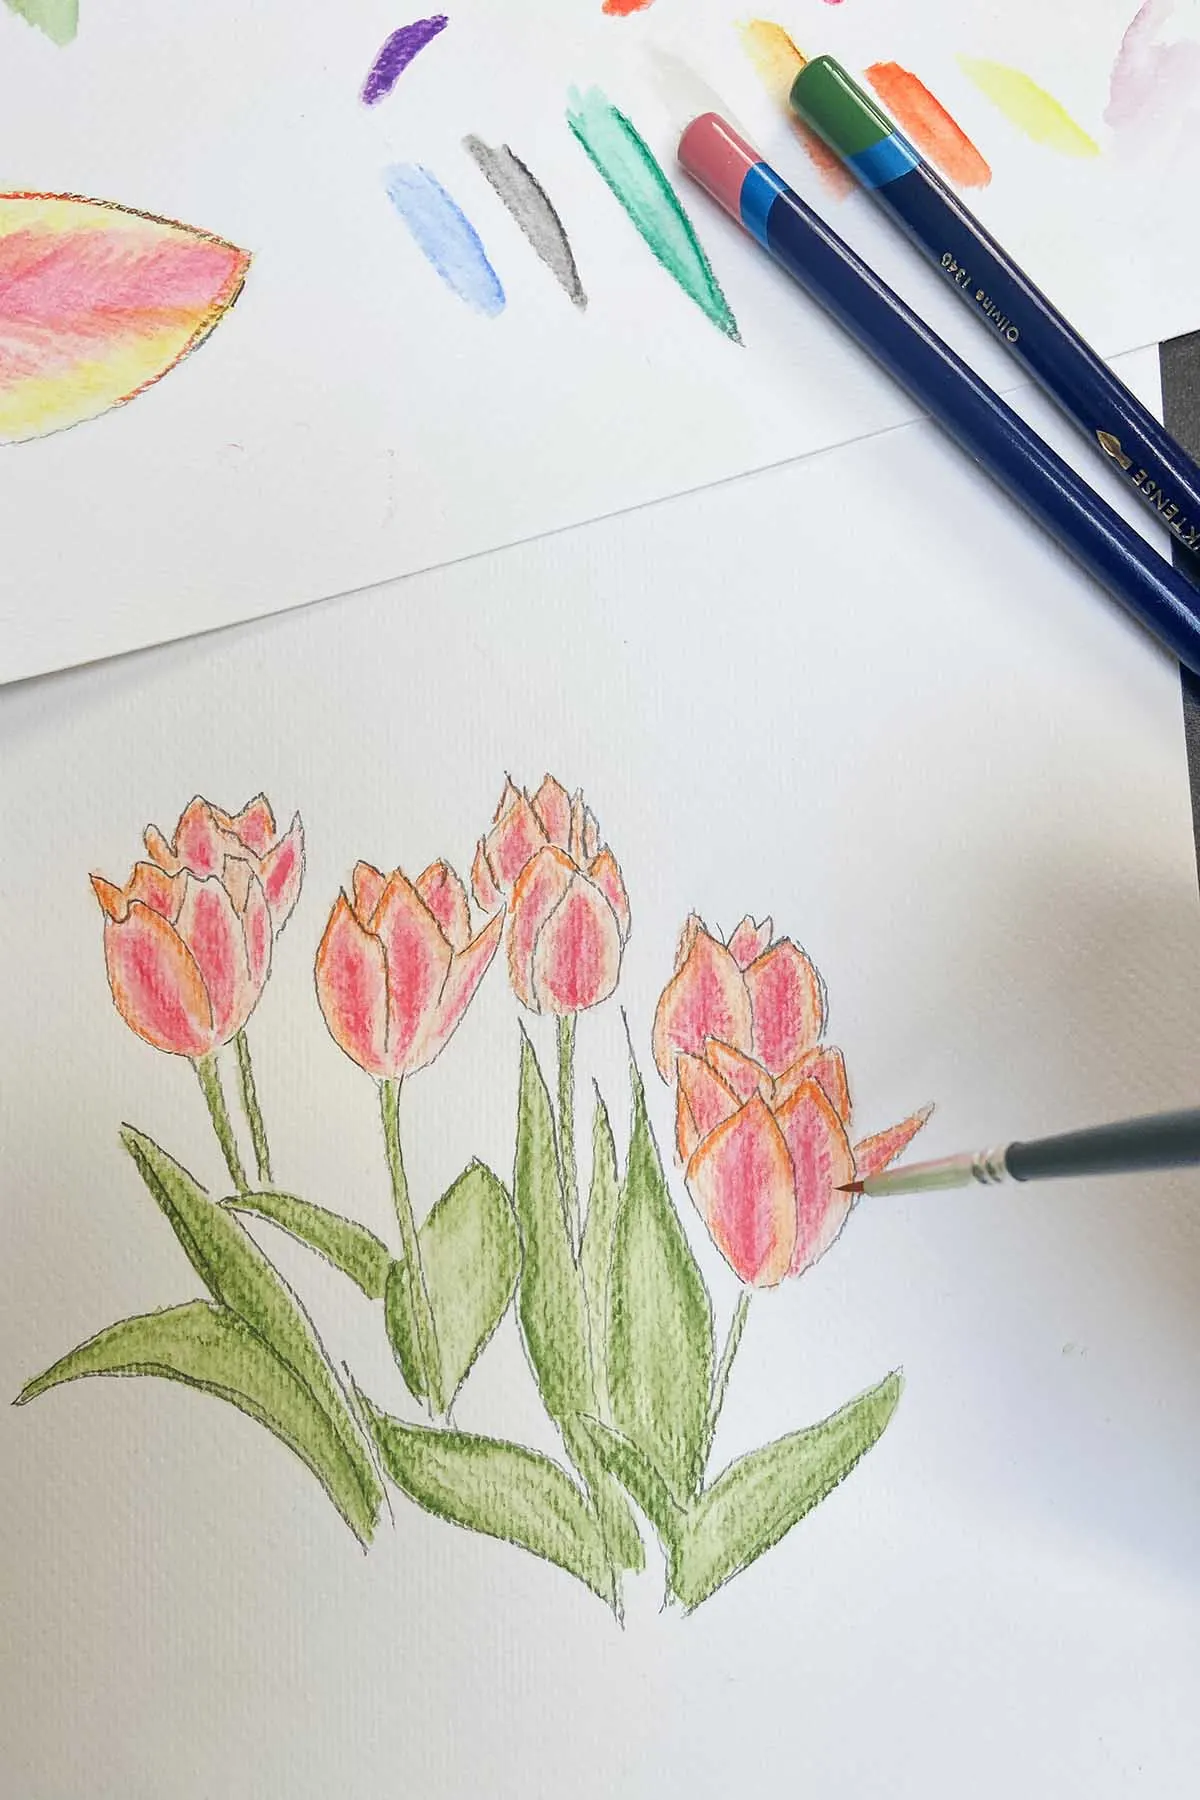
Step 4: Add colour. Here I am using watercolour pencils and the same technique as tutorial one where I use watercolour pencils to create the lovely dark peach stripe in a feather shape in the middle with a lighter creamy peachy colour on the edge of the petals. I will blend with water later.
Step 5: Use a paintbrush and water to blend the colours. You can reapply watercolour pencil to darken areas as you go. There are lots of different techniques to using watercolour pencils that will give different effects so experiment!

Conclusion and Other Related Posts
Drawing tulips can be a rewarding experience for all skill levels. Follow these easy drawing guides and step-by-step tutorials to create beautiful tulips that add charm to your flower drawings. With the right techniques and vibrant colour combinations, you’ll have a great-looking tulip drawing in no time!
There are many more simple step-by-step flower drawing tutorials to try on Pictureboxblue. These include.
Don’t forget to check out the vast collection of vintage flower illustrations on the site to use as reference. You’ll also find many ideas for using your drawing with these botanical crafts.