
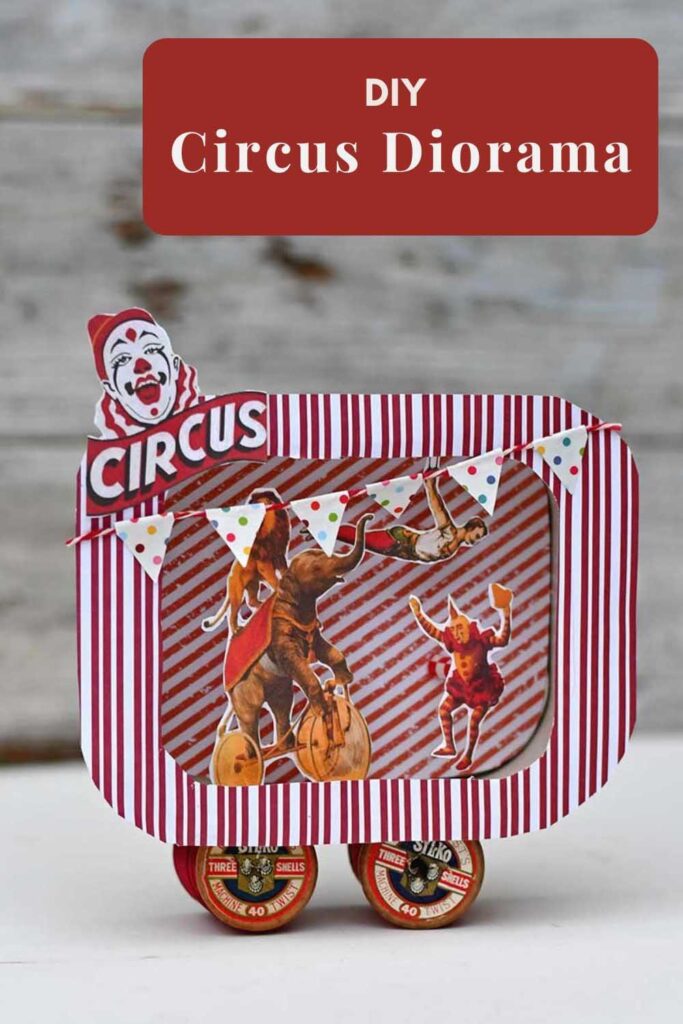
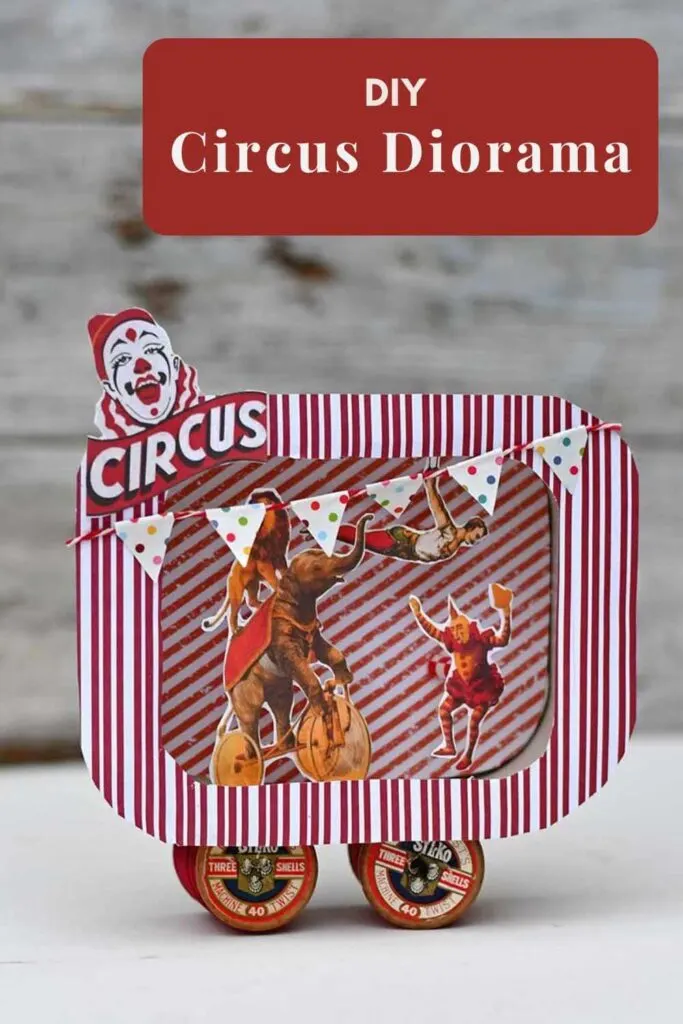
Become the ringmaster of your creative circus with this DIY guide on making a vintage circus diorama. Learn the tricks to steal the show and leave your audience in awe!
There is a wonderful collection of vintage circus posters on the site. I wanted to display some of these colorful images in a fun way. That’s when I came up with the idea of making a circus diorama and some vintage circus decorations for my mantle.
Since seeing an exhibition of the American artist Joseph Cornell, I have loved the idea of making boxed displays of vintage images. And many of the picture collections on Pictureboxblue are a great resource for this art form. I’ve even spotted some of the same of the vintage cockatoo illustrations on this site in Cornell’s work.
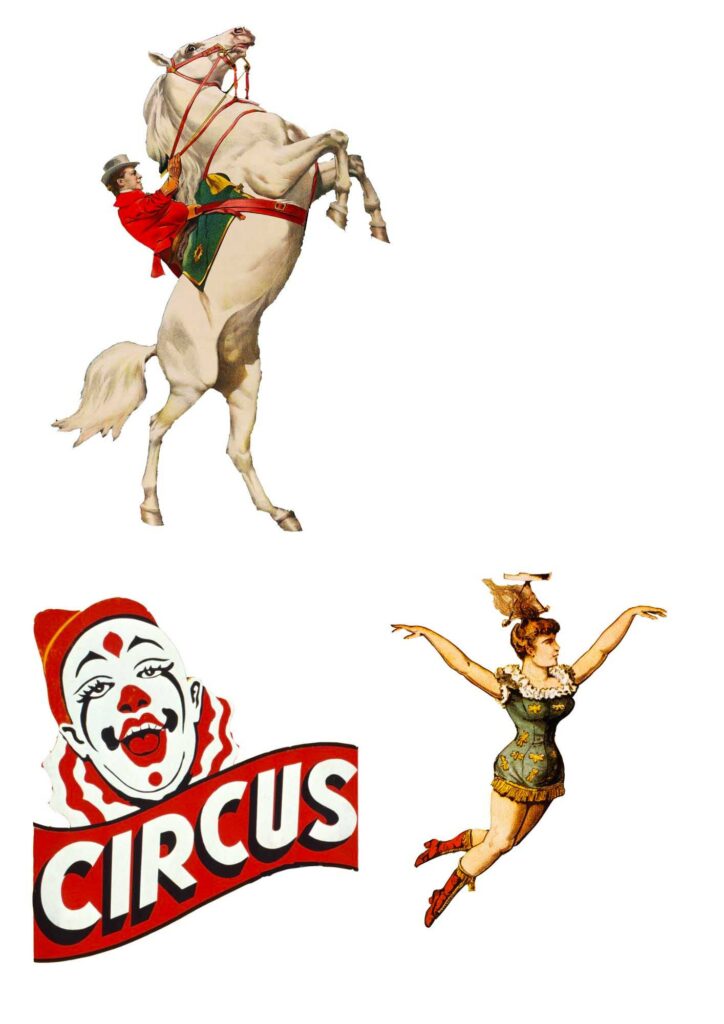
I have already made a paper parrot cloche display. This time I decided to focus on something different. Vintage circus posters are so colorful and full of quirky patterns. Not to mention the weird imagery, such as elephants riding bicycles. Which makes them cool illustrations to use for a circus diorama.
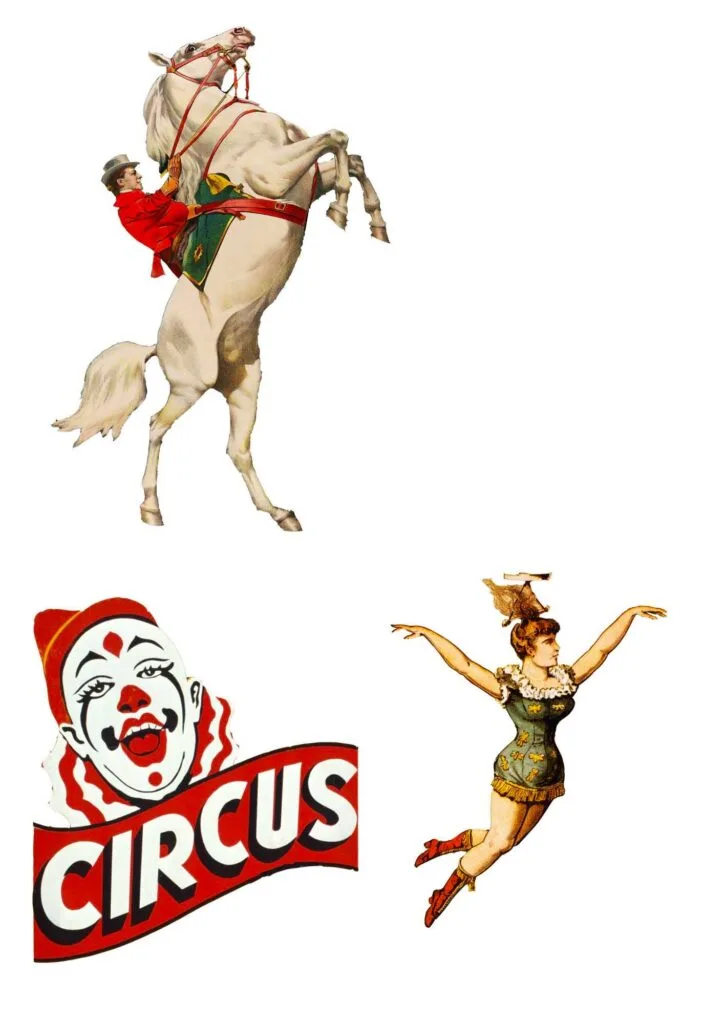
I cut out the best images from the vintage circus posters and have made them into vintage circus clip art. These images can then be printed out and used to make fun circus dioramas. There are enough images to make quite a few different circus scenes.
We participate in the Amazon Services LLC Associates Program, an affiliate advertising program designed to provide a means for us to earn fees by linking to Amazon.com and affiliated sites. As an Amazon Associate, I earn from qualifying purchases.
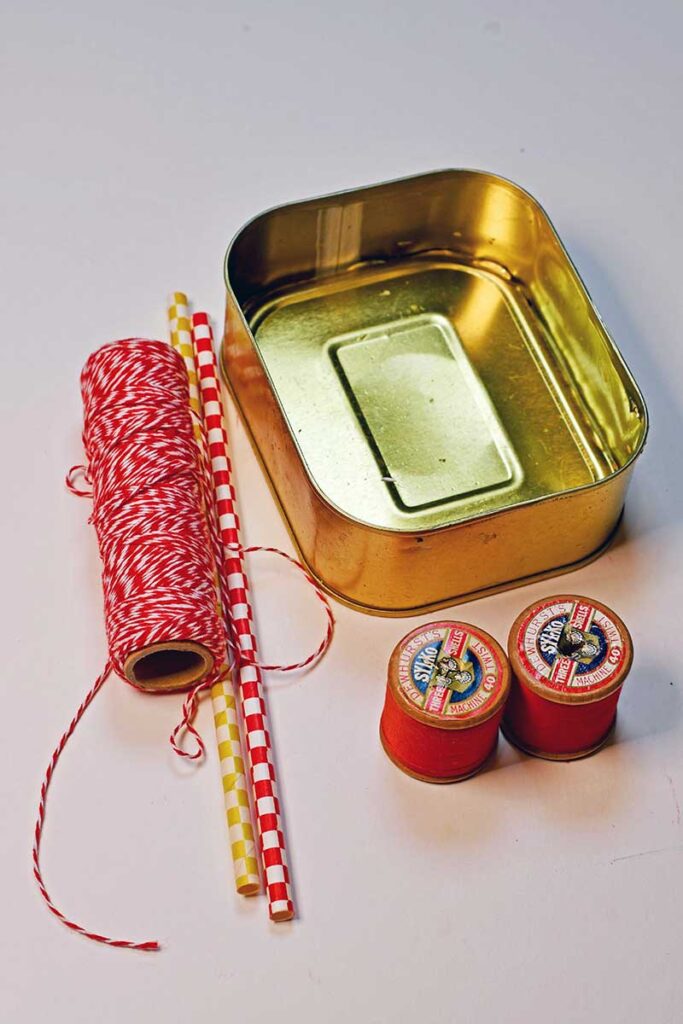
What You Need
- A box or old tin to stage the circus diorama. I used a large old rectangular tin can. I think originally, it was a tin of fish.
- Paint for the tin or box, in either red or cream
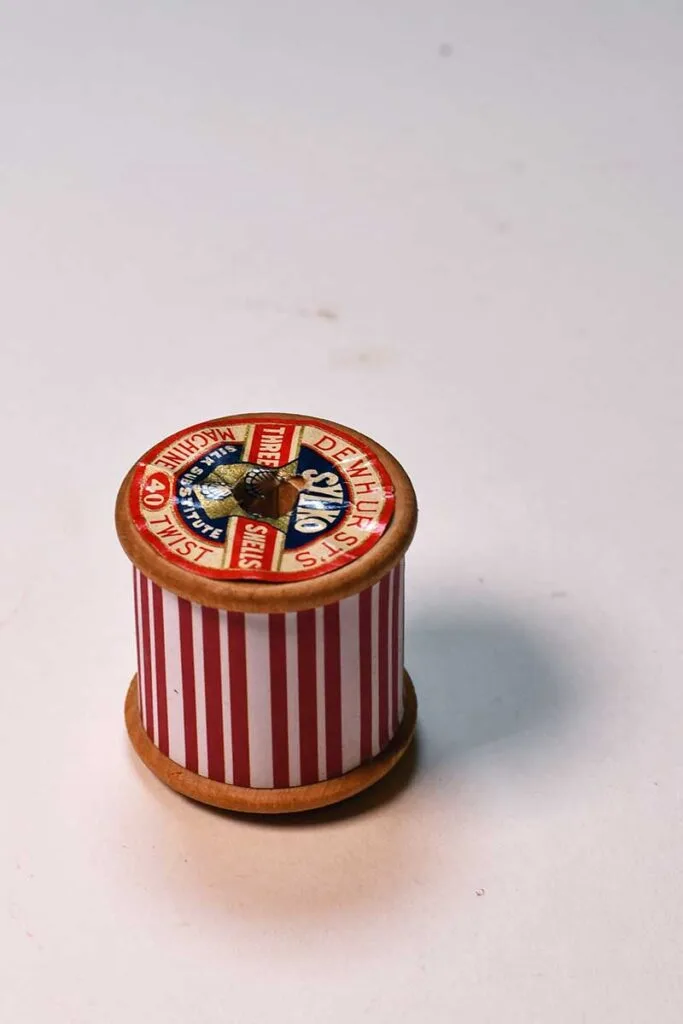
- Old cotton reel spools
- Paper straws
- Bakers twine
- Washi tape
- Glue
- Scraps of ribbon and strippy red paper or gift wrap
- Scissors and paper cutting knife and mat
- Heavy matt photo paper

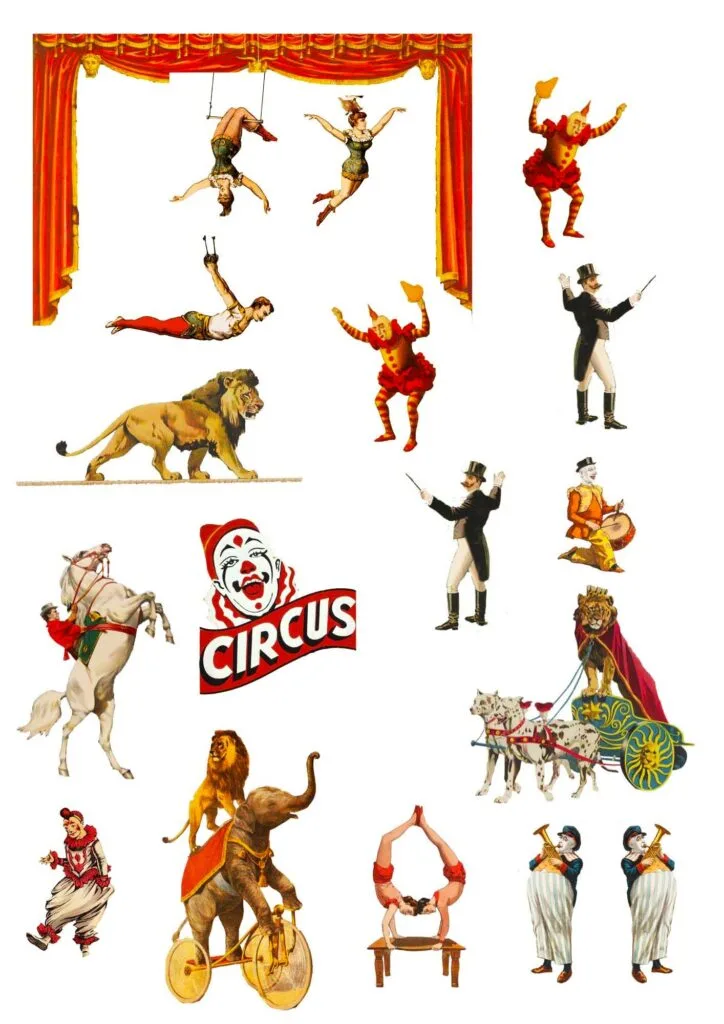
The Vintage Circus Clip Art
Click on the title above the circus clip art that you want to use for your dioramas. The image will open up in a new window on your browser. You will then be able to save the images or print them.
Mini Circus Diorama Clip Art

Larger Circus Performers 1
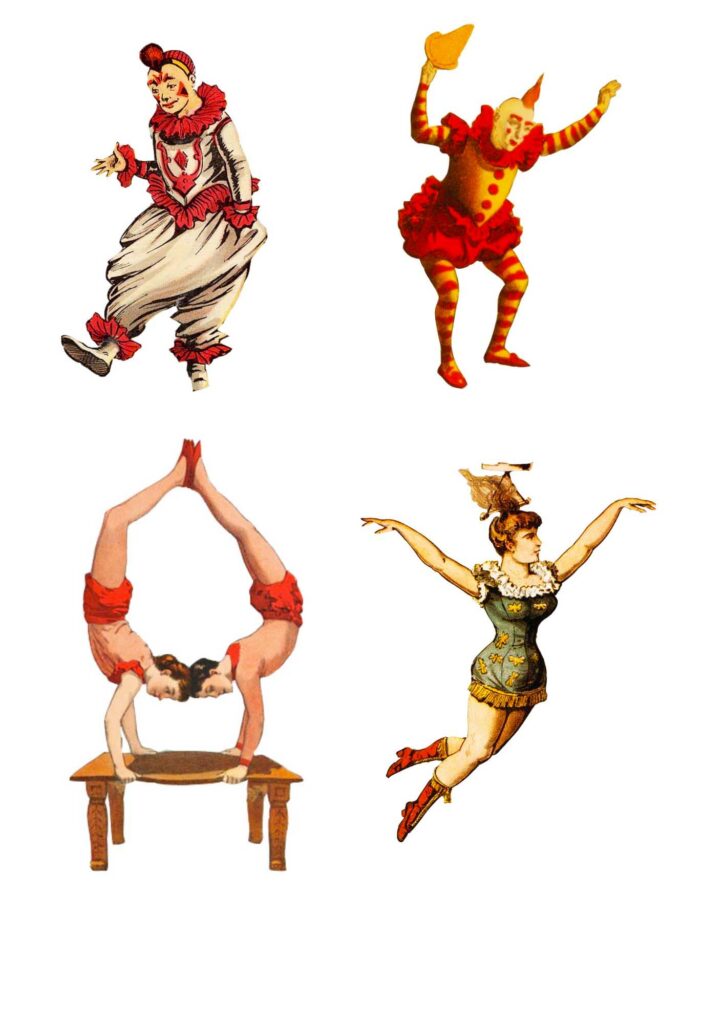

Larger Circus Performers 2
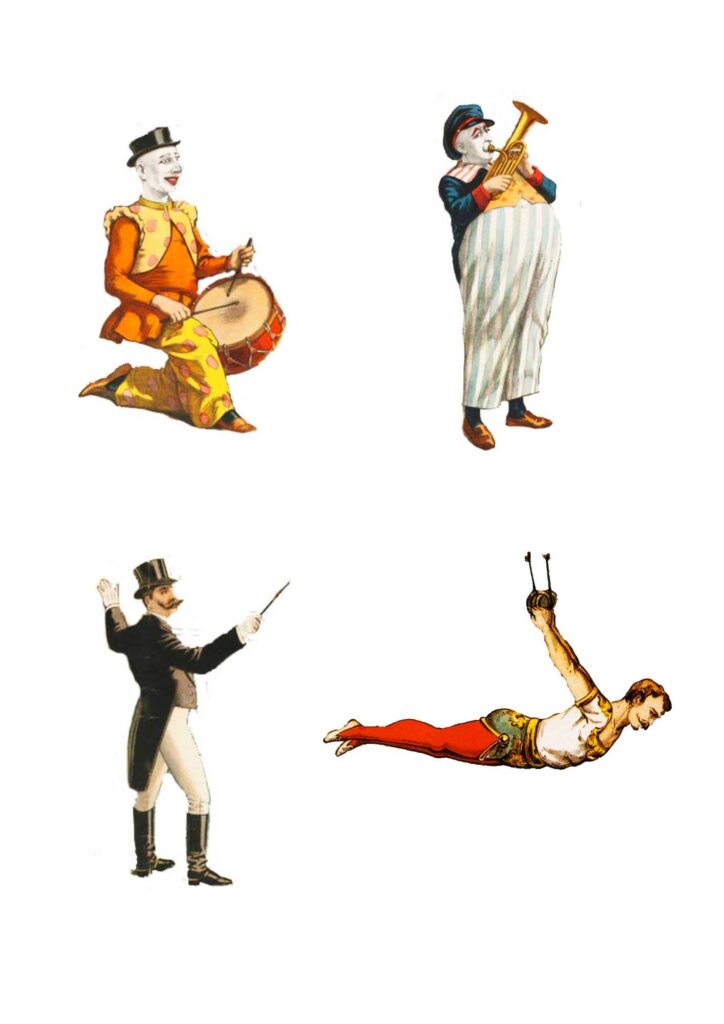

Circus Performers 3
How To Make The Vintage Circus Diorama
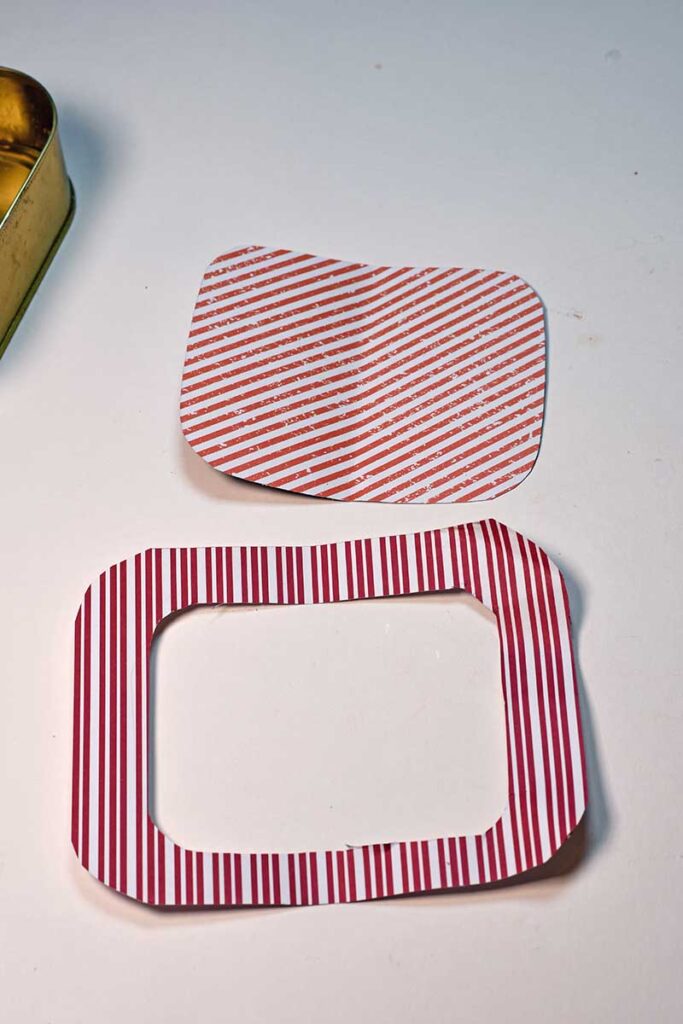
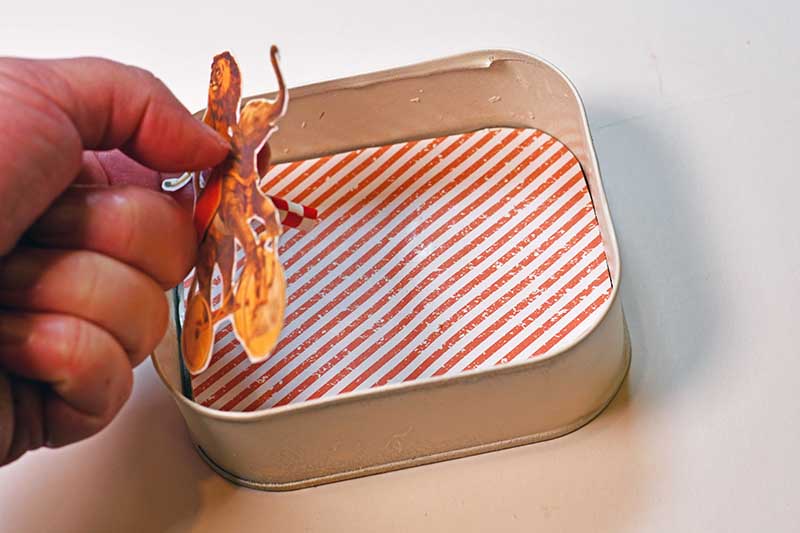
Step 1: First draw around the tin can on stripy red paper, to make background piece to fit inside the tin. Also, cut out a stripy red paper frame to fit the outside of the tin can.

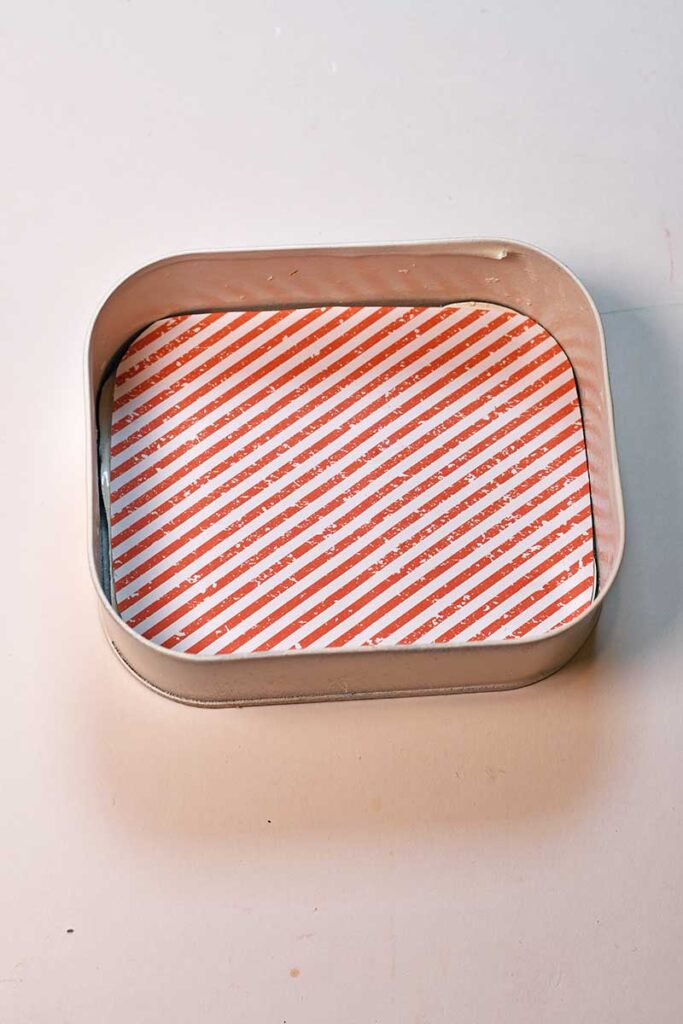
Step 2: Next, paint the tin can. I painted mine a cream color, but red would have worked just as well. When the paint has dried, glue the stripy background to the inside of the tin.

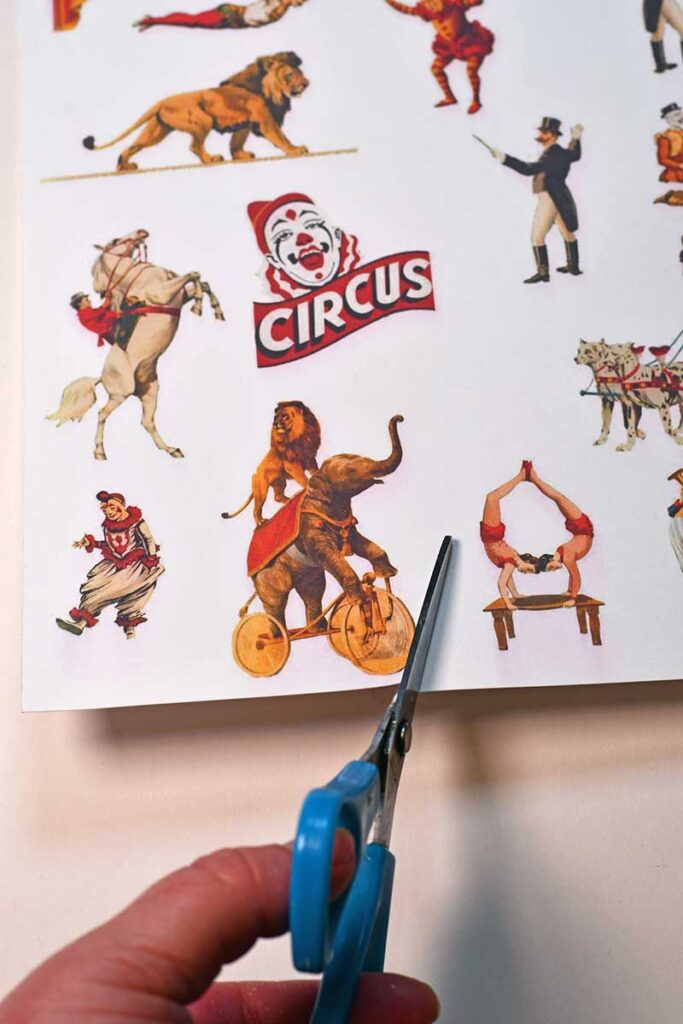
Step 3: Print out the vintage circus clip art onto heavy matt photo paper. Then decide on what images you are going to use for your diorama. Cut these out with scissors.
As this is a mini circus, the pictures can be quite small, I recommend cutting the images out with a small white border. Otherwise small details like tails and other appendages may be too delicate and disappear.

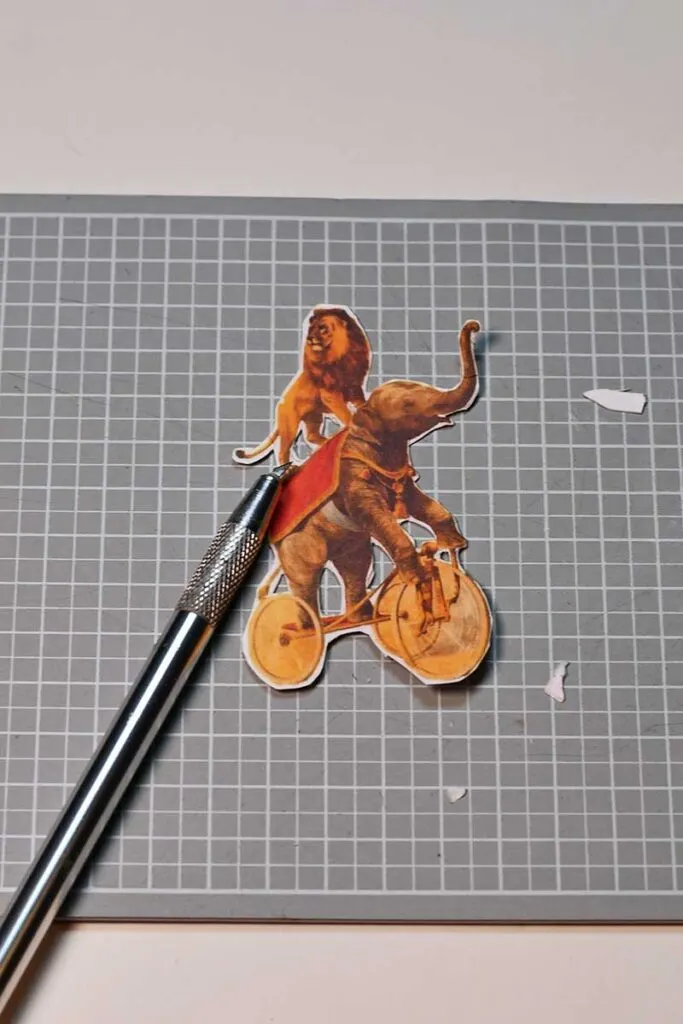
Step 4: Next, use a paper knife and cutting mat to cut out the finer details.

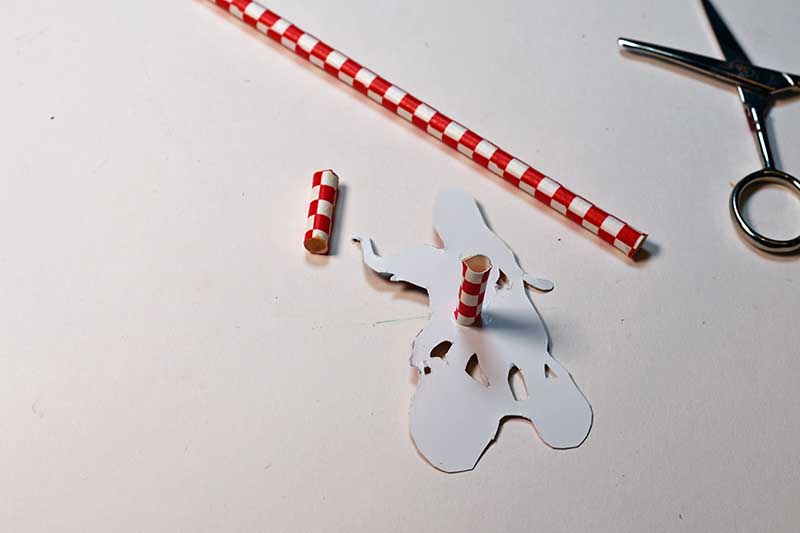
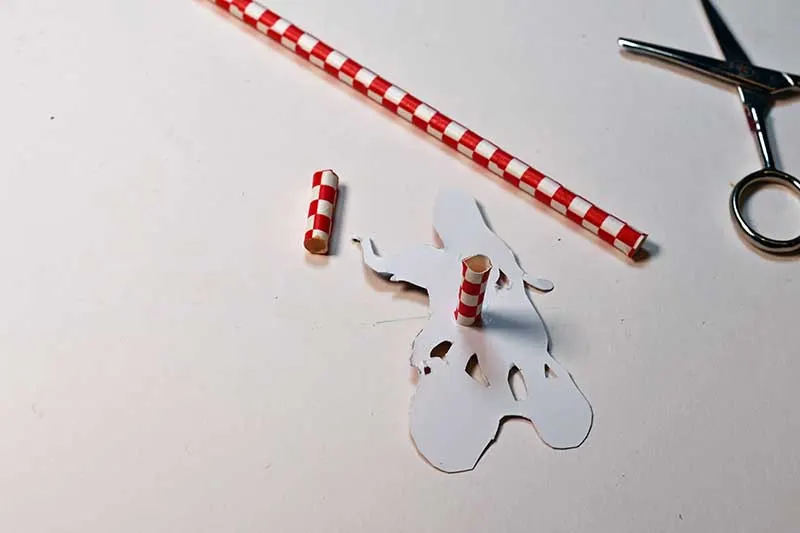
Step 4: Next, cut the paper straw into short lengths that fit inside the tin can. Glue one end of the straw to the back of the circus performer and then the other end to the back of the tin can.

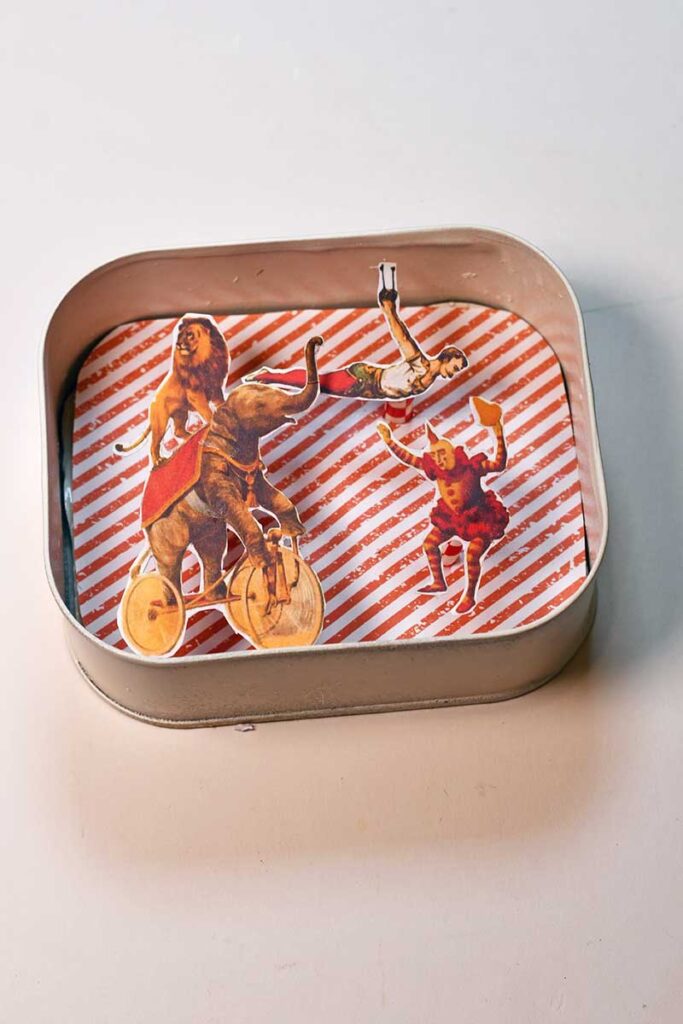

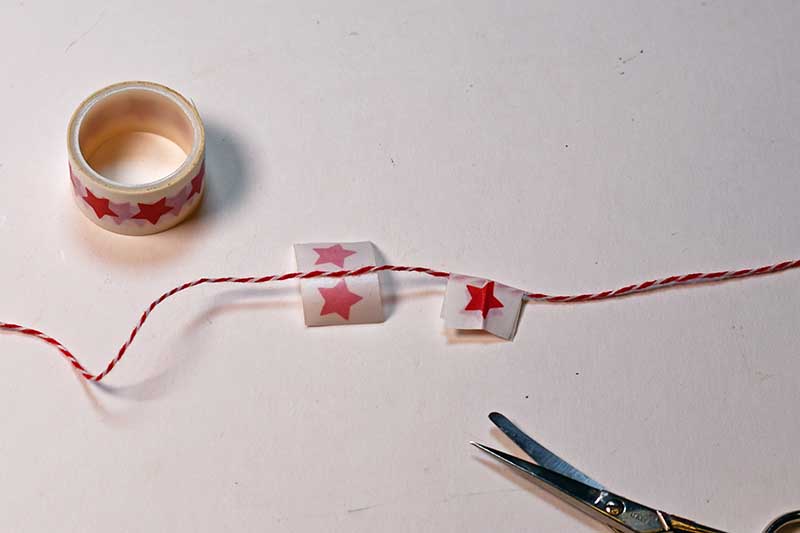
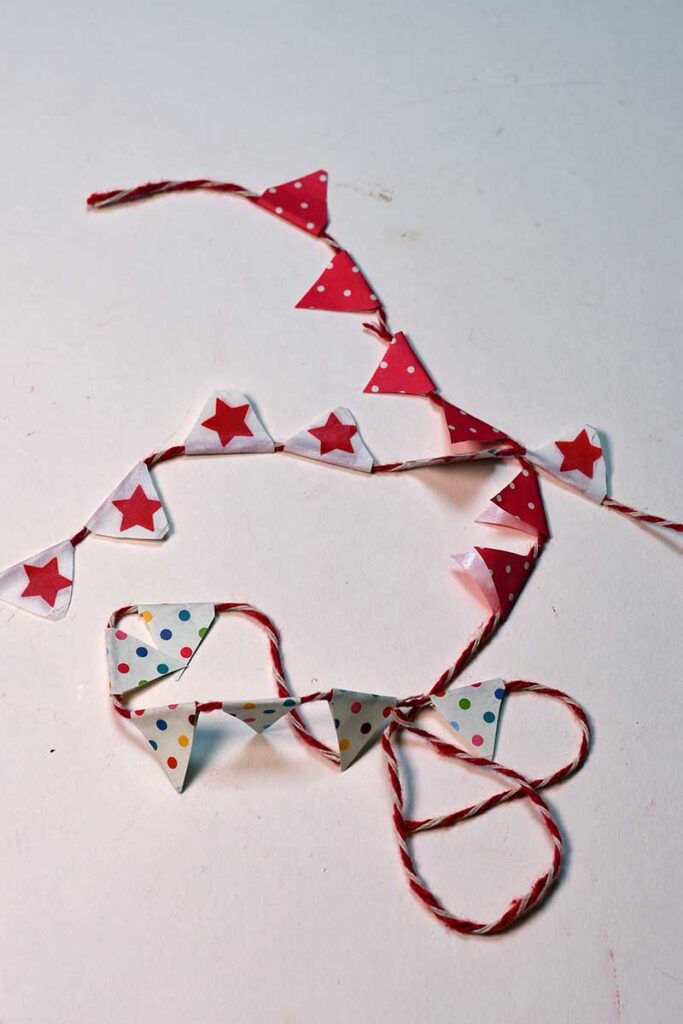
Step 5: Next, make some circus bunting. Cut patterned wash tape into small strips and fold them over some bakers twine. Then cut the tape into a triangle shape.


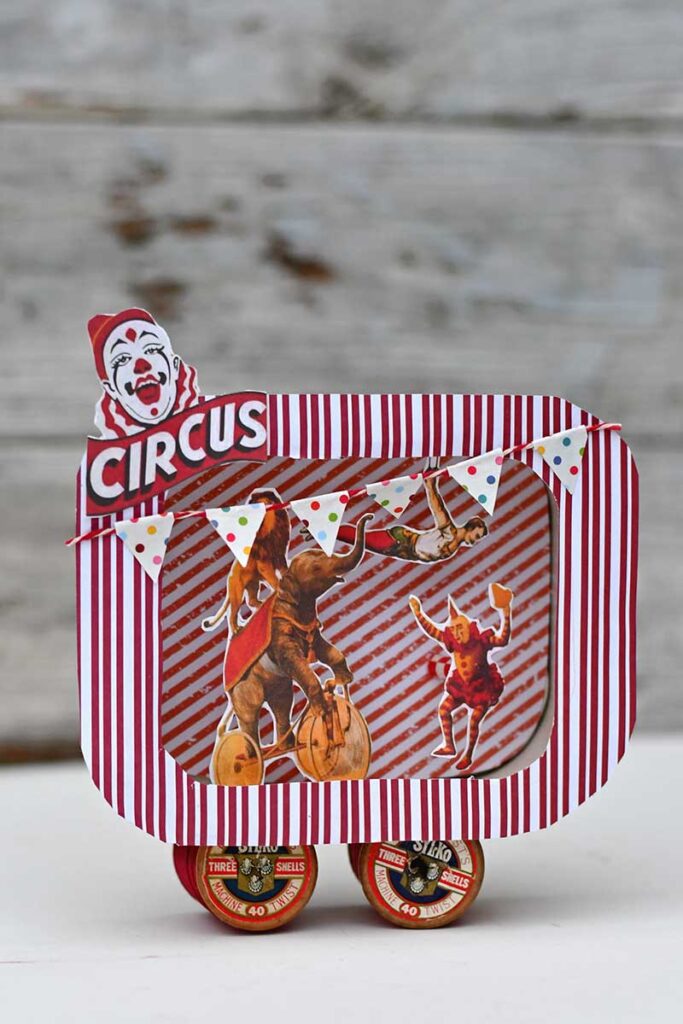
Step 6: Finish off the diorama by gluing the paper frame and bunting to the front of the tin. Also, glue two cotton reels to the base of the diorama to act as a stand.

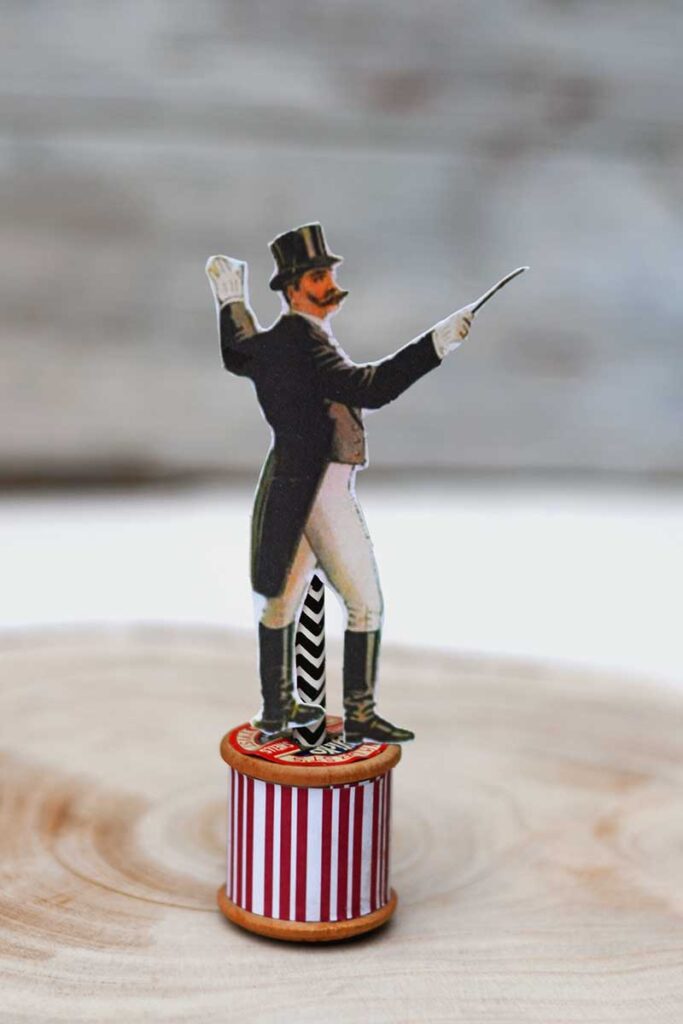
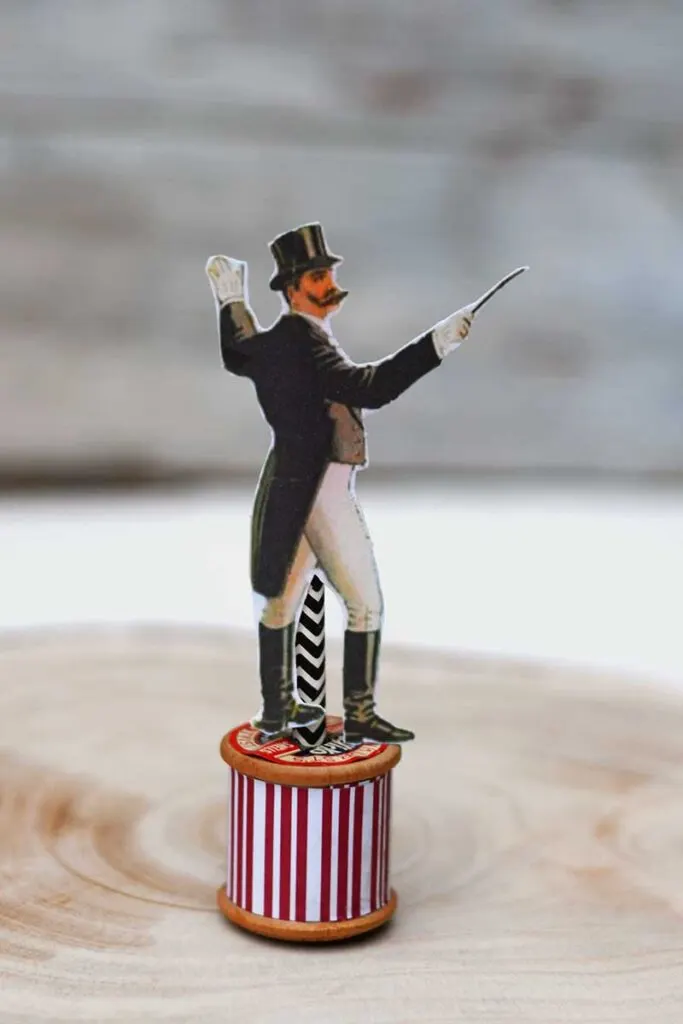
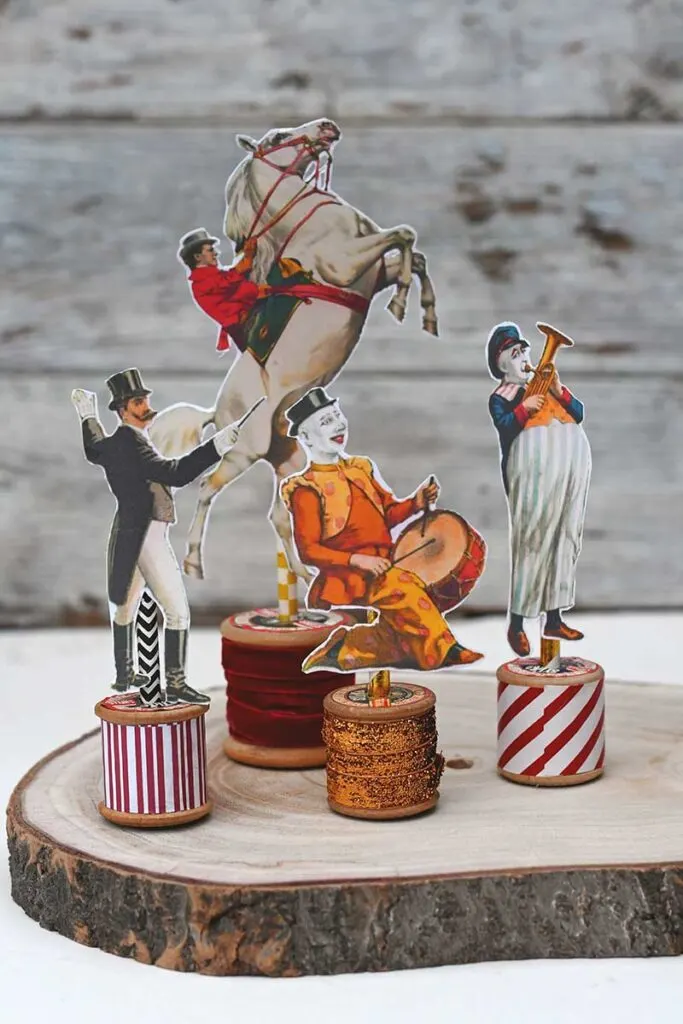
How To Make Standing Vintage Circus Ornaments
As well as this tin can diorama, I decided to make some slightly larger stand alone circus ornaments.
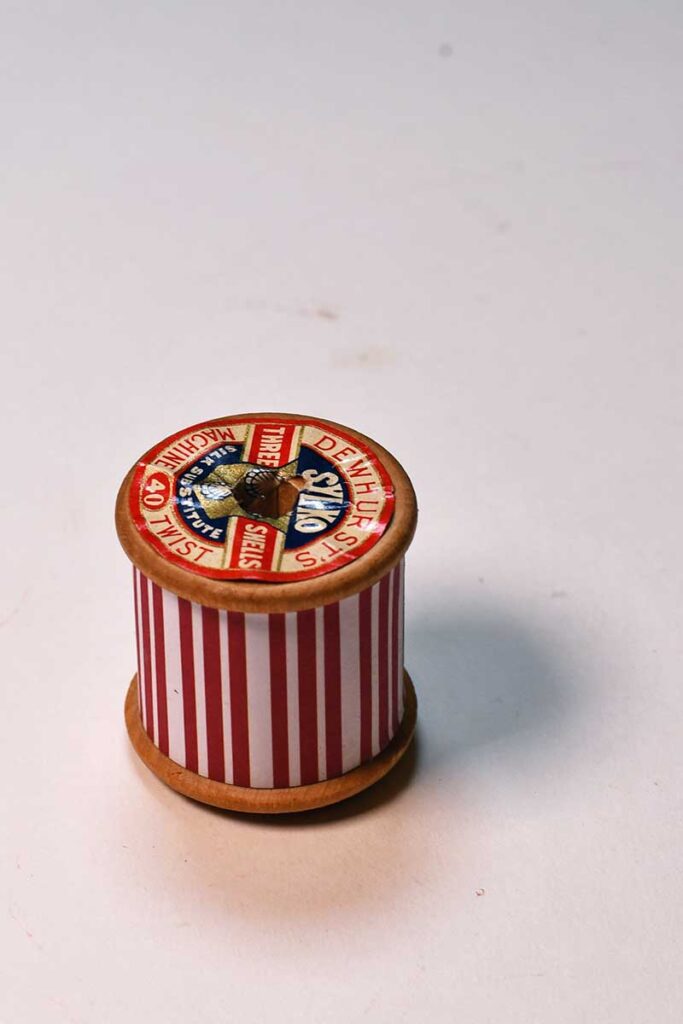
Step 1:Firstly, I covered a cotton reel spool in decorative paper or ribbon.
Step 2: Next, I cut out one of the larger vintage circus performer illustrations. I then stuck a paper straw to the back of that paper cut out.
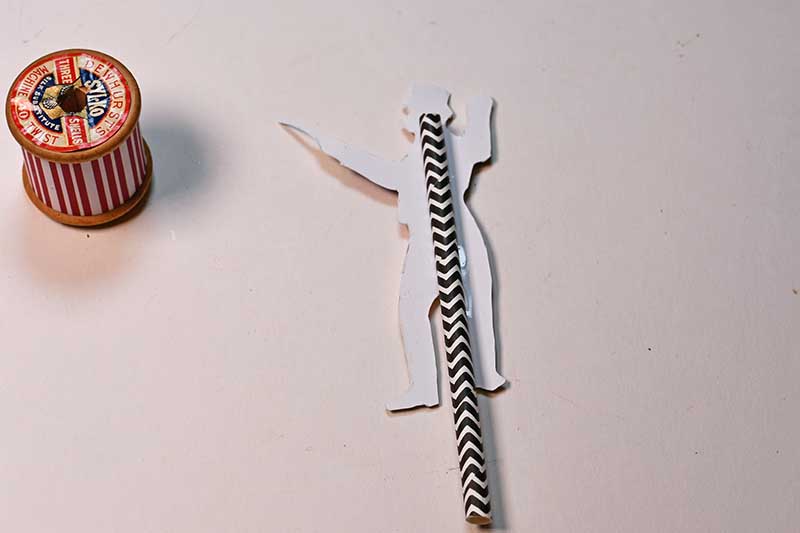

Step 3: To finish off, the straw was then simply stuck into the hole in the middle of the spool.


I love this mini circus diorama on the mantle and enjoyed making it. I now want to make more mini-scenes out of other illustrations on the site. I fancy making a Japanese-themed scene or even an underwater scene.
Also, check out how you could make a circus-themed shadow box idea in the style of Joseph Cornell.
There are many vintage sealife images collections on the site that would work well for an underwater diorama. Such as the vintage coral reefs and Louis Renard’s fantastical fish.
If you want more tin can crafts and ornament ideas, check out these other tin can ideas, including Christmas tin can crafts and butterfly tin can ornaments.
Malinda
Tuesday 15th of April 2025
My uncle owned a circus. I love how you did your diorama!
claire
Thursday 17th of April 2025
Wow! I bet that was fun. Thank you.
Weekly Rambles - Lora Bloomquist~Create & Ponder
Saturday 11th of December 2021
[…] DIY vintage circus diorama is so […]