
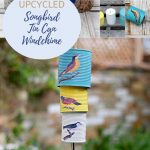

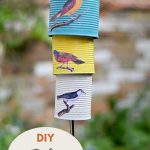
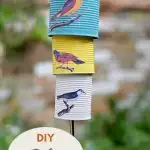
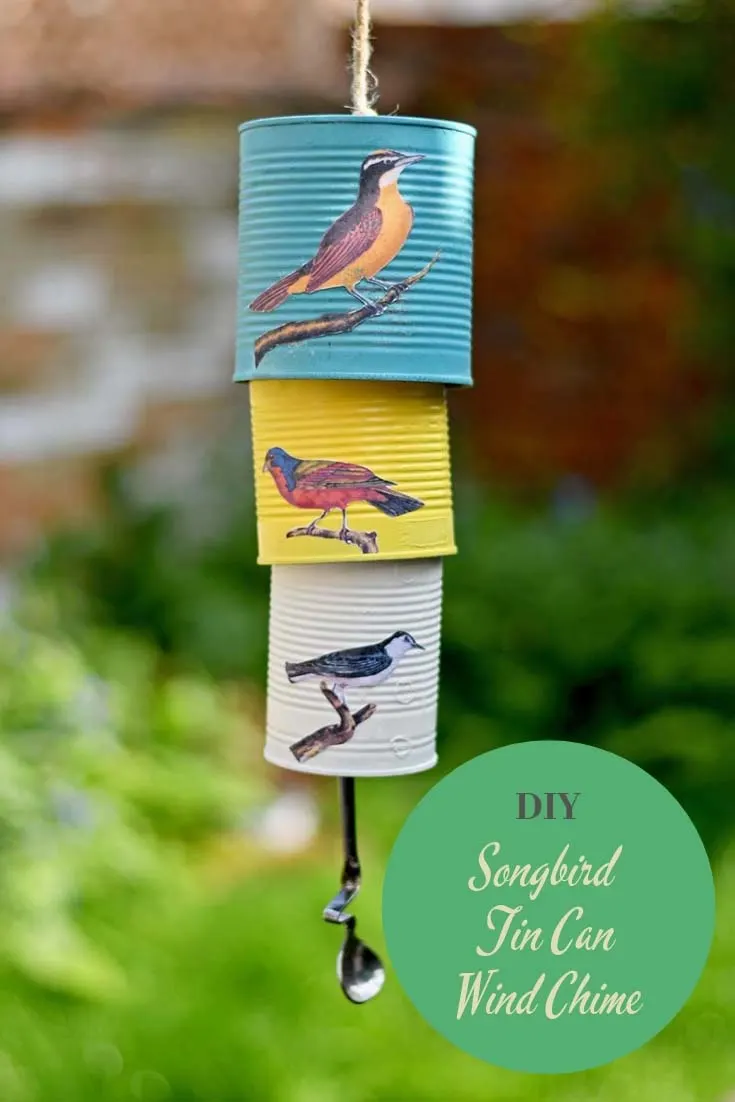
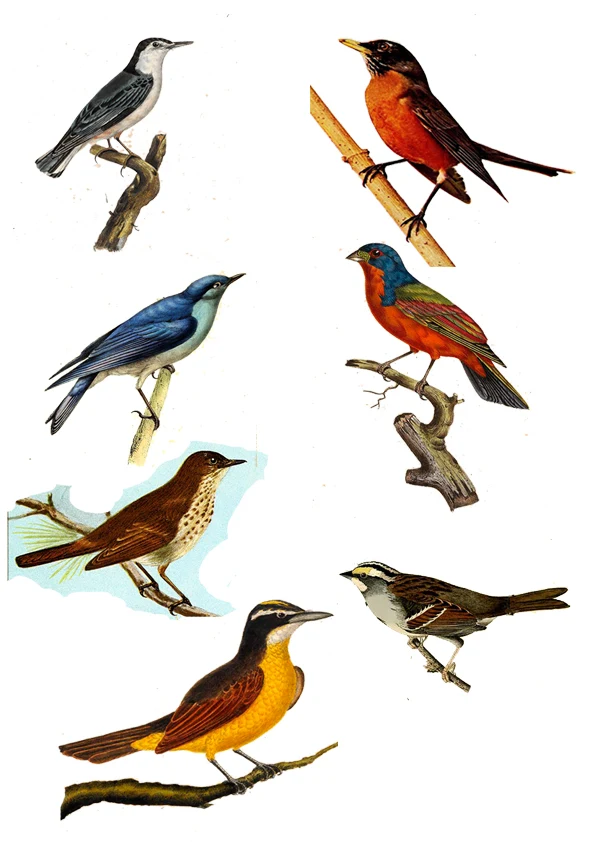
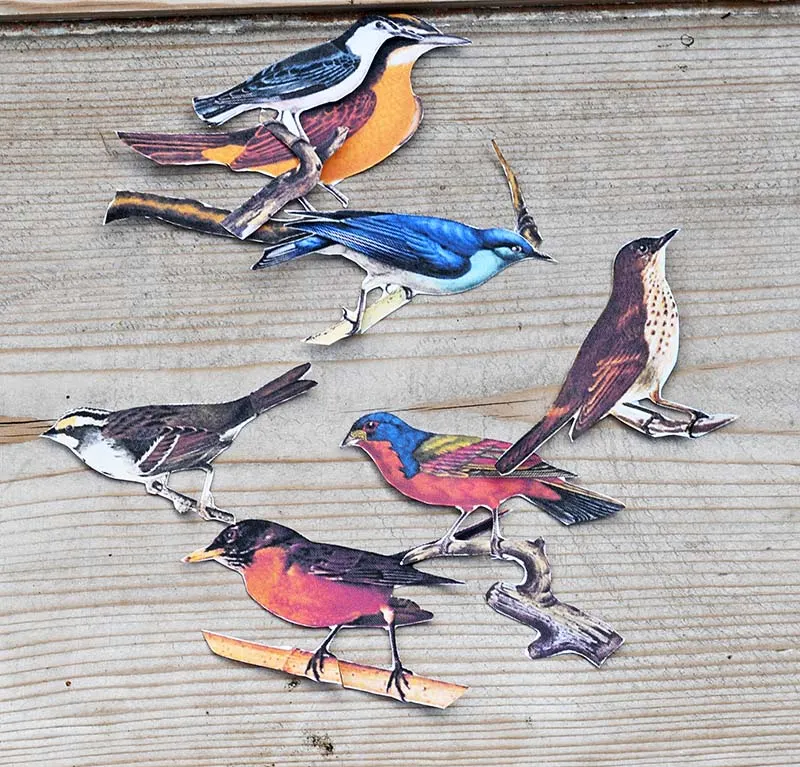
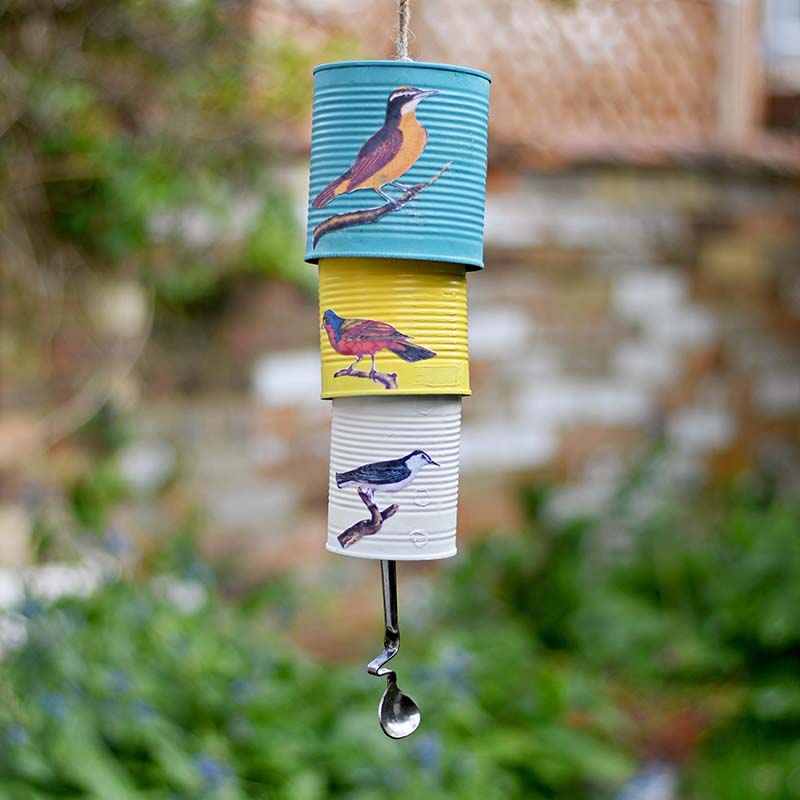
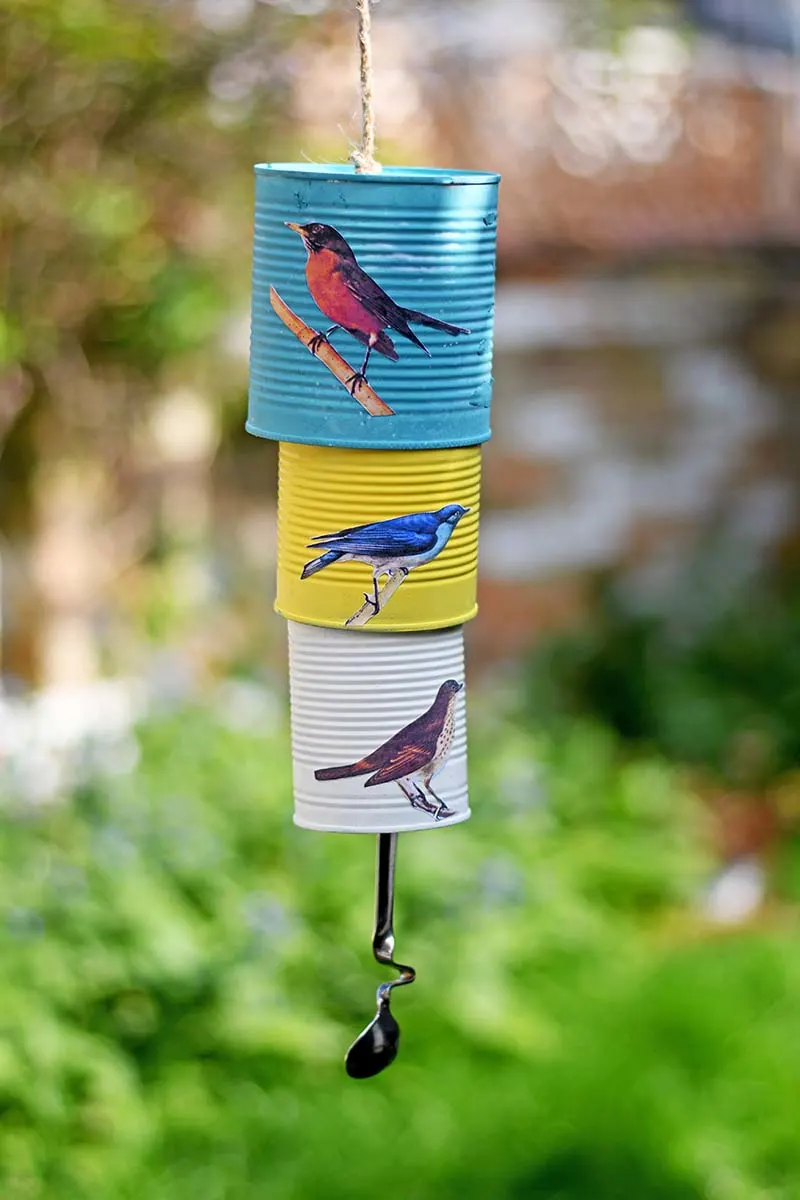
Last week I curated a beautiful collection of American Songbird prints. I thought it would be lovely to make something for the garden using these beautiful images. That’s when I came up with the idea for this pretty decoupage tin can wind chime.
Songbird Upcycled Tin Can Wind Chime
The tin can wind chime was very easy to make and cost almost nothing. All you need are some old tin cans in a variety of styles and an old spoon or fork.
It might not make as pretty as sound as some of the songbirds that adorn the tin can wind chime. However, it looks charming in my small walled Victorian town garden.

We participate in the Amazon Services LLC Associates Program, an affiliate advertising program designed to provide a means for us to earn fees by linking to Amazon.com and affiliated sites. As an Amazon Associate, I earn from qualifying purchases.
What You Need To Make A Tin Can Wind Chime
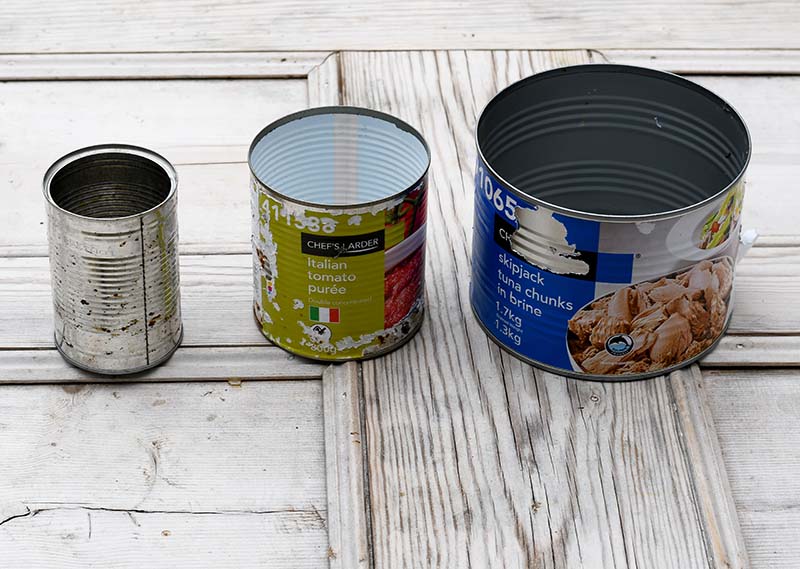
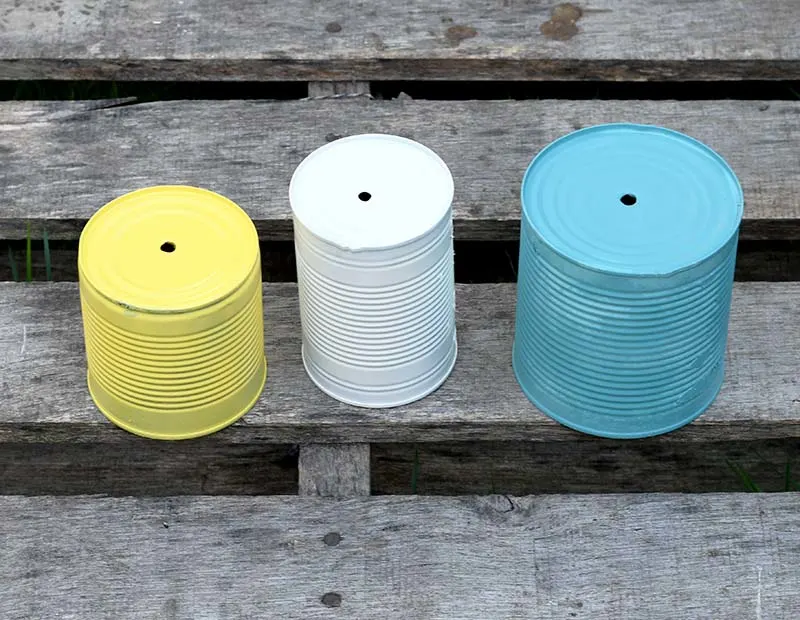
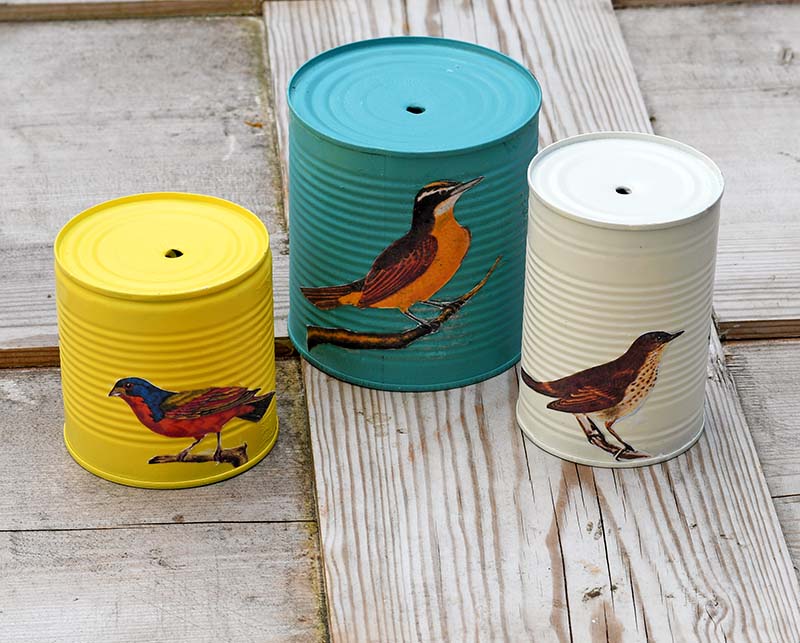
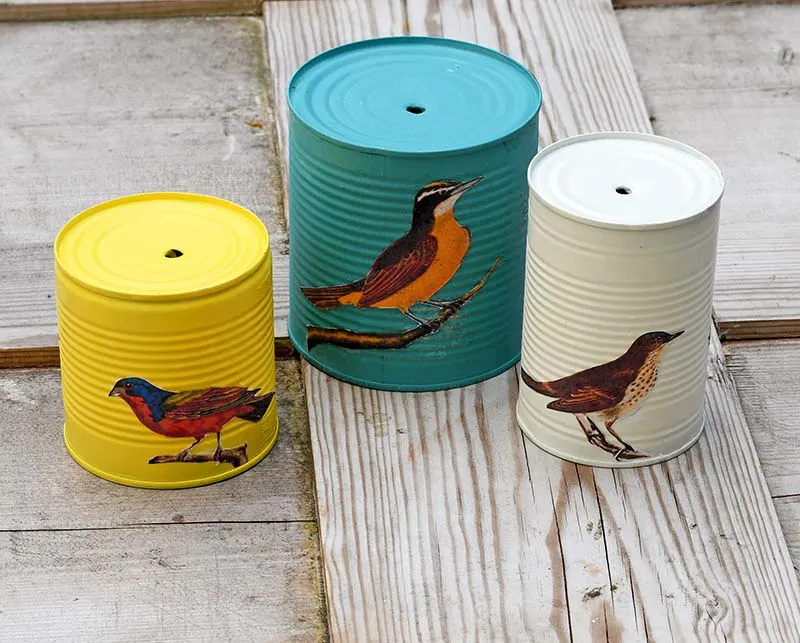
- Three tin cans in an assortment of sizes. Ideally, you want the tin cans to fit inside one another. You can use food cans or coffee tins for this.

- An old spoon or fork
- Garden Twine
- Decoupage glue such as Mod Podge
- Spray paints, a different
color for each tin can - Acrylic spray varnish
- Drill with a metal drill bit
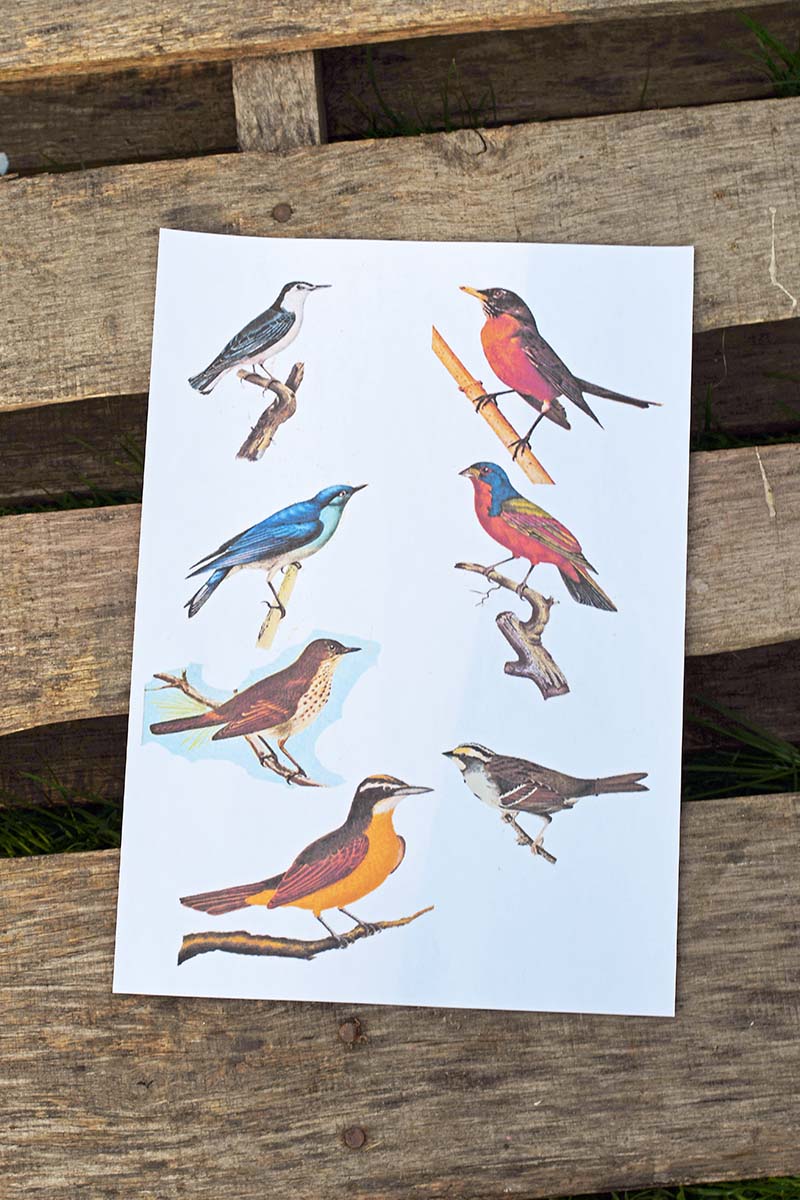
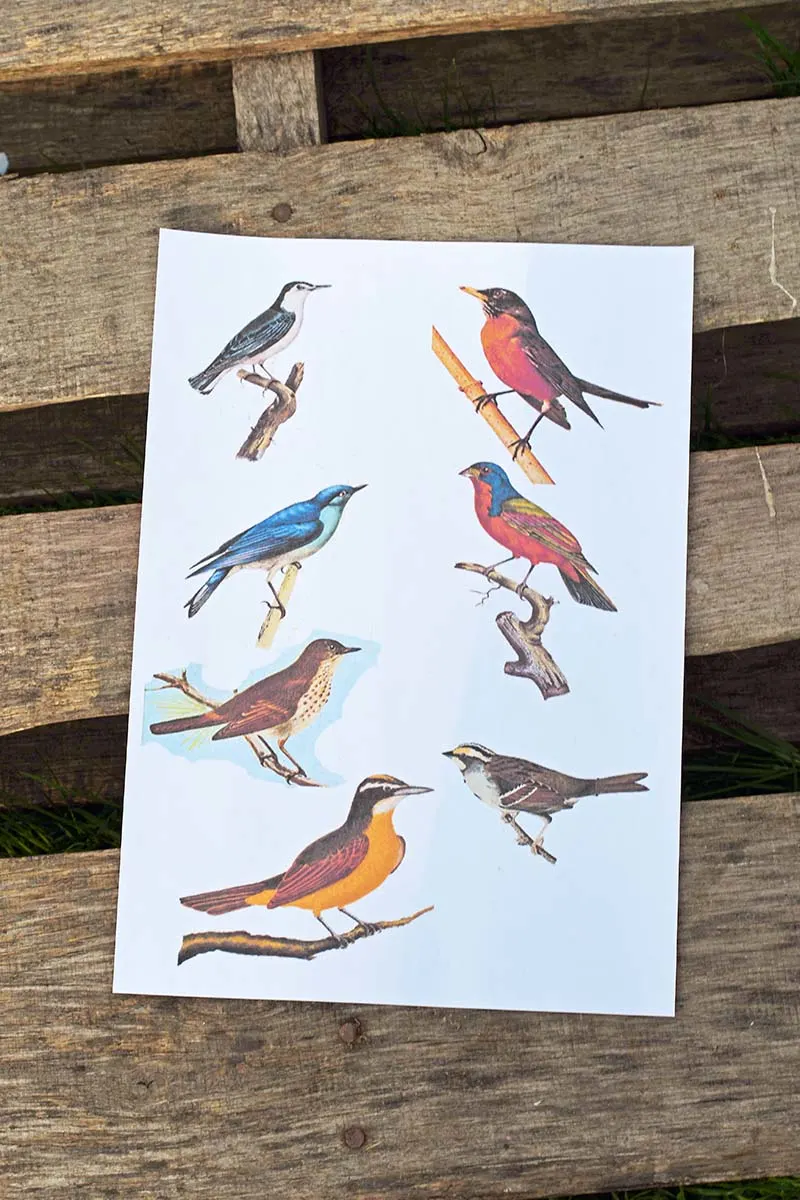
The other thing you will also need is the beautiful songbird images. You can choose your own from the site here. Or use the collection I choose for this project here.

How To Make The Tin Can Wind Chime
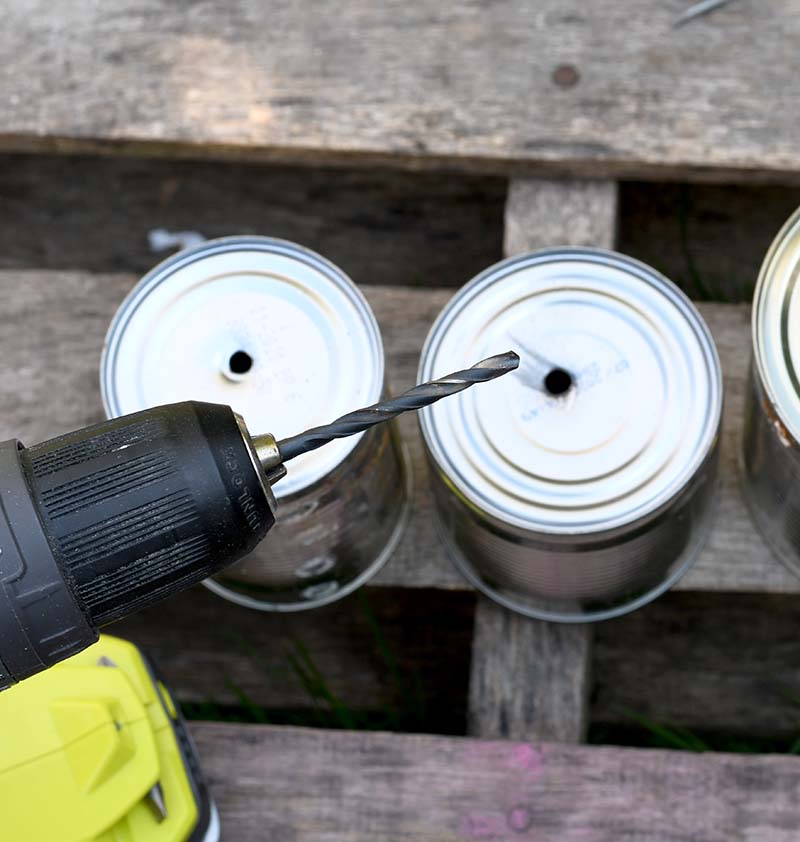
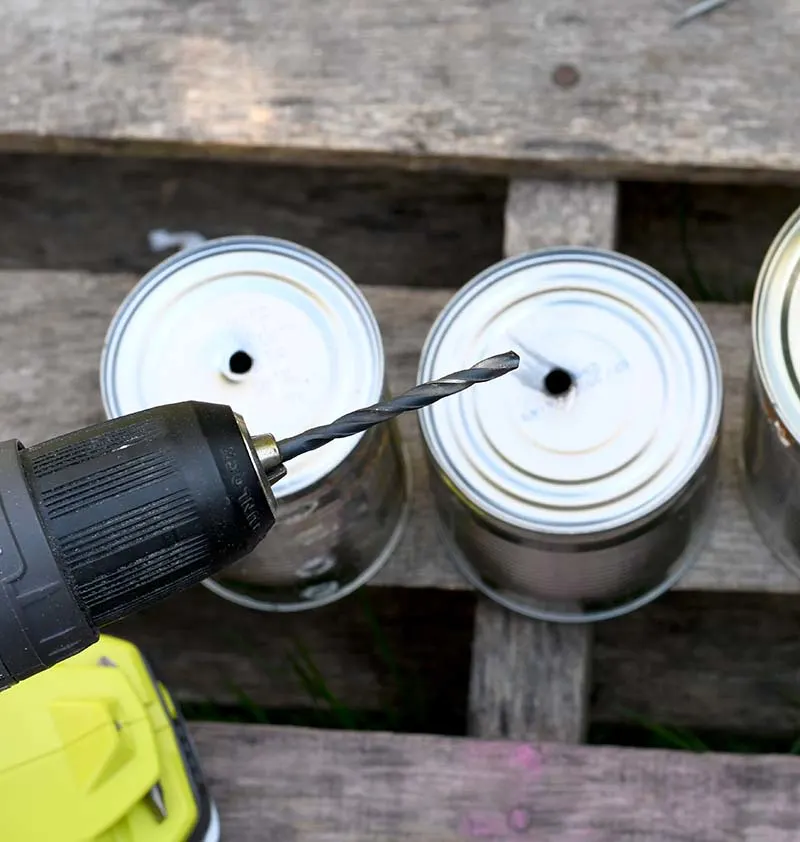
1. First, remove the labels from the tin cans. Then using an electric drill and a metal drill bit drill a hole into the base of each tin can. You need a hole just big enough to thread the twine through.
If you don’t have drill, try making a hole with a large nail.
2. Next, spray paint each tin can a different

3. Print out the songbird images you are going to use for the decoupage. You may need to resize the images on your computer to make sure they are the right size for your tin cans. The ones on my sheet should fit most tin cans. Once printed carefully cut each bird out. I used my home printer for this.
Note, if you are going to use Mod Podge to seal your pictures and not an acrylic varnish spray you will need to print the images on a laser printer. Or you can spray the images with a fixative to stop them smudging with the Mod Podge sealer.
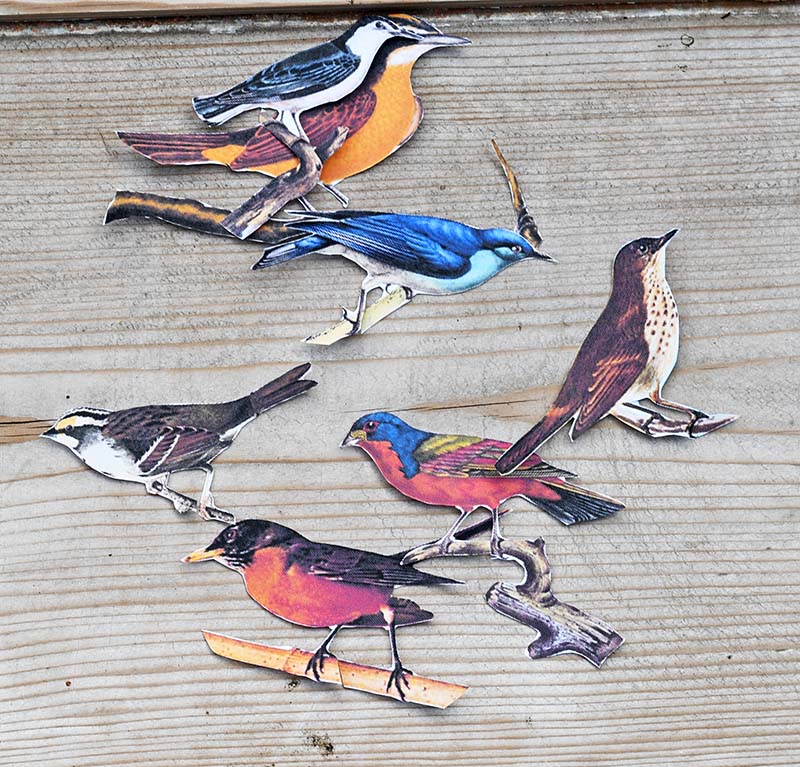
4. Using decoupage glue stick the bird images to the tin cans. I put 2 images on each can so no matter which way the tin can wind chime is blowing in the wind you would always be able to see a bird.
For the 2 smaller tin cans, make sure you stick the birds close to the open rim of the can. The tin cans will overlap slightly when fixed, so make sure the bird isn’t hidden under the overlap.
5. Once the decoupage glue has dried, spray the outside of the tin cans with 2 coats of acrylic varnish spray. Allow the first coat to dry before spraying the second coat. The acrylic varnish will help protect the tin can wind chime from the elements.
6. Next, thread the twine through the tin cans. Leave enough twine at the top for hanging the wind chime. Starting with the largest tin can thread the twine through the hole and then secure it in place with a knot.
Then thread the twine through the second-largest tin can and secure it with a knot. Make sure that the tin cans overlap slightly. Then repeat with the smallest tin can.

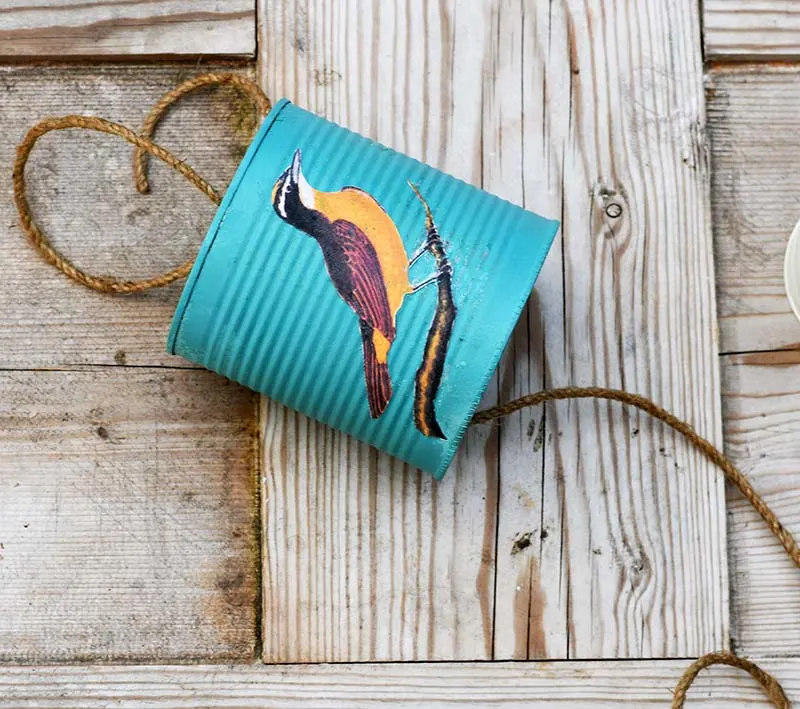
7. Finish off by adding a spoon to the end of the twine. Make sure this hangs just inside the smallest tin can so that it will bang against the inside of the can to make a noise.
You can try experimenting with more than one piece of cutlery hanging from the twine to create different sounds or a more “twinkly” noise for the tin can wind chime.
Note: I tried to drill a hole in the top of my spoon without much luck (I think the steal was too tough). So, in the end, I just wrapped some very fine wire around the end of the spoon and used this to attach it to the twine.

Another way to upcycle tin cans with vintage images is to make these upcycled tuna can butterfly ornaments.
If like me you have a large collection of tin cans ready to upcycle, you should check out these other fabulous tin can crafts.
There are lots of other fabulous vintage bird prints that would also look great on a decoupage tin can wind chime. Check out these ones.
I made a wonderful parrot decor for a cloche but that same papercraft would look just as fabulous using these songbird illustrations instead. These songbirds would also look great on some decoupage placemats.
This tutorial was featured in the 50 cool garden upcycles. For more recycled craft ideas visit Favecrafts.com
Jeanne hildrew
Wednesday 2nd of August 2023
Why did you use someone else’s picture of the wind chimes??
claire
Thursday 3rd of August 2023
All the pictures of the wind chime on my blog are my own. If you are referring to a Pinterest image of a different wind chime that directs you here, I don't know why that happened and it had nothing to do with me.
Gainor Hillegass
Sunday 13th of November 2022
I am about to make tin can windchimes and wanted a waterproof finish for outdoors. The acrylic varnish suggestion is the answer! Thank you!I will be using woodland flora and fauna prints that I can find. These hopefully will be Christmas gifts. Going to make some tuna can ornaments and litter jug storage/ wastebasket containers. No money for Christmas this years, so will repurpose containers! Keep up the good ideas!
claire
Tuesday 15th of November 2022
Thank you, have you seen the Christmas botanical images on the site https://www.pictureboxblue.com/diy-christmas-wall-decoration-botanicals/ They will be good for your Christmas projects.
15 Recycled DIY Projects | Crafts From Trash
Tuesday 11th of January 2022
[…] Check it here. […]
37 Upcycled Tin Can Crafts - Craftsy Hacks
Wednesday 20th of October 2021
[…] Source: pictureboxblue.com […]
Elizabeth
Wednesday 18th of August 2021
This is such a great project to do with the kids or grandkids and they will be so proud when they are finished. Thank you so much for taking the time to share It
claire
Thursday 19th of August 2021
Thank you so much, I'm glad you enjoyed it and hope you get to make one with your grandkids.